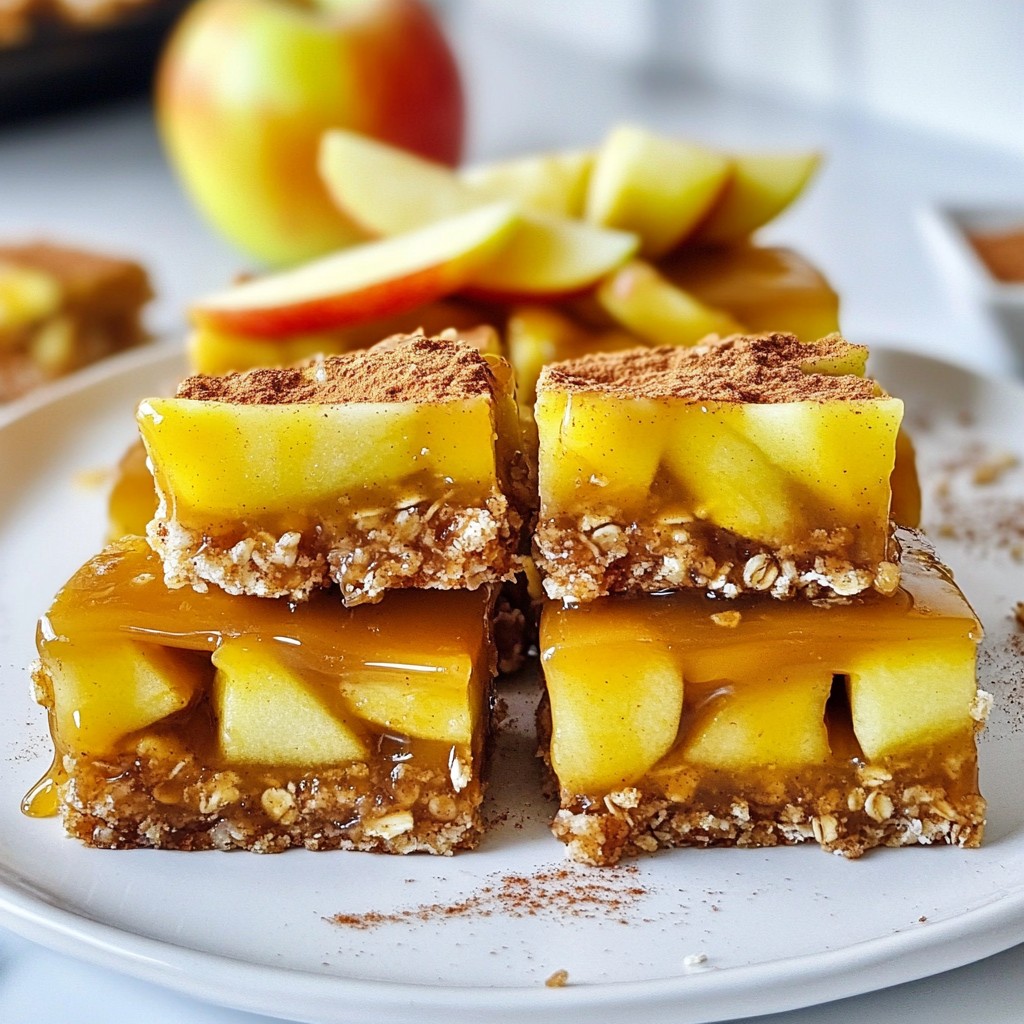
If you're craving a sweet, chewy treat, I've got just the thing for you—Chewy No-Bake Caramel Apple Bars! These bars are simple to make and packed with flavor. You won't need an oven, just fresh apples, nut butter, and some caramel. I’ll share easy steps for your perfect dessert, including substitutes for allergies and storage tips. Let's dive in and create this delightful treat together!
Why I Love This Recipe
- Easy to Make: This recipe requires no baking, making it perfect for a quick and hassle-free treat.
- Nutritious Ingredients: Packed with wholesome oats and apples, these bars are both delicious and healthy.
- Customizable: You can easily swap in your favorite nut butters or add different nuts for extra texture.
- Perfect for Any Occasion: These bars are great for snacks, dessert, or even a healthy breakfast on the go!
Ingredients
Complete Ingredient List
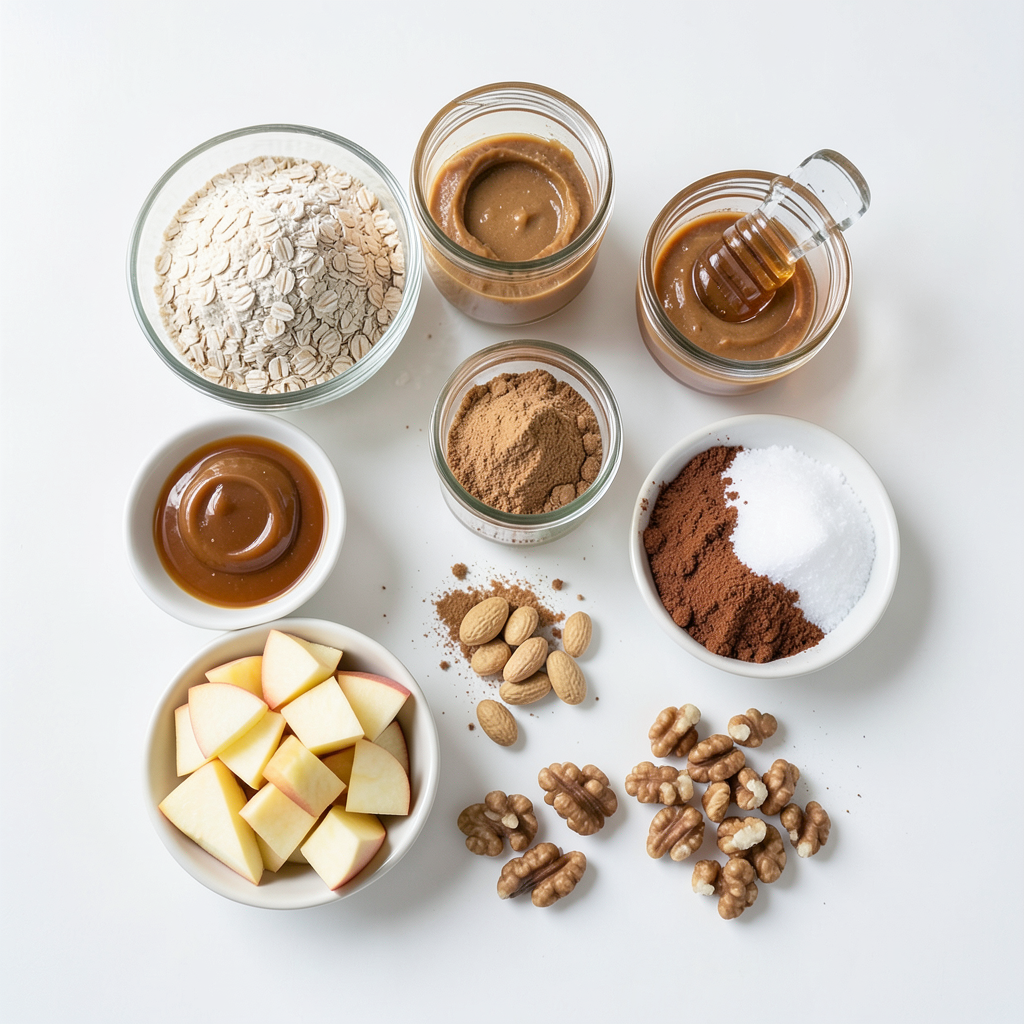
To make these Chewy No-Bake Caramel Apple Bars, gather these simple ingredients:
- 1 ½ cups rolled oats
- 1 cup almond flour
- ½ cup peanut butter or almond butter
- ⅓ cup honey or maple syrup
- 1 teaspoon vanilla extract
- 1 teaspoon cinnamon
- 1 cup apples, finely chopped (about 2 medium apples)
- ½ cup caramel sauce (store-bought or homemade)
- A pinch of salt
- Optional: ¼ cup chopped nuts (walnuts, pecans, or almonds) for added crunch
Substitutions for Allergies
If you have allergies, you can easily swap some ingredients:
- Use sunflower seed butter in place of peanut butter for nut allergies.
- Replace almond flour with oat flour or coconut flour for gluten-free needs.
- If honey is not an option, use agave syrup or brown rice syrup instead.
Optional Add-ins
Want to make these bars your own? Consider these fun add-ins:
- Mix in ¼ cup of chocolate chips for a sweet touch.
- Add a handful of dried cranberries or raisins for extra flavor.
- Sprinkle in some chia seeds or flaxseeds for added nutrition.
These ingredients create a tasty and healthy treat. Enjoy the process of making these bars!
Step-by-Step Instructions
Preparing the Base
First, gather your ingredients. You need rolled oats, almond flour, cinnamon, and salt. In a mixing bowl, combine 1 ½ cups of rolled oats, 1 cup of almond flour, 1 teaspoon of cinnamon, and a pinch of salt. Mix these dry ingredients well to blend them together. This step is key for a great base.
Incorporating Nut Butter and Sweeteners
Now, it’s time to add the nut butter and sweeteners. You can use ½ cup of peanut butter or almond butter. Add this to your dry mix along with ⅓ cup of honey or maple syrup. Stir until the mixture is sticky but firm. It should hold together nicely when you press it. This step brings in richness and sweetness.
Adding Apples and Caramel
Next, fold in the apples. You’ll need about 1 cup of finely chopped apples, which is about 2 medium apples. Add 1 teaspoon of vanilla extract to this mix as well. If you want some crunch, add ¼ cup of chopped nuts like walnuts or pecans. Gently combine everything so you keep those apple pieces whole. Now, pour the mixture into a lined 9x9 inch baking dish. Press it down evenly using a spatula or your hands. Finally, drizzle ½ cup of caramel sauce over the top. Spread it slightly, but don't mix too much. You want those sweet pockets of caramel in every bite!
Tips & Tricks
Ensuring the Perfect Texture
To get the right texture in your chewy no-bake caramel apple bars, follow these steps:
- Use rolled oats for a chewy base. Instant oats will not work well.
- Make sure to press the mixture firmly into the baking dish. This helps it hold together.
- Your mixture should be sticky but not too wet. If it feels too loose, add a bit more oats.
Enhancing Flavor Profiles
Bringing out flavors in your bars is fun and easy. Here are my tips:
- Add a pinch of nutmeg for warmth. It pairs nicely with cinnamon and apples.
- Use fresh apples for the best taste. Tart apples like Granny Smith work well.
- Drizzle a little extra caramel on top before serving. It makes each bite sweeter!
Serving Suggestions
These bars are great for any occasion. Here are some ideas:
- Serve chilled for a refreshing treat on hot days.
- For a fun twist, cut them into smaller squares for snacks.
- Pair them with a scoop of ice cream for a dessert delight.
- Add a sprinkle of chopped nuts on top for an extra crunch.
Pro Tips
- Choose the Right Apples: For the best flavor and texture, use a mix of sweet and tart apples, like Fuji and Granny Smith, to create a balanced taste in your bars.
- Make It Vegan: Substitute honey with maple syrup for a completely vegan treat while maintaining the same sweetness and consistency.
- Customize Your Nuts: Feel free to experiment with different nuts or seeds to suit your taste. Chopped almonds or sunflower seeds add a delightful crunch.
- Storage Tips: Keep the bars in an airtight container in the refrigerator for up to a week for optimal freshness and chewiness.
Variations
Different Types of Nut Butters
You can switch the nut butter for more fun. Almond butter works well, too. Cashew butter adds a creamy taste. Sunflower seed butter is a great option for allergies. Each nut butter gives a unique flavor. You can even mix two kinds for a tasty twist!
Flavoring Options
Adding spices or extracts can change the taste. Try a pinch of nutmeg for warmth. Cardamom adds a sweet floral note. Coconut extract brings a tropical vibe to your bars. You can also mix in dried fruit, like raisins or cranberries, for extra flavor and texture.
Vegan and Gluten-Free Modifications
To make it vegan, use maple syrup instead of honey. Choose almond butter or sunflower seed butter for a plant-based option. For gluten-free bars, ensure your oats are certified gluten-free. These tweaks keep your bars tasty while meeting different diets. Enjoy your delicious creations!
Storage Info
Best Practices for Storing Bars
To keep your chewy no-bake caramel apple bars fresh, store them in an airtight container. Place a layer of parchment paper between the bars. This helps to prevent sticking. Store them in the fridge to maintain their texture. They taste best chilled, and the coolness enhances the flavors.
Freezing Instructions
You can freeze these bars if you want to save some for later. Cut the bars into squares first. Wrap each piece tightly in plastic wrap. Then, place them in a freezer-safe bag or container. They can last in the freezer for up to three months. When you're ready to eat them, let them thaw in the fridge overnight.
Shelf Life Tips
These bars will stay fresh in the fridge for about a week. Keep an eye on them for any signs of spoilage. If they start to smell off or look different, it’s best to toss them. For the best taste, enjoy them within the first few days after making them.
FAQs
Can I make these bars in advance?
Yes, you can make these bars ahead of time. They last well in the fridge for about a week. This makes them great for meal prep or for gatherings. Just store them in an airtight container. You can also cut them into squares first. This makes grabbing a snack easy.
What can I use instead of caramel sauce?
If you don’t have caramel sauce, you can use melted chocolate or a fruit spread. Nut butters also work well for a richer taste. You can even try a mix of honey and cocoa for a different twist. The key is to keep it sticky and sweet, just like caramel.
How do I make these bars gluten-free?
To make these bars gluten-free, use certified gluten-free rolled oats. Almond flour is already gluten-free, so that’s a great choice. Ensure that your nut butter and any other add-ins are also gluten-free. This way, everyone can enjoy these tasty treats without worry!
This article covered key ingredients and steps to make tasty bars. We explored substitutions for allergies and optional add-ins for extra flavor. You learned the best way to prepare the base and incorporate nut butter. Plus, tips helped ensure the perfect texture and enhance flavor.
I encourage you to try the variations and storage tips for longer freshness. Enjoy making these bars your own. Happy snacking!