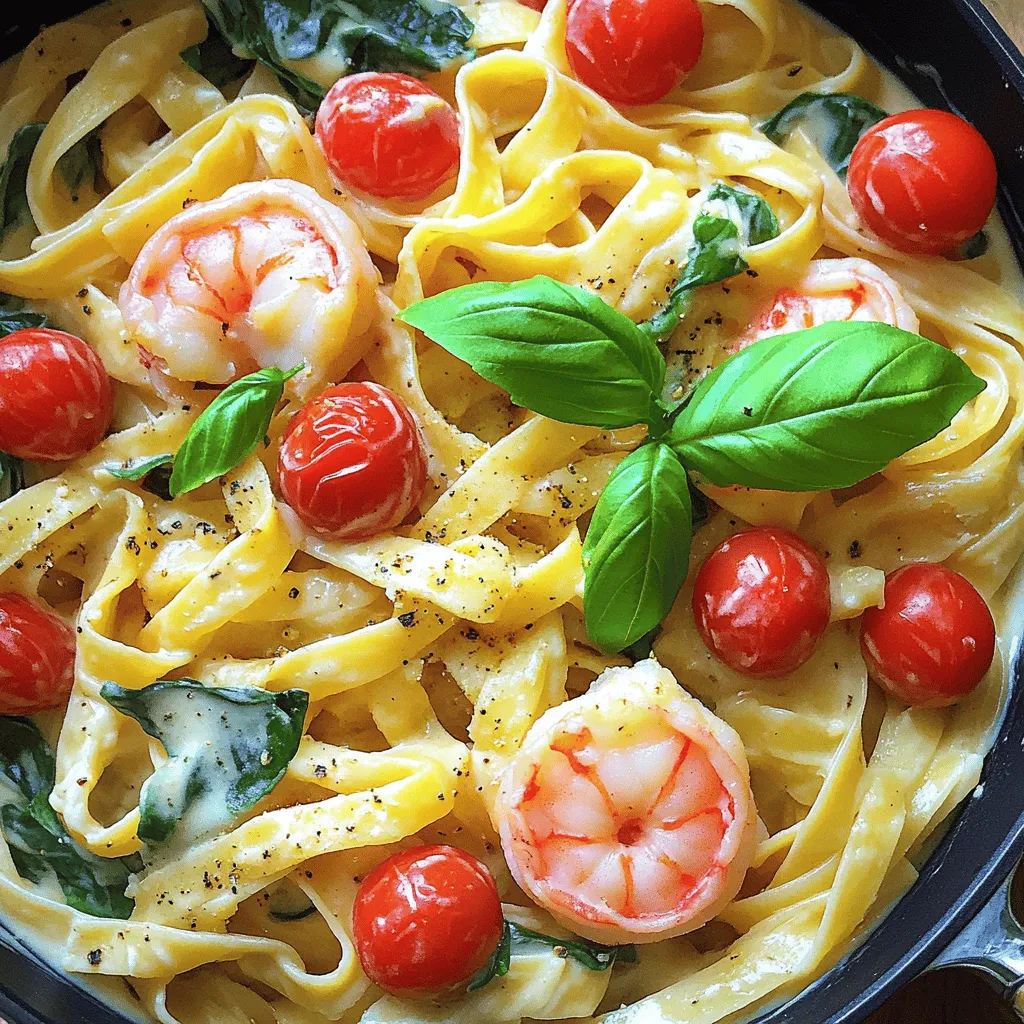
Creamy Tuscan Shrimp Pasta Flavorful Dinner Delight
Looking for a dinner that is both quick and delicious? Creamy Tuscan Shrimp Pasta is your answer! This dish blends
Looking for a dinner that is both quick and delicious? Creamy Tuscan Shrimp Pasta is your answer! This dish blends
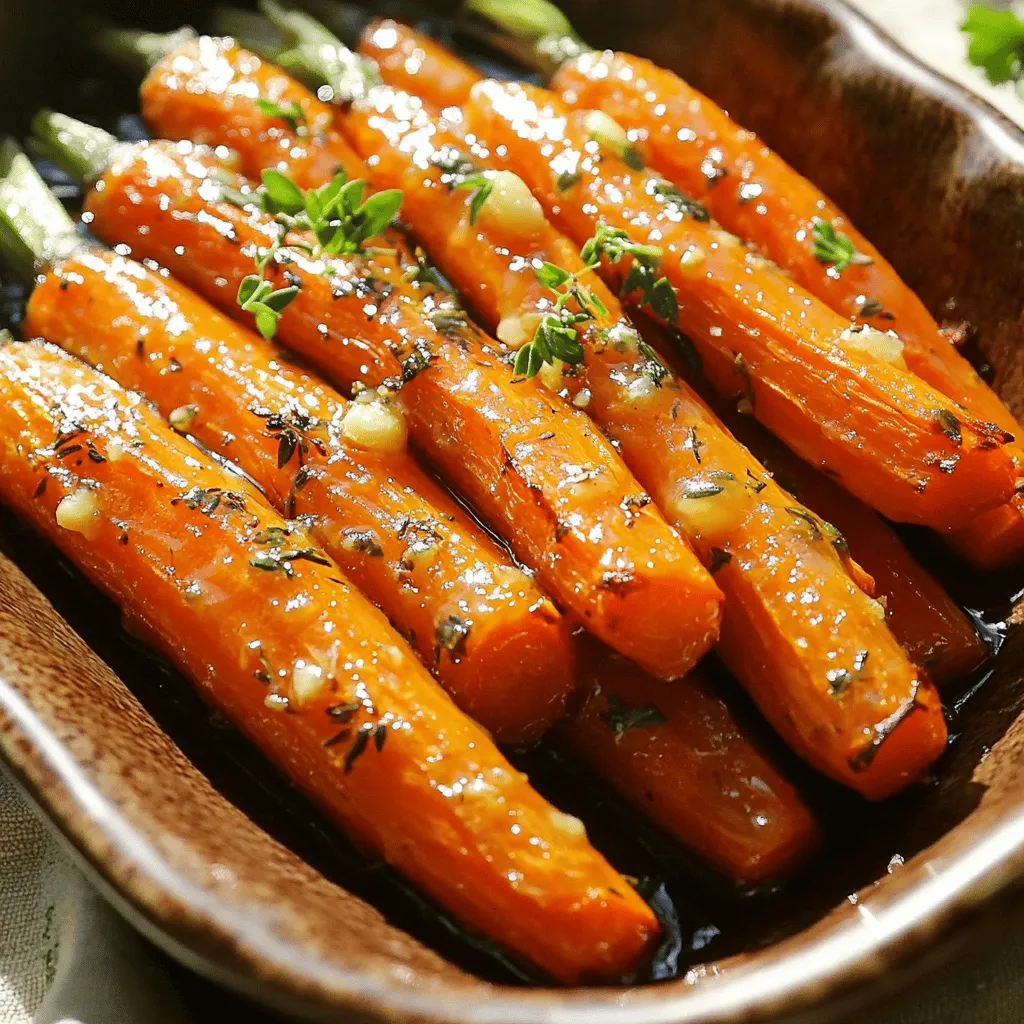
Looking for a delicious side dish? Honey garlic butter roasted carrots are your answer! With just a few simple ingredients,
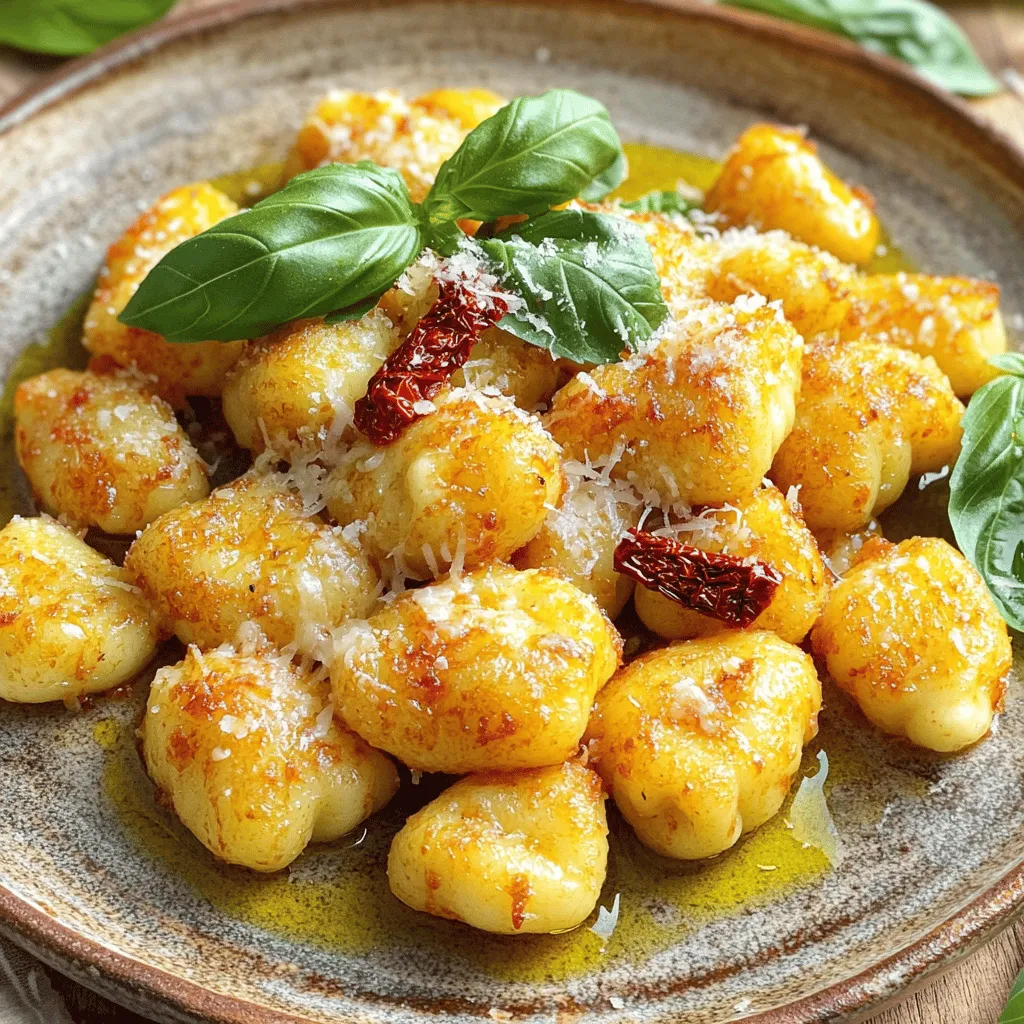
Are you ready to elevate your dinner game? In this post, I’ll show you how to make Sun Dried Tomato
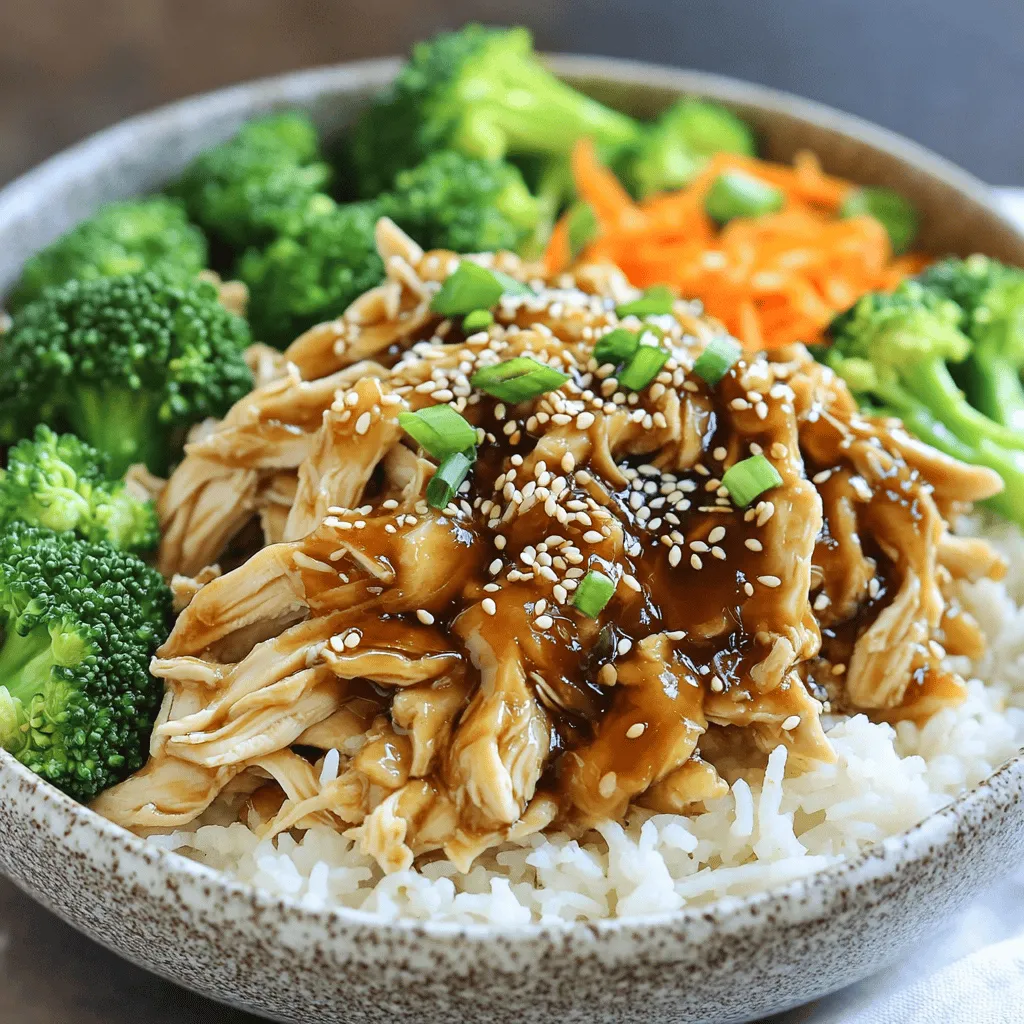
Craving a quick, tasty meal? Look no further than my Instant Pot Teriyaki Chicken Bowls. In just minutes, you can

Are you ready to treat your taste buds? My Creamy Pesto Chicken Tortellini Soup is a warm hug in a
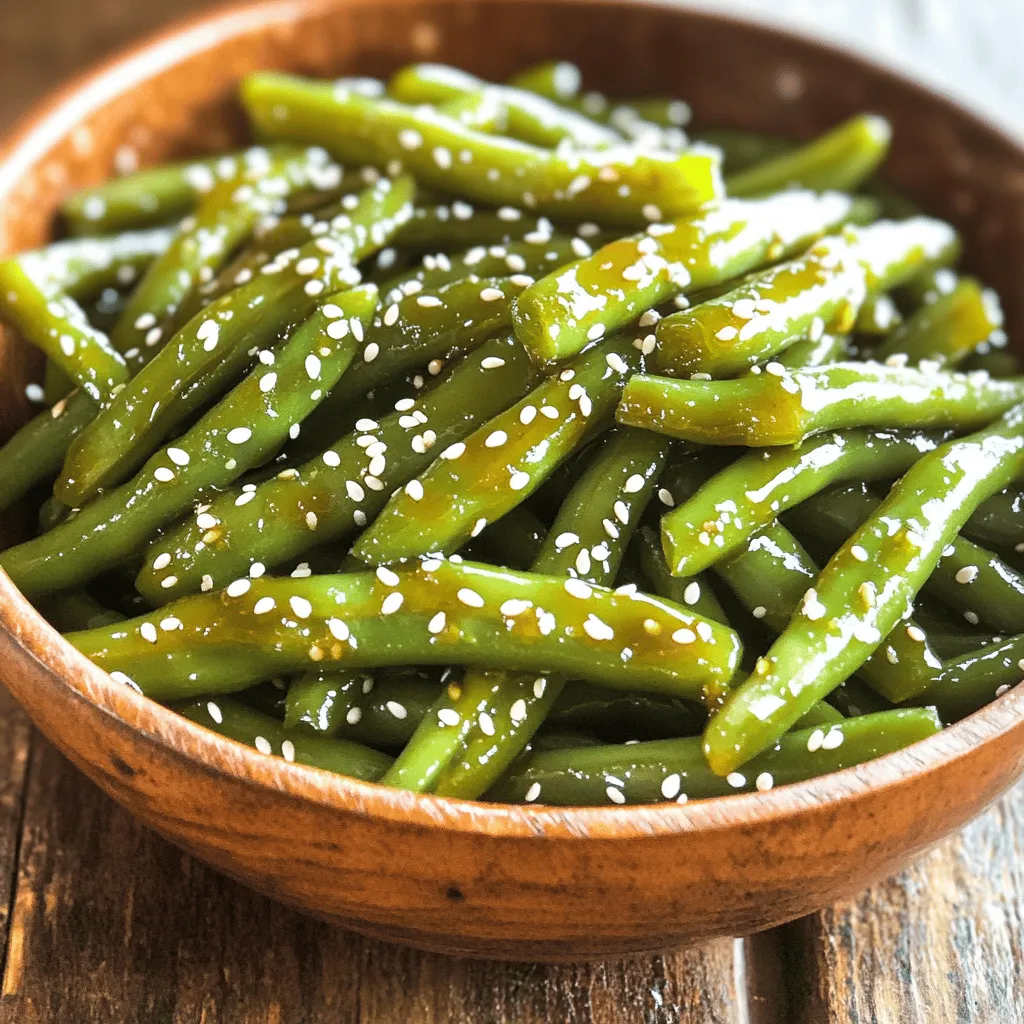
Looking for a fresh and easy side dish? Ginger Soy Glazed Green Beans are your answer! This vibrant recipe pairs
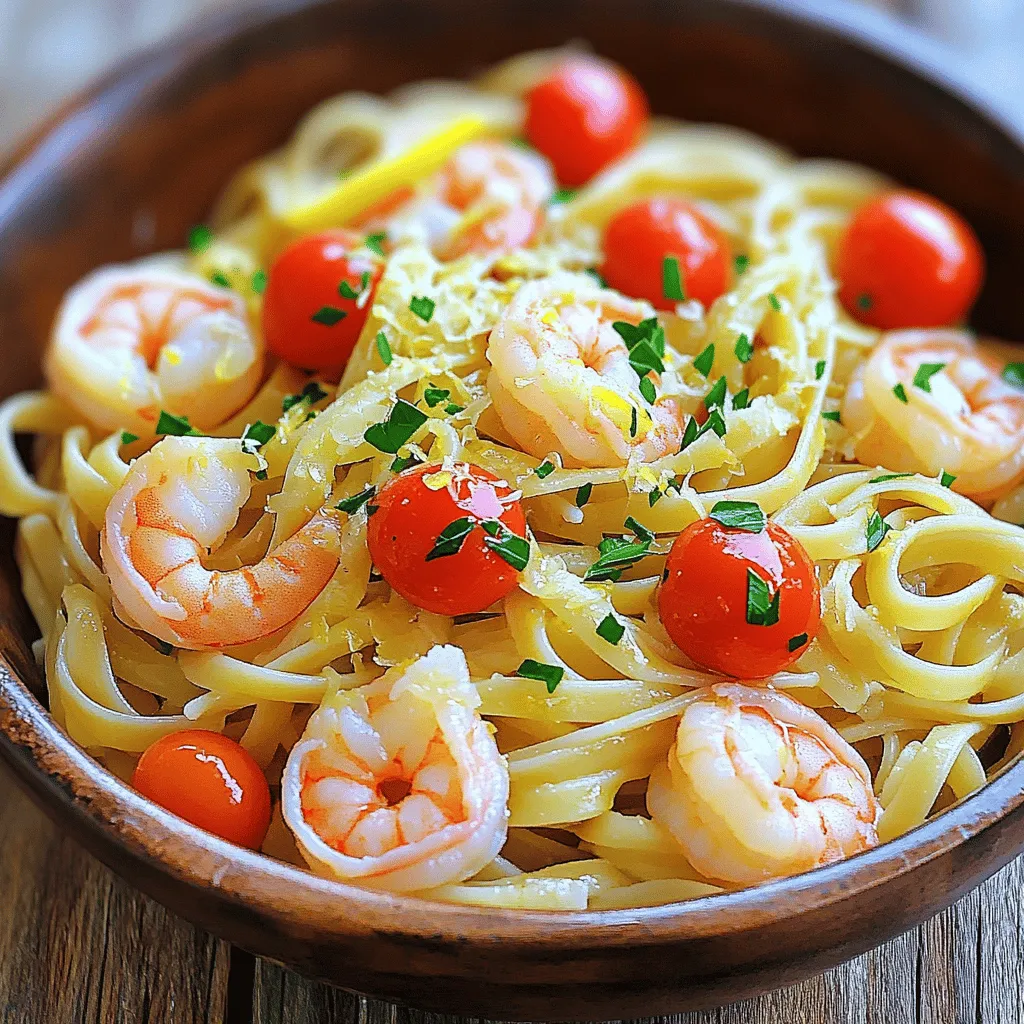
Looking for a quick and tasty dinner idea? Lemon Garlic Shrimp Linguine packs a zesty punch that will impress your
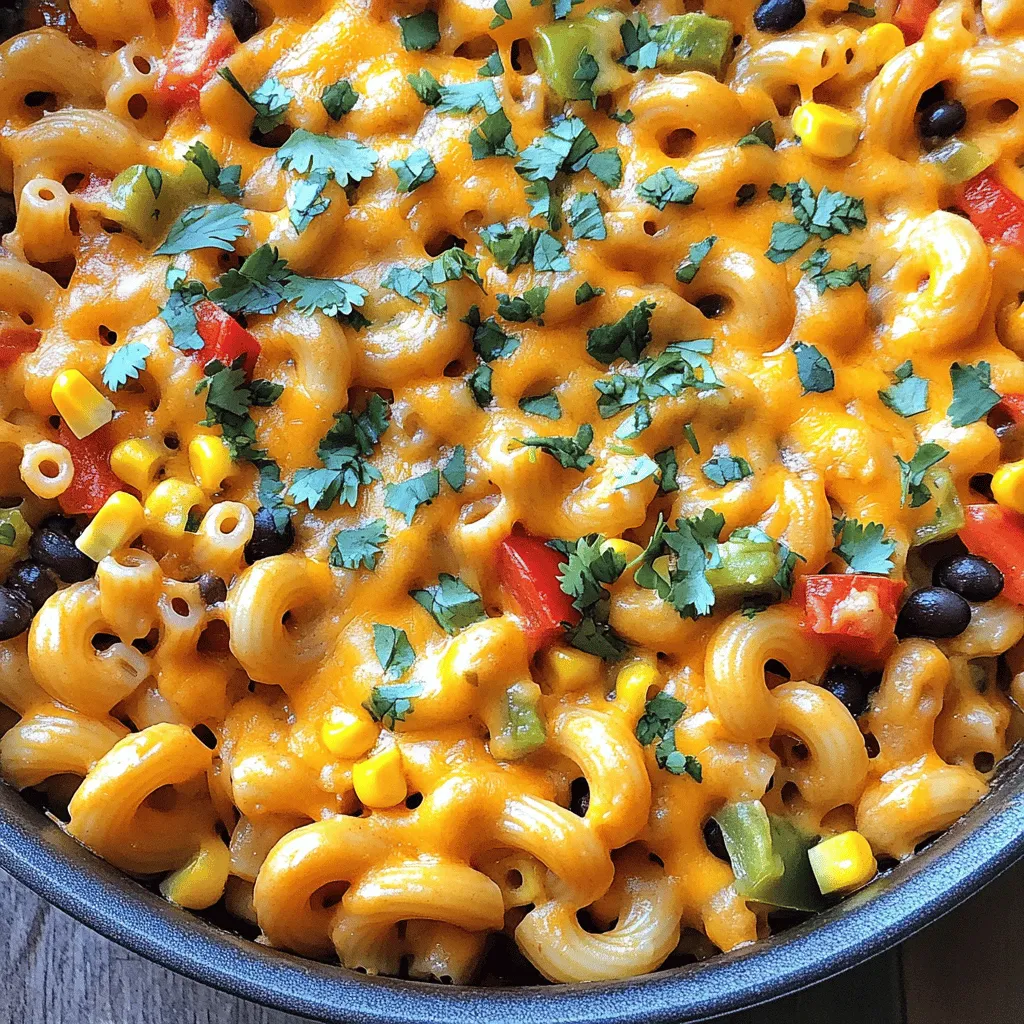
If you’re looking for a quick and tasty dinner, this Cheesy Taco Pasta Skillet is it! With just a few
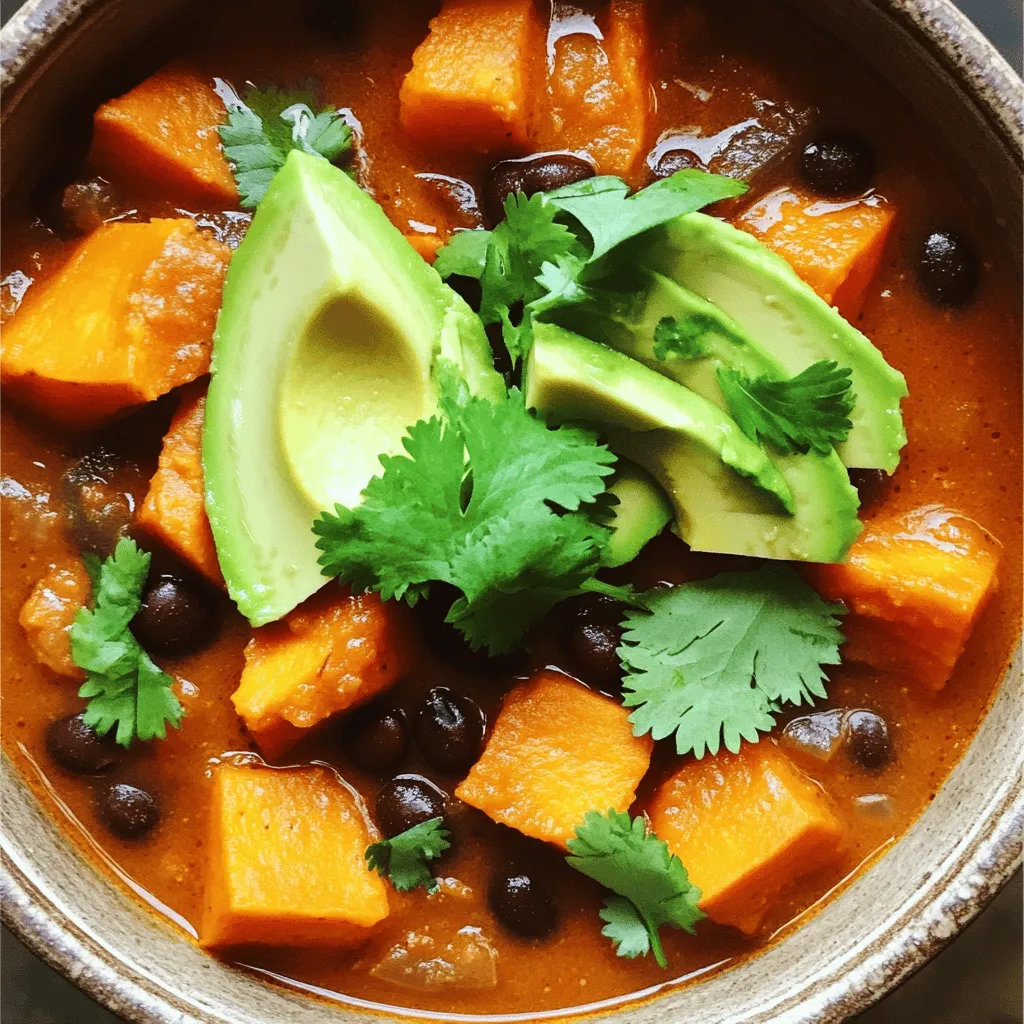
Are you ready to warm your soul with a bowl of Sweet Potato Black Bean Chili? This savory delight combines
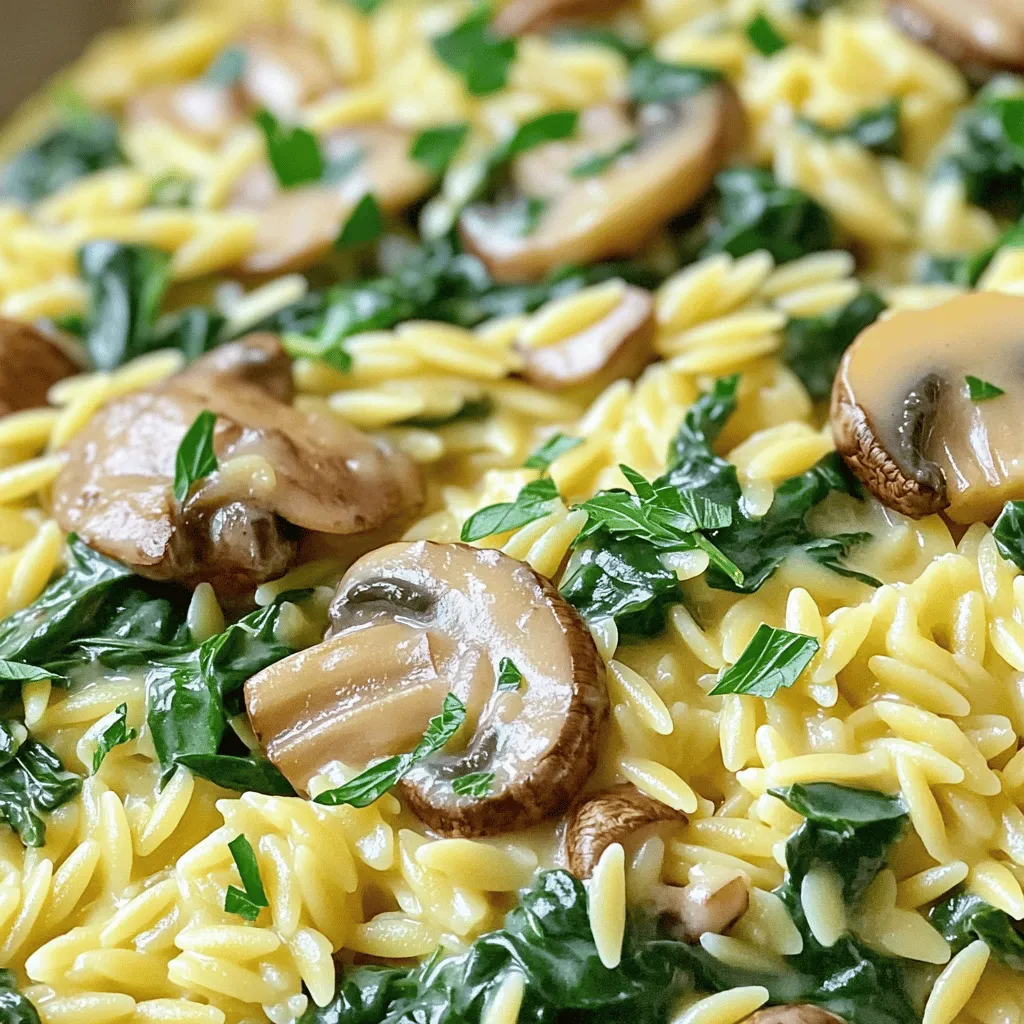
Looking for a quick and tasty dinner that’s creamy and satisfying? You’re in the right place! This Creamy Mushroom Spinach
