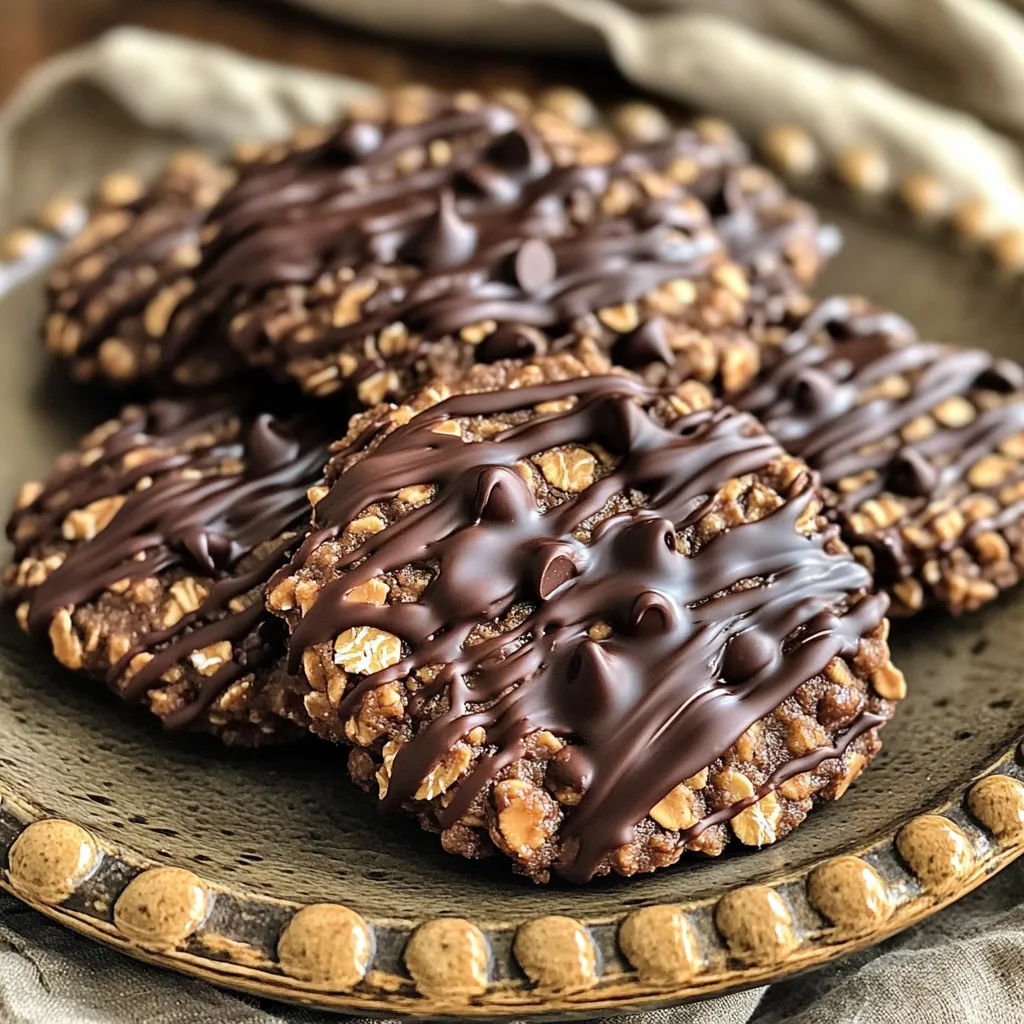
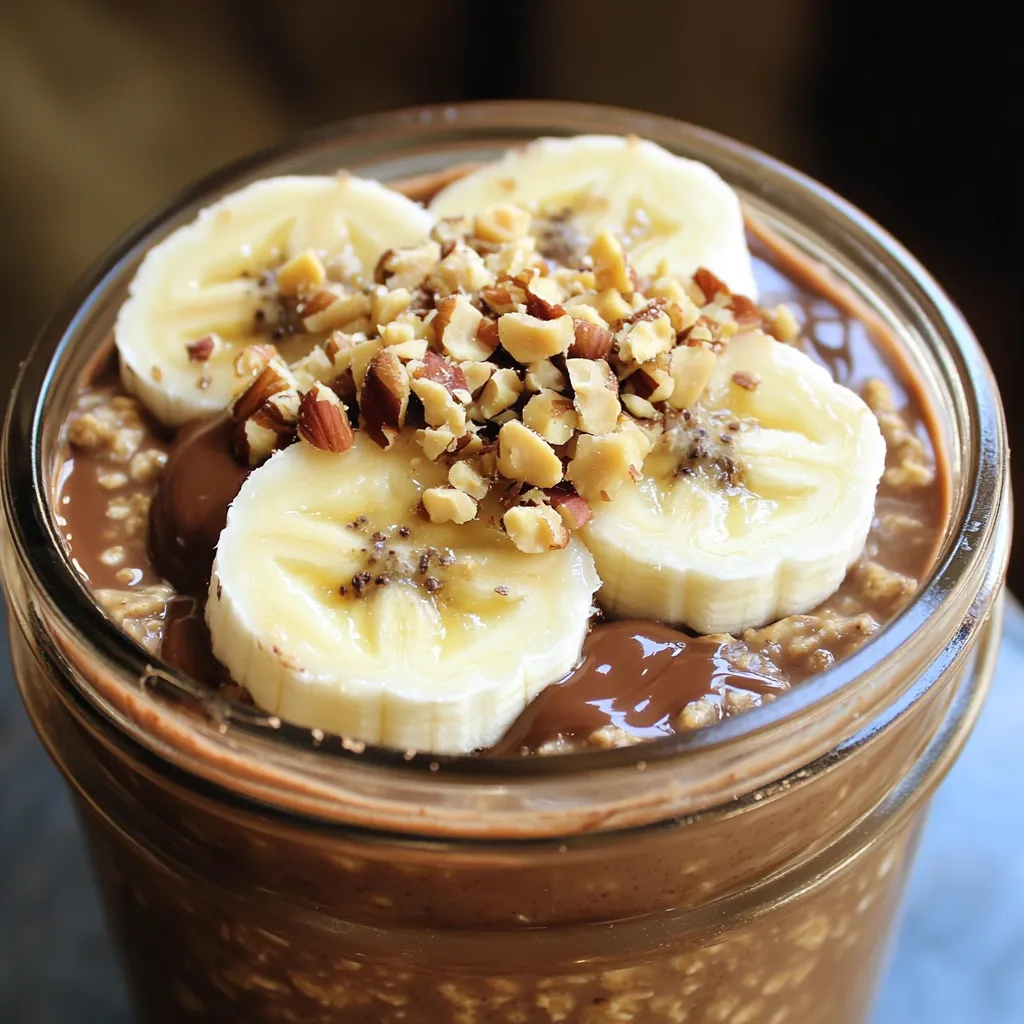
Chocolate Peanut Butter Oatmeal Cookies No Bake Delight
Are you ready to whip up something sweet, easy, and satisfying? My Chocolate Peanut Butter Oatmeal Cookies No Bake Delight
Are you ready to whip up something sweet, easy, and satisfying? My Chocolate Peanut Butter Oatmeal Cookies No Bake Delight
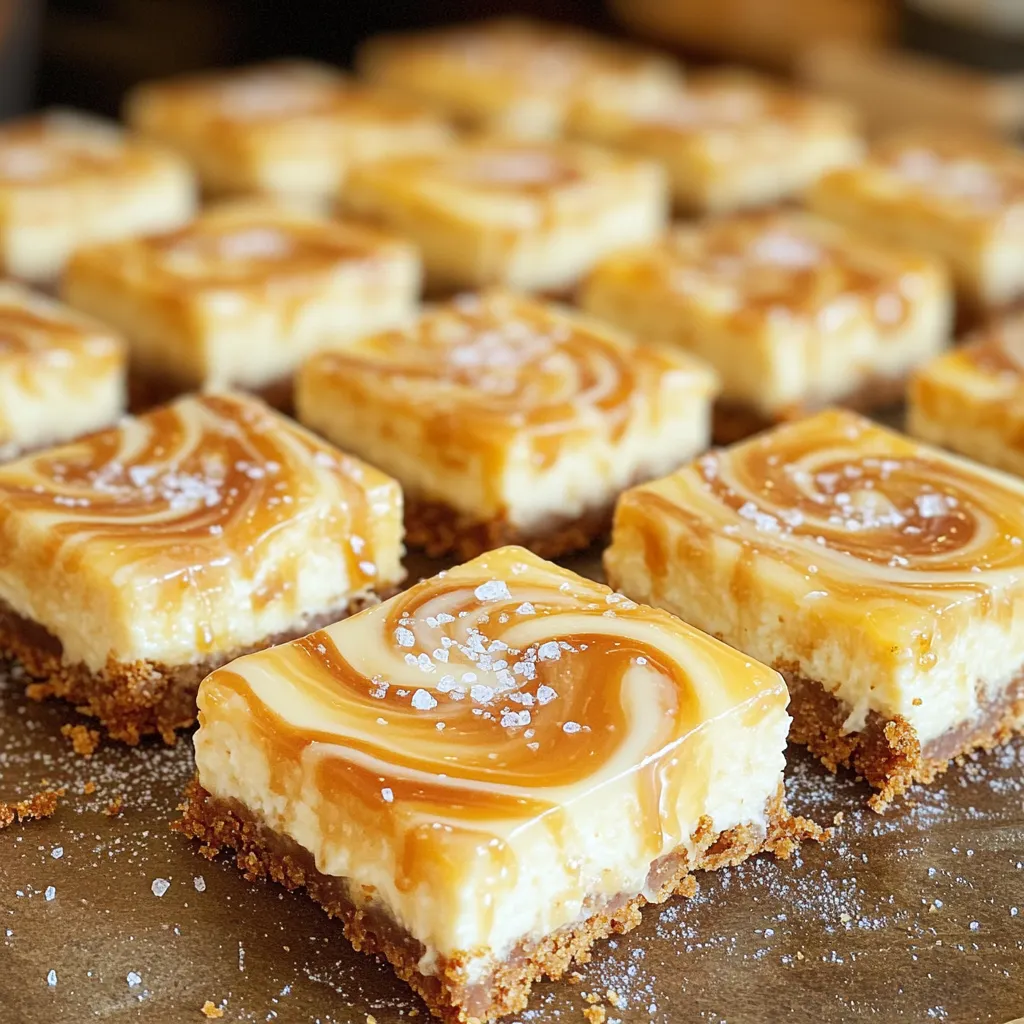
Craving a treat that combines sweet, salty, and creamy all in one bite? You’re in the right place! My No-Bake
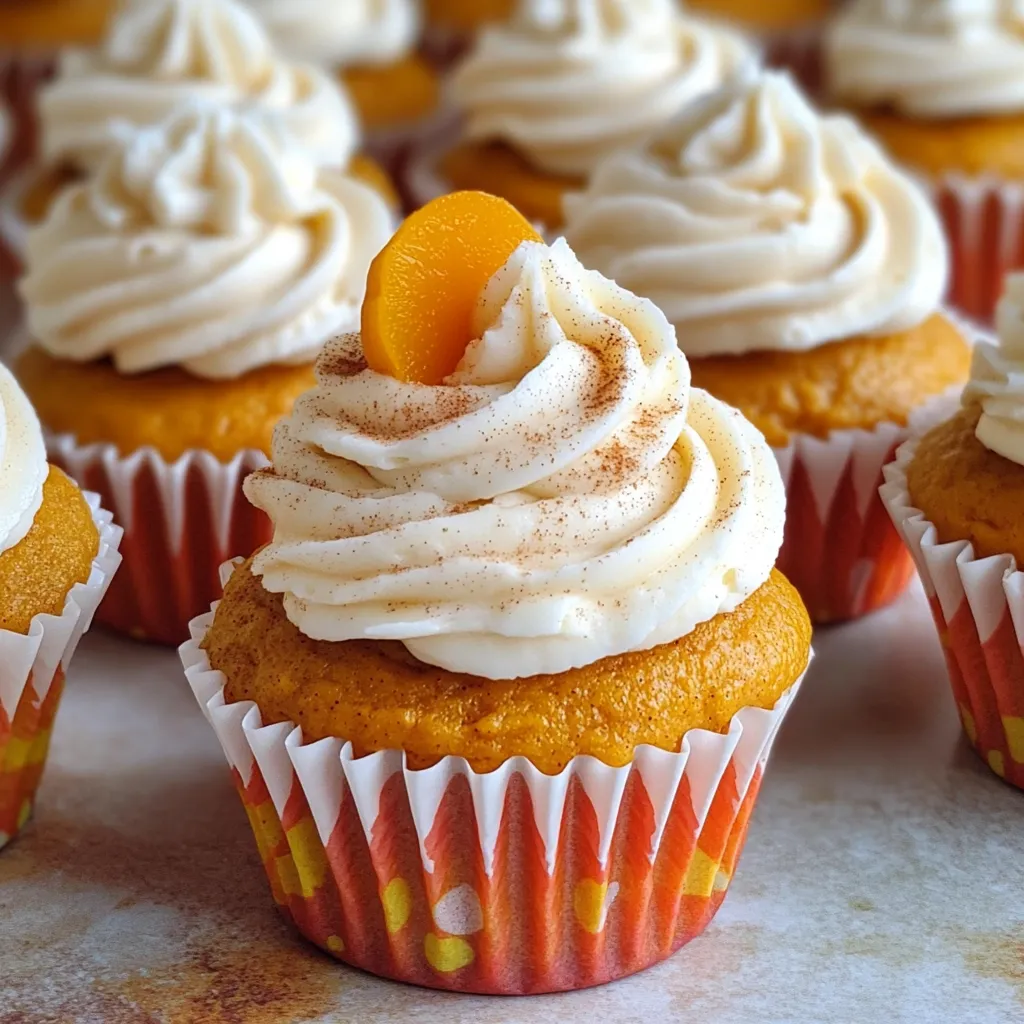
Craving the perfect fall treat? These Pumpkin Pie Cupcakes with Whipped Frosting combine all the cozy flavors of classic pumpkin
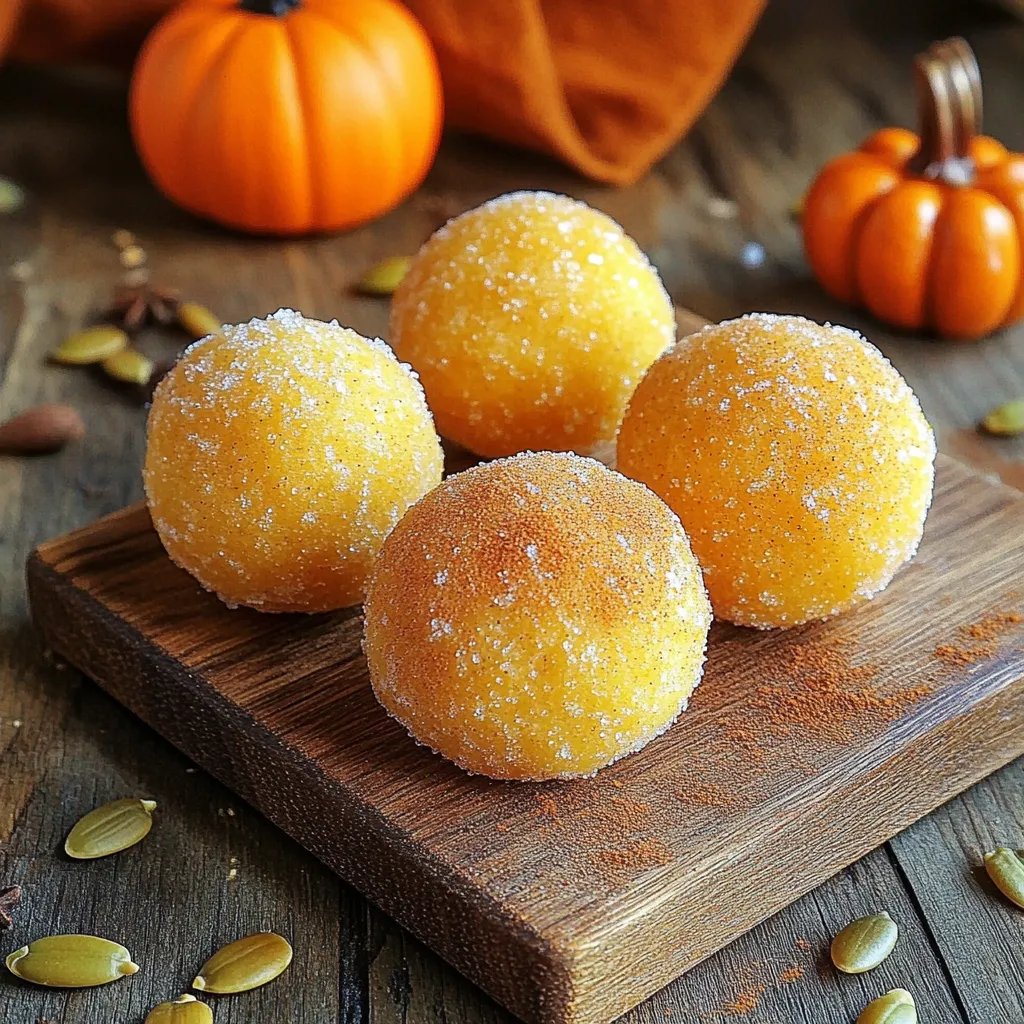
Are you ready to enjoy a sweet, seasonal treat? These Air Fryer Pumpkin Spice Donut Holes are a simple delight
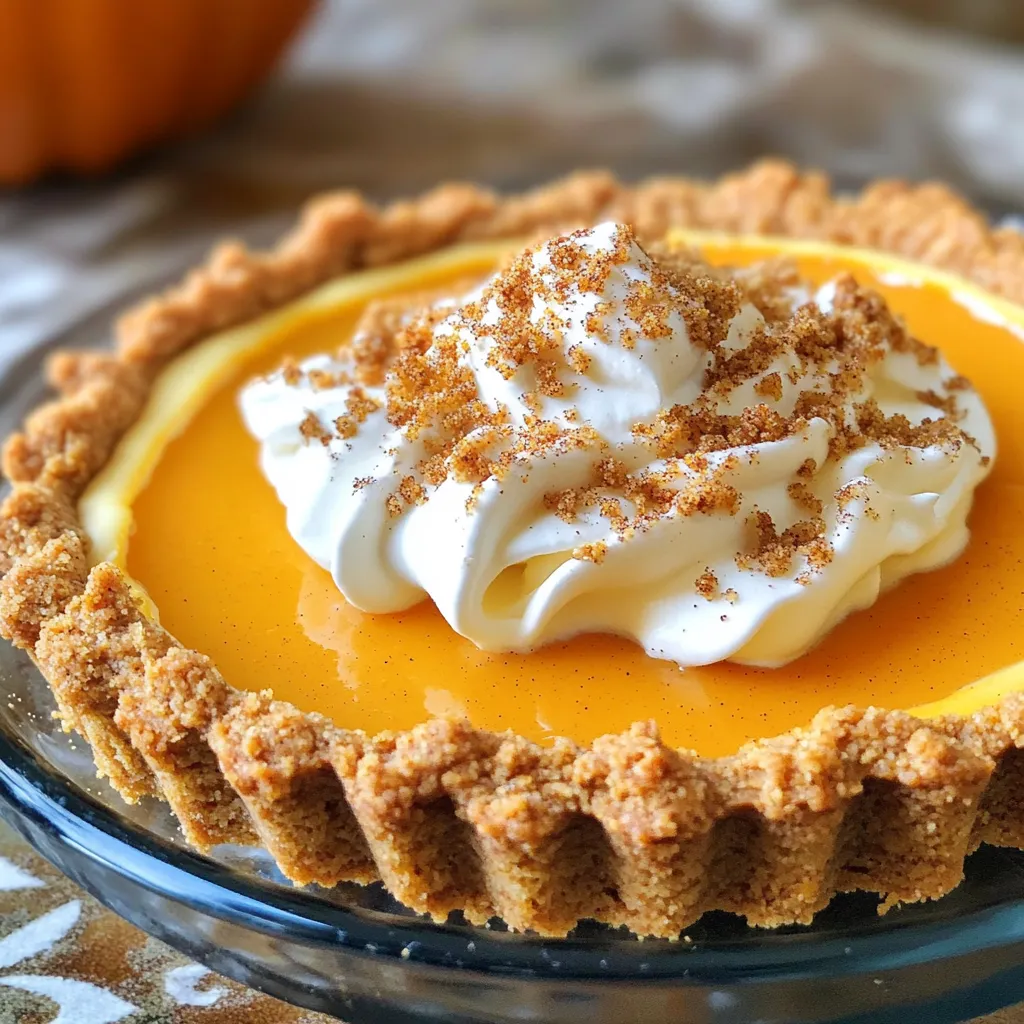
Get ready to impress your friends and family with a dessert that’s a true showstopper: the Pumpkin Cream Cheese Tart
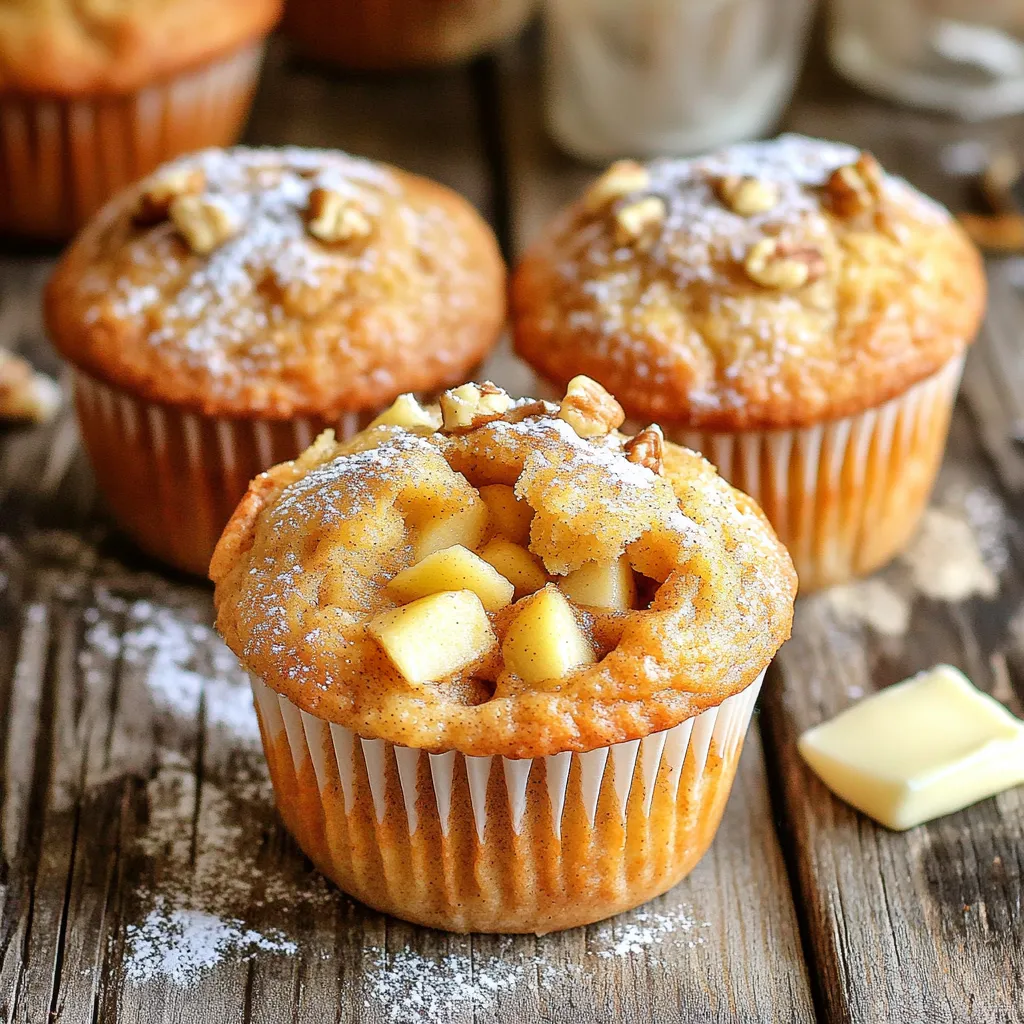
Are you craving a warm, sweet treat that’s super easy to make? Look no further! This Bakery-Style Apple Cinnamon Muffins
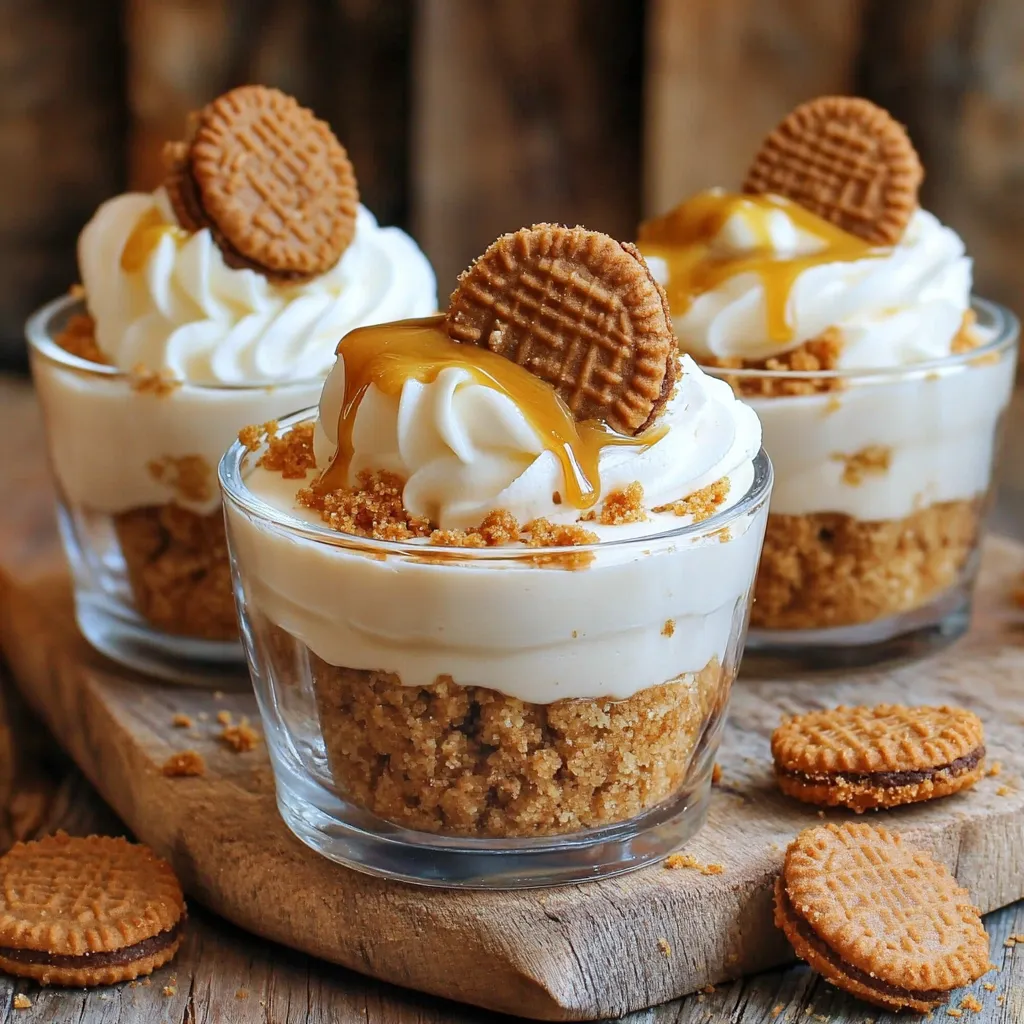
Get ready to indulge in a sweet treat that’s both simple and scrumptious! These No-Bake Biscoff Cheesecake Cups are perfect
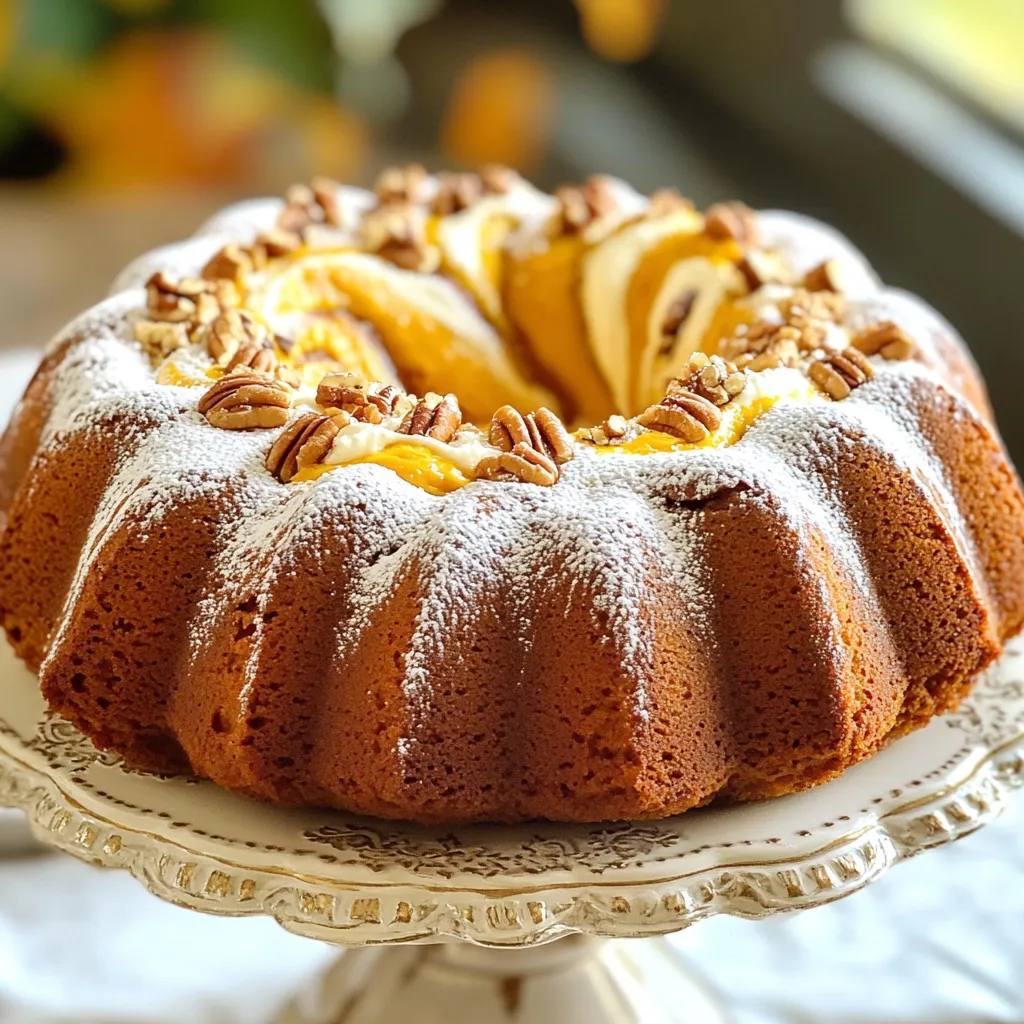
Are you ready to bake the coziest, fluffiest Pumpkin Cream Cheese Bundt Cake? This treat brings together the rich flavors
I love starting my day with a tasty and easy breakfast! If you’re craving something sweet and filling, try my
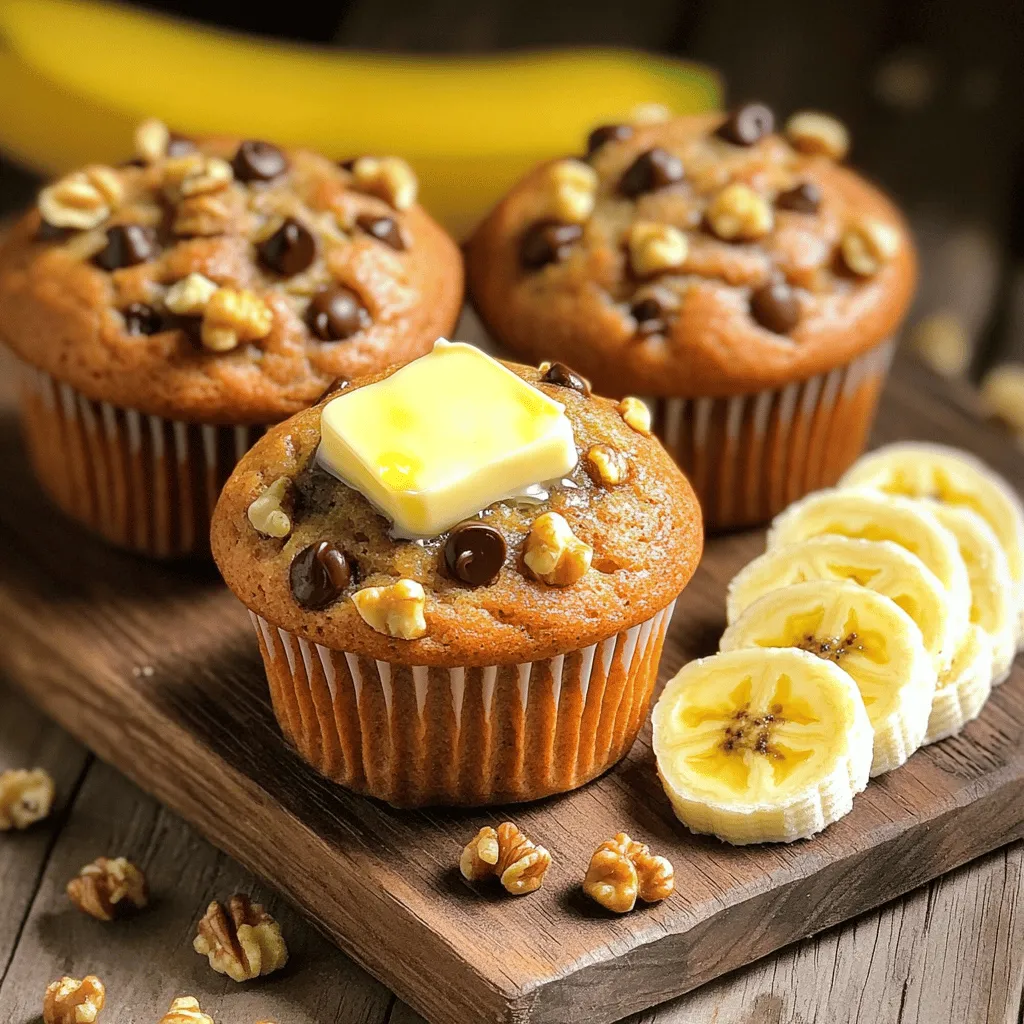
Are you ready to enjoy a warm, bakery-style treat right from your own kitchen? These Banana Nut Muffins are not
