Zesty Italian Pasta Salad Flavorful and Fresh Dish
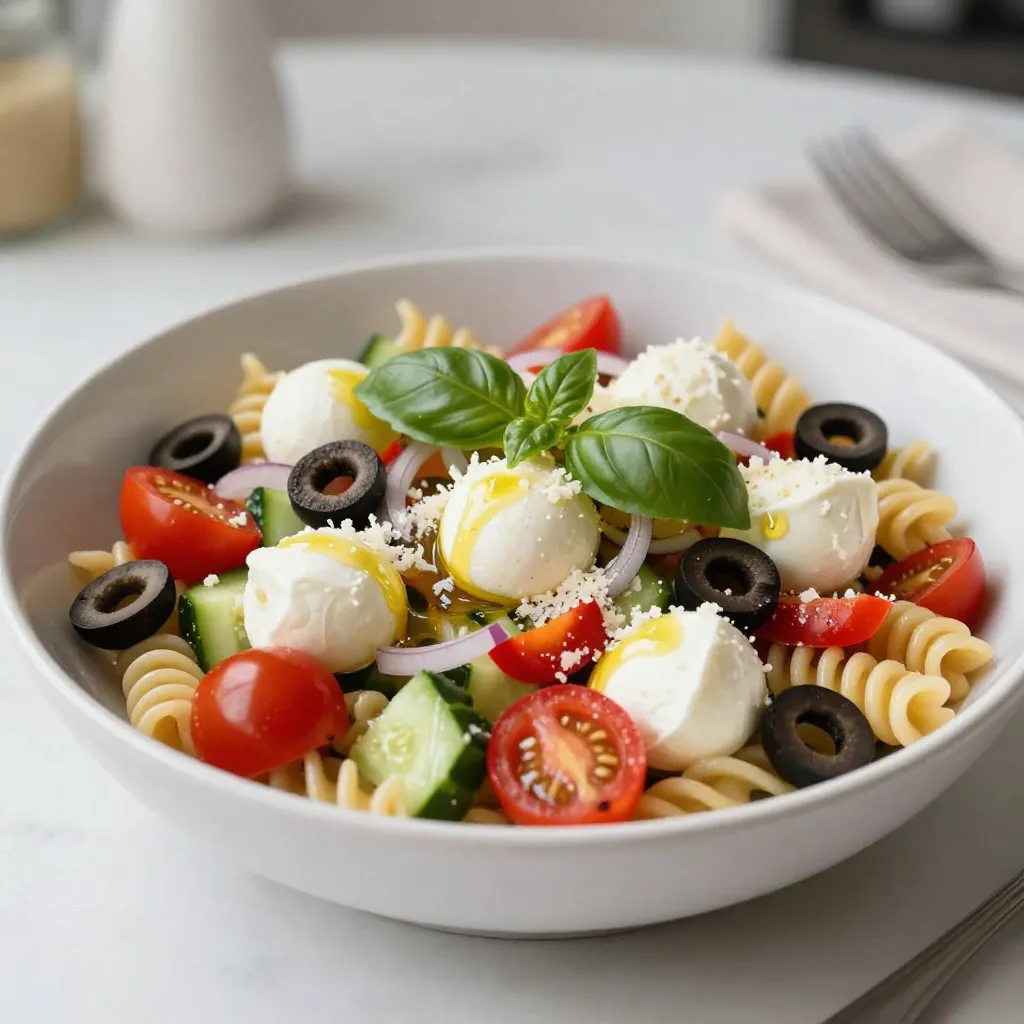
If you’re searching for a fresh, vibrant dish that bursts with flavor, look no further! My Zesty Italian Pasta Salad
If you’re searching for a fresh, vibrant dish that bursts with flavor, look no further! My Zesty Italian Pasta Salad
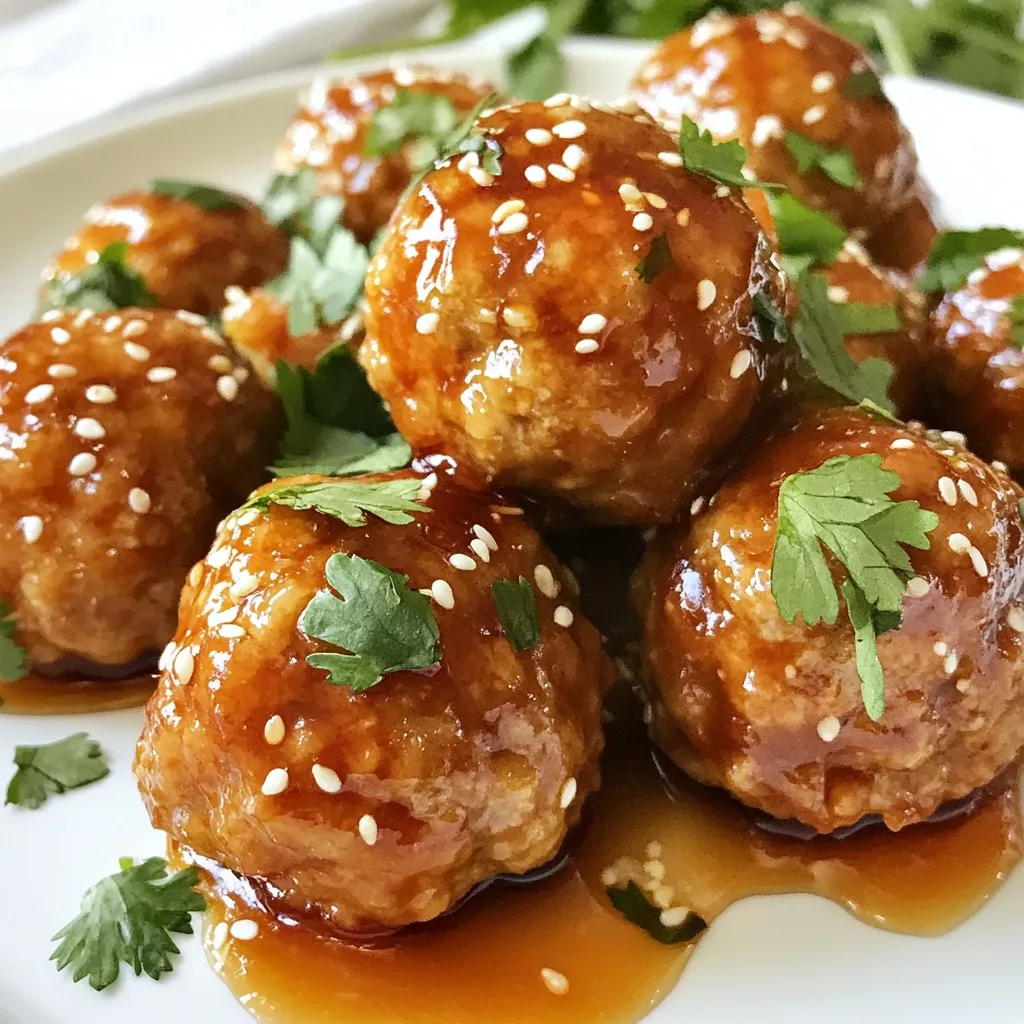
Welcome to a flavor-packed journey with my Sriracha Honey Glazed Meatballs! This savory and simple dish combines sweet and spicy,
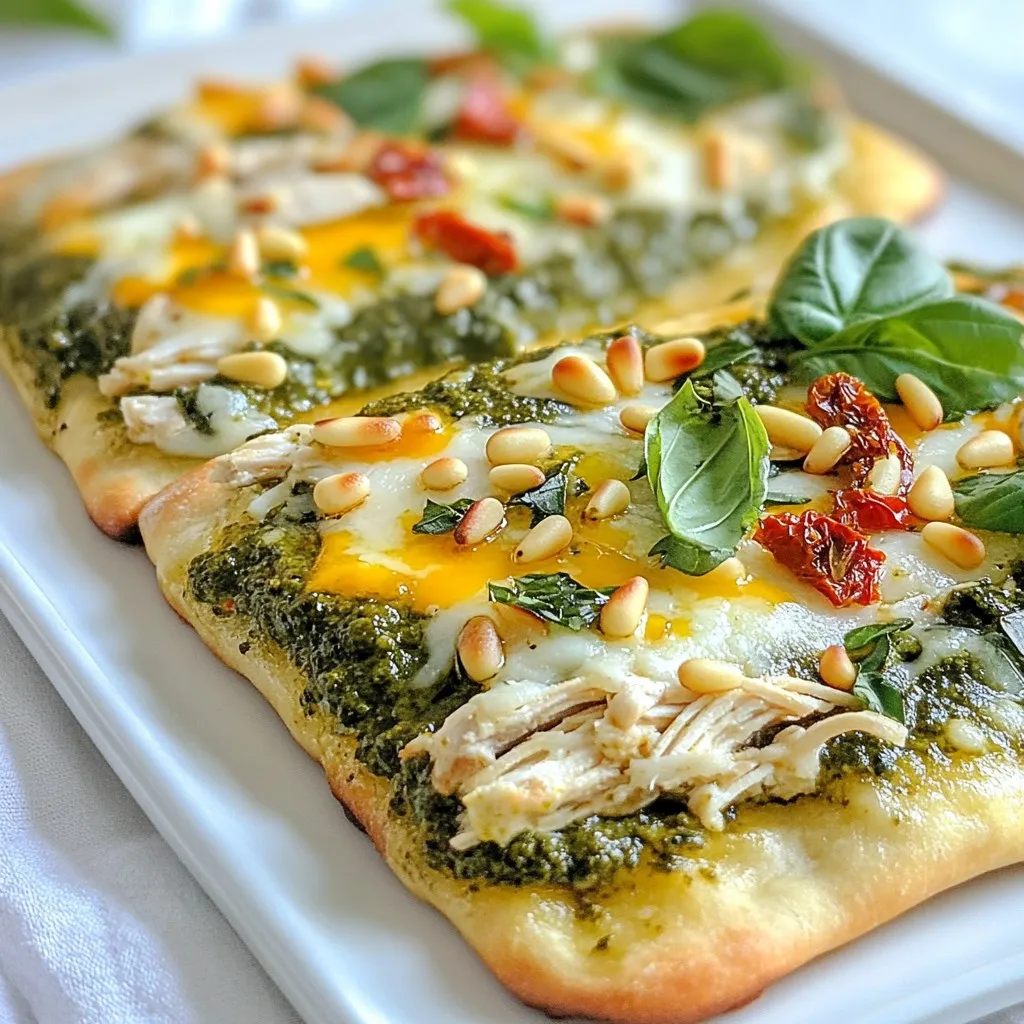
Do you want a quick, tasty meal everyone will love? My Pesto Chicken Flatbread recipe is here to impress! With
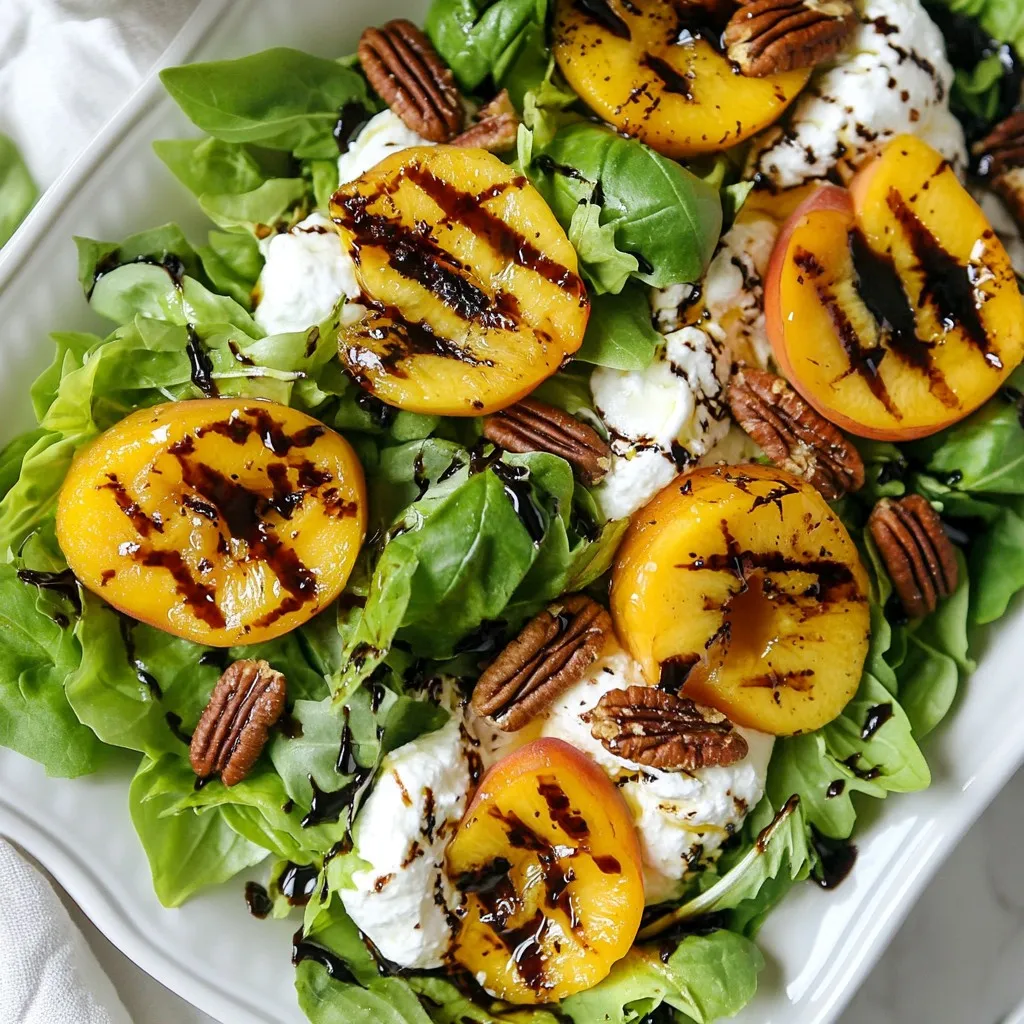
If you’re looking for a dish that bursts with flavor, you’ve found it! My Grilled Peach Burrata Salad combines sweet,
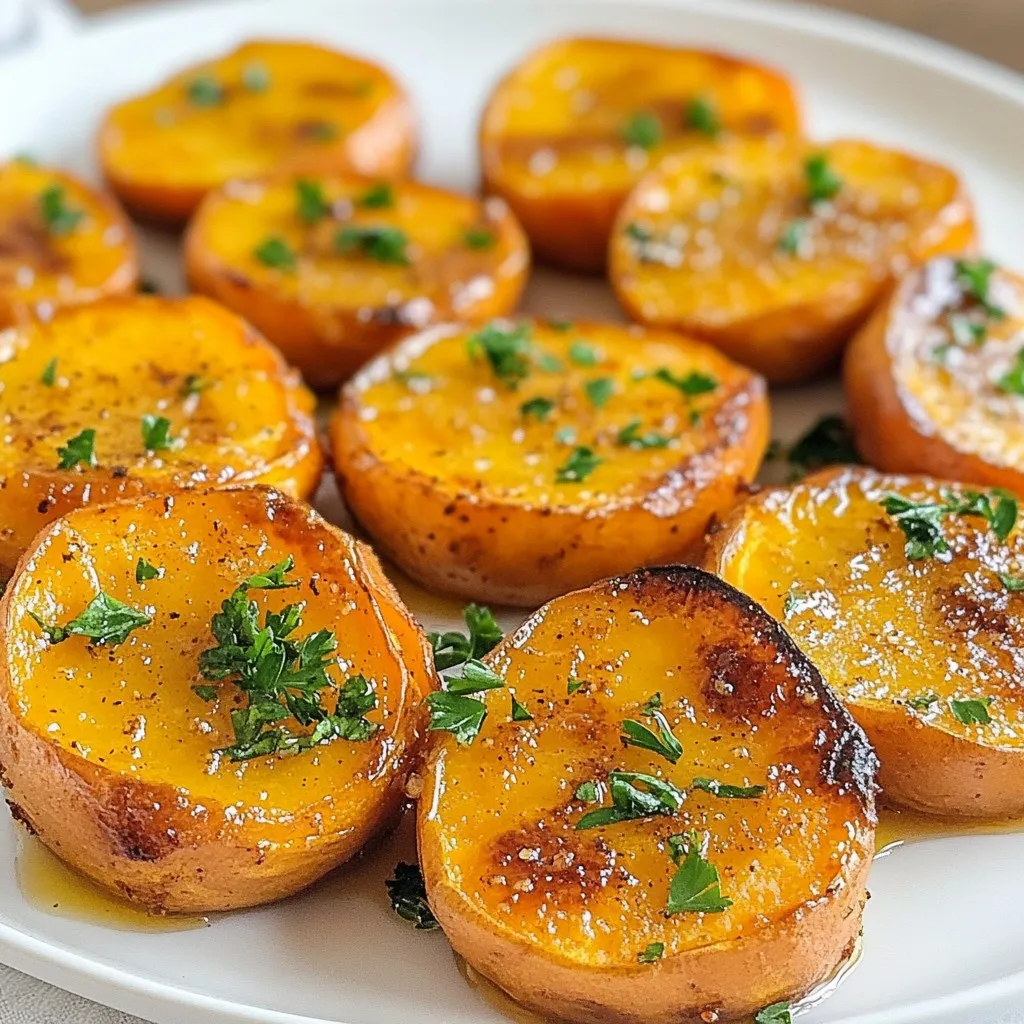
If you’re looking for a tasty side dish, honey roasted sweet potato rounds are a game changer. These rounds are
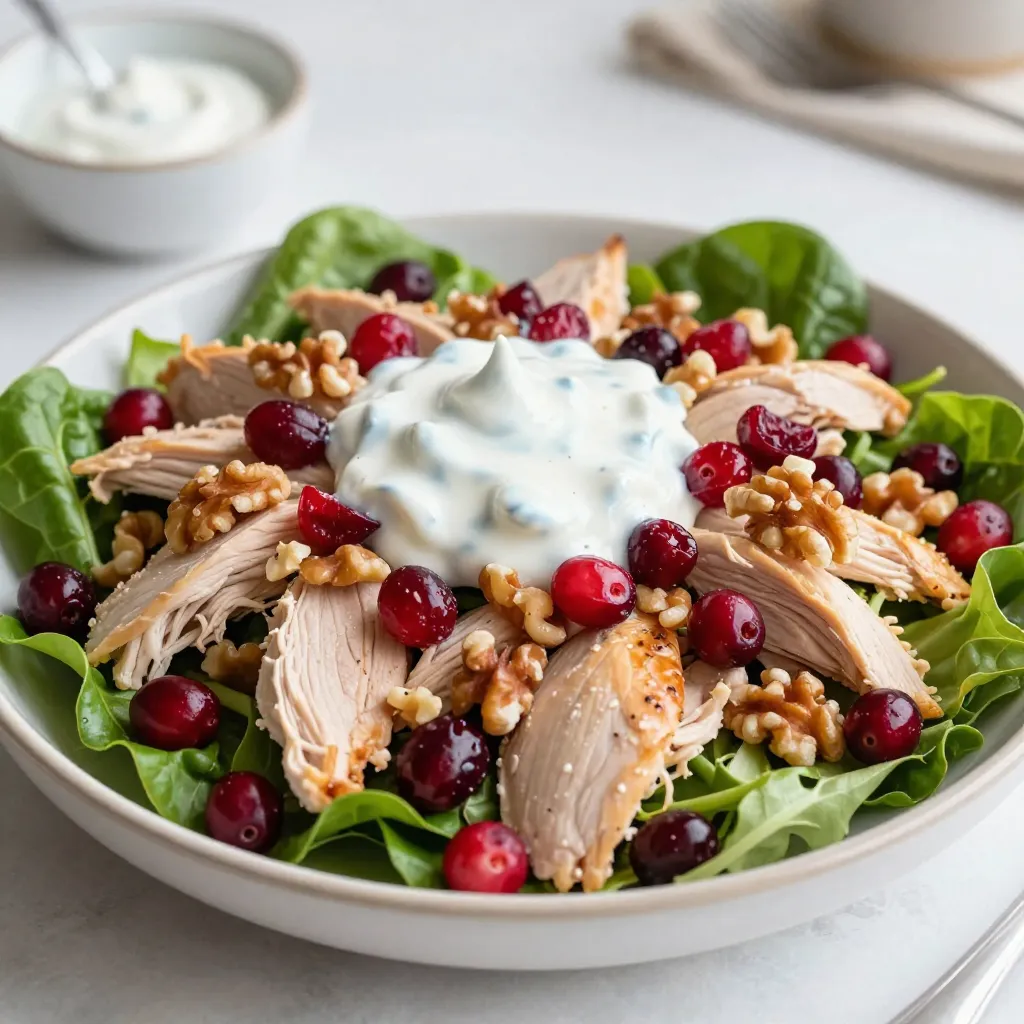
Looking for a quick and tasty meal? You’re in the right place! This Cranberry Walnut Chicken Salad is easy to
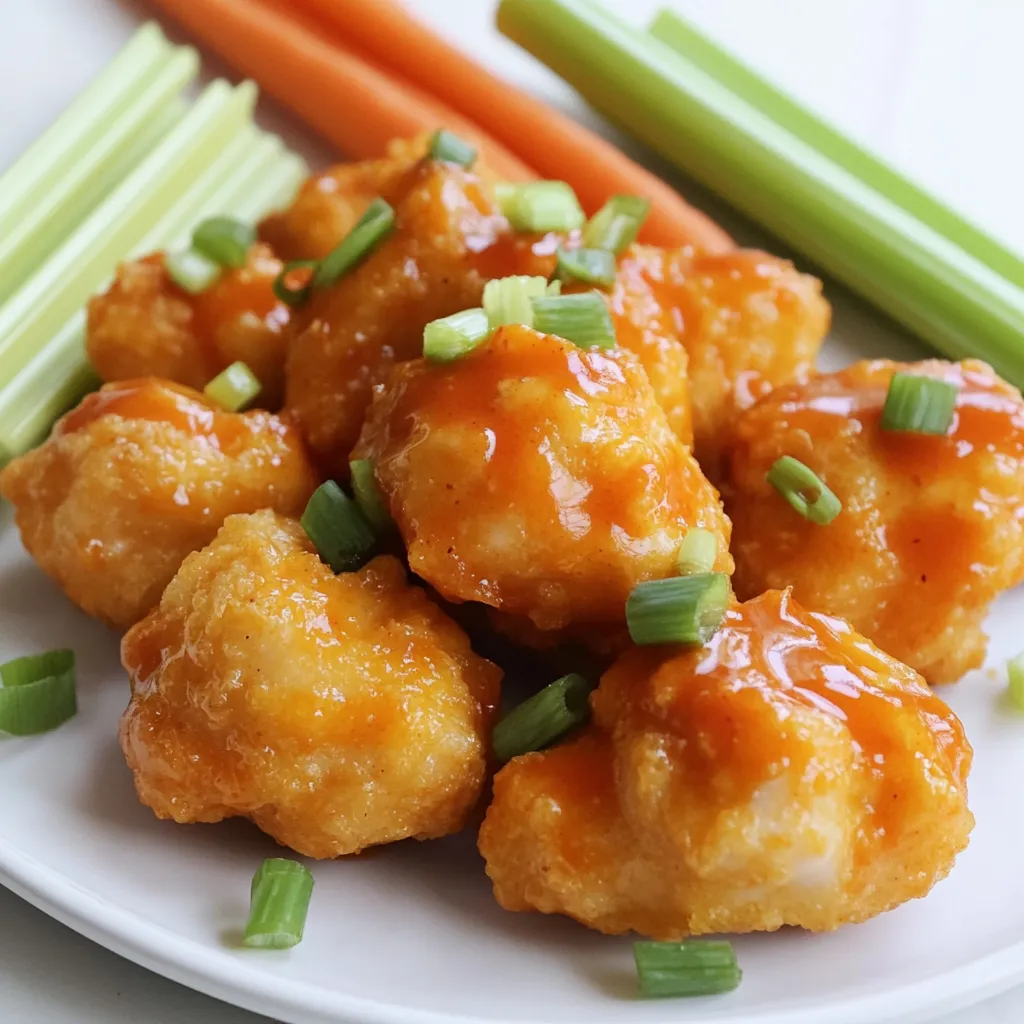
Looking for a snack that’s both savory and simple? My Air Fryer Buffalo Chicken Bites tick all the right boxes!
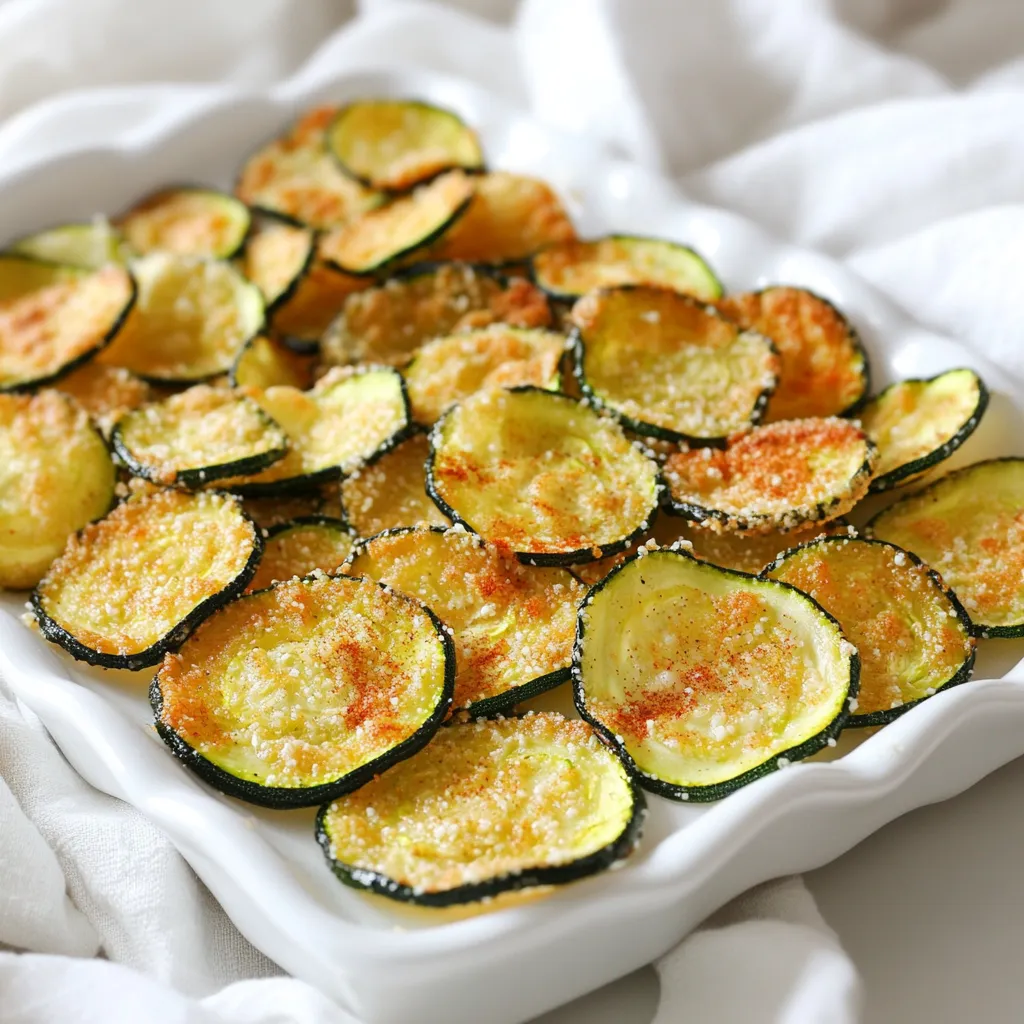
If you’re looking for a snack that’s both crispy and delicious, zucchini chips in the air fryer are the way

Are you ready to impress your friends at your next gathering? Cheesy Garlic Pull Apart Bread is the ultimate savory
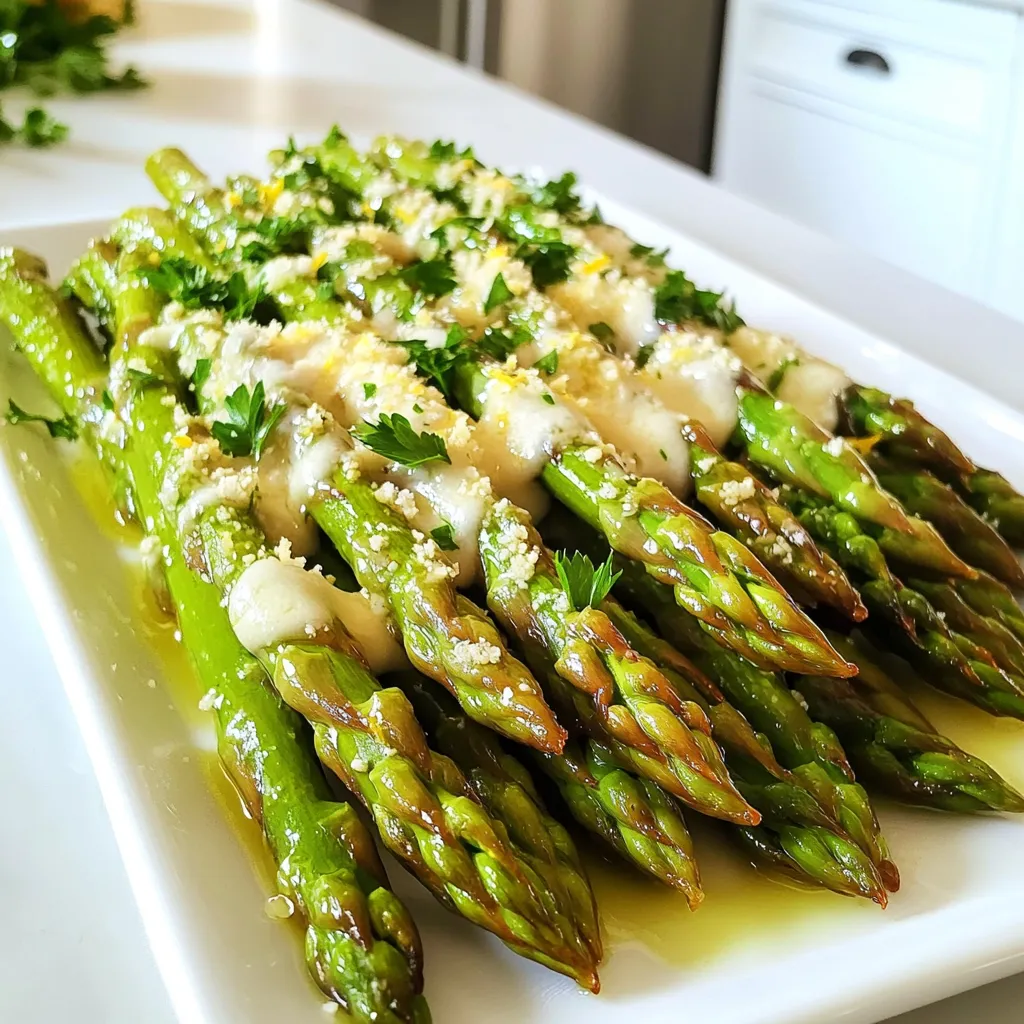
Are you ready to make a tasty snack that’s quick and easy? This Garlic Parmesan Asparagus Air Fryer recipe will
