
White Chocolate Cranberry Fudge Tasty Holiday Treat
Looking for a festive treat that’s easy to make and downright delicious? Look no further! My White Chocolate Cranberry Fudge

Looking for a festive treat that’s easy to make and downright delicious? Look no further! My White Chocolate Cranberry Fudge

Are you ready to make a meal that’s quick, easy, and full of flavor? This Instant Pot Teriyaki Chicken Rice
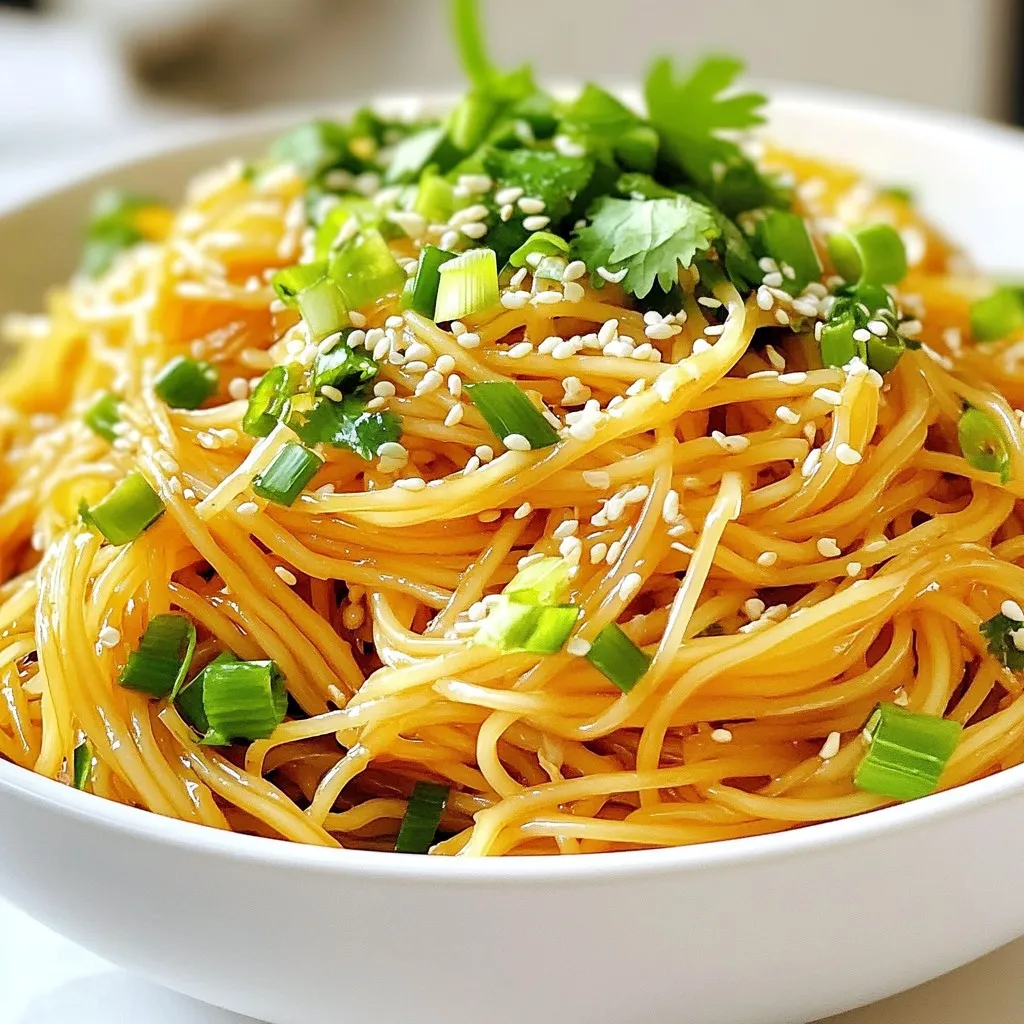
Looking for a quick and tasty dish? I’m excited to share my Minute Garlic Sesame Noodles recipe. In just minutes,
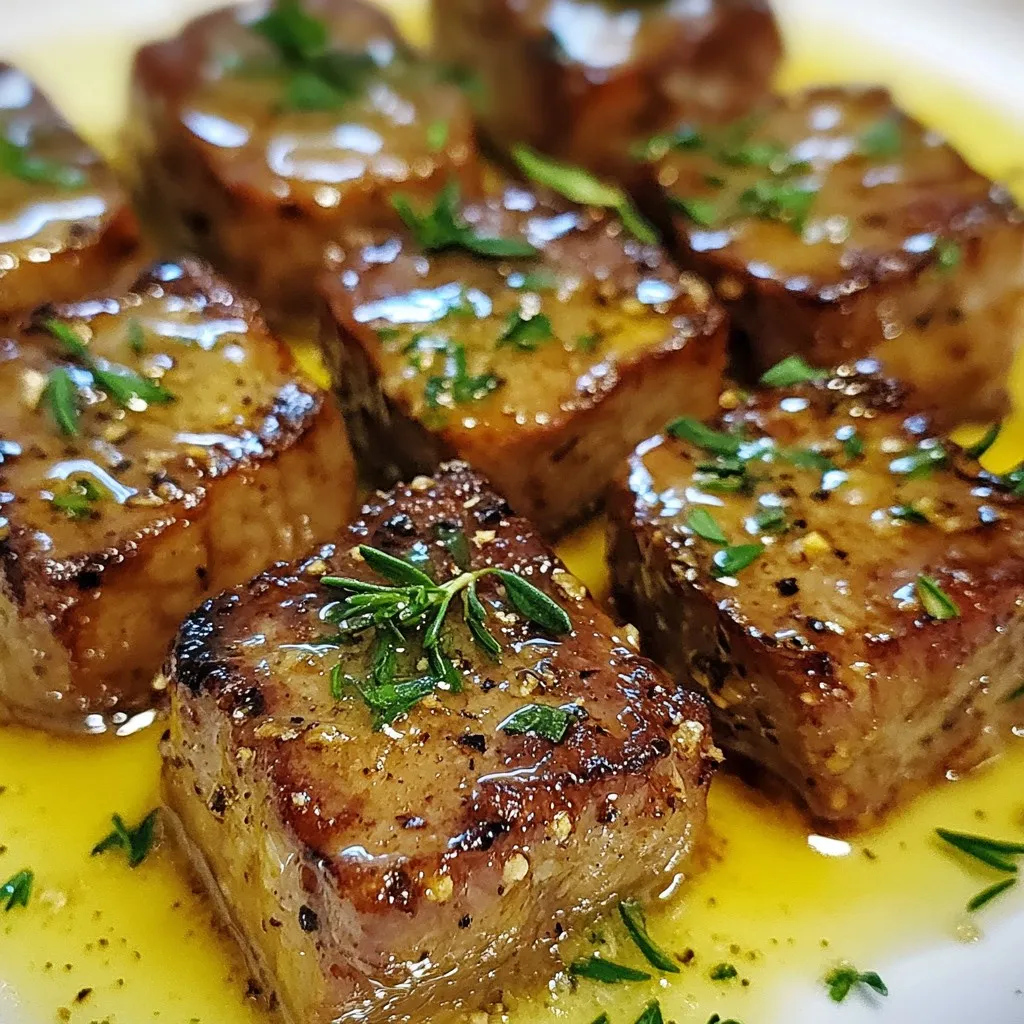
Are you ready to elevate your dinner game? Garlic Butter Steak Bites are simple, quick, and bursting with flavor. With
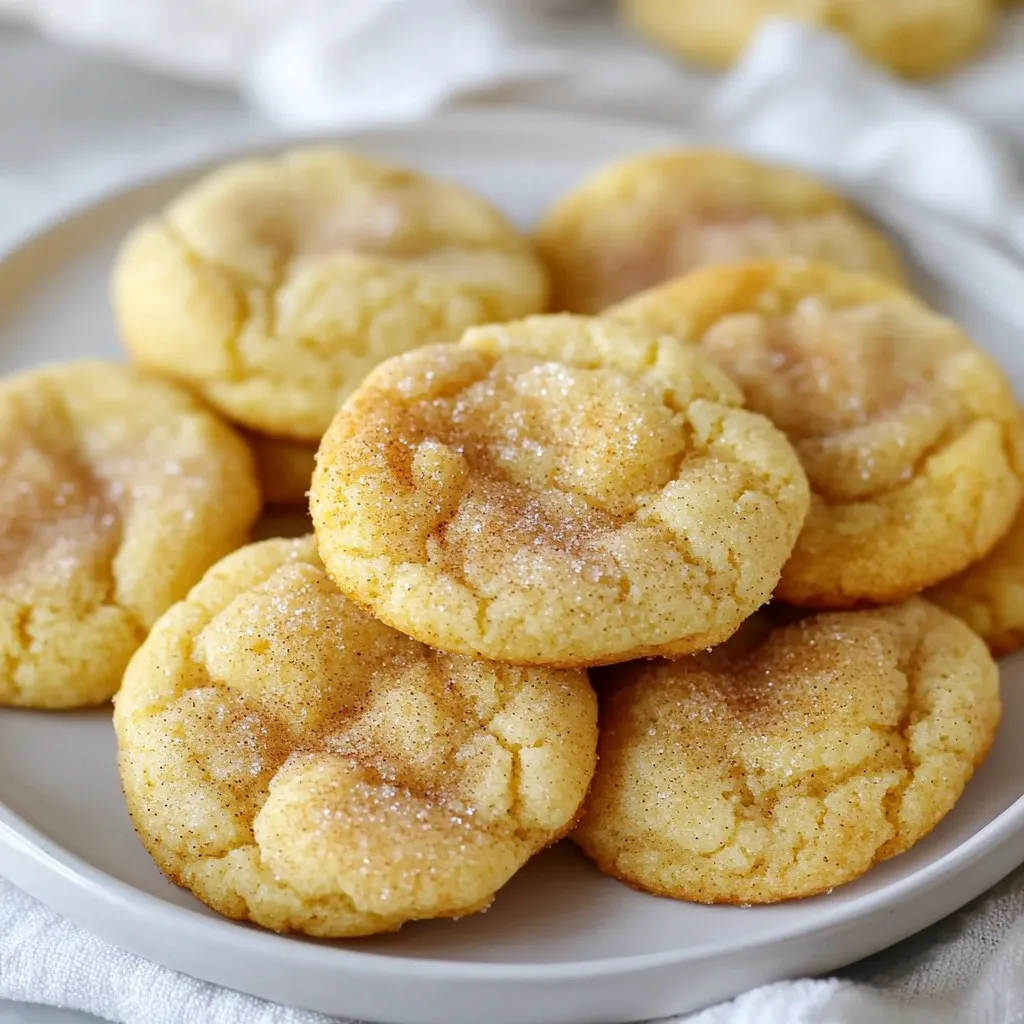
Craving a warm, sweet treat that melts in your mouth? Look no further! Brown Butter Snickerdoodle Cookies are your answer.

If you crave a dish that bursts with flavor and is simple to make, you’re in the right place! This
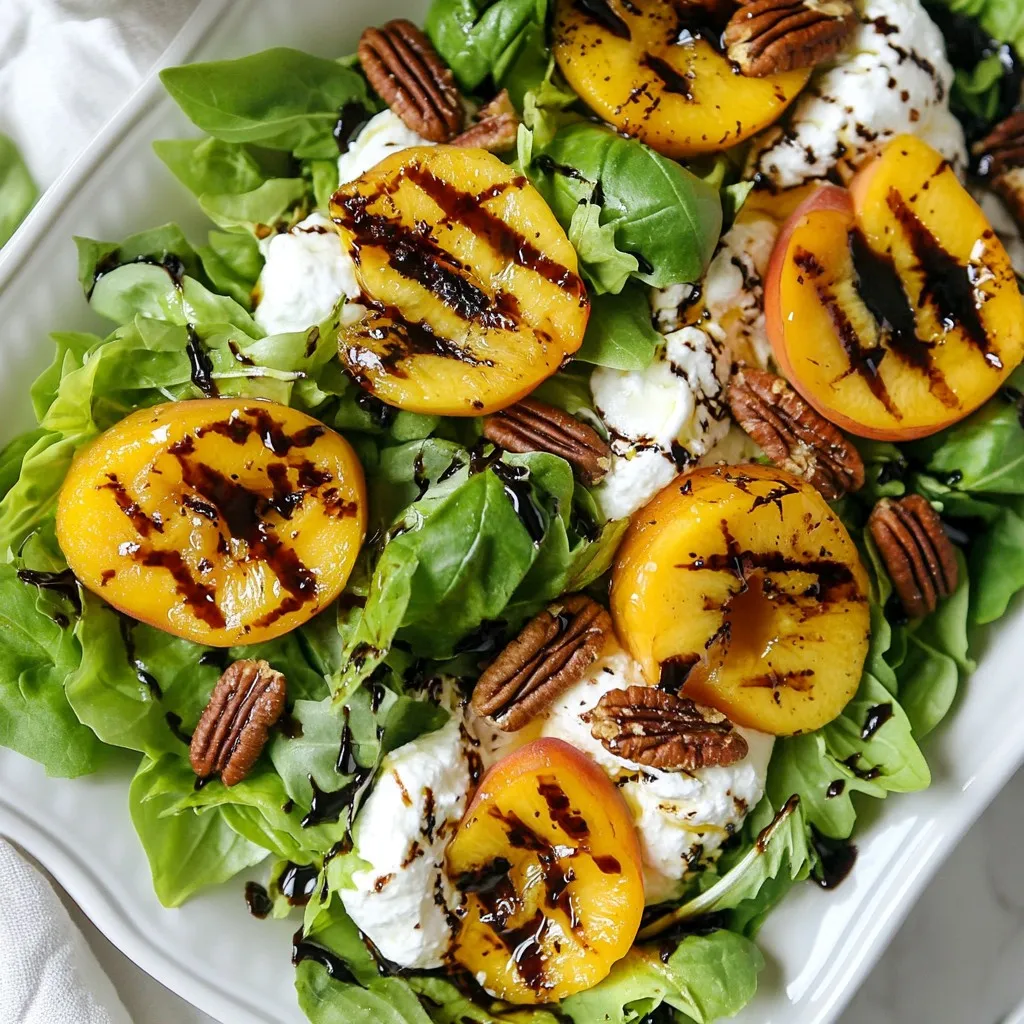
If you’re looking for a dish that bursts with flavor, you’ve found it! My Grilled Peach Burrata Salad combines sweet,

If you’re looking for a tasty side dish, honey roasted sweet potato rounds are a game changer. These rounds are
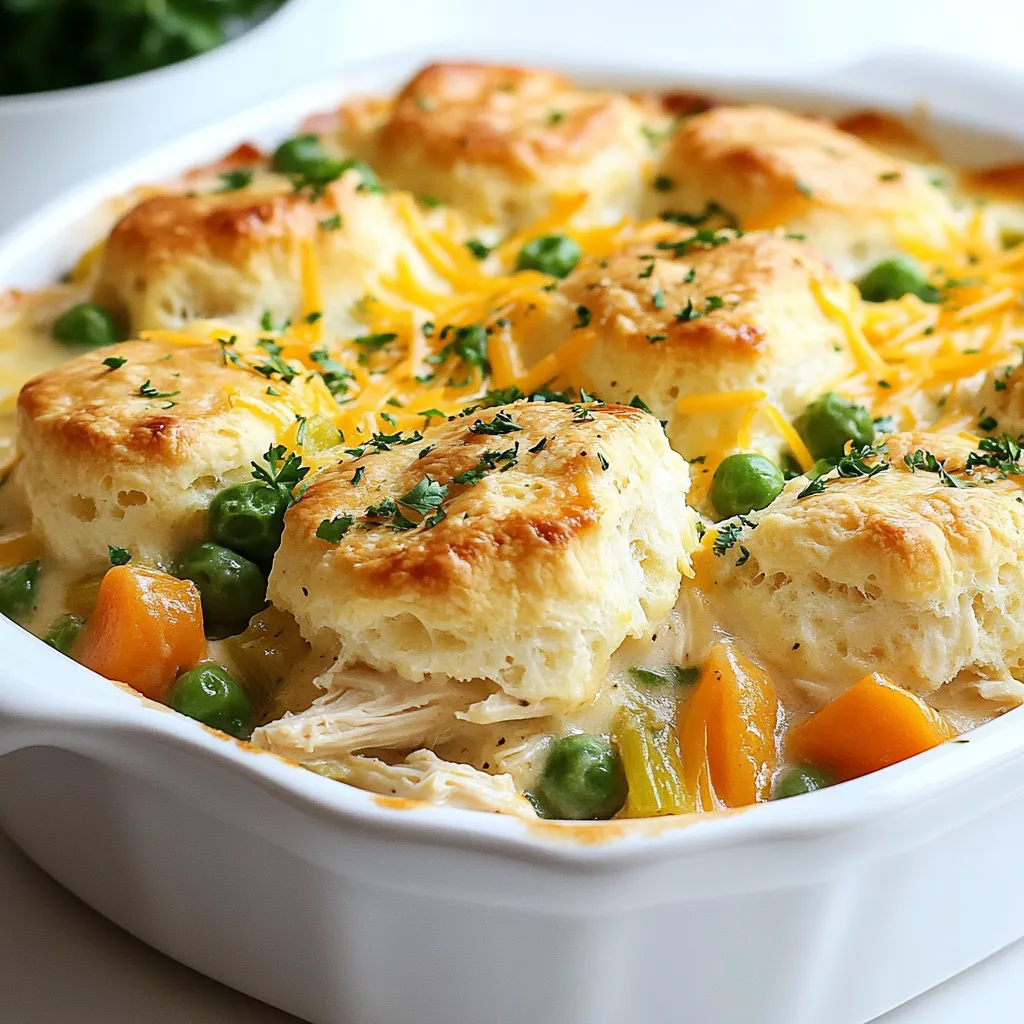
Are you ready to whip up a comfy, home-cooked meal that satisfies everyone at the table? In this guide to
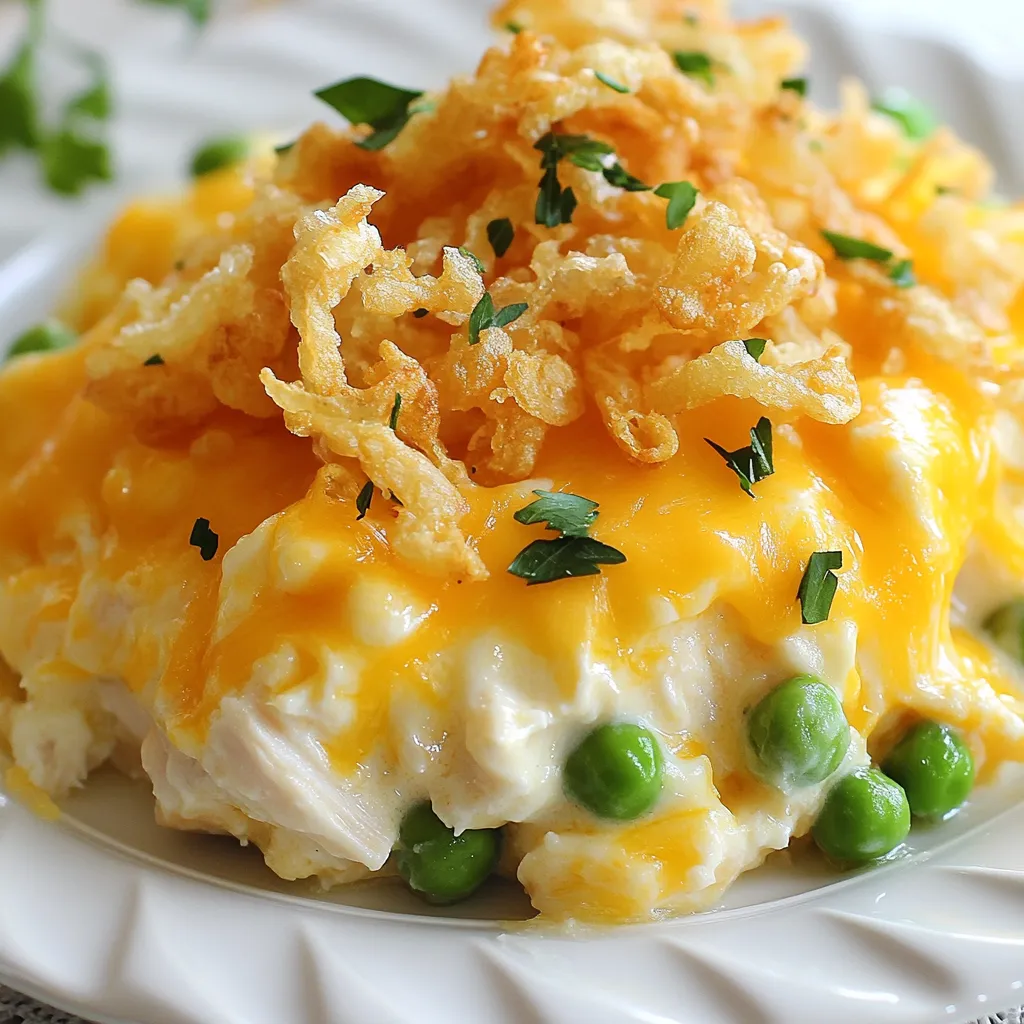
Crack Chicken Casserole is the perfect comfort food for busy nights. With its creamy base and cheesy goodness, it’s a
