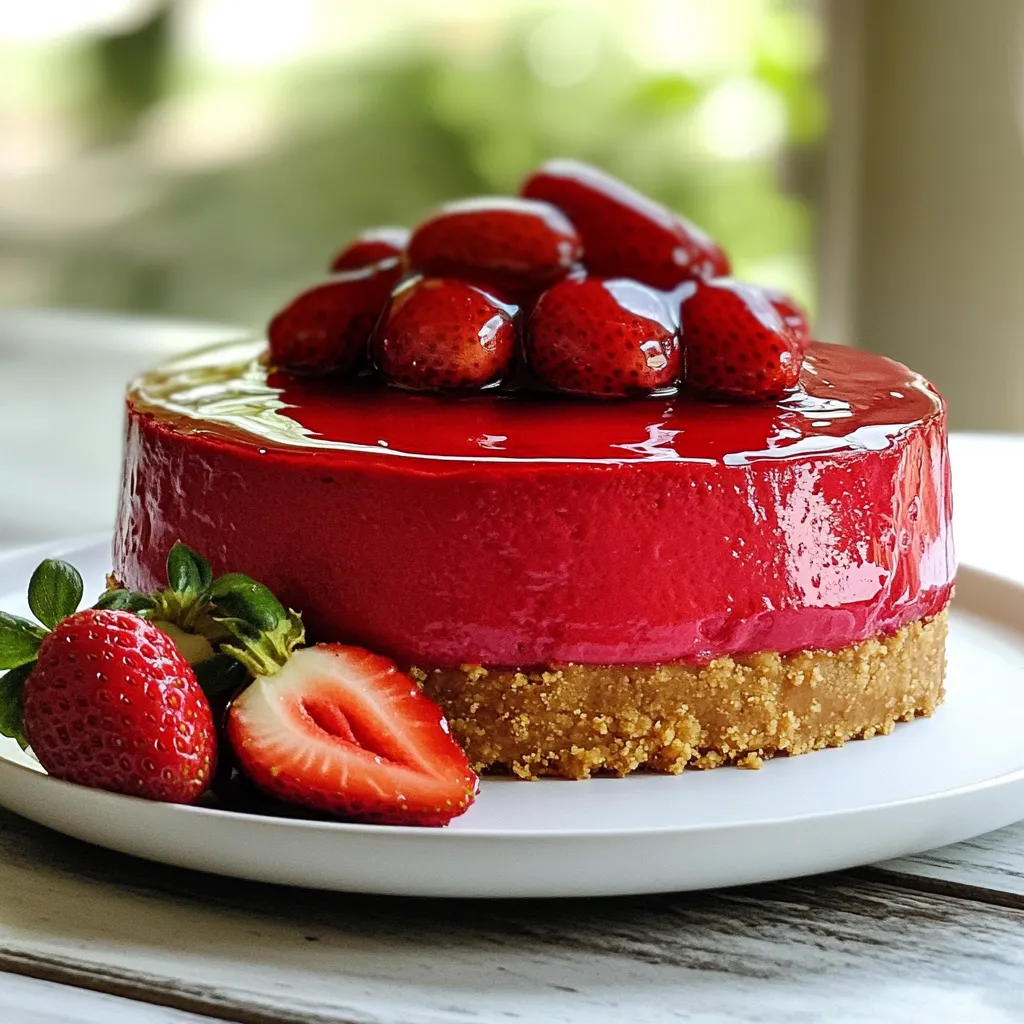
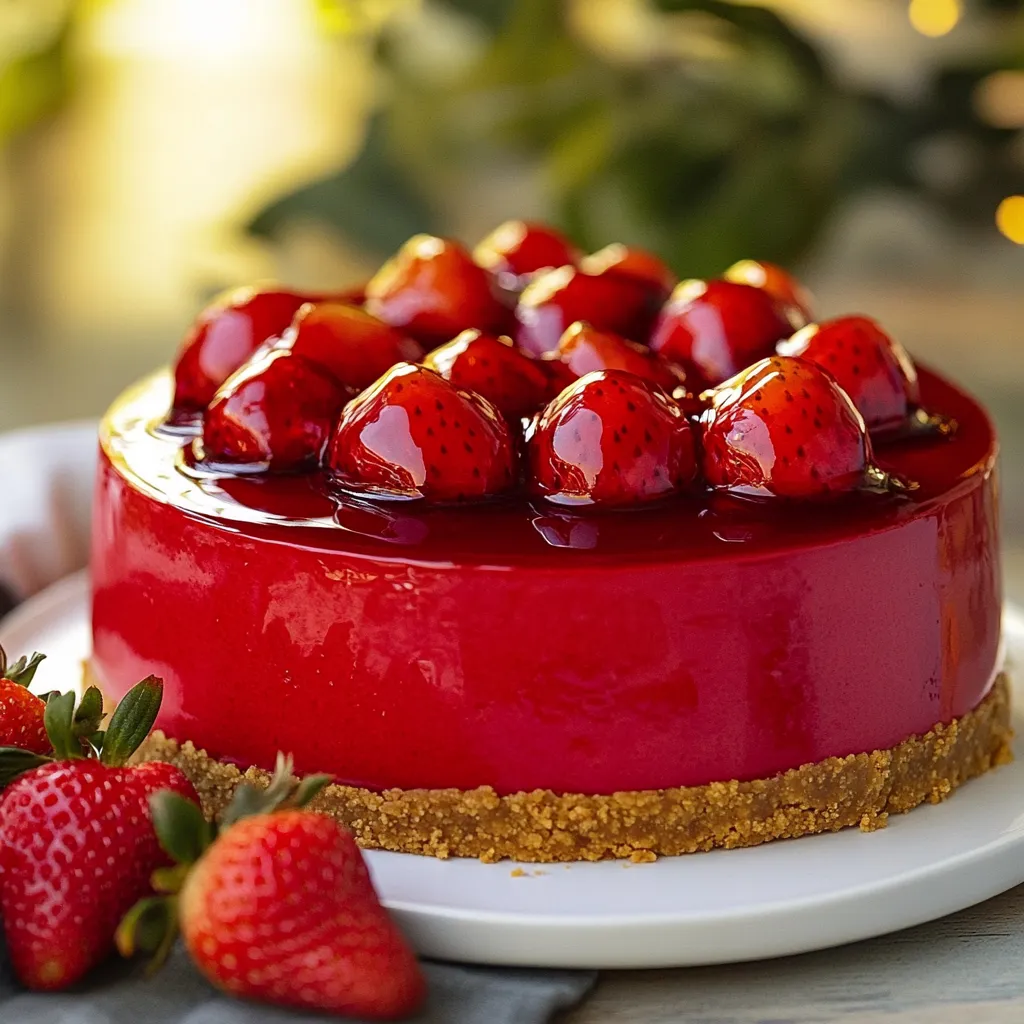
Are you ready to impress your friends and family with a dessert that looks as good as it tastes? This Red Velvet Strawberry Cheesecake combines a rich, creamy filling with the bright sweetness of fresh strawberries. In this guide, I’ll show you how to make this show-stopping treat step by step. From the key ingredients to helpful tips, you’ll learn everything you need to whip up this delightful dessert. Let’s get baking!
Ingredients
Crust Ingredients
– 1 ½ cups graham cracker crumbs
– ⅓ cup granulated sugar
– ½ cup unsalted butter, melted
The crust sets the stage for the cheesecake. First, I mix graham cracker crumbs with granulated sugar. This blend gives a sweet crunch. Then, I add melted butter. This binds everything together. I press the mixture firmly into a springform pan. Baking it for 10 minutes brings out the flavors. Let it cool while you prepare the cheesecake.
Cheesecake Ingredients
– 16 oz cream cheese, softened
– 1 cup granulated sugar
– 3 large eggs
– 1 teaspoon vanilla extract
– 2 tablespoons cocoa powder
– ½ cup buttermilk
– 1 ½ tablespoons red food coloring
The cheesecake itself is rich and creamy. I start by beating softened cream cheese until smooth. Adding granulated sugar comes next. This makes it sweet and silky. I mix in eggs one at a time, ensuring a smooth batter. Then, I add vanilla extract and cocoa powder for flavor depth. Buttermilk adds a tangy twist, while red food coloring gives it that iconic look.
Strawberry Topping Ingredients
– 2 cups fresh strawberries, hulled and sliced
– ¼ cup granulated sugar
– 1 tablespoon lemon juice
– 1 tablespoon cornstarch (optional, for thickening)
Fresh strawberries bring brightness to this dessert. I slice them and mix them with sugar and lemon juice. This helps draw out their juices. It creates a lovely syrup. If I want a thicker topping, I add cornstarch. This optional step helps hold the strawberries together.
Step-by-Step Instructions
Preparing the Oven and Pan
First, preheat your oven to 325°F (160°C). This helps the cheesecake cook evenly. Next, take a 9-inch springform pan and grease it with non-stick spray or butter. Make sure to cover the sides well. This step helps the cheesecake come out easily after baking.
Making the Crust
In a large bowl, mix 1 ½ cups of graham cracker crumbs, ⅓ cup of sugar, and ½ cup of melted unsalted butter. Stir until everything combines well. Now, press this mixture firmly into the bottom of the springform pan. This forms the crust. Bake it for 10 minutes. After baking, let it cool completely.
Preparing the Cheesecake Batter
In a large mixing bowl, beat 16 oz of softened cream cheese until it’s creamy. Add 1 cup of granulated sugar slowly. Mix until smooth and fluffy. Now, add 3 large eggs one at a time, mixing well after each. Scrape the sides of the bowl to get all the cream cheese mixed in. Next, mix in 1 teaspoon of vanilla extract, 2 tablespoons of cocoa powder, ½ cup of buttermilk, and 1 ½ tablespoons of red food coloring. Blend until the batter is vibrant and smooth.
Baking the Cheesecake
Pour the cheesecake batter over the cooled crust in the springform pan. Bake it for about 50-60 minutes. Check the center; it should be set but still slightly jiggly. When done, turn off the oven and let the cheesecake cool inside for an hour with the door slightly open. This helps prevent cracks.
Making the Strawberry Topping
While the cheesecake cools, prepare the strawberry topping. In a medium bowl, combine 2 cups of hulled and sliced fresh strawberries with ¼ cup of sugar and 1 tablespoon of lemon juice. Let this mix sit for about 10 minutes. This allows the strawberries to release their juices. If you want a thicker topping, stir in 1 tablespoon of cornstarch.
Chilling and Serving
Once the cheesecake has cooled, refrigerate it for at least 4 hours, or overnight for the best taste. When ready to serve, carefully remove the sides of the springform pan. Top the cheesecake with the marinated strawberries. Drizzle some of the strawberry juice over the top for extra flavor. Enjoy every slice!
Tips & Tricks
How to Achieve the Perfect Cheesecake Texture
To get a smooth cheesecake, avoid overmixing. Mix just until smooth. If you mix too much, air bubbles form. These bubbles cause cracks when baking. After mixing, cool your cheesecake slowly. Letting it cool in the oven helps. Keep the door slightly open while cooling. This method prevents sudden temperature changes.
Presentation Tips
For beautiful slices, use a sharp knife. Clean the knife with a cloth between cuts. This gives you neat edges. Serve the cheesecake on a nice platter. Garnish with whole strawberries and a drizzle of strawberry juice. This adds color and makes it look fancy.
Common Mistakes to Avoid
Watch for two key mistakes: underbaking and overbaking. Underbaked cheesecake is too soft, while overbaked is dry. Always check your cheesecake at the end of baking time. Another mistake is incorrect ingredient measurements. Use measuring cups and spoons for accuracy. Even a small difference can change the texture and taste.
Variations
Flavor Variations
You can add a fun twist to your cheesecake. Try mixing in chocolate chips for a rich surprise. The chocolate pairs well with the creamy cheesecake. You can also use different fruits for the topping. While strawberries are great, blueberries or raspberries work well too. They add color and flavor to your dessert.
Dietary Adjustments
If you need a gluten-free option, swap the graham cracker crumbs for gluten-free ones. Many brands offer great substitutes. For a vegan version, use dairy-free cream cheese and replace eggs with flaxseed meal mixed with water. This keeps the cheesecake creamy and delicious while meeting dietary needs.
Serving Suggestions
Pair your cheesecake with a scoop of vanilla ice cream for a creamy treat. Coffee or tea also goes well with it. You can get creative by serving slices on a bed of fresh fruit or drizzling chocolate sauce on top. For a fun touch, add whipped cream and sprinkle some nuts for extra crunch.
Storage Info
How to Store the Cheesecake
Store your cheesecake in the fridge. Cover it well to keep it fresh. Use plastic wrap or a tight lid. This helps keep out air and moisture.
Freezing Tips
You can freeze the cheesecake whole or in slices. Wrap it tightly in plastic wrap, then in aluminum foil. This helps avoid freezer burn. To thaw, move it to the fridge overnight.
Shelf Life
In the fridge, the cheesecake lasts about five days. If you see any mold or off smells, throw it away. Always check for signs of spoilage before eating.
FAQs
What is Red Velvet Strawberry Cheesecake?
Red Velvet Strawberry Cheesecake is a sweet dessert that mixes red velvet cake with creamy cheesecake. The red velvet adds a rich color and slight cocoa taste. This dessert has roots in Southern cuisine. It often appears on special occasions. The combination of flavors creates a delightful experience. The cheesecake’s creaminess pairs perfectly with the sweet strawberries on top.
Can I make this cheesecake ahead of time?
Yes, you can make this cheesecake ahead of time. I recommend preparing it a day before you plan to serve it. This gives the cheesecake enough time to chill and set properly. The flavors also blend better when it sits overnight. Just store it in the fridge once it cools down. It will taste fresh and delicious when you serve it.
How can I adjust the sweetness of the cheesecake?
To adjust the sweetness, try using less sugar in the batter. You can start with half a cup instead of a full cup. If you want more sweetness, add more sugar to the strawberry topping. Taste as you go. This way, you can find the right balance. Remember, too much sugar can mask the cheesecake’s flavors.
Is it possible to make this without red food coloring?
Yes, you can skip the red food coloring if you want. Instead, you can use beet juice for a natural color. This will give you a nice hue without artificial colors. The taste will remain similar, thanks to the cocoa powder. If you prefer, you can also make a plain cheesecake. Just follow the cheesecake recipe without adding the cocoa and food coloring.
This Red Velvet Strawberry Cheesecake combines rich creaminess with fresh fruit. We covered crust and cheesecake ingredients, and I shared step-by-step baking instructions. Avoid common mistakes to get the best texture. You can also try different flavors and adjust recipes for dietary needs. Store your cheesecake well for long-lasting enjoyment. Don’t hesitate to experiment with variations to make this dessert your own. Enjoy every delicious slice of your creation!