If you’re craving a sweet treat that’s both festive and easy to make, you’ve found it! Red Velvet Crinkle Cookies are soft, chewy, and packed with rich flavor. This simple recipe brings joy to any occasion. With just a few ingredients and a dash of red coloring, you will impress your family and friends. Let’s roll up our sleeves and dive into baking these delightful cookies!
Why I Love This Recipe
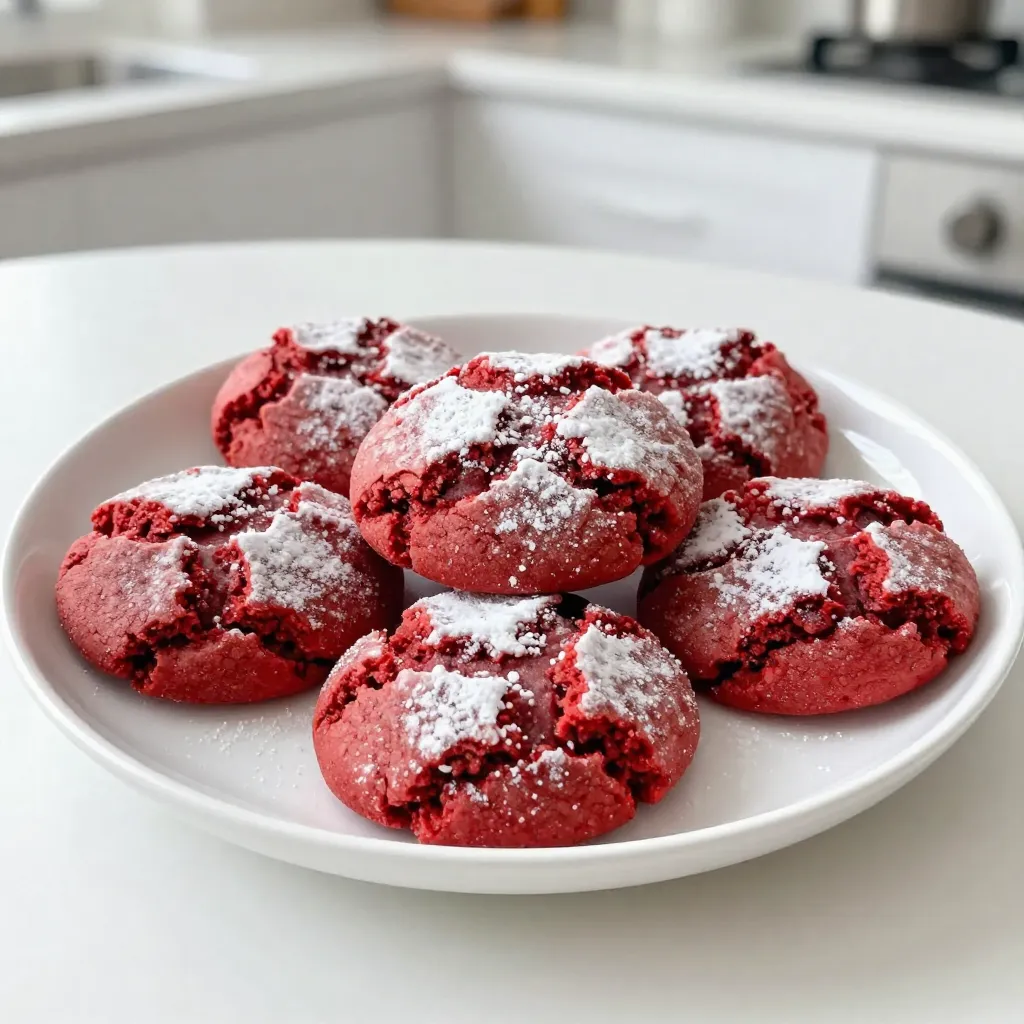
- Vibrant Color: The stunning red hue of these cookies makes them a showstopper at any gathering.
- Soft and Chewy: With a delightful crinkle on the outside and a soft, chewy center, each bite is pure bliss.
- Easy to Make: This recipe comes together quickly, making it perfect for both novice and experienced bakers.
- Perfect for Any Occasion: These cookies are great for holidays, parties, or just a sweet treat at home.
Ingredients
List of Ingredients
– 2 cups all-purpose flour
– 1 tablespoon cocoa powder
– 1 teaspoon baking powder
– ½ teaspoon baking soda
– ½ teaspoon salt
– ½ cup unsalted butter, softened
– 1 cup granulated sugar
– 1 large egg
– 1 tablespoon red food coloring
– 1 teaspoon vanilla extract
– Powdered sugar for dusting
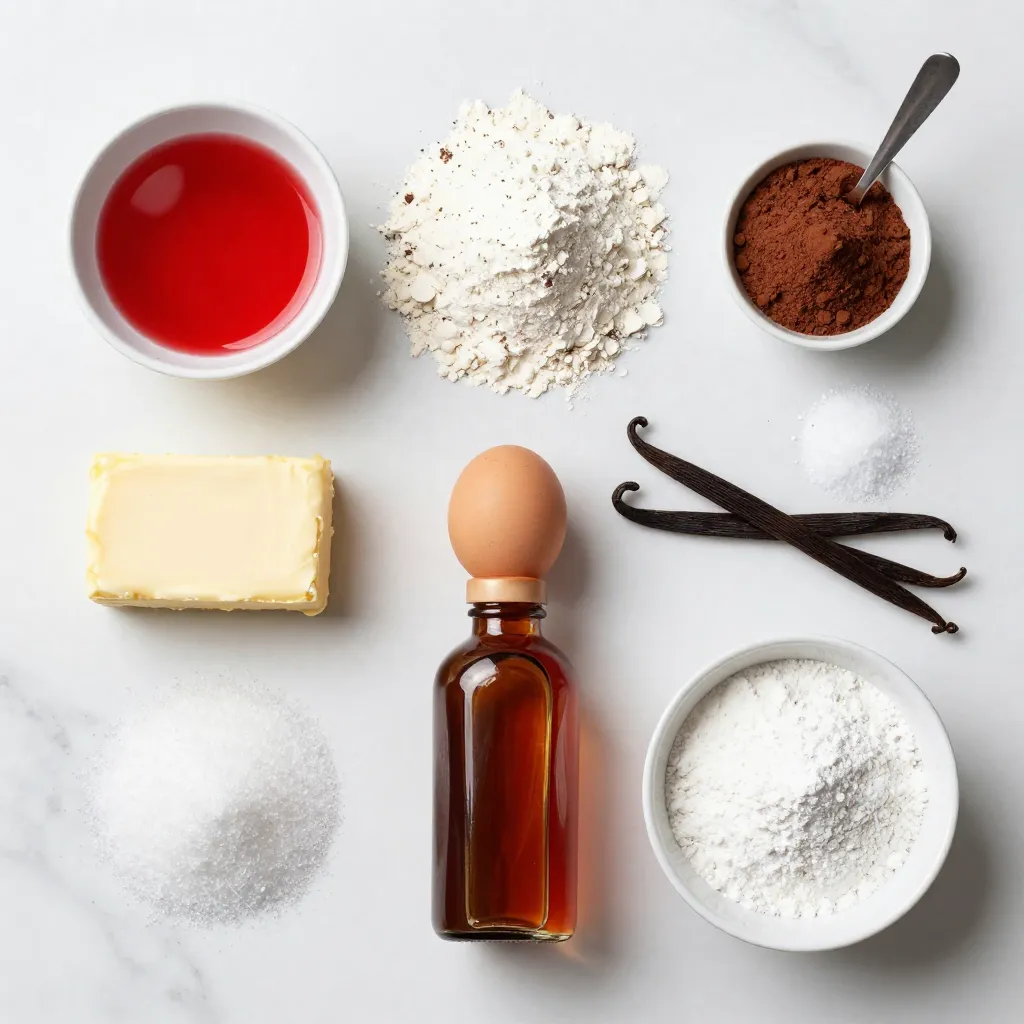
Red velvet crinkle cookies need a mix of basic ingredients. First, you need flour. It gives structure to the cookies. Cocoa powder adds a hint of chocolate flavor. Baking powder and baking soda help the cookies rise. Salt brings out the sweetness.
Next, you will want unsalted butter. It makes the cookies rich and creamy. Granulated sugar sweetens the dough. You also need one large egg. It binds everything together.
The star of the show is red food coloring. It gives the cookies their bright color. Finally, add a teaspoon of vanilla extract for extra flavor. After baking, dust the cookies with powdered sugar. This gives them a lovely finish and a sweet touch.
Gather these ingredients, and you’re ready to bake!
Step-by-Step Instructions
Prepping the Ingredients
First, I preheat the oven to 350°F (175°C). I line my baking sheet with parchment paper. This helps the cookies not stick. Next, I whisk together the dry ingredients in a bowl. I mix 2 cups of all-purpose flour, 1 tablespoon of cocoa powder, 1 teaspoon of baking powder, ½ teaspoon of baking soda, and ½ teaspoon of salt. This dry mix is key for flavor and texture.
Making the Cookie Dough
Now, I move on to the cookie dough. In a large mixing bowl, I cream ½ cup of softened unsalted butter with 1 cup of granulated sugar. I beat this mixture until it is light and fluffy. This takes about 3 minutes. Next, I add 1 large egg to the bowl. I also pour in 1 tablespoon of red food coloring and 1 teaspoon of vanilla extract. I mix until everything is well combined. Then, I slowly add the dry mixture to the wet mix. I stir just until I see no more flour. I avoid overmixing to keep the cookies soft.
Chilling and Baking
After making the dough, I cover it with plastic wrap. I chill the dough in the fridge for at least 30 minutes. This helps the cookies hold their shape. Once the dough is firm, I scoop out tablespoon-sized portions. I roll each piece into a ball. Then, I roll each ball in powdered sugar until it is fully coated. I place them on the prepared baking sheet, leaving about 2 inches between each cookie.
Finally, I bake the cookies for 10-12 minutes. I look for edges that are set but centers that are still soft. After baking, I let the cookies cool on the sheet for about 5 minutes. Then, I transfer them to a wire rack to cool completely. Enjoy the delightful smell and the anticipation of tasting these beautiful cookies!
Tips & Tricks
Baking Tips
Achieving the perfect texture
To get the best texture, chill the dough for at least 30 minutes. Chilling helps the cookies stay thick and chewy. When you bake them, the edges should be slightly firm, while the centers remain soft. This creates a nice contrast in every bite.
Ensuring even baking
Make sure your oven is preheated correctly. An oven thermometer can help with this. Also, place your baking sheet in the center of the oven. This allows hot air to flow evenly around the cookies. If you have multiple trays, rotate them halfway through baking for the best results.
Decorating Ideas
Presentation tricks for serving
To make your cookies look fancy, arrange them on a colorful plate. Dust them lightly with more powdered sugar. This adds a nice touch and makes them look inviting. You can also stack them in a jar for a cute gift idea.
Suggested pairings (milk, ice cream, etc.)
These cookies pair perfectly with a cold glass of milk. The creamy taste complements the rich flavor of the cookies. You can also serve them with vanilla ice cream. The cold ice cream melts slightly on the warm cookies, creating a delightful treat. Enjoy these cookies in any way you like!
Pro Tips
- Chill the Dough: Allowing the dough to chill for at least 30 minutes helps the cookies maintain their shape and creates a chewy texture.
- Use Gel Food Coloring: For a vibrant red color, opt for gel food coloring instead of liquid, as it provides a richer hue without adding extra moisture.
- Don’t Overbake: Keep an eye on the cookies while baking; they should look slightly soft in the center when you remove them from the oven for a perfect chewy consistency.
- Add a Cream Cheese Filling: For an extra indulgent treat, consider filling the cookies with a cream cheese frosting after they’ve cooled.
Variations
Flavor Modifications
You can change the flavor of your cookies easily. Adding chocolate chips gives a nice touch. Use about 1 cup of semi-sweet or dark chocolate chips. Swap some flour for cocoa powder to keep the red color. You can also add nuts, like chopped walnuts or pecans. This gives a crunchy bite that pairs well with the soft cookie.
Another fun option is to use different flavor extracts. Try almond or coconut extract for a twist. Just add about a half teaspoon to the dough for a new taste. Experiment with these changes to find your favorite mix.
Dietary Adjustments
If you need gluten-free cookies, use gluten-free flour. Brands like Bob’s Red Mill work well. You can replace the all-purpose flour in the recipe with equal amounts of gluten-free flour. Be sure to check if it includes xanthan gum, as this helps with texture.
For vegan options, substitute the egg with a flax egg. Mix 1 tablespoon of ground flaxseed with 2.5 tablespoons of water. Let it sit for five minutes to thicken. Use vegan butter instead of regular butter. This way, you can enjoy delicious cookies while sticking to your diet.
Storage Info
Short-term Storage
To keep your Red Velvet Crinkle Cookies fresh at room temperature, place them in an airtight container. This method helps maintain their soft texture and rich flavor. You can store them for up to five days. If you want to keep them extra special, layer parchment paper between the cookies. This helps prevent them from sticking together.
Long-term Storage
If you want to save your cookies for later, freezing is a great option. Allow the cookies to cool completely after baking. Then, place them in a single layer on a baking sheet. Freeze them for about an hour. This step helps them keep their shape. Once frozen, transfer the cookies to a freezer bag or an airtight container. Make sure to remove as much air as possible. You can store them in the freezer for up to three months. When you’re ready to enjoy, let them thaw at room temperature for about 30 minutes. They will taste just as delicious as the day you made them!
FAQs
How to avoid cookies from flattening?
To keep your cookies from flattening, chill the dough. Refrigerate it for at least 30 minutes. This helps the butter firm up. You can also use a little extra flour. Add a tablespoon more if needed.
Can I make the dough in advance?
Yes, you can make the dough ahead of time. Prepare the dough and refrigerate it up to 2 days. Just make sure to wrap it well in plastic wrap. When ready to bake, roll it into balls and coat in powdered sugar.
What if I don’t have red food coloring?
If you lack red food coloring, you can use beet juice. It gives a natural red hue. Another option is to skip the color. The cookies will still taste great, but they will not have the classic red look.
How long do these cookies stay fresh?
These cookies stay fresh for about one week at room temperature. Store them in an airtight container. For longer freshness, freeze the cookies. They can last up to three months in the freezer. Just thaw them before serving.
We covered a fun cookie recipe packed with flavor and color. You learned about the key ingredients, step-by-step instructions, and baking tips to make the perfect cookies. I shared ways to store them and answered common questions.
By trying this recipe, you’ll create tasty treats that everyone will love. Experimenting with flavors and decorations can make your cookies even more special. Enjoy baking and sharing your delicious creation