


Latest & Greatest
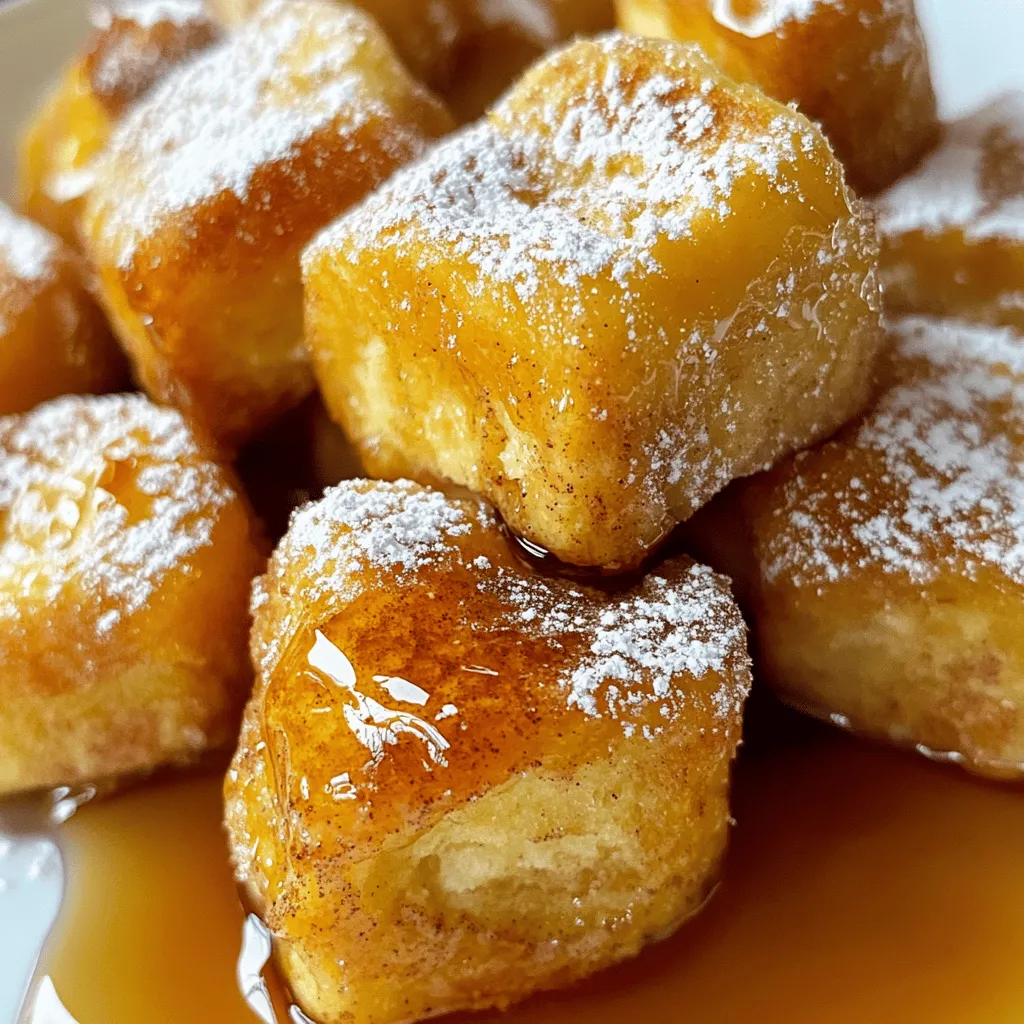
Cinnamon Roll French Toast Bites Irresistible Treat
Craving a sweet breakfast that’s both easy and delicious? Look no further! My Cinnamon Roll French Toast Bites are an irresistible treat that combines fluffy cinnamon…
Read more…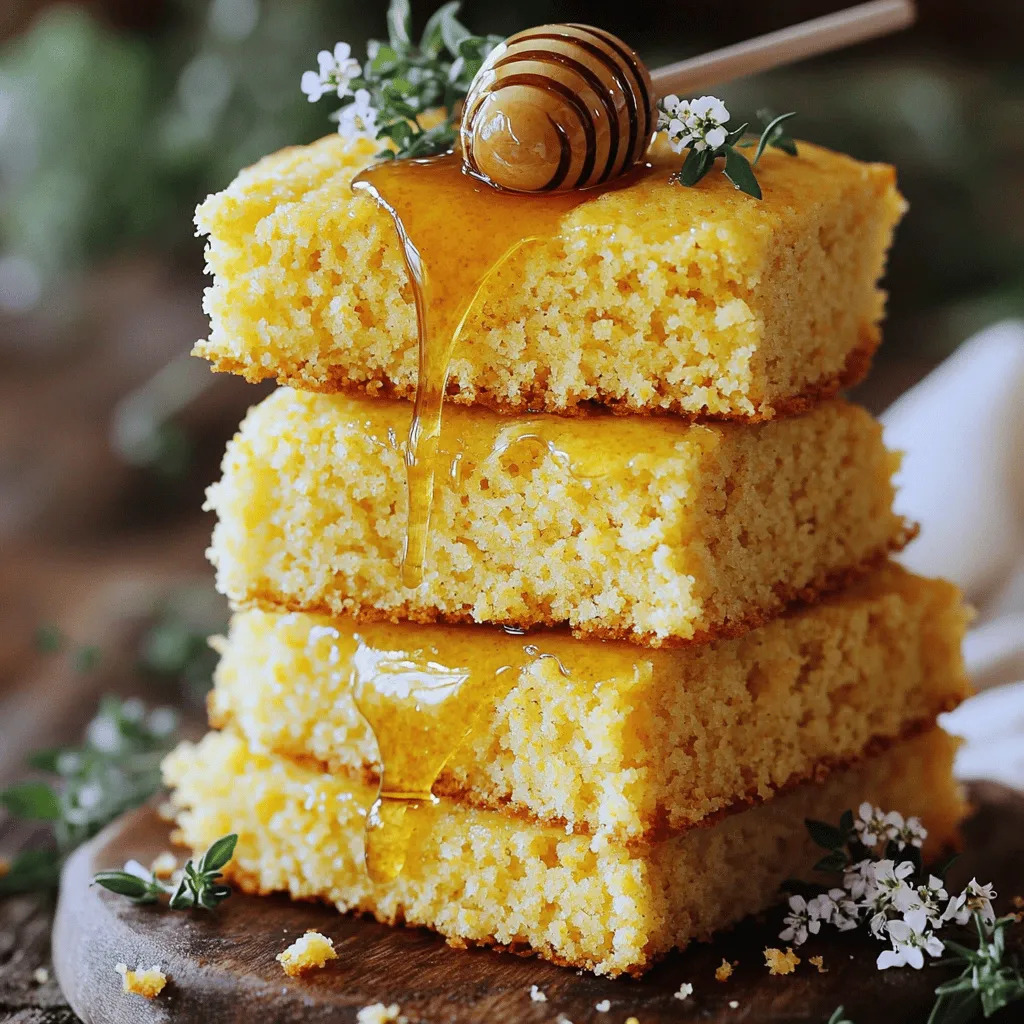
Layered Cornbread Cake with Honey Butter Delight
Imagine diving into a fluffy slice of Layered Cornbread Cake, drizzled with sweet honey butter. This cake combines the classic taste of cornbread with a delightful…
Read more…
Honey Garlic Skillet Chicken Thighs Simple Dinner Delight
Are you ready for a dinner that’s quick, tasty, and packed with flavor? Honey Garlic Skillet Chicken Thighs are here to impress! In this post, I’ll…
Read more…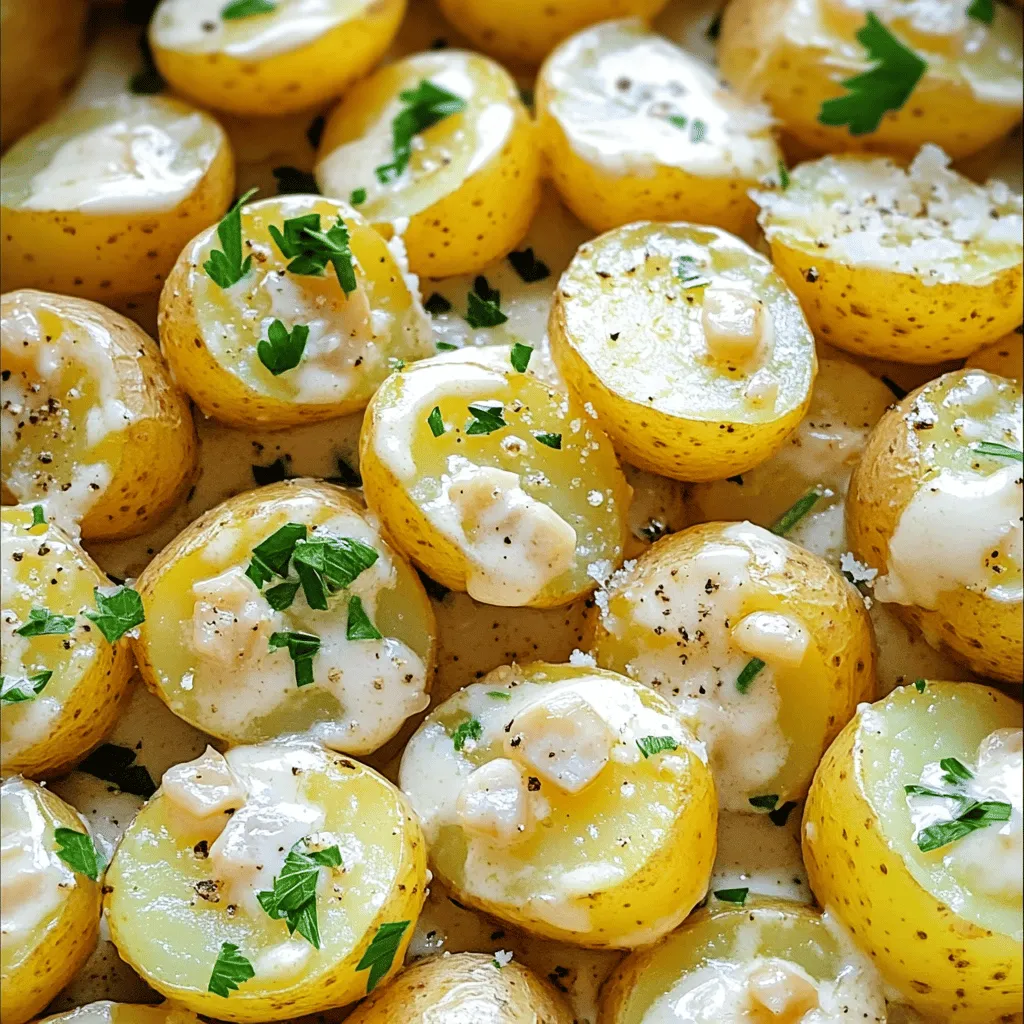
Creamy Garlic Sauce Baby Potatoes Simple Delight
Are you ready to elevate your potato game? These Creamy Garlic Sauce Baby Potatoes will wow your taste buds and impress your guests! With just a…
Read more…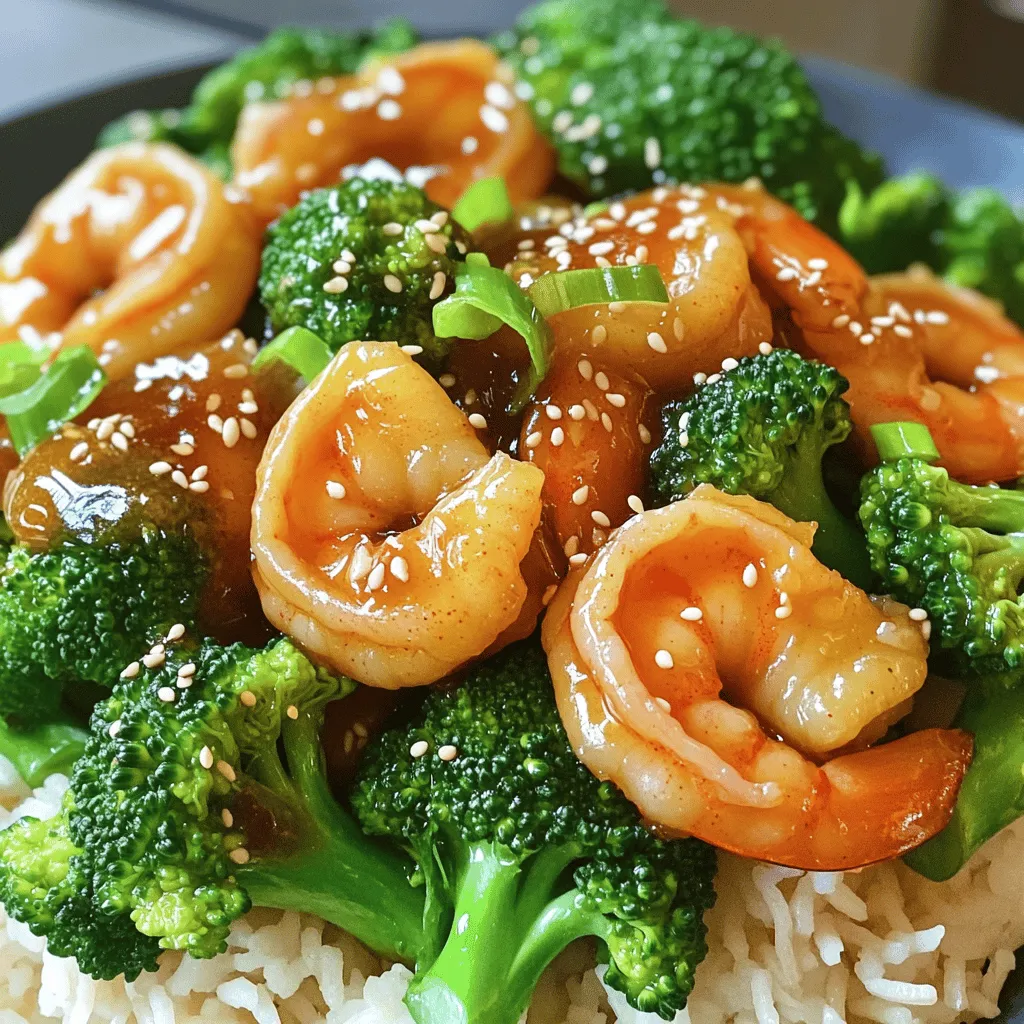
Honey Garlic Shrimp and Broccoli Tasty Dinner Recipe
Are you ready for a quick, tasty dinner that impresses? My Honey Garlic Shrimp and Broccoli recipe is just what you need! With fresh shrimp, crisp…
Read more…
No-Bake Chocolate Eclair Cake Easy Dessert Delight
Looking for an easy dessert that impresses? I’ve got just the thing: No-Bake Chocolate Éclair Cake! This delightful treat layers creamy pudding and graham crackers, topped…
Read more…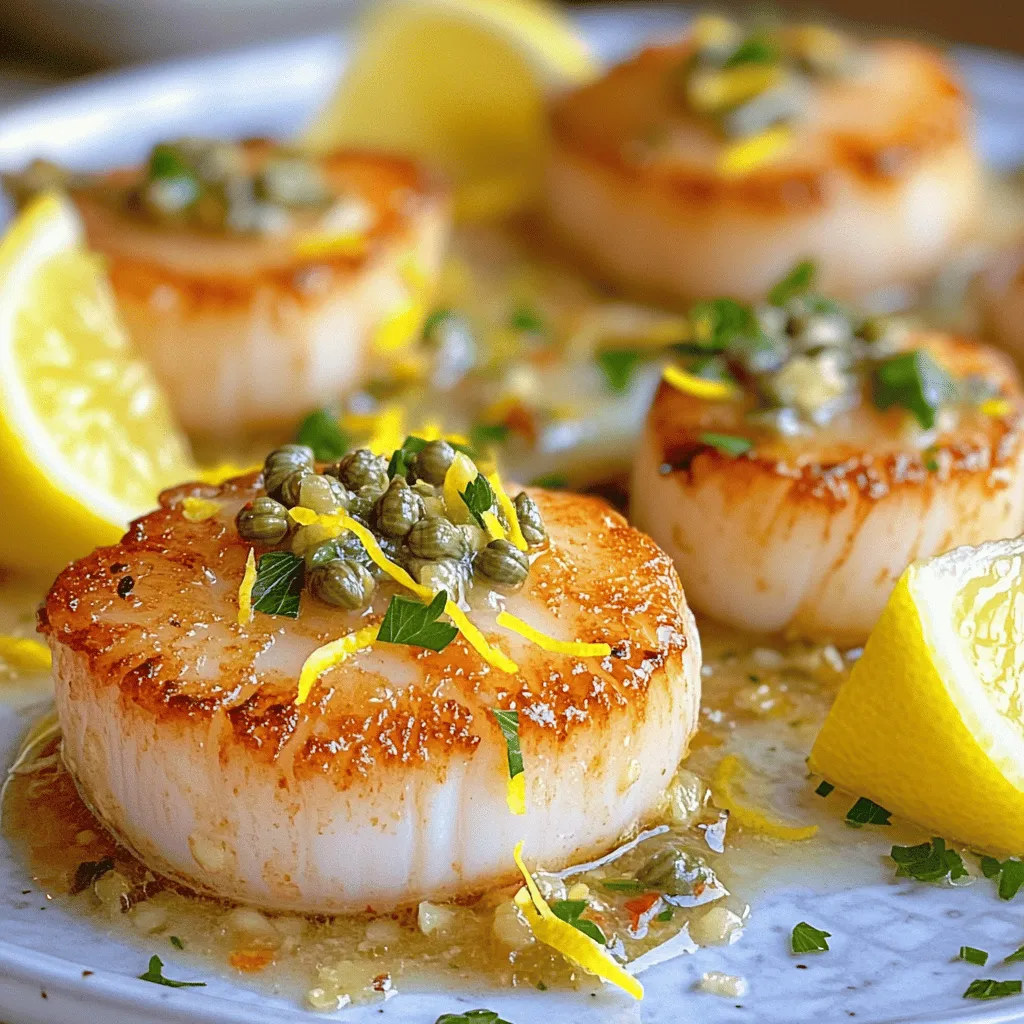
Gordon Ramsay’s Pan-Seared Scallops Easy Cooking Guide
If you want to impress at your next dinner, look no further than Gordon Ramsay’s Pan-Seared Scallops. This easy cooking guide will help you create a…
Read more…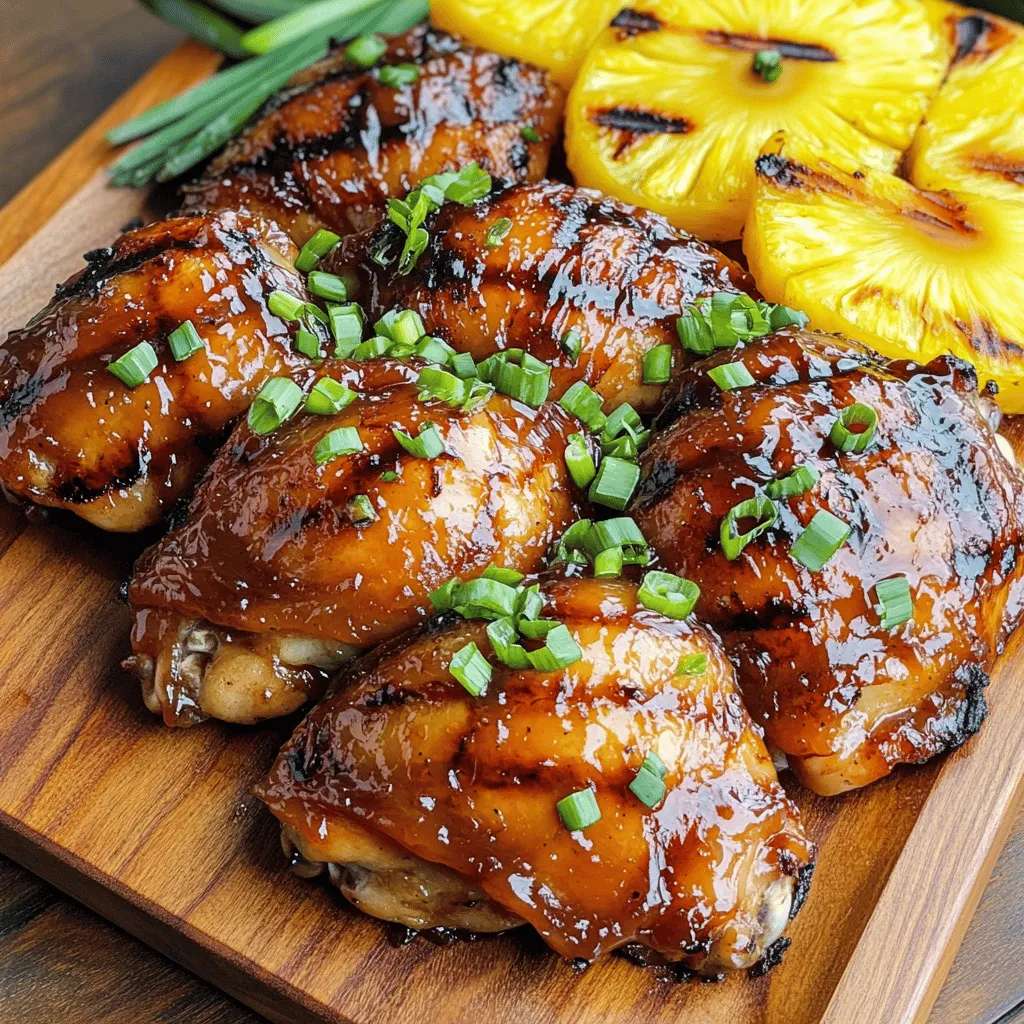
Huli Huli Chicken Hawaiian Delicacy Flavor Burst
Ever tasted the sweet, smoky goodness of Huli Huli Chicken? This Hawaiian dish combines juicy chicken with a mouthwatering marinade, making every bite a flavor burst.…
Read more…browse recipes


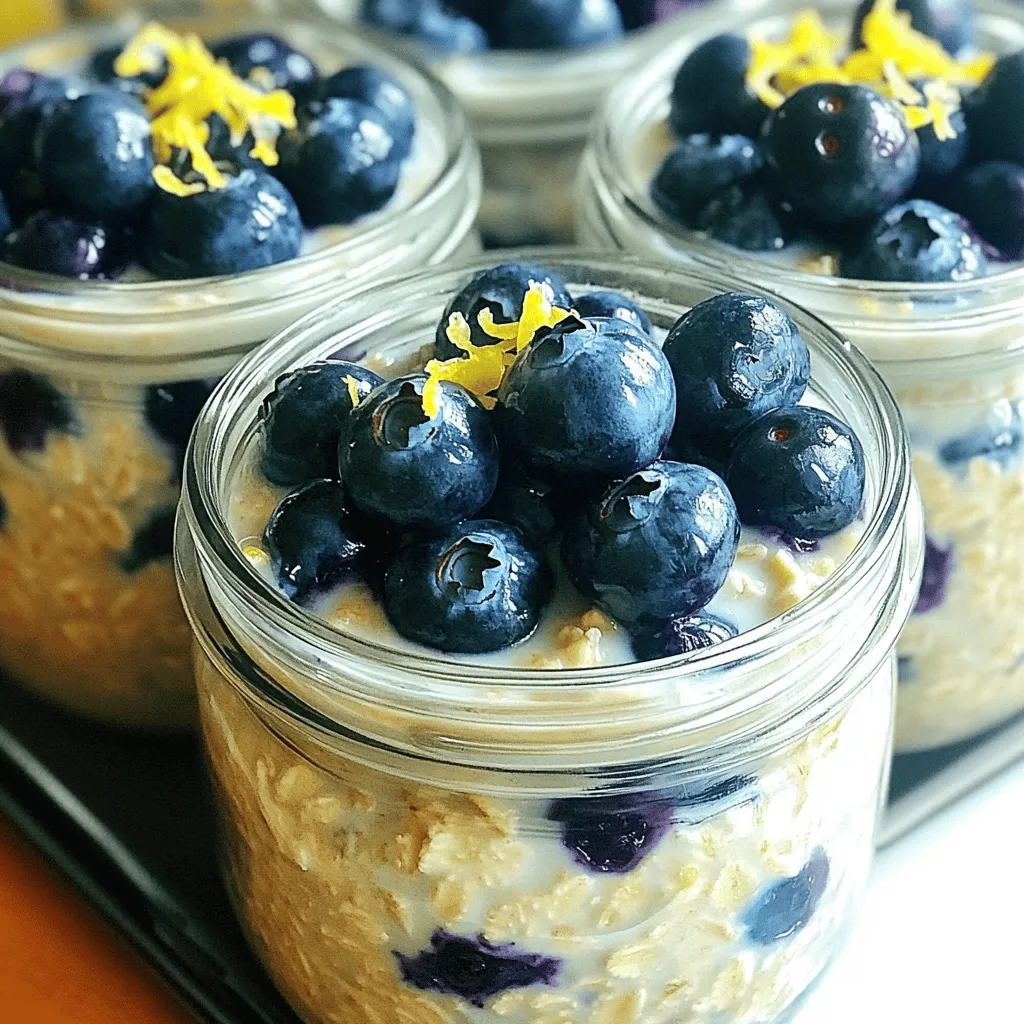
Blueberry Lemon Overnight Oats Easy and Nutritious Meal
Looking for a quick, tasty breakfast? Blueberry Lemon Overnight Oats are your answer! Packed with nutrients and flavor, they’re easy to make and even…
My Latest Desserts

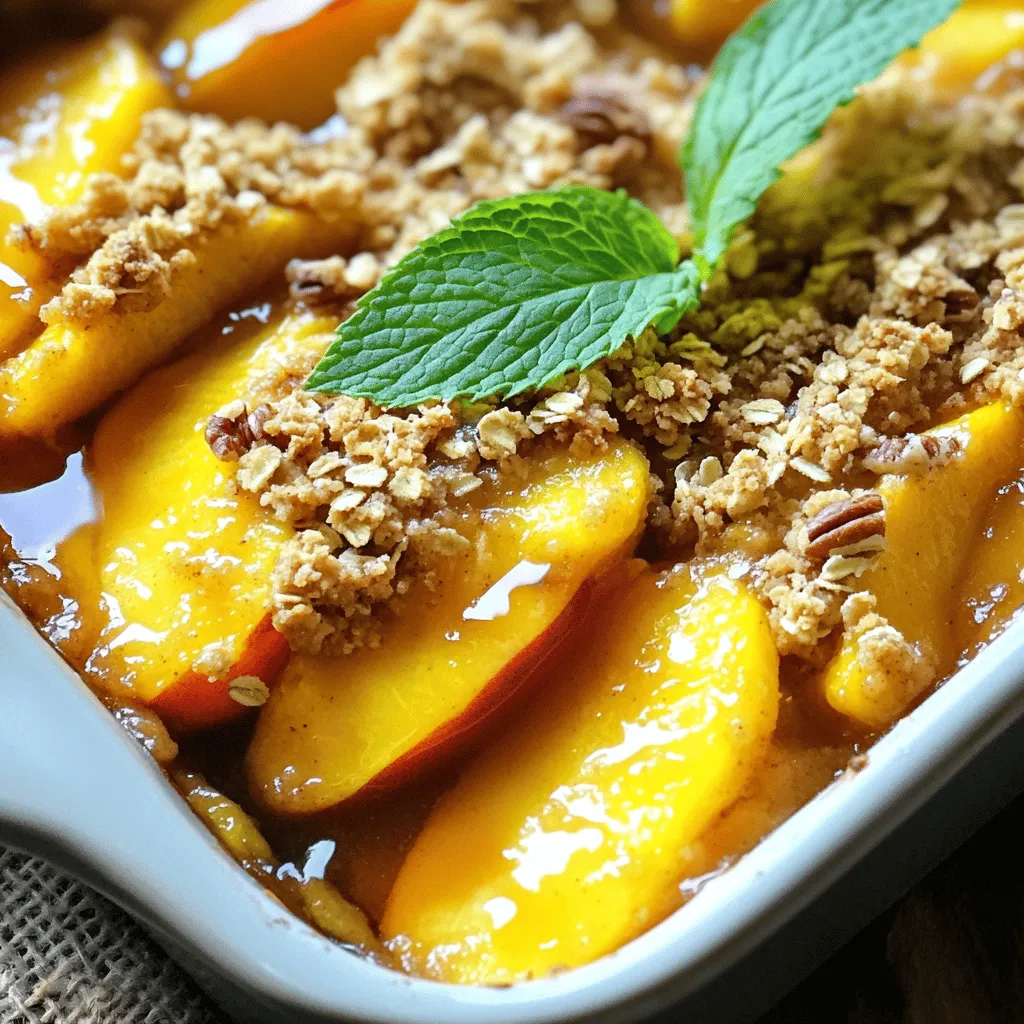
Peach Crisp with Oat Topping Simple Comfort Food
If you’re craving a dessert that combines juicy peaches with a crunchy oat topping, you’re in the right place! My Peach Crisp with Oat Topping is a warm and comforting... Read Full Recipe-
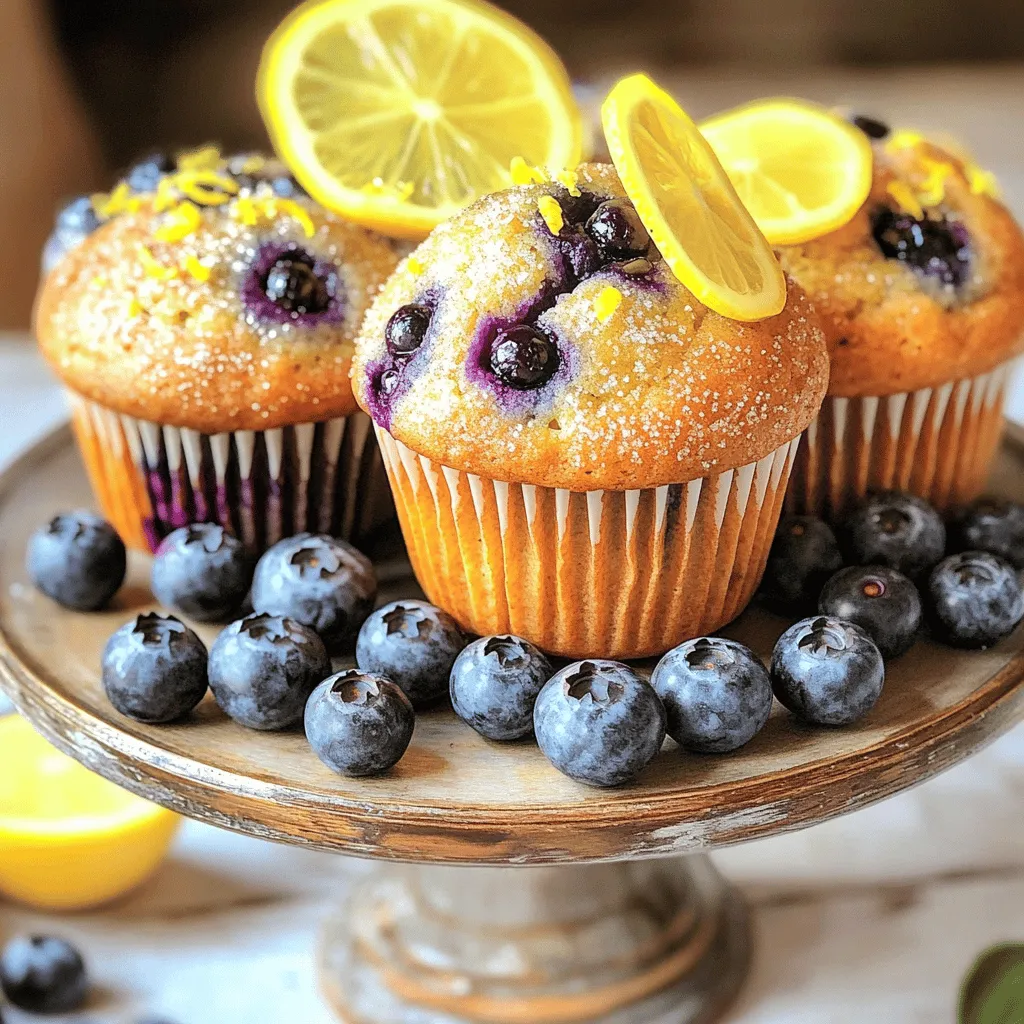
Lemon Blueberry Muffins Fresh and Flavorful Treat
Looking for a fresh and tasty treat? My Lemon Blueberry Muffins are just what you need! Bursting with zesty lemon and sweet blueberries, these muffins are perfect for breakfast or... Read Full Recipe -
Apple Cinnamon Overnight Oats Tasty and Simple Recipe
Start your mornings right with a delicious bowl of Apple Cinnamon Overnight Oats! This simple recipe combines wholesome ingredients to give you a quick, easy breakfast. You’ll only need a... Read Full Recipe -
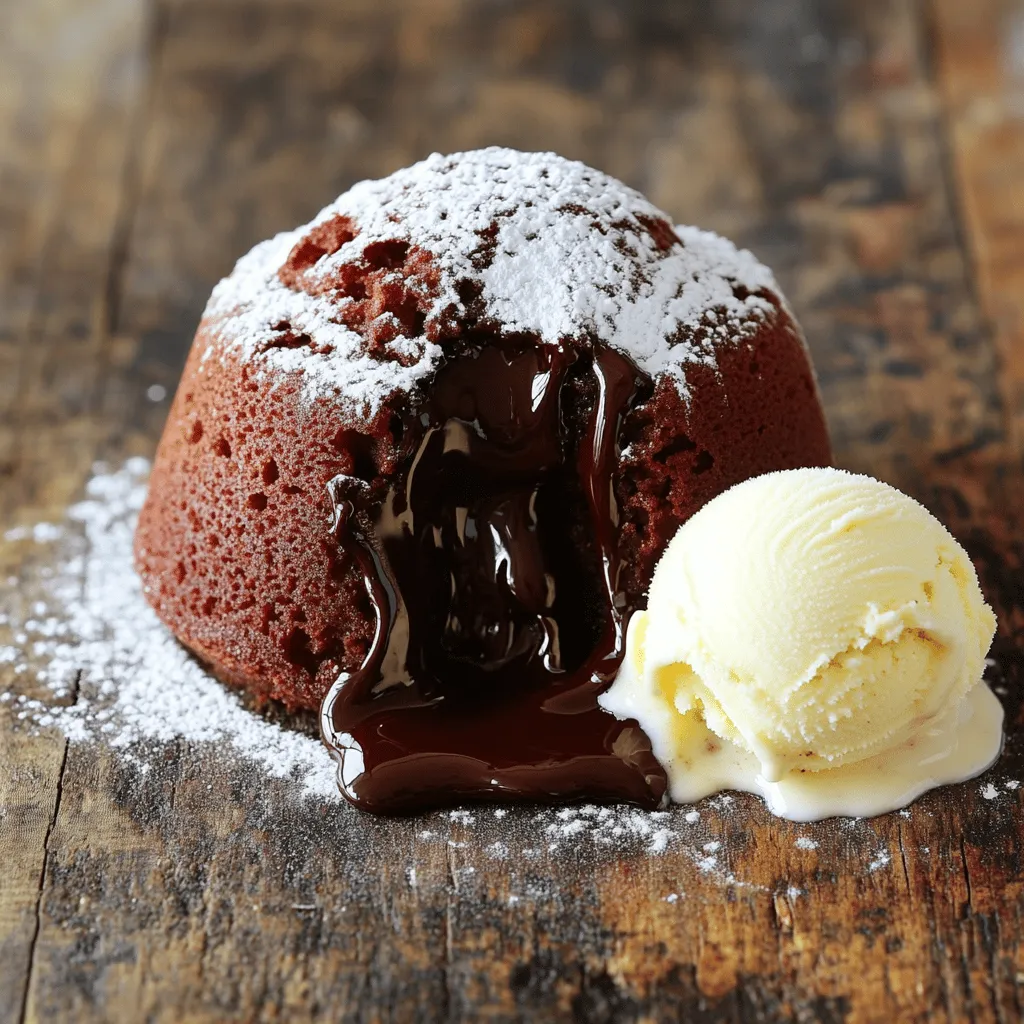
Easiest Chocolate Lava Cake Quick and Delicious Treat
Craving a sweet treat that impresses without complicated steps? You’ll love this Easiest Chocolate Lava Cake recipe! This dessert is quick to make and packed with gooey chocolate goodness. With... Read Full Recipe -
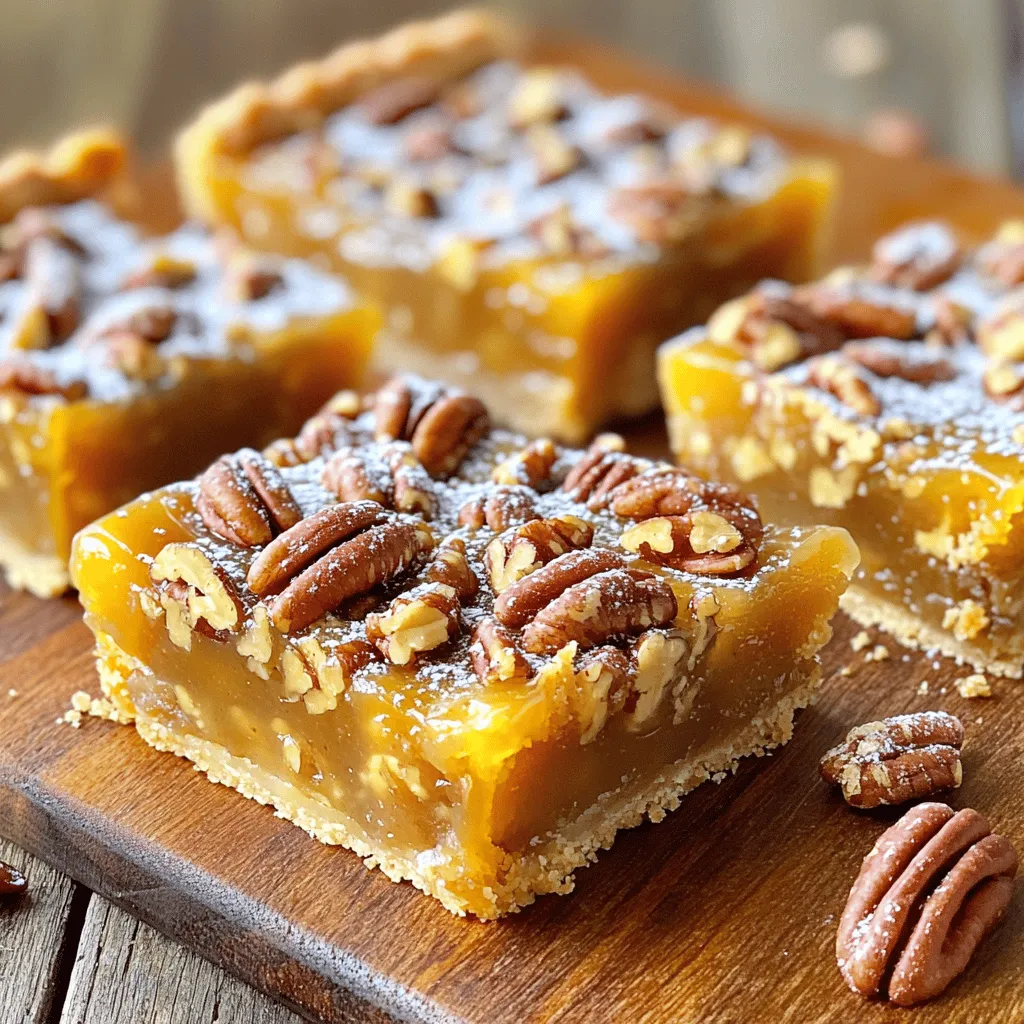
Maple Pecan Pie Bars Delightful Dessert Treat
Are you ready to indulge in a delightful dessert? These Maple Pecan Pie Bars are a sweet twist on a classic favorite! With crunchy pecans and rich maple flavor, every... Read Full Recipe -
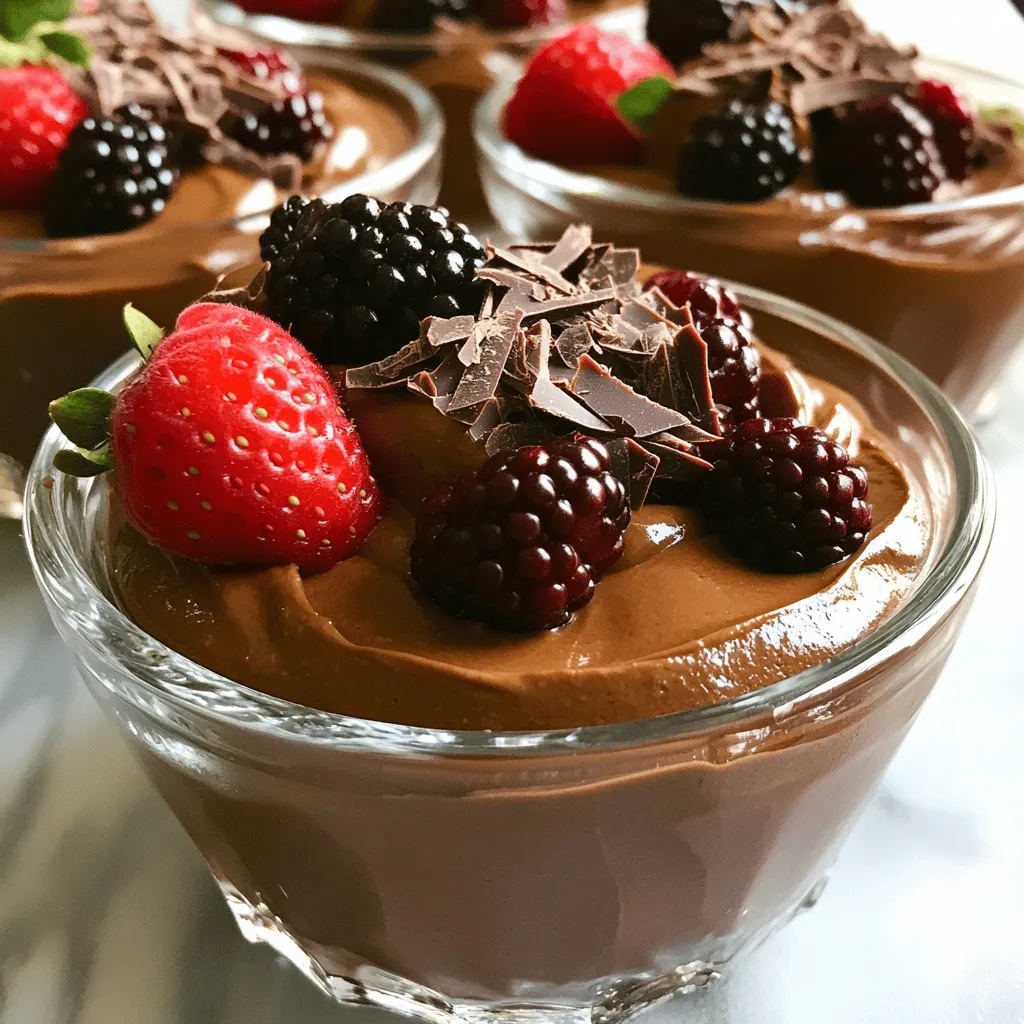
Vegan Chocolate Avocado Mousse Rich and Creamy Delight
If you crave a dessert that’s both rich and healthy, you’re in the right place. This Vegan Chocolate Avocado Mousse combines ripe avocados, unsweetened cocoa powder, and a touch of... Read Full Recipe -
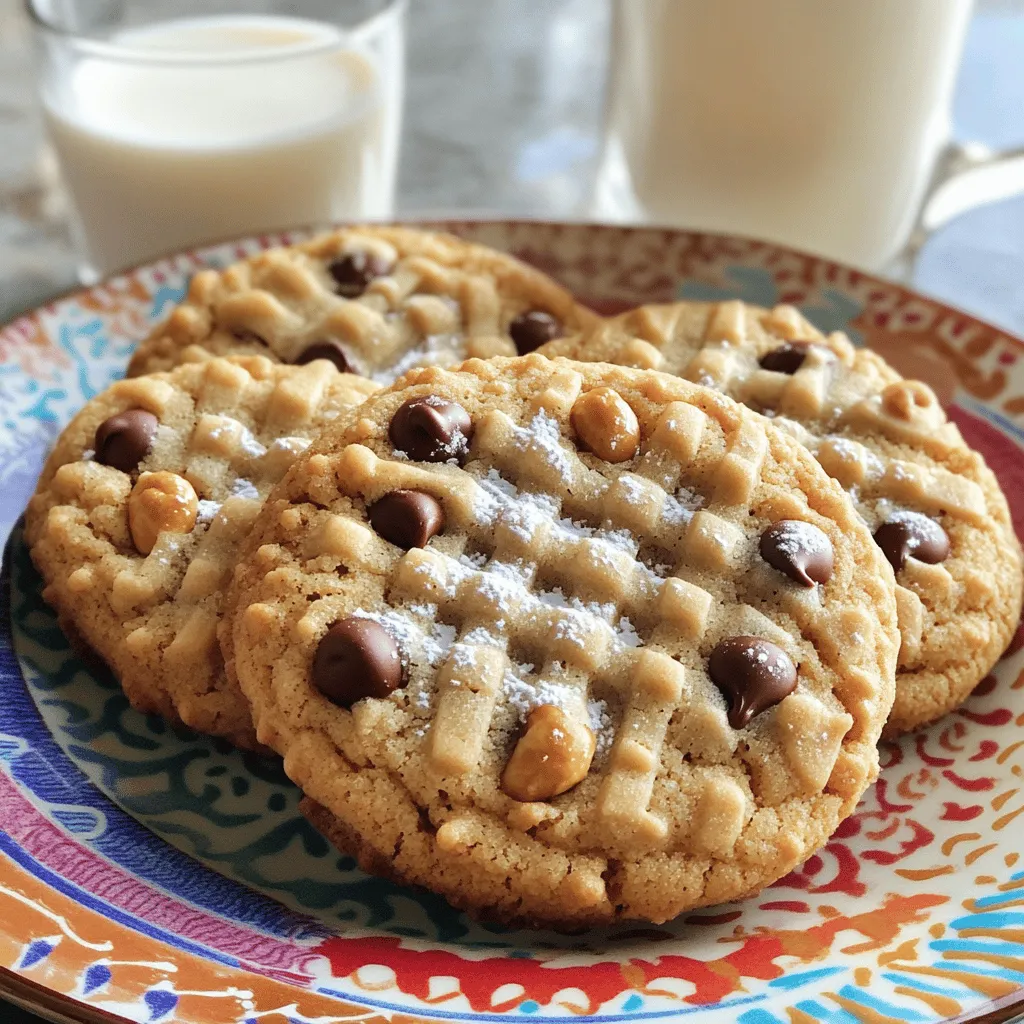
Peanut Butter Chocolate Chip Cookies Simple and Sweet
If you love the rich taste of peanut butter and the sweetness of chocolate, you’re in for a treat! This blog post will guide you through making simple and sweet... Read Full Recipe -
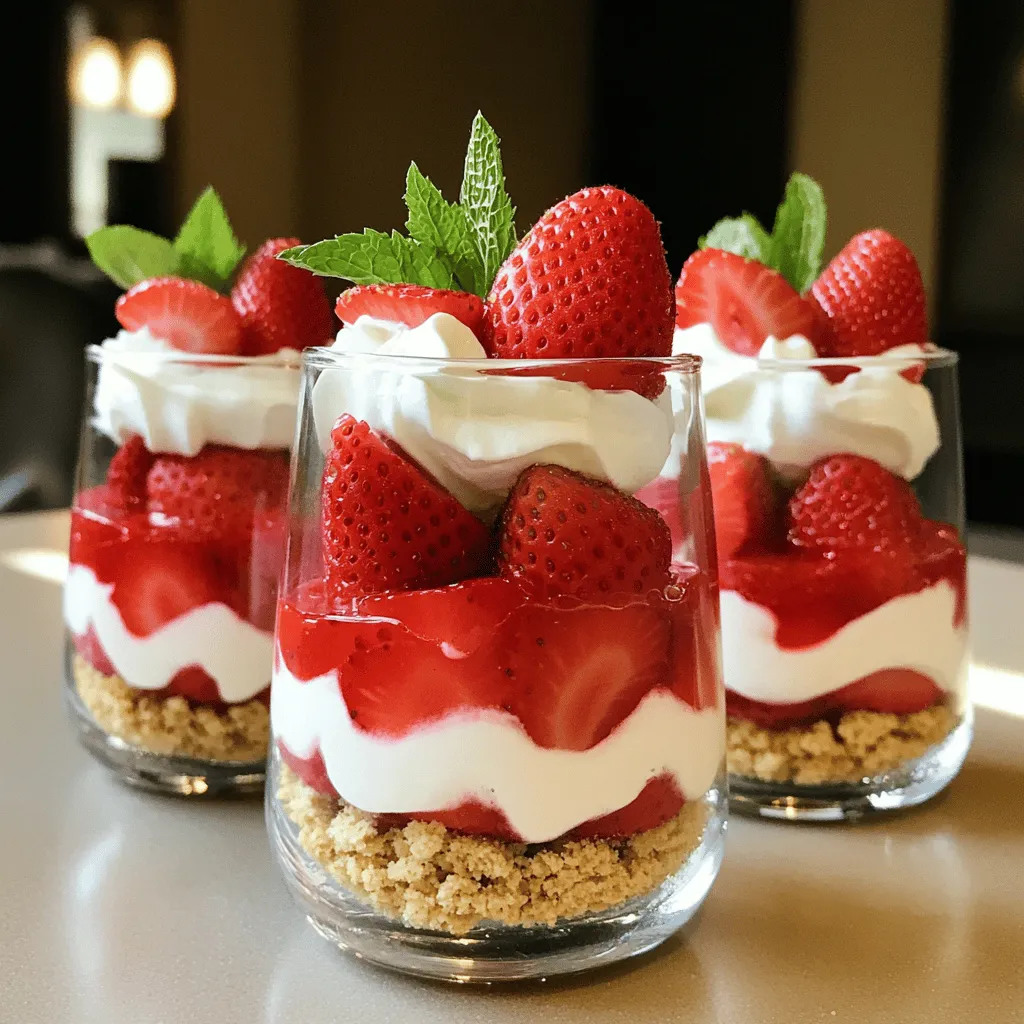
No-Bake Strawberry Shortcake Quick and Simple Delight
Are you craving a sweet treat that’s easy and delicious? Look no further! My No-Bake Strawberry Shortcake is a quick and simple delight, perfect for any occasion. With just a... Read Full Recipe -
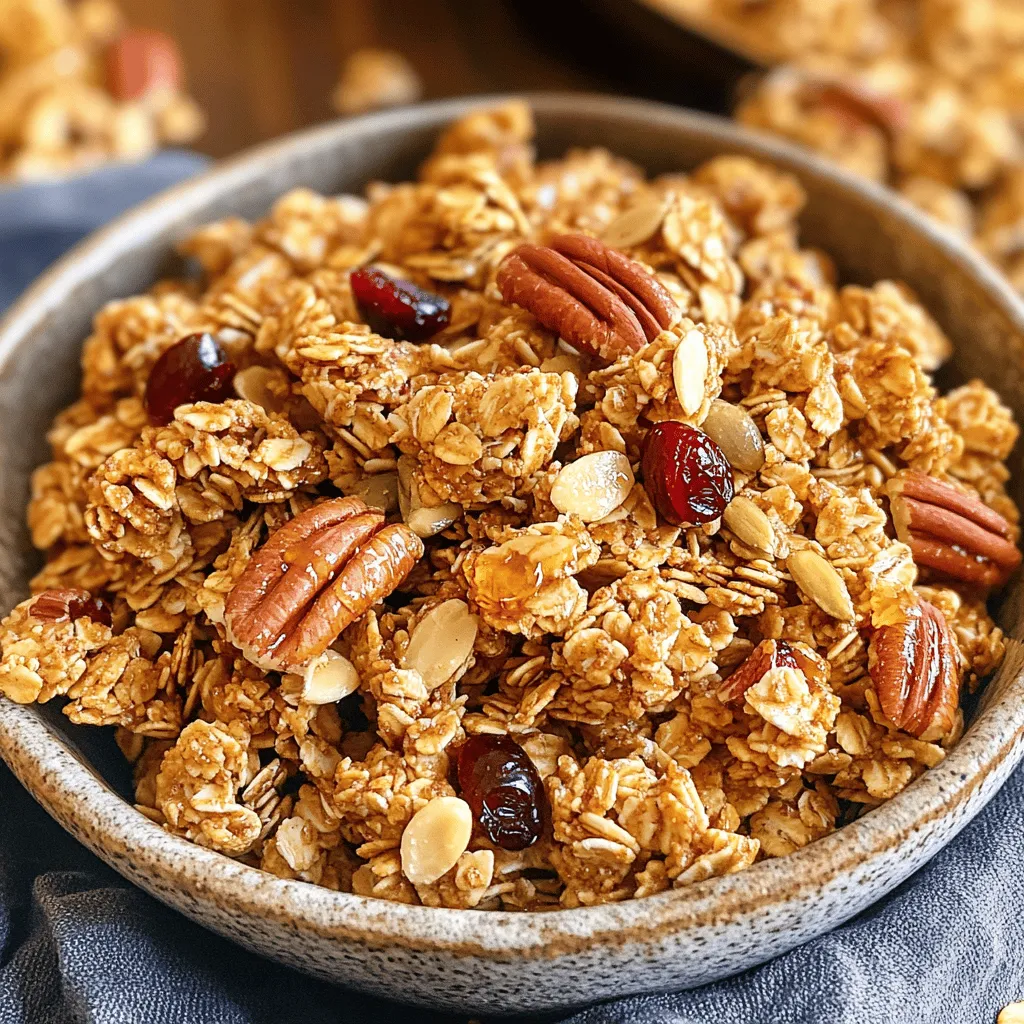
Maple Pecan Granola Crunchy and Healthy Snack
Looking for a tasty yet healthy snack? You’ll love my Maple Pecan Granola! This crunchy treat is simple to make and packed with flavor. With a few key ingredients and... Read Full Recipe -
Strawberry Shortcake Trifle Delightful Layered Treat
Are you ready to impress your friends with a strawberry shortcake trifle? This delightful layered treat combines juicy strawberries, fluffy whipped cream, and soft cake for pure indulgence. It’s a... Read Full Recipe


My Latest Recipes

hey,
i’m !
I’m so happy you’re here!
Each recipe I share is a little piece of love from my kitchen. May they fill your heart and home with warmth. Let’s cook up something wonderful together.


![- 2 ripe avocados - 1/2 cup unsweetened cocoa powder - 1/2 cup maple syrup or honey - 1/2 cup almond milk or any milk of choice - 1 teaspoon vanilla extract - A pinch of sea salt - Fresh berries and mint leaves for garnish To make my chocolate avocado mousse, I start with ripe avocados. They give the mousse its creamy texture. You want them soft but not brown. Next, I grab unsweetened cocoa powder. This adds that rich chocolate flavor we all love. I use maple syrup or honey for sweetness. Both work well. You can adjust the amount based on your taste. Then, I pour in almond milk. It helps blend everything smoothly. You can use any milk you like, even dairy milk. I add a teaspoon of vanilla extract for extra flavor. Finally, a pinch of sea salt balances the sweetness. It enhances the chocolate taste. For garnish, fresh berries and mint leaves add color and a nice touch. They make the mousse look beautiful on the table. - Nut butter for added creaminess - Dark chocolate shavings for garnish If you want an even creamier mousse, you can add nut butter. It gives a richer taste. Dark chocolate shavings also make a great garnish. They add a fancy touch and extra chocolate flavor. This chocolate avocado mousse recipe is easy and fun to make. For the full details, check the [Full Recipe]. Enjoy creating this delicious treat! - Start by blending the ripe avocados until they are smooth. - Next, mix in the unsweetened cocoa powder and your choice of sweetener. - Scrape down the sides of your food processor to combine everything. - Blend again until the mixture is silky and smooth. - Once ready, transfer the mousse into serving bowls or dessert glasses. - Refrigerate the mousse for at least 30 minutes. - This chilling time helps the mousse firm up and taste even better. - Serve the mousse chilled for a rich and creamy delight. For the full recipe, check out the instructions above. To get a silky consistency, use very ripe avocados. They should have a slight give when you press them. This softness helps the mousse blend smoothly. If your avocados are not ripe, the mousse will be chunky. Always check for dark green or black skin and feel for softness. You can add spices like cinnamon for extra depth. Just a pinch can make a big difference. Maple syrup and honey work well, but feel free to try other sweeteners like agave or stevia. Each option brings its own unique taste. This mousse pairs well with fresh fruits like berries or banana slices. You can also serve it with a dollop of whipped cream for a rich touch. For garnishing, use mint leaves on top for a pop of color. Drizzle with chocolate sauce for added flair. Try these ideas to impress your guests! For more detailed steps, refer to the [Full Recipe]. {{image_2}} For a vegan twist, use maple syrup instead of honey. This swap keeps the mousse plant-based. The creamy avocado pairs well with the rich cocoa. Maple syrup adds a unique sweetness. You still get that delightful texture. Just blend everything as usual. Your guests won’t even know it’s vegan! This mousse is naturally gluten-free. Just make sure all your ingredients are certified gluten-free. Cocoa powder and maple syrup are safe choices. Using almond milk or any other milk works too. This dessert is great for anyone avoiding gluten. You can serve it with confidence. Want to mix it up? Try adding espresso for a coffee kick. It brings out the chocolate flavor nicely. If you prefer something minty, add peppermint extract. Just a drop or two will do. These twists can change the whole taste. Experiment and find your favorite version! To keep your mousse fresh, cover it tightly with plastic wrap. You can also use an airtight container. This helps prevent any air from getting in and keeps it smooth. The mousse will stay good in the fridge for about three days. Yes, you can freeze chocolate avocado mousse! It’s a great way to save leftovers. Just place it in a freezer-safe container. Make sure to leave some space at the top, as it may expand when frozen. After freezing, you should thaw the mousse in the fridge overnight. Once thawed, blend it again for a smoother texture. If it seems too thick, add a splash of almond milk and mix until creamy. Enjoy your mousse just like fresh! For the full recipe, check out the details above. Yes, you can use dairy milk in this mousse. Almond milk adds a nutty taste. However, whole milk or cream will give a richer flavor. If you prefer dairy, go for it! Just keep in mind the mousse may be a bit heavier. Absolutely! Kids love this mousse. Avocados are packed with healthy fats and vitamins. They provide energy and support growth. Plus, the chocolate flavor makes it a fun treat. This dessert can be a great way to sneak in some nutrition. To make this mousse sugar-free, swap maple syrup for a low-carb sweetener. Options like stevia or erythritol work well. Adjust the amount based on your taste. You can still enjoy the rich flavor without added sugars! If you want to switch cocoa powder, try carob powder. It has a similar taste but is sweeter. Another option is chocolate protein powder, which adds extra nutrition. Just adjust the sweetness as needed for the best flavor. To check if avocados are ripe, gently squeeze them. They should feel slightly soft but not mushy. Look for dark green skin. If the stem comes off easily and is green underneath, the avocado is ready. Use ripe avocados for the best mousse texture and taste. This blog post shared a simple and tasty recipe for chocolate avocado mousse. You learned about the key ingredients, step-by-step instructions, and tips to make it perfect. Explore fun variations like vegan and gluten-free options. Store leftovers properly, and enjoy this treat when you want something sweet. With ripe avocados, you'll create a creamy dessert everyone will love. Try it, and I bet you'll impress your friends and family! Enjoy your cooking and the delicious results!](https://lisadishes.com/wp-content/uploads/2025/05/ca7f7be2-30be-412d-a36b-11ba15cc35fe-300x300.webp)
Garlic Chicken Puffs Irresistible Flavor Packed Snack
If you dream of snacks that burst with flavor, then Garlic Chicken Puffs are for you! These tasty treats offer a savory twist that…