Latest & Greatest
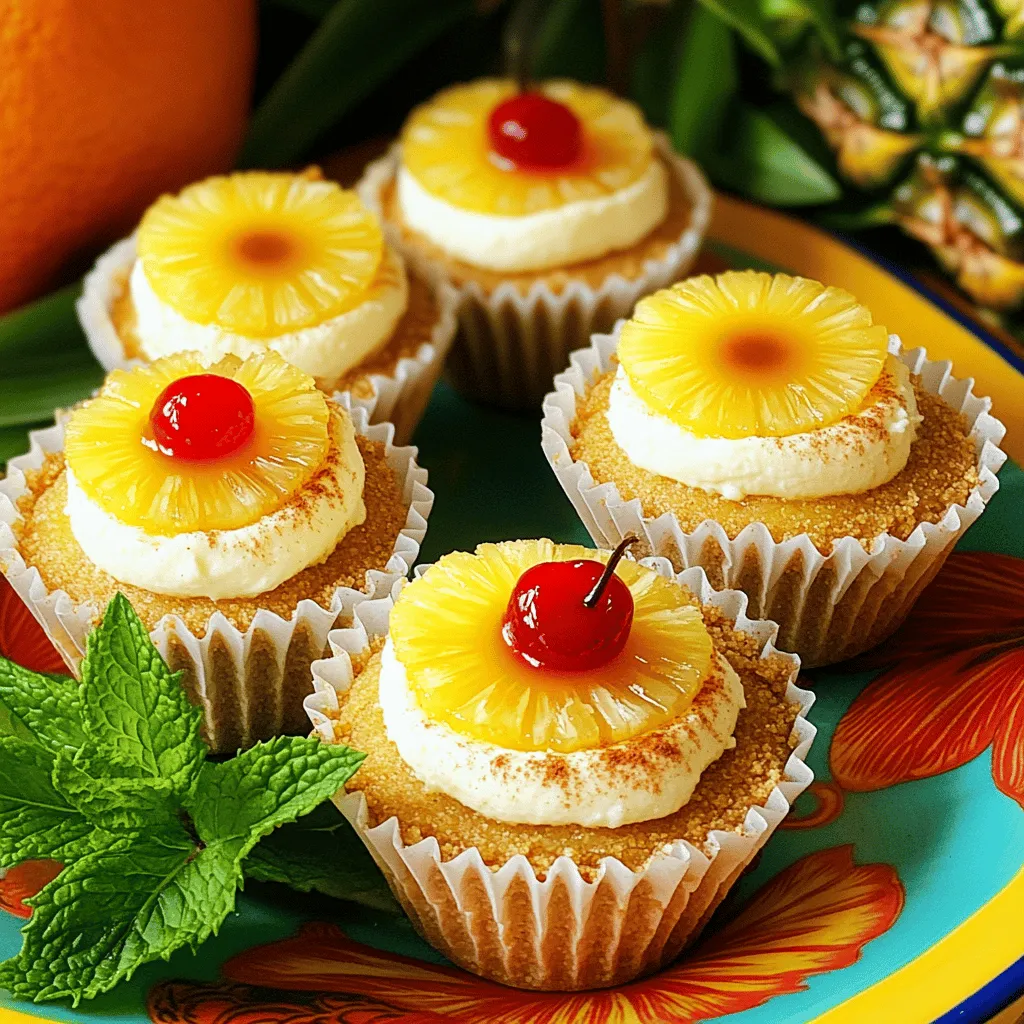
Mini Pineapple Upside-Down Cheesecakes Delightful Treat
If you love desserts that are cute and delicious, these Mini Pineapple Upside-Down Cheesecakes are for you! They’re easy to
Read more…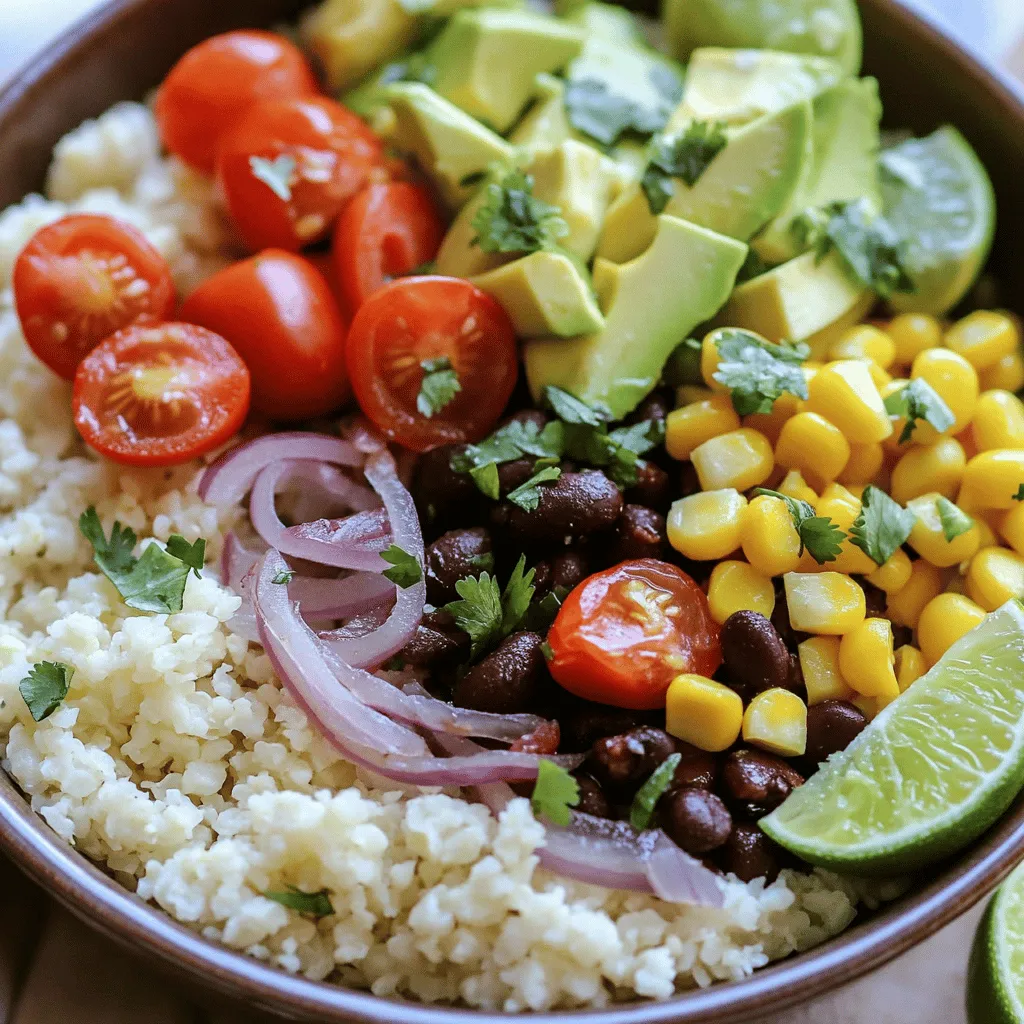
Cauliflower Rice Bowl Flavorful and Nutritious Meal
Looking for a healthy and tasty meal? A cauliflower rice bowl might be your answer. This dish is packed with
Read more…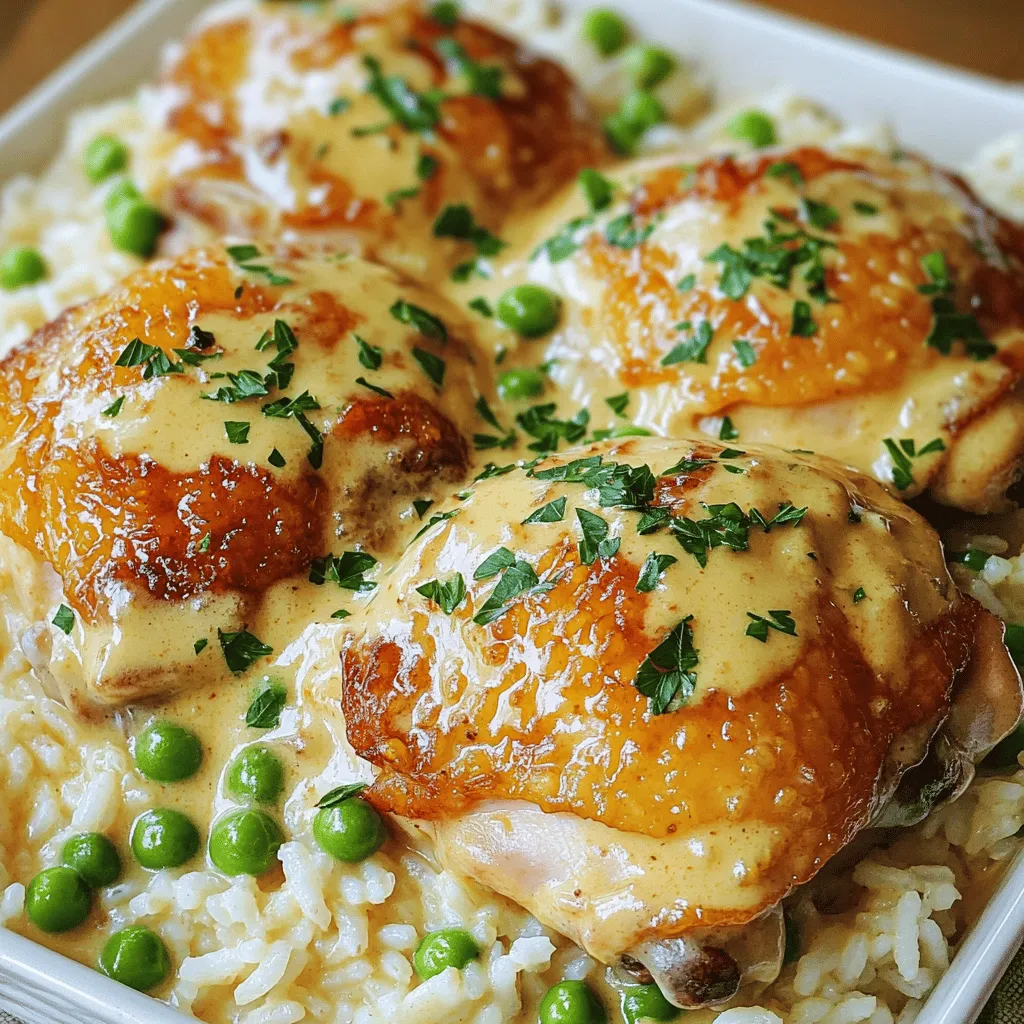
Creamy Smothered Chicken and Rice Cozy Comfort Meal
If you’re craving a warm and filling meal, you’ve come to the right place! This Creamy Smothered Chicken and Rice
Read more…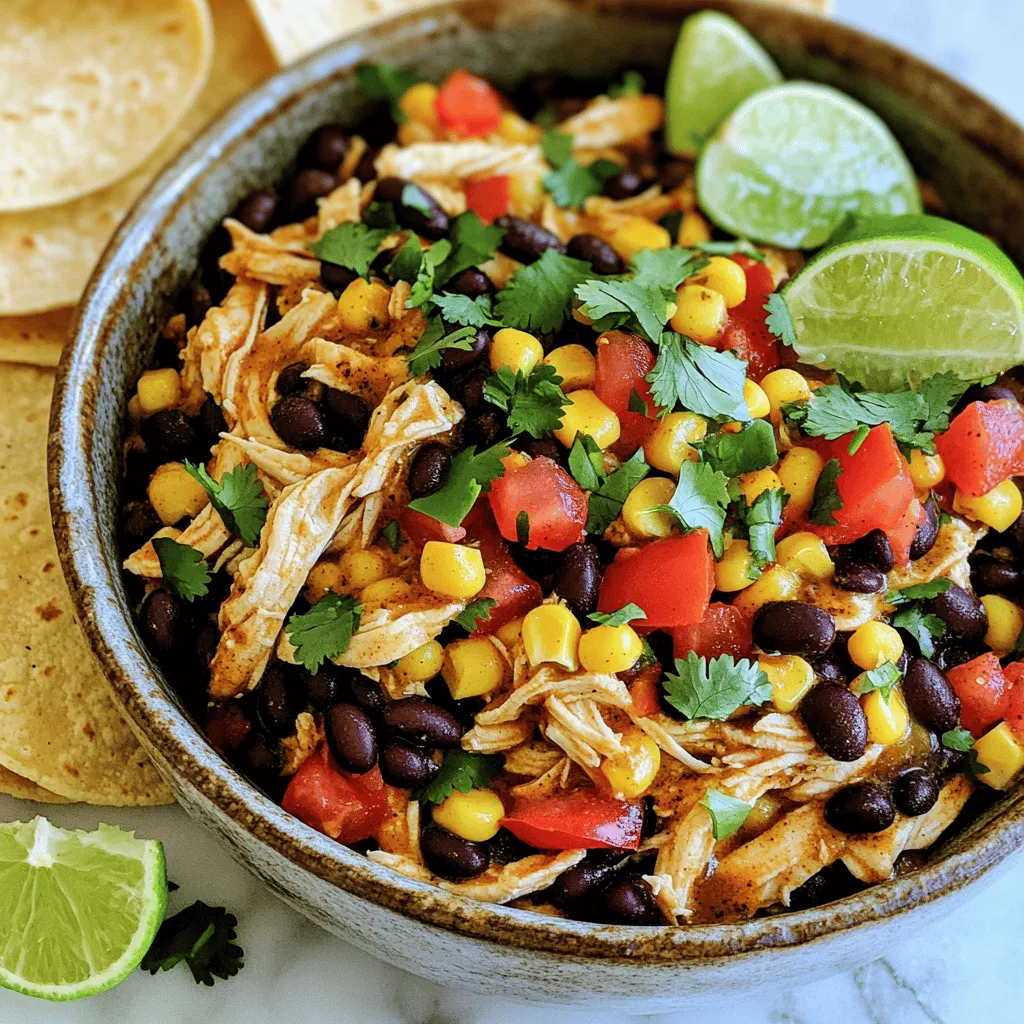
Crockpot Mexican Chicken Flavorful and Easy Dish
Are you ready for a meal that’s both simple and packed with flavor? This Crockpot Mexican Chicken recipe is your
Read more…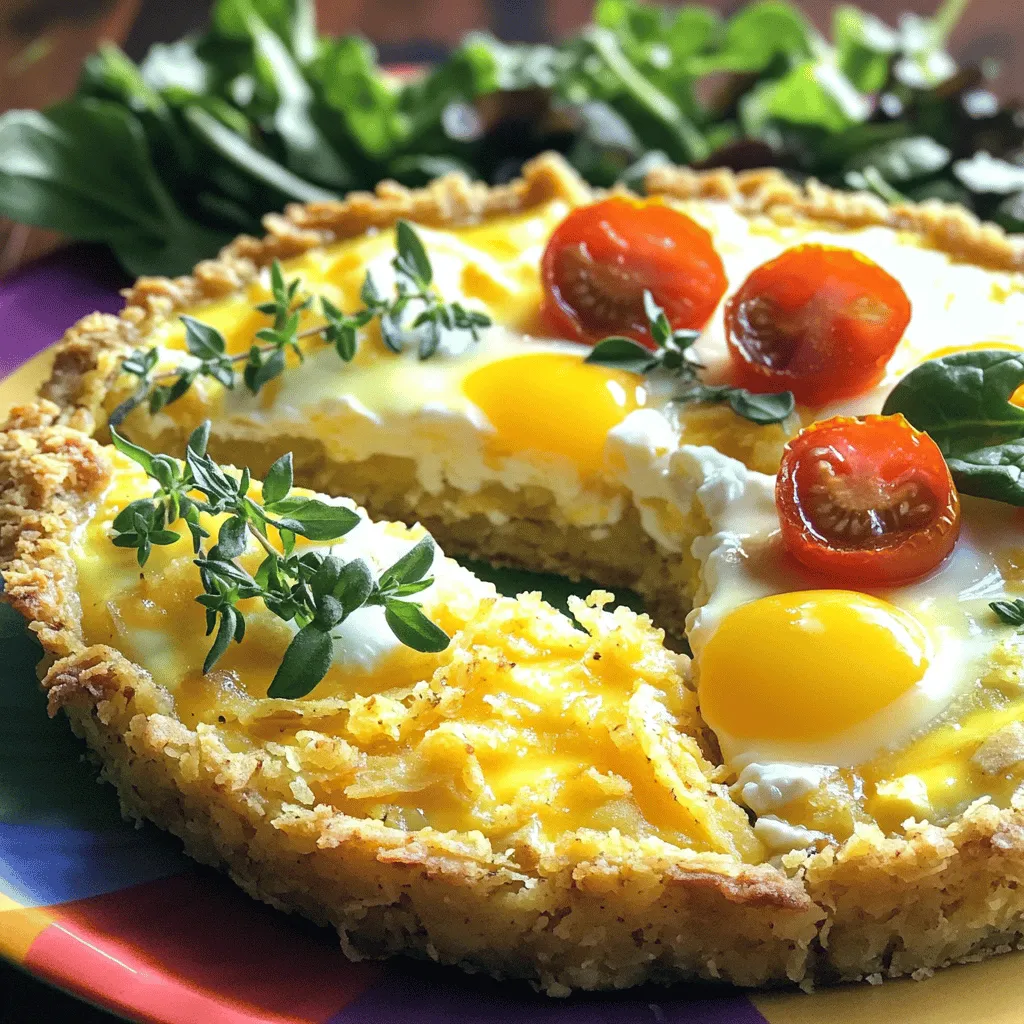
Spring Hash Brown Crust Quiche Savory and Simple Dish
Get ready to brighten your brunch with my Spring Hash Brown Crust Quiche! This dish is not just savory and
Read more…browse recipes


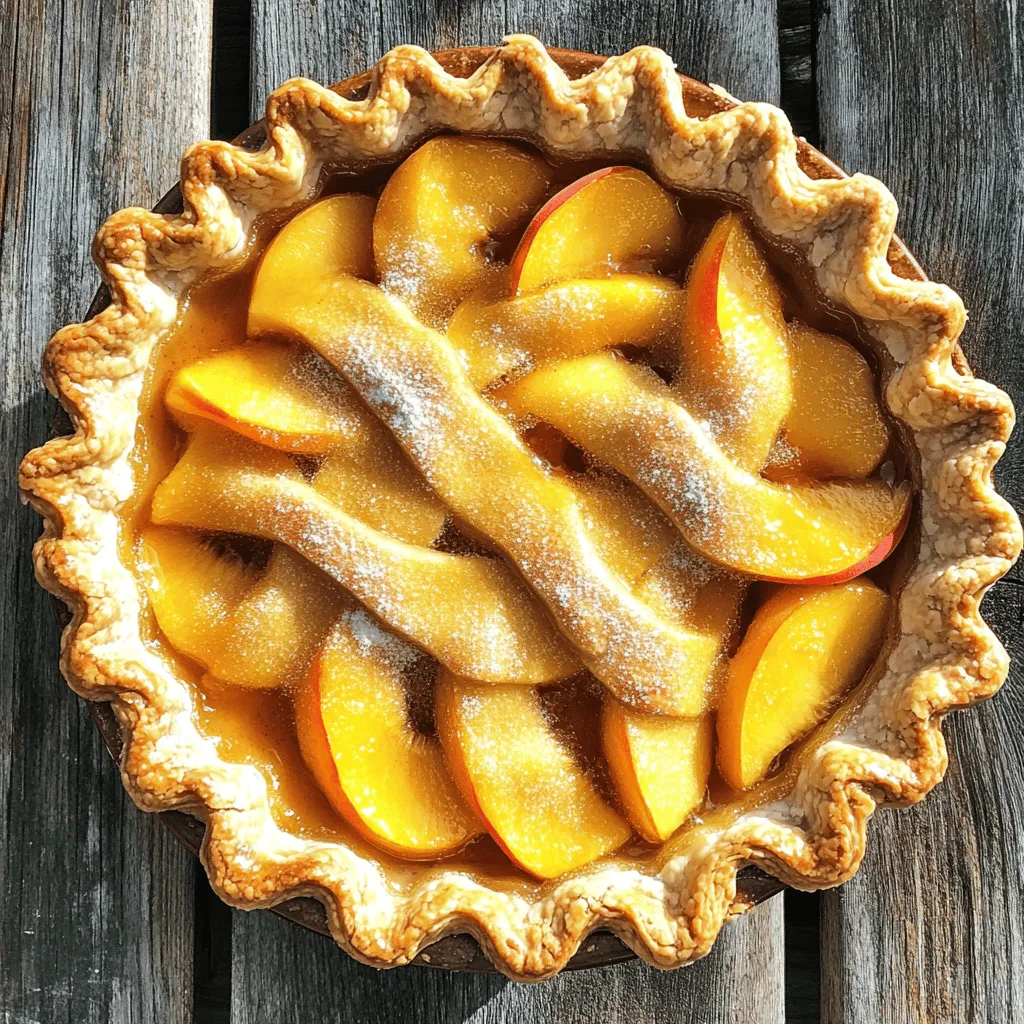
Classic Peach Pie Irresistible Homemade Delight
Are you ready to bake the perfect classic peach pie? This homemade delight will take you straight to summer with its sweet, juicy filling…
My Latest Desserts

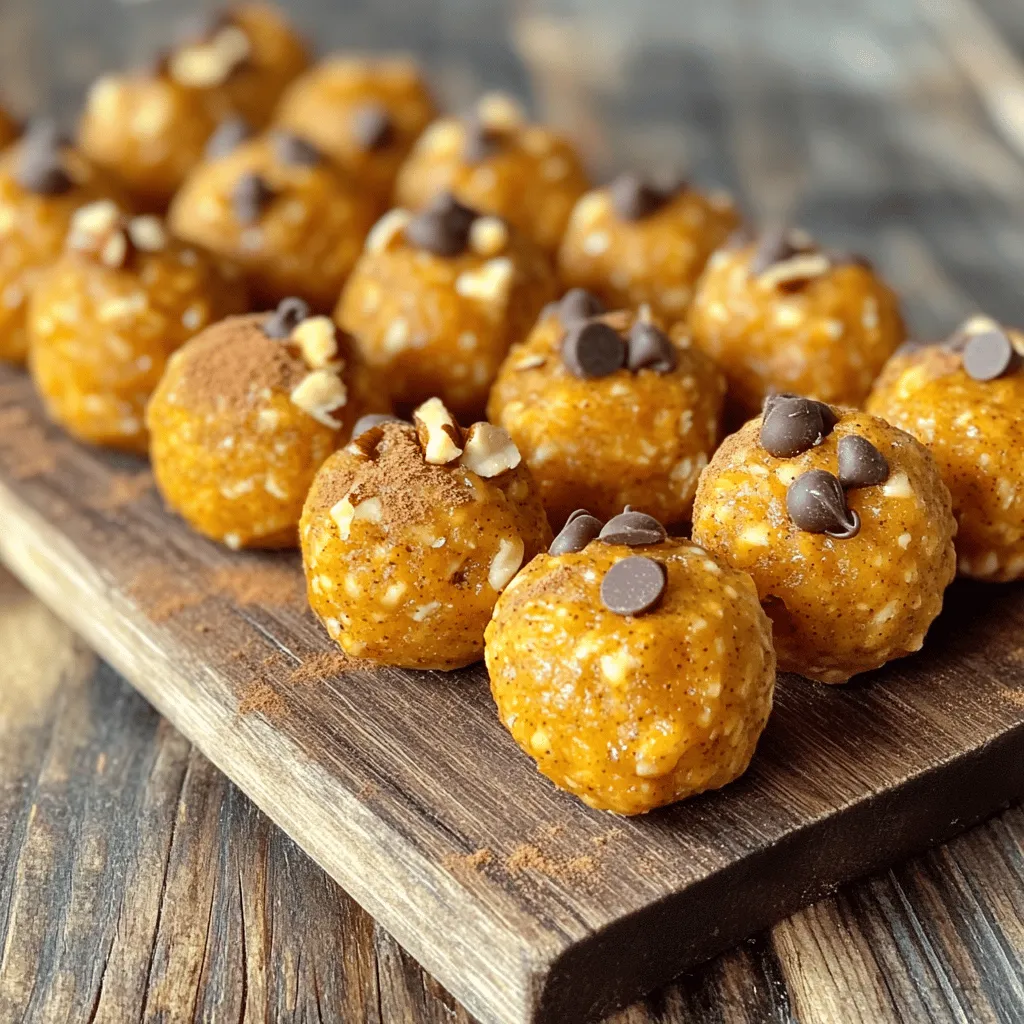
Pumpkin Spice Energy Bites Tasty and Healthy Snack
Looking for a tasty and healthy snack to fuel your day? This Pumpkin Spice Energy Bites recipe is your answer! Read Full Recipe-
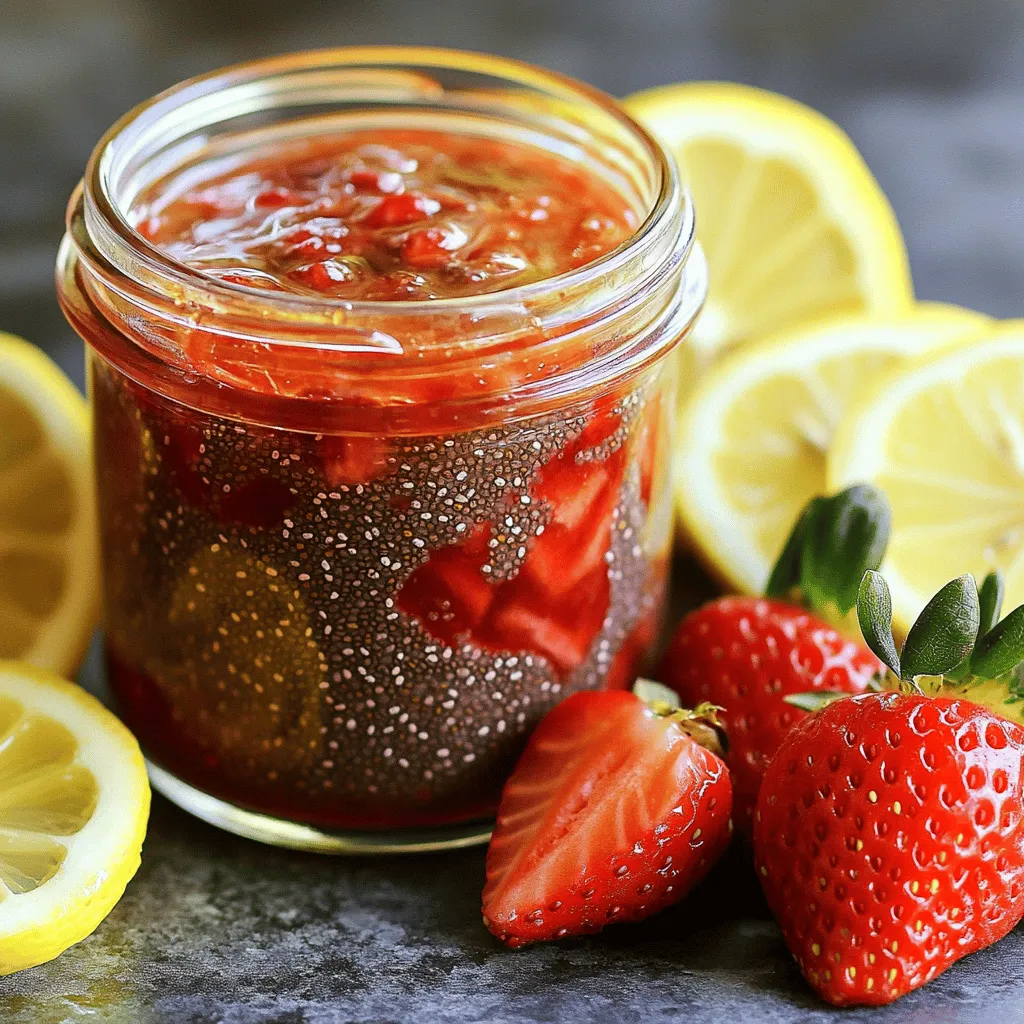
Strawberry Chia Seed Jam Tasty and Healthy Treat
If you’re craving a sweet treat that’s also good for you, I’ve got just the thing: Strawberry Chia Seed Jam! Read Full Recipe -
Pumpkin Spice Muffins Warm and Cozy Fall Treat
Fall is the perfect time for warm and cozy treats, and nothing says autumn like pumpkin spice muffins. These fluffy Read Full Recipe -
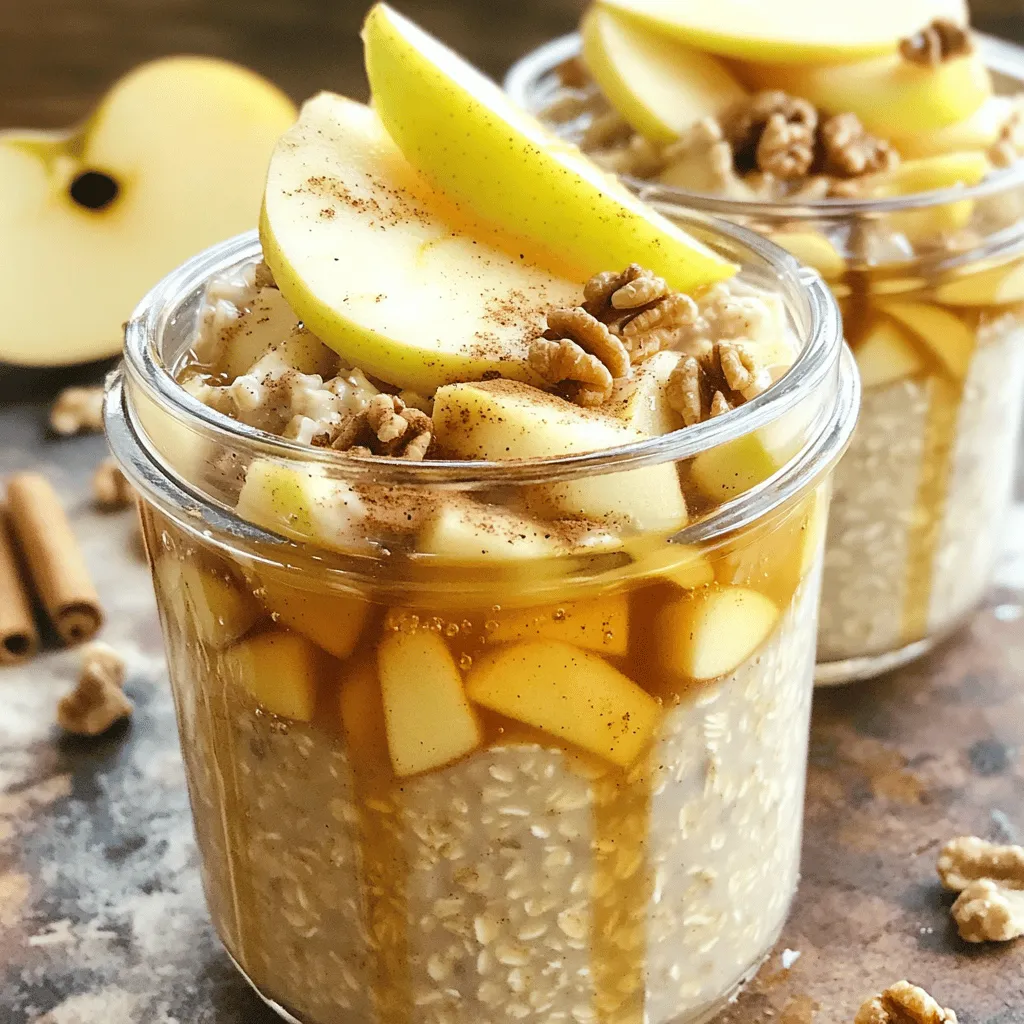
Apple Cinnamon Overnight Oats Healthy Breakfast Option
Looking for a quick and healthy breakfast? You’ve found it! Apple Cinnamon Overnight Oats are the perfect choice for busy Read Full Recipe -
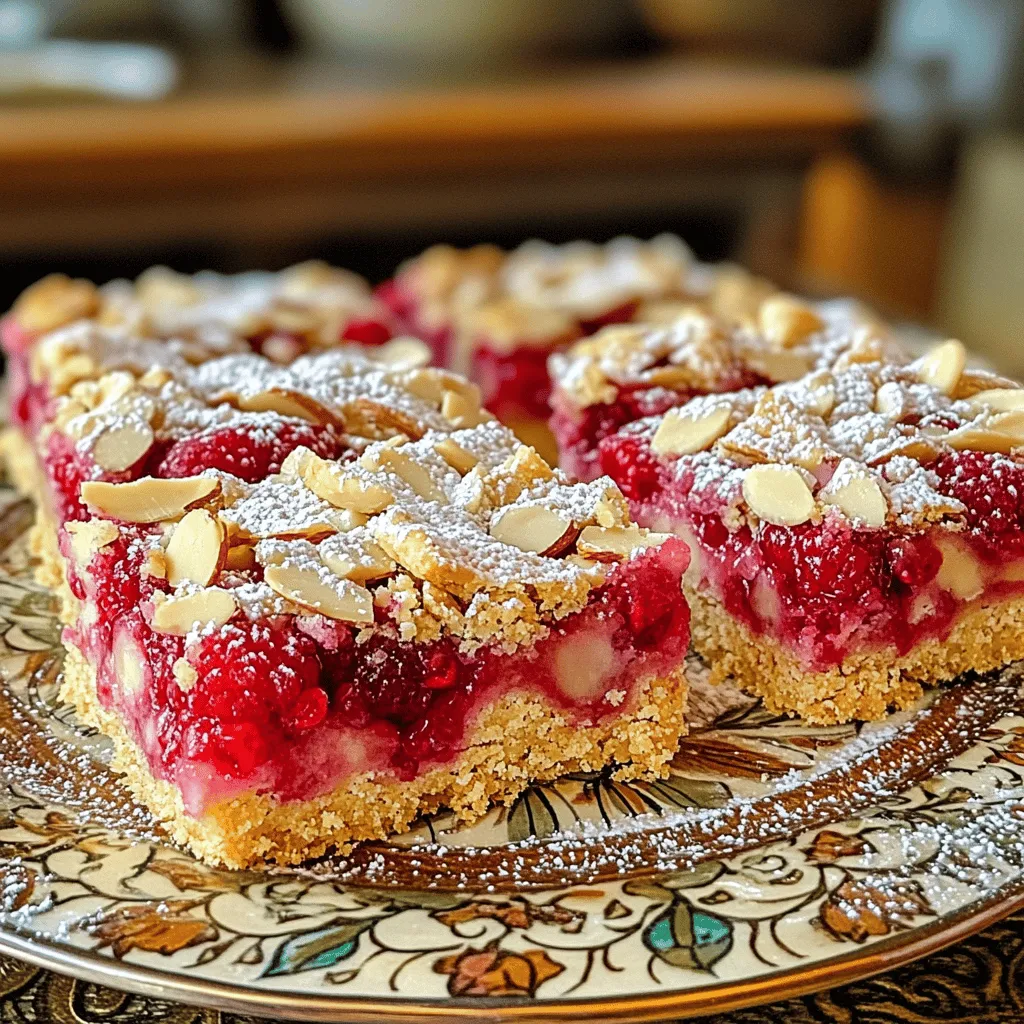
Raspberry Almond Shortbread Bars Simple and Tasty Treat
Looking for a sweet treat that’s easy to make and perfect for any occasion? Raspberry Almond Shortbread Bars are your Read Full Recipe -
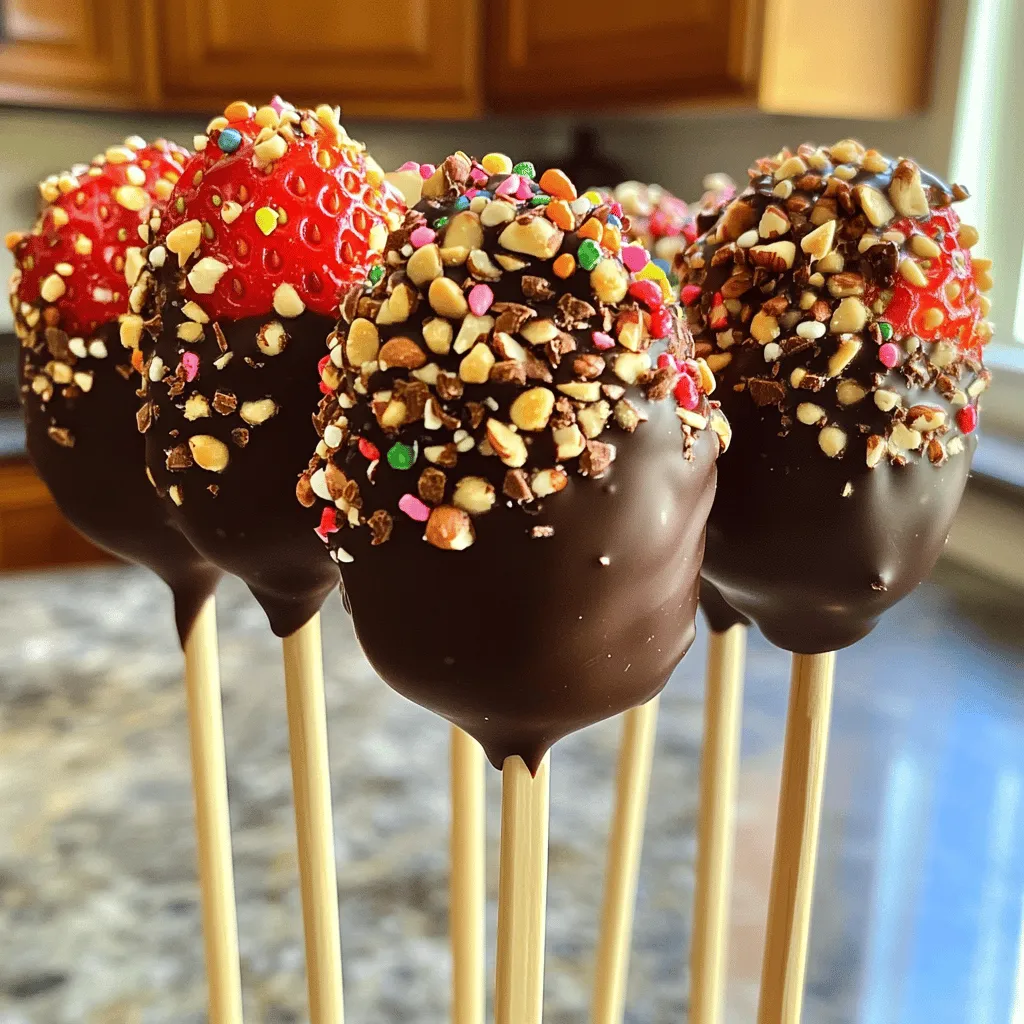
Chocolate Covered Strawberry Pops Delightful Treats
Are you ready for a sweet treat? Chocolate Covered Strawberry Pops are delicious and fun to make. I’ll guide you Read Full Recipe -
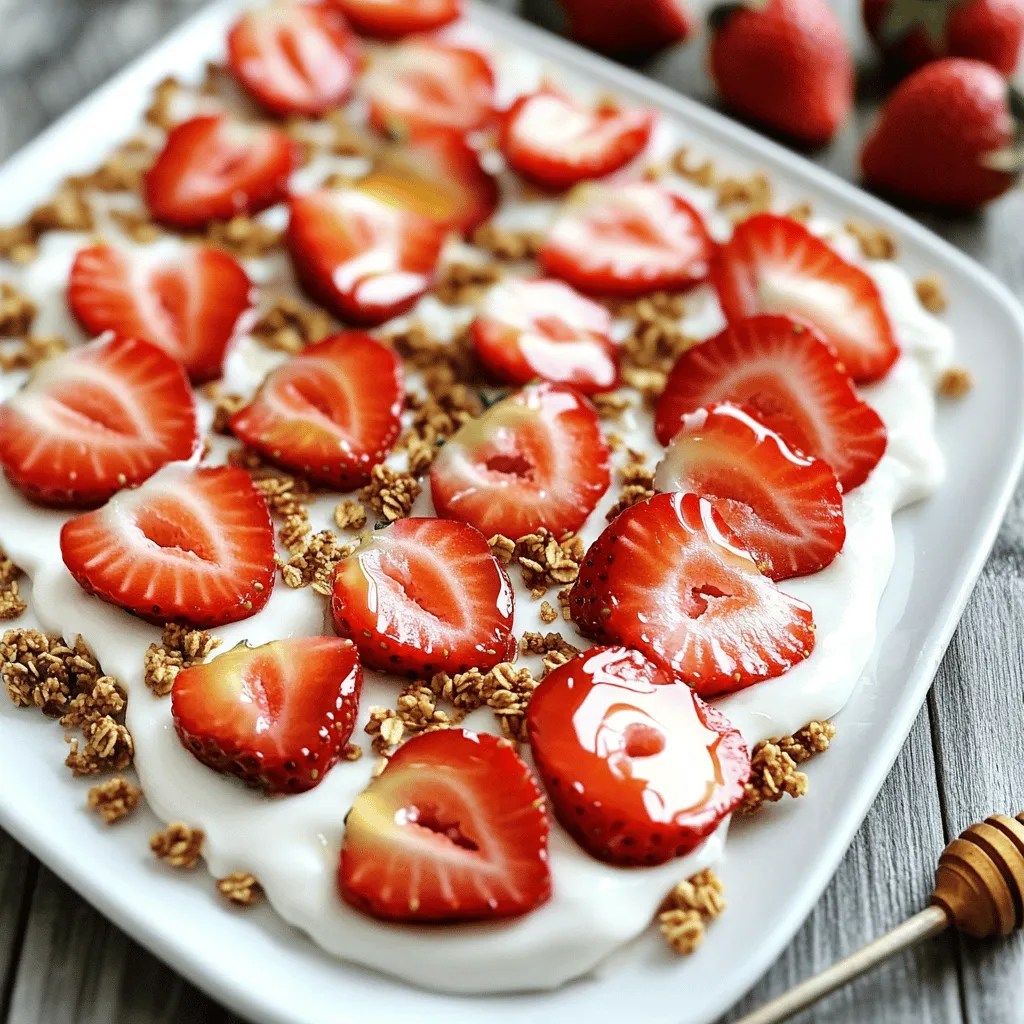
Fresh Strawberry Yogurt Bark Delicious and Easy Treat
Looking for a quick and tasty treat? Fresh Strawberry Yogurt Bark is your answer! This easy recipe combines creamy Greek Read Full Recipe -
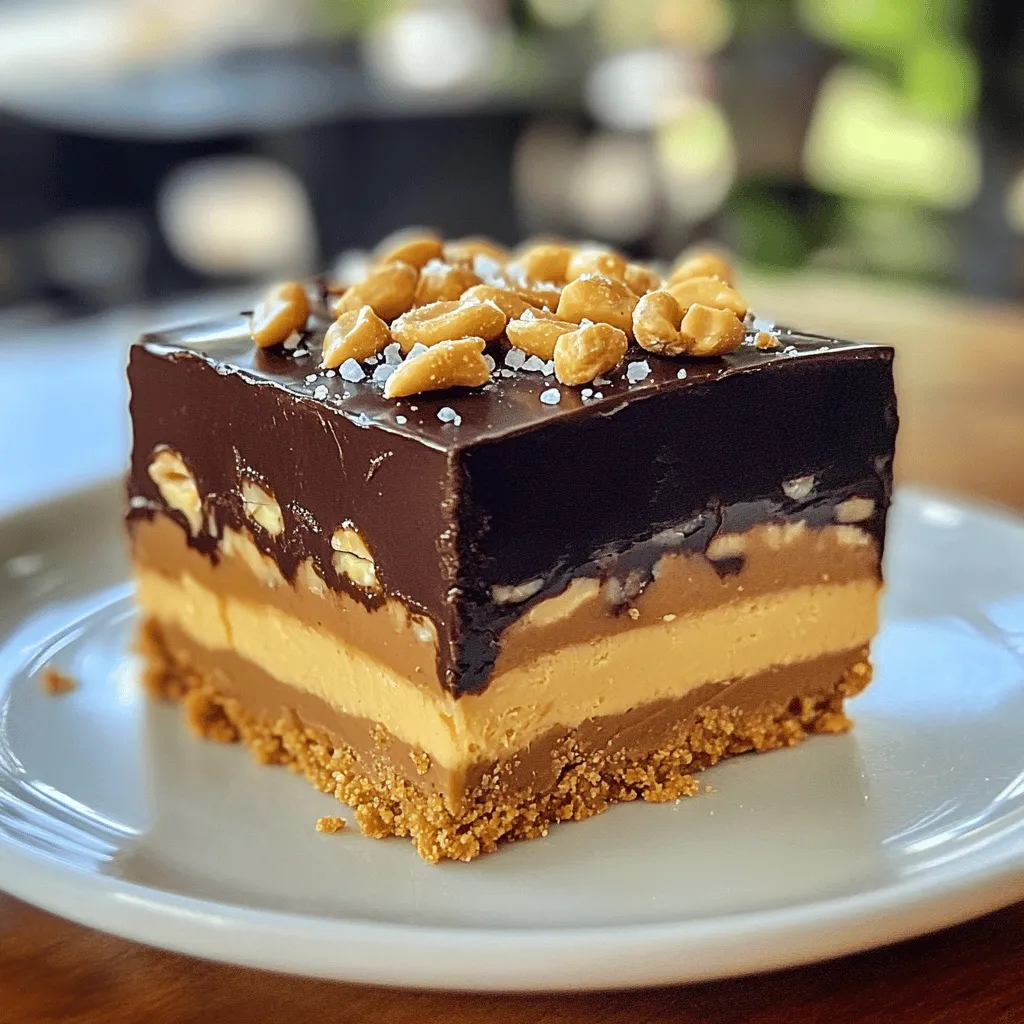
No-Bake Snickers Bars Simple and Decadent Treat
Indulge in a simple and delicious treat with my No-Bake Snickers Bars recipe! These bars come together fast and need Read Full Recipe -
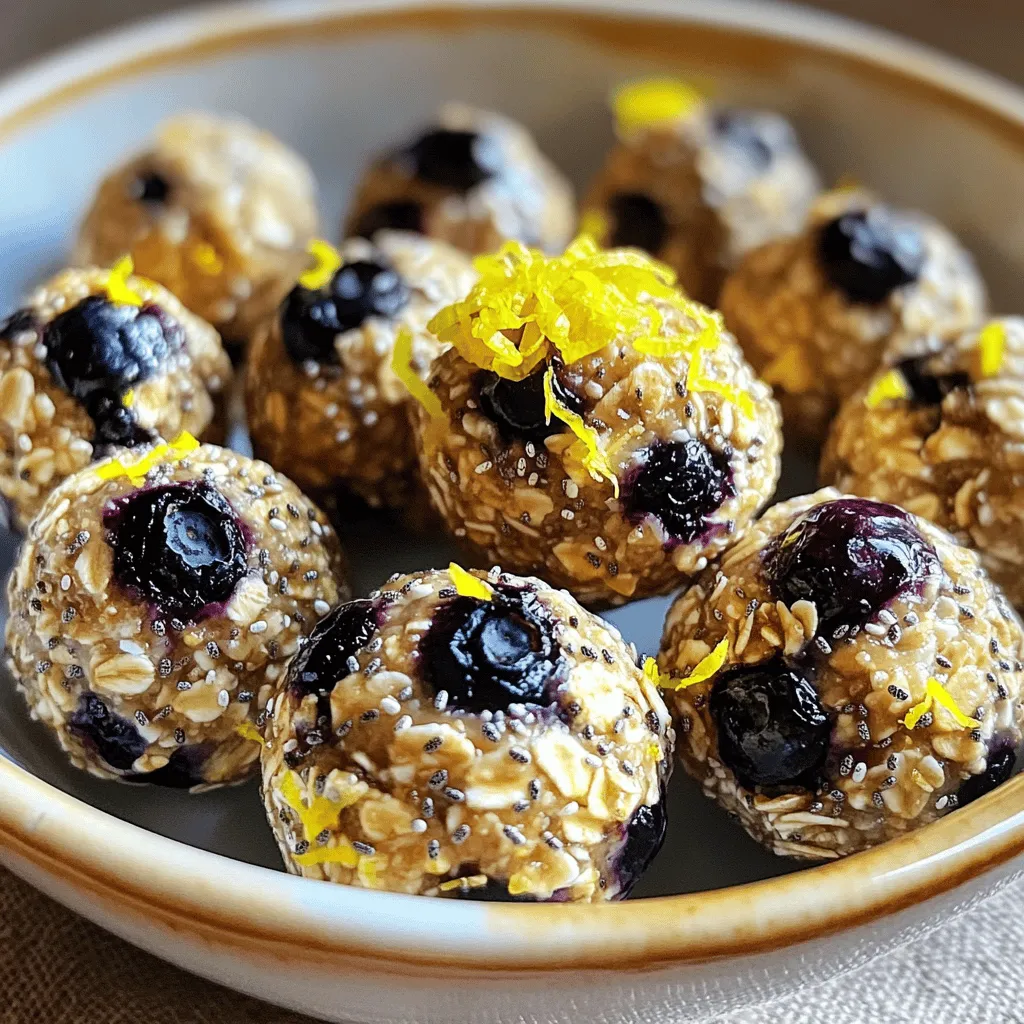
Lemon Blueberry Energy Bites Nourishing Snack Idea
Looking for a tasty, energy-packed snack? Try my Lemon Blueberry Energy Bites! These little balls are the perfect blend of Read Full Recipe -
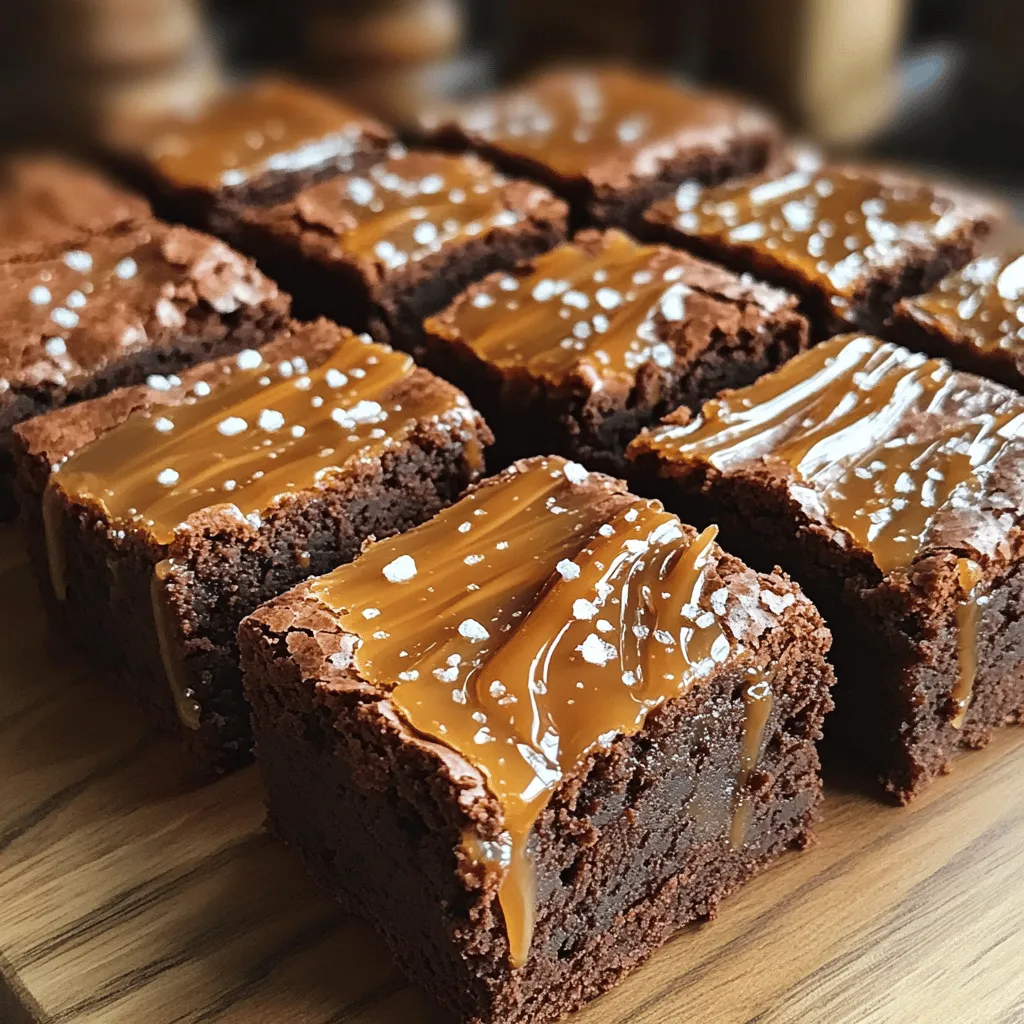
Fudgy Salted Caramel Brownies Rich and Indulgent Treat
Love brownies? Get ready to elevate your dessert game with these Fudgy Salted Caramel Brownies! They combine rich chocolate with Read Full Recipe -
Pumpkin Chocolate Chip Muffins Tasty and Simple Treat
Looking for a delicious treat that’s easy to make? You’re in the right place! These Pumpkin Chocolate Chip Muffins are Read Full Recipe -
Healthy Apple Crisp Flavorful and Nutritious Treat
Are you ready for a delicious treat that’s both flavorful and nutritious? In this post, I’ll show you how to Read Full Recipe


hey,
i’m !
I’m so happy you’re here!
Each recipe I share is a little piece of love from my kitchen. May they fill your heart and home with warmth. Let’s cook up something wonderful together.


![- 1 cup coconut milk (canned or carton) - 1/4 cup chia seeds - 2 tablespoons maple syrup or honey - 1 ripe mango, diced - 1/2 teaspoon vanilla extract - A pinch of salt Coconut milk adds a creamy base. You can use canned or carton coconut milk. Both work well. Chia seeds are the star here. They soak up liquid and create that pudding texture. Choose your sweetener: maple syrup or honey. Both make it delicious! Use a ripe mango for the best flavor. The mango adds freshness and sweetness. A little vanilla extract enhances the taste. Don't forget a pinch of salt. It balances the sweetness nicely. - Toasted coconut flakes - Fresh mint leaves Garnishes take your pudding to the next level. Toasted coconut flakes add crunch and flavor. Fresh mint leaves give a pop of color and freshness. These toppings make your dish look pretty and taste great! For the full recipe, check out the detailed instructions. To start, you need to gather your ingredients. In a medium bowl, combine the following: - 1 cup coconut milk (canned or carton) - 1/4 cup chia seeds - 2 tablespoons maple syrup or honey - 1/2 teaspoon vanilla extract - A pinch of salt Stir these ingredients well until they blend. You want a smooth mix without clumps. This step is key to a creamy texture. Next, cover the bowl with plastic wrap or a lid. Place it in your fridge for at least four hours. For the best results, let it sit overnight. This waiting time lets the chia seeds absorb the liquid. They will swell and create a pudding-like texture that makes this dish delightful. When ready to serve, take the pudding from the fridge. Give it a good stir to break up any clumps. Now, it’s time to layer your dish! Use serving glasses or bowls and start with a layer of chia pudding. Then, add a layer of diced mango. Repeat this layering until the glasses are filled. For the final touches, sprinkle toasted coconut flakes on top. Add a few fresh mint leaves for color and flavor. This adds a lovely crunch and a fresh touch to your Mango Coconut Chia Pudding. Enjoy every spoonful! To get the best texture, refrigerate your pudding for at least four hours. I often let it sit overnight. This lets the chia seeds soak up the coconut milk. You want each seed to swell and create a smooth pudding. To avoid clumps, stir the mix well before it sets. After refrigeration, give it another good stir. This will break up any clumps that may have formed. You can adjust the sweetness to fit your taste. If you like it sweeter, add more maple syrup or honey. Sometimes, I use ripe mashed bananas as a sweetener. They blend in well and add flavor. For a sugar-free option, try stevia or agave syrup. These alternatives work great without adding extra calories. Mango Coconut Chia Pudding is great with other fruits. Try adding berries or sliced bananas for more flavors. This pudding shines as a breakfast option or a tasty dessert. Serve it in pretty glasses for a nice touch. It also makes a fun snack for kids. {{image_2}} You can change the flavor of your Mango Coconut Chia Pudding easily. Adding cocoa powder or chocolate gives it a rich taste. Just mix in a tablespoon of cocoa powder when you blend the base. This twist makes it a fun dessert. You can also use other fruits to spice things up. Try adding berries or bananas for new tastes. Berries add a tart flavor, while bananas bring sweetness. Just chop them and layer them with the pudding. It makes every bite exciting! If you follow a vegan diet, this pudding is perfect. All the ingredients are plant-based. You can use maple syrup as a sweetener, so no worries there. Also, this recipe is gluten-free. Chia seeds and coconut milk do not contain gluten. You can enjoy this treat without any dietary concerns. The way you serve your pudding can make a big impact. Using different glassware can add style. Try mason jars or clear cups for a fun look. You can also layer the pudding with different colors. For example, add a layer of diced mango between pudding layers. It makes the dish look bright and inviting. You can impress your guests with these simple changes! Mango Coconut Chia Pudding will last in the fridge for about 5 days. It’s best to eat it fresh, but you can store it if needed. Just make sure to keep it in a sealed container. This helps keep it fresh and tasty. Using glass jars or airtight containers works best for storage. These keep the pudding safe from air and moisture. If you want to freeze it, pour the pudding into ice cube trays. This way, you can defrost small portions later. Just remember to eat it within a month for the best taste. You don’t need to heat chia pudding before eating. It tastes great cold. If the texture seems thick, you can stir in a splash of coconut milk. This will make it smooth again. Enjoy your pudding as a quick snack or a healthy breakfast! Chia seeds are tiny seeds from the Salvia hispanica plant. They come from Mexico and Guatemala. These seeds are packed with nutrients. They are rich in fiber, protein, and omega-3 fatty acids. Chia seeds can absorb water and swell, making them great for puddings. They help you feel full, making them perfect for a healthy snack. Yes, you can use different types of milk. Almond milk, soy milk, or oat milk work well too. Each milk adds its own flavor. If you're dairy-free, these options are great. Just remember to check if the milk is unsweetened, especially if you want less sugar. This way, your pudding stays healthy and tasty. Absolutely! Mango coconut chia pudding is perfect for meal prep. You can make it ahead of time and store it in the fridge. It stays fresh for about five days. This makes it an easy grab-and-go breakfast or snack. Just layer it in jars for easy serving. You can also switch up the flavors each time for variety. For the full recipe, check out the [Full Recipe]. This article covered the essential ingredients and steps for making a delicious mango coconut chia pudding. You learned about key ingredients like coconut milk and chia seeds, along with tasty variations and tips for serving. Remember to let your pudding chill for the best texture. This dish is perfect for meal prep, healthy snacking, or a satisfying dessert. Enjoy experimenting with flavors and garnishes to make it your own. With all the ideas presented, you can easily create a delightful experience for yourself and others.](https://lisadishes.com/wp-content/uploads/2025/07/32c8cb5f-f9a7-46da-b7ce-ad0c6dfd5f1b-300x300.webp)

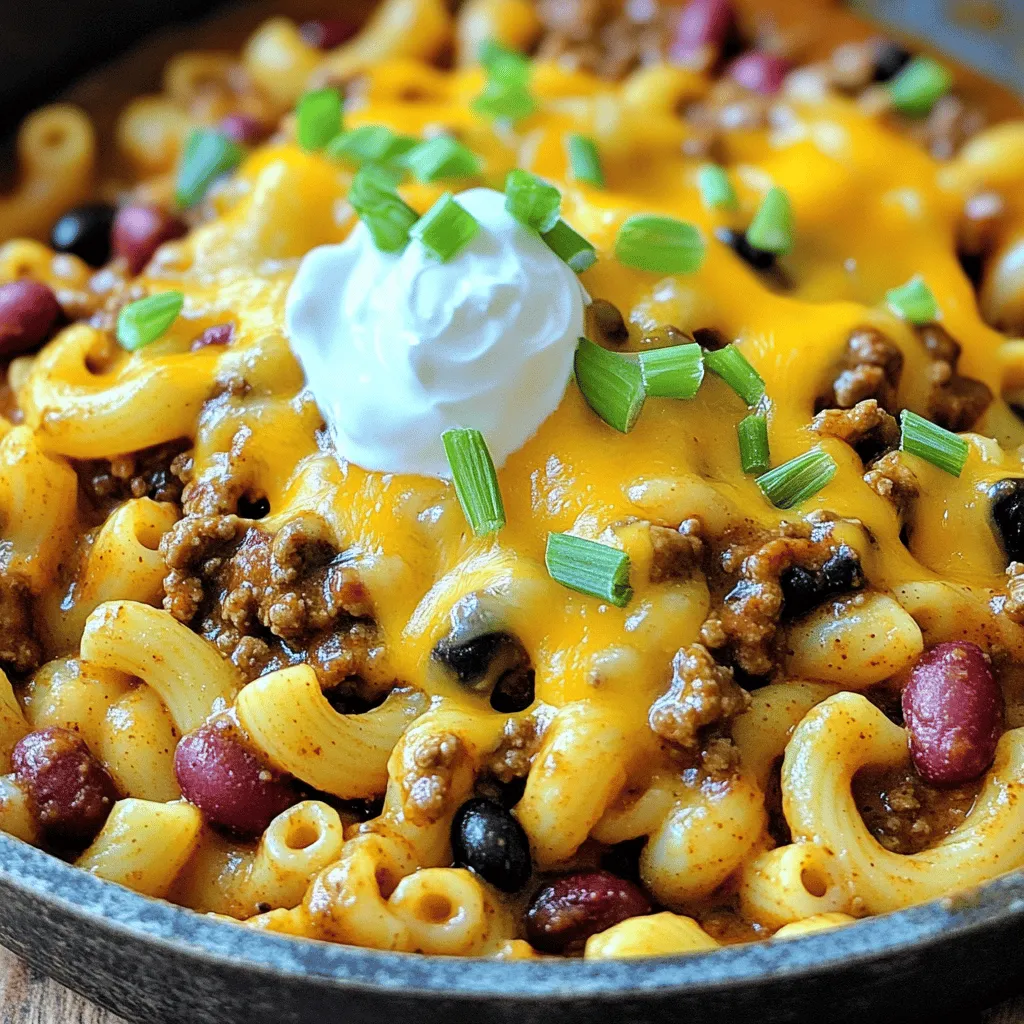
Skillet Chili Mac Comforting Family Meal Idea
Looking for a family meal that packs flavor and comfort? Let me introduce you to Skillet Chili Mac! This one-pan dish is easy to…
My Latest Dinners
-
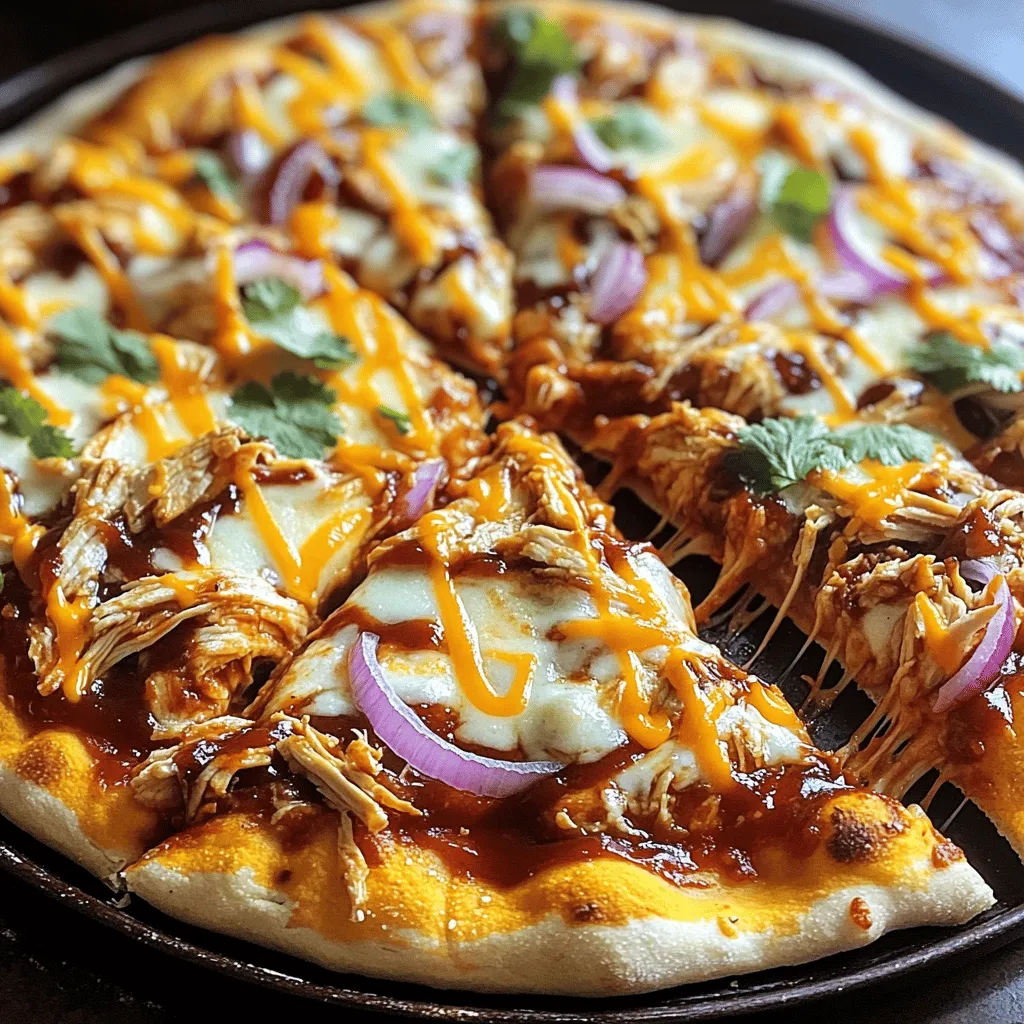
Barbecue Chicken Pizza Delightful and Easy Recipe
Craving a tasty and easy meal? Barbecue Chicken Pizza is the answer! This delightful dish combines tender chicken, zesty barbecue Read Full Recipe -
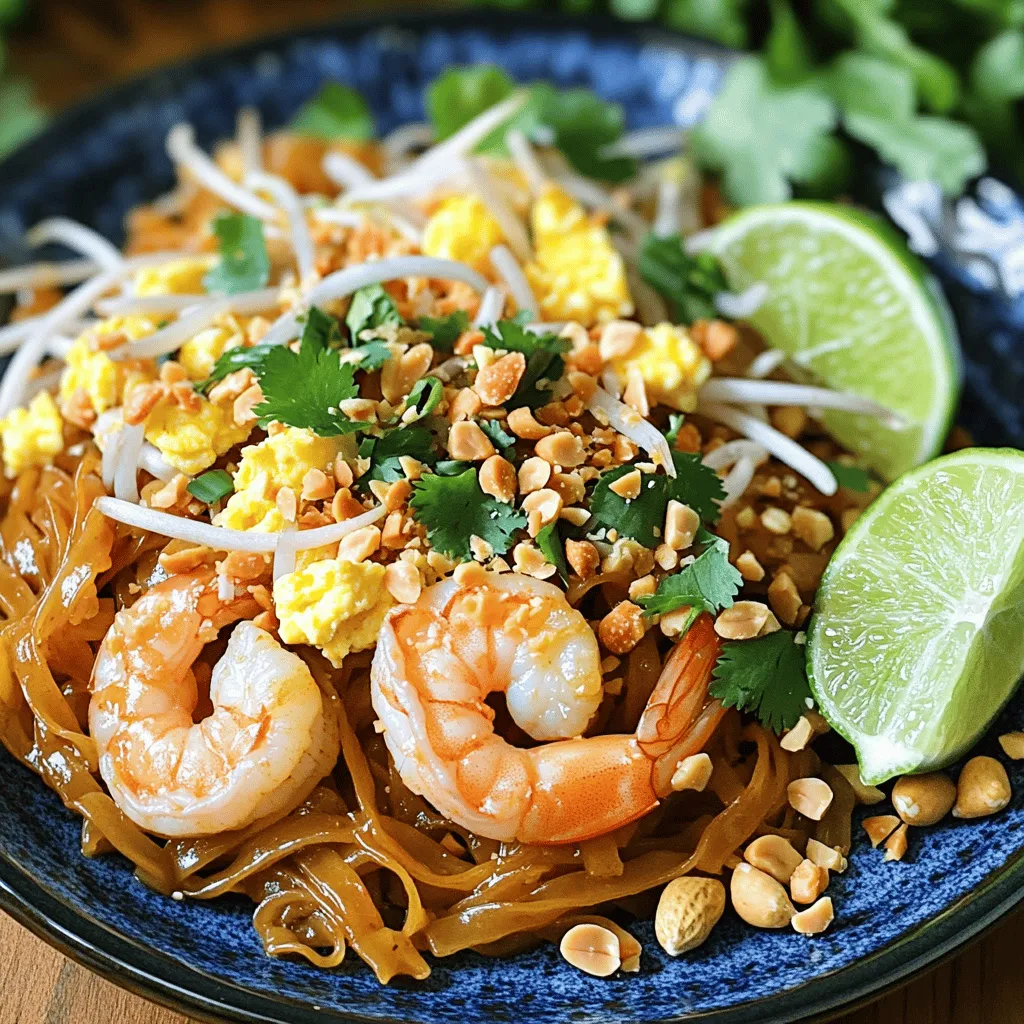
Easy Pad Thai Simple and Flavorful Home Recipe
Craving a delicious meal that’s easy to make at home? Look no further! In this post, I’ll guide you through Read Full Recipe -
Jalapeño Popper Chicken Flavorful and Easy Recipe
If you crave a dish that’s packed with flavor but easy to make, you’ll love Jalapeño Popper Chicken. This recipe Read Full Recipe -
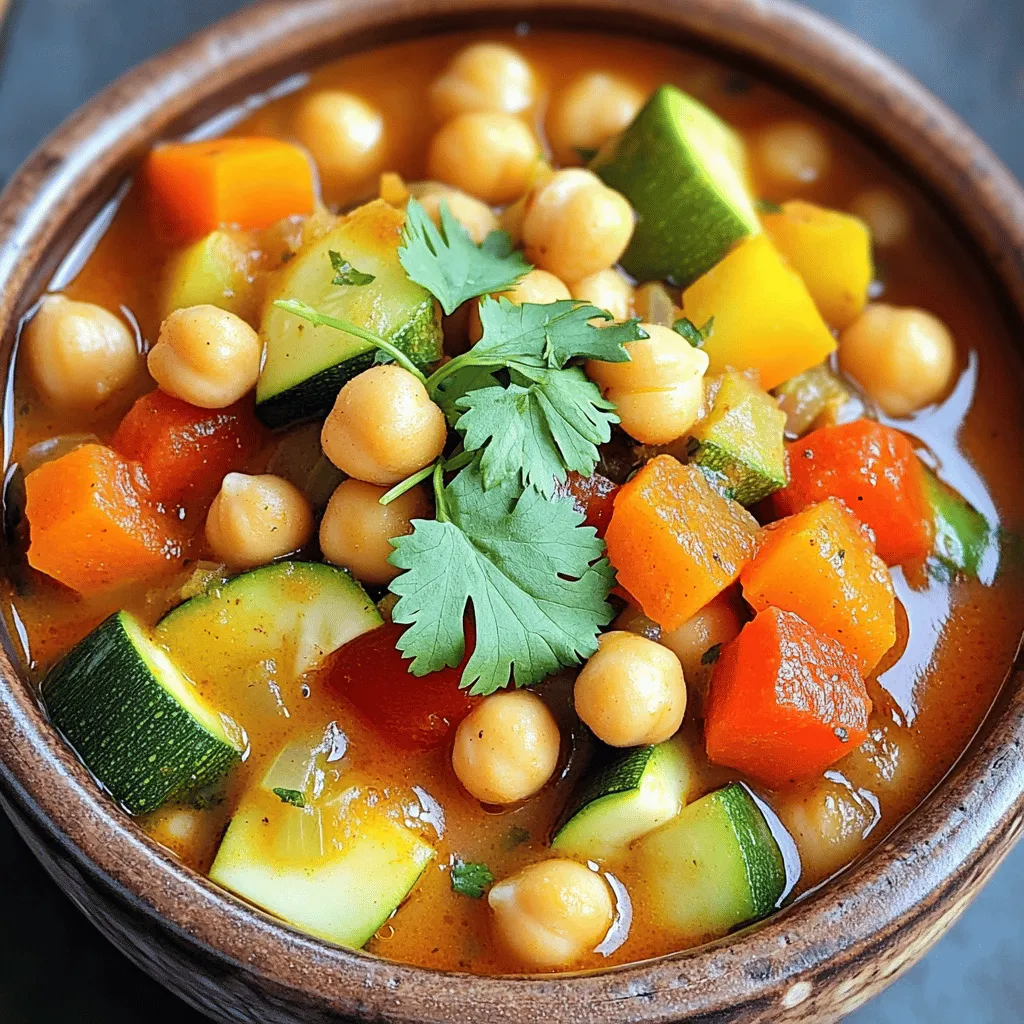
Moroccan Chickpea Stew Flavorful and Hearty Meal
Are you ready to enjoy a hearty meal that bursts with flavor? Moroccan Chickpea Stew is a delicious blend of Read Full Recipe -
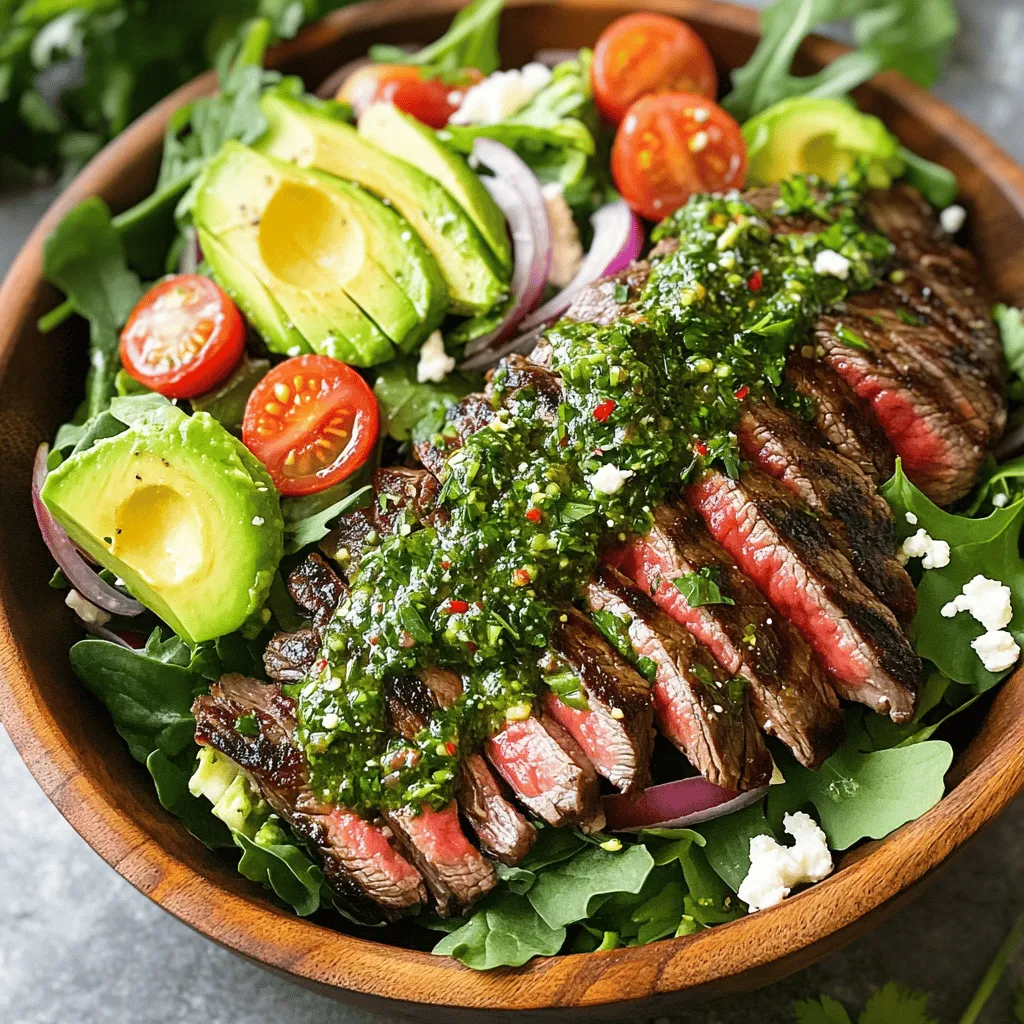
Chimichurri Steak Salad Fresh and Flavorful Meal
Looking for a fresh and flavorful meal? You’ve come to the right place! This Chimichurri Steak Salad combines juicy steak Read Full Recipe -
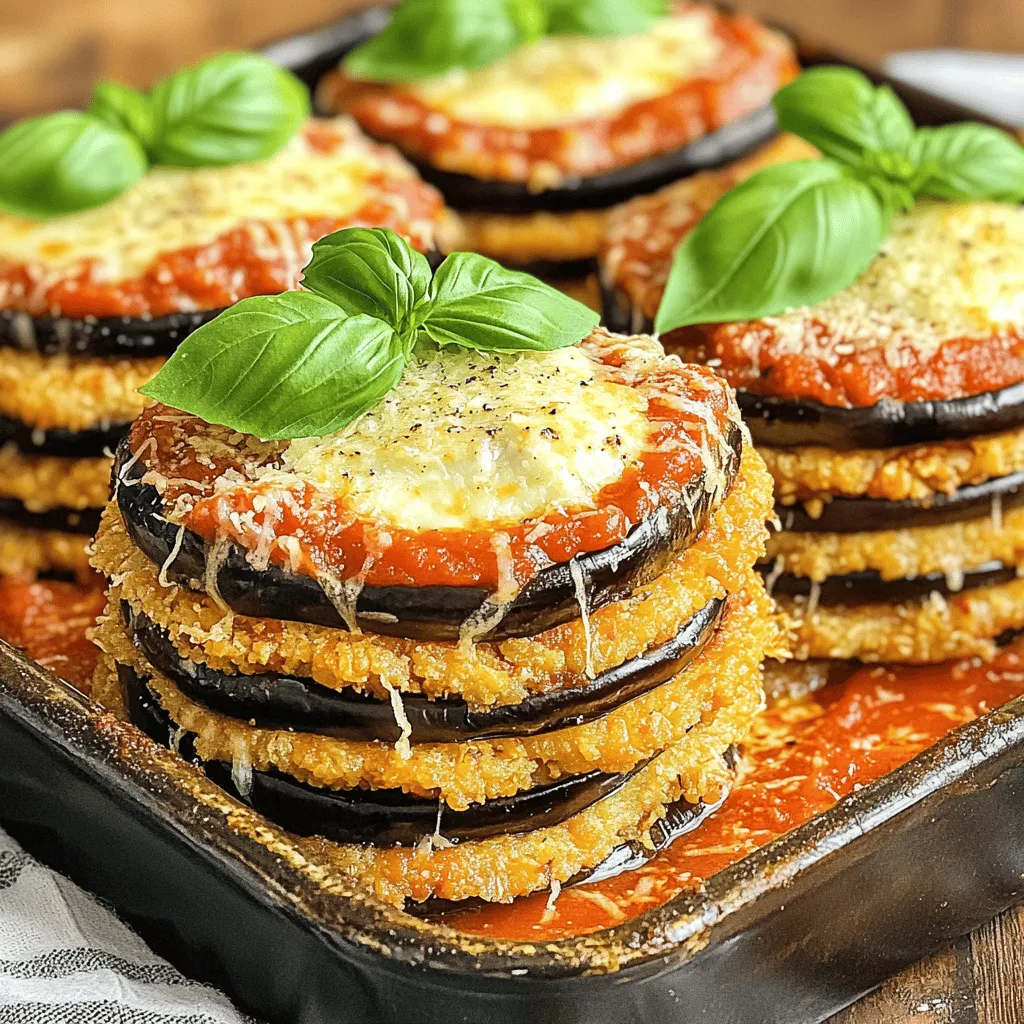
Eggplant Parmesan Stacks Flavorful and Easy Recipe
If you crave a dish that’s both tasty and easy to make, you’ll love Eggplant Parmesan Stacks. This fun twist Read Full Recipe