Latest & Greatest

S’mores Cookies Delightful and Easy Recipe
Get ready to impress your friends and family with the ultimate S’mores Cookies recipe! I’ll guide you step-by-step to create
Read more…
Raspberry Peach Lemonade Refreshing and Fruity Drink
Looking for a drink that’s both refreshing and fruity? You’ve found it! Raspberry Peach Lemonade packs a punch with its
Read more…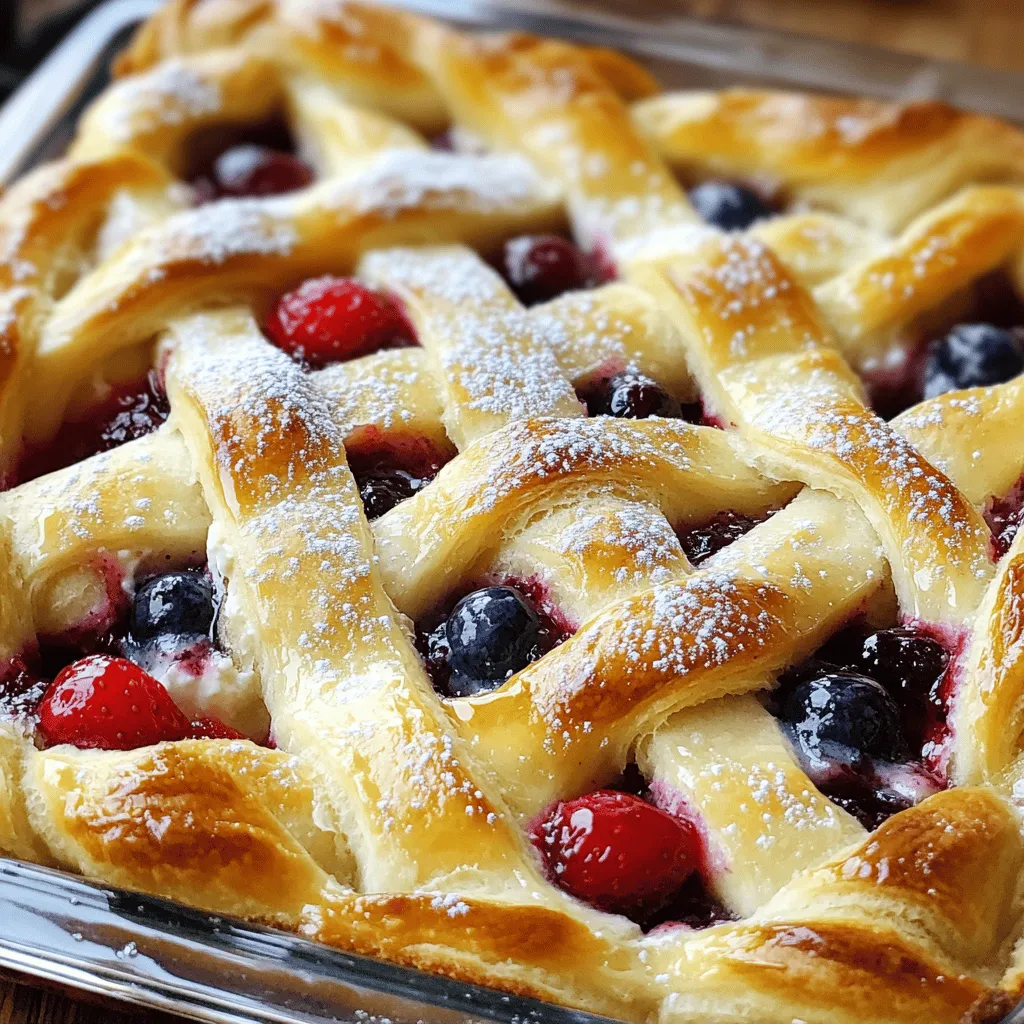
Cheesecake Crescent Rolls Casserole Creamy Delight
Are you ready to dive into a sweet treat that’s simple and oh-so-delicious? This Cheesecake Crescent Rolls Casserole Creamy Delight
Read more…
Grilled Shrimp Bowl with Avocado and Corn Salsa Delight
Get ready for a tasty adventure with my Grilled Shrimp Bowl with Avocado and Corn Salsa! This easy recipe is
Read more…
Creamy Garlic Butter Lobster Tails Delightful Recipe
If you love seafood, you’re in for a treat! This creamy garlic butter lobster tails recipe is easy and delicious.
Read more…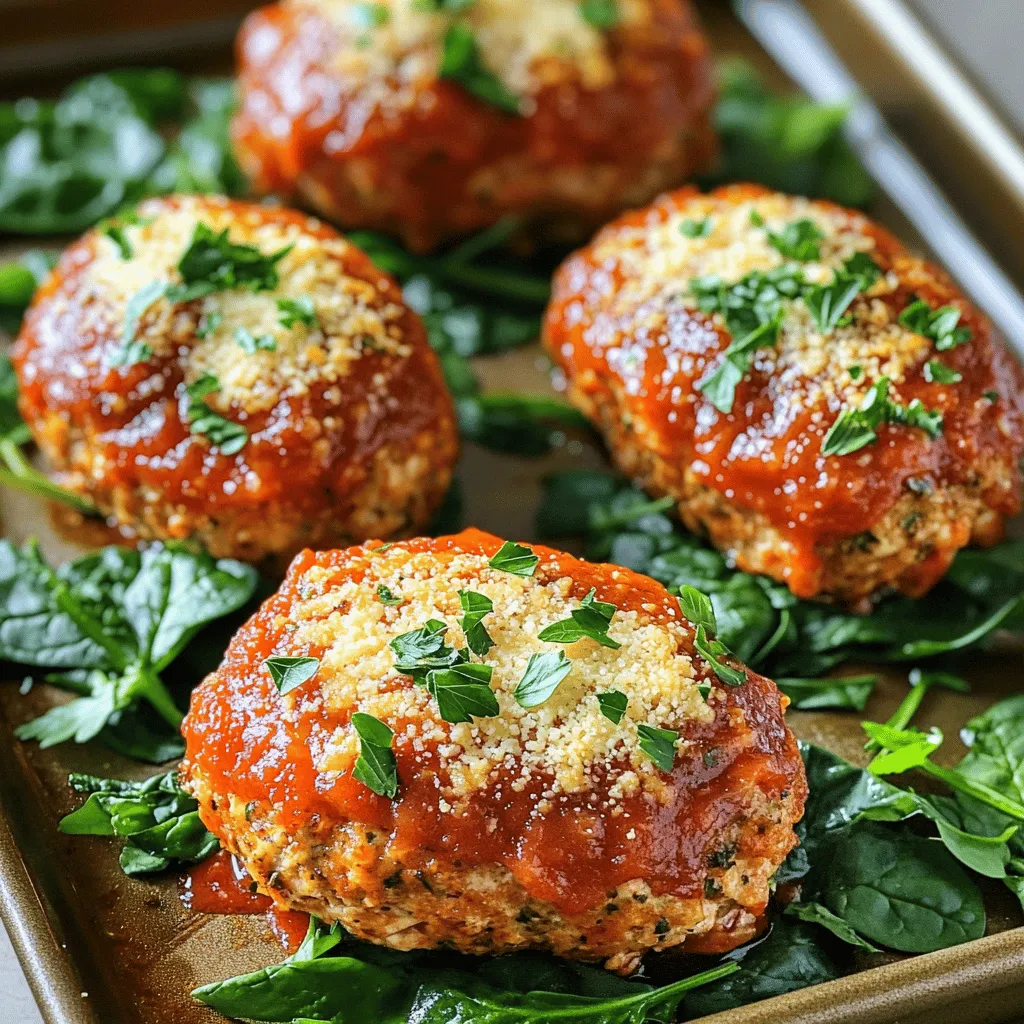
Garlic Parmesan Chicken Meatloaves Flavorful Home Dish
Garlic Parmesan Chicken Meatloaves are a delightful dish that’s simple to make and bursting with flavor. You can enjoy this
Read more…
Spicy Pork Wontons Easy and Flavorful Recipe
Are you ready to spice up your dinner? My easy and flavorful recipe for spicy pork wontons will impress your
Read more…
Sausage Alfredo Pasta Creamy and Satisfying Dish
Are you ready to indulge in a creamy and hearty dish that will delight your taste buds? This Sausage Alfredo
Read more…browse recipes
![The classic BLT sandwich has simple but key ingredients. Each one plays a big role in its taste and texture. Here’s what you need: - Bacon varieties (turkey bacon or regular bacon) - Types of bread (whole grain or sourdough) - Fresh produce (lettuce, tomatoes) - Sauce components (mayonnaise, Dijon mustard) - Optional toppings (avocado, microgreens) 1. Bacon Varieties: You can choose turkey bacon for a lighter option or go for regular bacon for that classic crunch and flavor. Both types bring a unique taste that makes your sandwich delicious. 2. Types of Bread: Whole grain bread adds a nutty flavor, while sourdough gives a tangy twist. Choose what you love most. 3. Fresh Produce: Crisp lettuce and juicy tomatoes are essential. Use romaine or iceberg lettuce for crunch and vine-ripened tomatoes for the best taste. 4. Sauce Components: Mayonnaise adds creaminess, while Dijon mustard gives a slight kick. Mix them well for a tasty spread. 5. Optional Toppings: Want to get fancy? Add sliced avocado for creaminess or microgreens for a fresh bite. These extras can change the whole sandwich. For the full recipe, check out the details above. Enjoy your cooking adventure! To start, you need crispy bacon. I recommend using a skillet for the best results. Heat the skillet over medium heat. Add your bacon slices and cook for about 5-7 minutes on each side. This method gives you that perfect crunch. Once done, place the bacon on paper towels to drain excess grease. If you prefer an easier way, you can cook the bacon in the oven. Preheat your oven to 400°F (200°C). Lay the bacon on a baking sheet lined with foil. Bake for 15-20 minutes, flipping halfway. This method frees up your stovetop and gives you crispy bacon. Next, toast the bread. You can use the same skillet where you cooked the bacon. Just drain the grease if needed. Place the bread slices in the skillet and cook until golden brown, about 2-3 minutes per side. If you’d rather use a toaster, that works too! Toast the bread until it’s nice and brown. This adds a great crunch to your sandwich. Now it’s time to make the sauce. In a small bowl, mix together 2 tablespoons of mayonnaise and 1 teaspoon of Dijon mustard. Stir until smooth and well combined. You can tweak the flavor by adding a pinch of salt and pepper. If you want more zing, add a bit more mustard. This sauce brings everything together. Now, let’s build your BLT! Start with one slice of toasted bread. Spread a generous layer of your sauce on top. Next, add 2 slices of crispy lettuce. Then, place 2 slices of thick tomato on top of the lettuce. Sprinkle a little salt and pepper on the tomato for extra taste. Now, add 2 pieces of bacon. If you want, you can include slices of avocado or a handful of microgreens for added flavor and crunch. Top it off with another slice of toasted bread. Repeat this to make a second sandwich. For a nice presentation, cut each sandwich in half diagonally. This makes it easy to handle and looks great on the plate. You can serve your sandwiches on a rustic wooden board. Add a small bowl of pickles on the side and a serving of potato chips for that extra crunch. This simple touch makes your meal look delicious and inviting. Enjoy your iconic BLT Sandwich with your favorite sides! Using quality ingredients makes all the difference in a BLT. For bacon, I highly recommend crispy turkey bacon. It gives you the crunch without too much fat. If you prefer regular bacon, go for a thick cut. It adds a rich, smoky flavor. Fresh produce is key. Look for vine-ripened tomatoes; they are juicy and sweet. For lettuce, choose romaine or iceberg. Both add a nice crunch. Bread choices affect flavor and texture. I suggest whole grain or sourdough. Whole grain adds a nutty taste. Sourdough offers a tangy flavor and crispy crust. Achieving crispy bacon is an art. Cook it in a skillet over medium heat. Flip it often to ensure even cooking. It takes about 5-7 minutes per side. Drain the bacon on paper towels to remove extra grease. Toasting bread is simple yet crucial. You can use the same skillet once you cook the bacon. Toast each slice until it’s golden brown. This adds texture and keeps the sandwich from getting soggy. To boost flavor, think about adding spices or herbs. A pinch of smoked paprika can add depth. If you enjoy a bit of heat, try crushed red pepper flakes. Customizing the sauce can elevate your BLT. Mix mayonnaise with a teaspoon of Dijon mustard for a tangy kick. You can also add garlic powder for extra flavor. For a twist, consider sliced avocado or microgreens. They add creaminess and freshness to each bite. For the full recipe, visit [Full Recipe]. {{image_2}} You can make your BLT even better with a few easy changes. - Adding cheese for creaminess: Try adding slices of sharp cheddar or creamy goat cheese. The cheese melts a little, giving your sandwich a rich taste. - Switching up the greens: Instead of regular lettuce, use spinach or arugula. These greens add a peppery kick and extra nutrients. Want to shake things up? There are many fun ways to change your BLT. - Using flavored mayonnaise: Mix in chipotle for a smoky taste or garlic for a zing. These flavors will take your sandwich to a whole new level. - Exploring different bacon types: Use pork bacon for that classic taste, or try turkey bacon for a lighter option. You can even find vegetarian bacon made from plants! Eating healthy doesn’t mean giving up on flavor. - Low-calorie bread options: Choose whole grain or low-calorie bread. These options keep your sandwich tasty while cutting calories. - Using turkey bacon or veggie bacon: Both options give you the bacon flavor with less fat. They are great for anyone watching their diet. For the full recipe, check out my Classic BLT Sandwich! To keep your bacon and bread fresh, follow these tips: - Bacon: Store cooked bacon in an airtight container. It lasts about 4-5 days in the fridge. If it's uncooked, wrap it tightly and keep it in the fridge or freezer. - Bread: For leftover bread, place it in a zip-top bag. Keep it at room temperature for a few days. If you want it to last longer, freeze the bread. When it comes to mayonnaise-based mixtures, like the one in the BLT, follow these tips: - Store any leftover sauce in a sealed container. It will stay fresh in the fridge for about a week. - Always check for any off smells or changes in texture before using leftovers. If you want to prepare sandwiches in advance, here’s how: - Prepare the ingredients but don’t assemble the sandwich right away. Keep them separate for best results. - Store the bacon, lettuce, and tomatoes in separate containers. This helps maintain their freshness and flavor. - Assemble the sandwich just before eating. This keeps the bread from getting soggy. You might wonder if you can freeze sandwiches. The answer is yes, but with some rules: - You can freeze the bacon and the bread. However, avoid freezing assembled sandwiches. They may lose their texture. - If you freeze bacon, wrap it in plastic wrap and then place it in a freezer bag. This prevents freezer burn. - For bread, slice it before freezing. This makes it easier to grab what you need later. - When ready to eat, thaw the bacon in the fridge overnight and toast the bread for that perfect crunch. For a full recipe, check out the details above and enjoy your Classic BLT! You can cook bacon in a skillet or oven. The skillet gives you crispy bacon quickly. Cook it over medium heat for about 5-7 minutes. Watch it closely to avoid burning. You can also bake bacon in the oven. Preheat the oven to 400°F. Lay strips on a baking sheet and bake for about 15-20 minutes. This method is easy and keeps your kitchen clean. Yes, you can! Use meat substitutes like tempeh, tofu, or veggie bacon. For added flavor, try marinating these options. You can also add grilled vegetables, like eggplant or zucchini. They bring a nice texture and taste. Using avocado is another great choice. It adds creaminess and richness to the sandwich. To keep your bread dry, follow these tips: - Toast the bread well. This creates a barrier. - Use less mayonnaise or spread it on just one side. - Pat the tomatoes dry with a paper towel. - Layer the lettuce between the mayo and tomatoes. This helps absorb moisture. A prepared BLT lasts about 2-3 hours at room temperature. If you must store it, wrap it tightly in plastic. Keep it in the fridge for up to 1 day. Be aware that the bread may get soggy. It’s best to eat it fresh for the best flavor. Here are some great side dishes: - Potato chips for crunch. - A simple side salad for freshness. - Pickles for a tangy kick. - Sweet potato fries for something different. These options complement the BLT well and enhance your meal. For the full recipe, check out the section above. You learned how to create the perfect BLT sandwich. From selecting quality ingredients to crispy bacon and fresh bread, each step matters. You can customize flavors to suit your taste with sauces and toppings. Remember to store leftovers properly to maintain freshness. This classic sandwich is versatile, making it easy to adapt or enjoy as is. With these tips, you can make a tasty BLT that will impress anyone. Enjoy your sandwich-making journey!](https://lisadishes.com/wp-content/uploads/2025/06/a459258c-ae8f-4f4e-833f-9af8045d1a36.webp)
Classic BLT Sandwich Tasty and Simple Recipe Guide
Are you ready to elevate your lunch game? The Classic BLT Sandwich is a timeless favorite, combining crispy bacon, fresh lettuce, and juicy tomatoes.…
My Latest Desserts
Pumpkin Spice Energy Bites Tasty and Healthy Snack
Looking for a tasty and healthy snack to fuel your day? This Pumpkin Spice Energy Bites recipe is your answer! Read Full RecipeStrawberry Chia Seed Jam Tasty and Healthy Treat
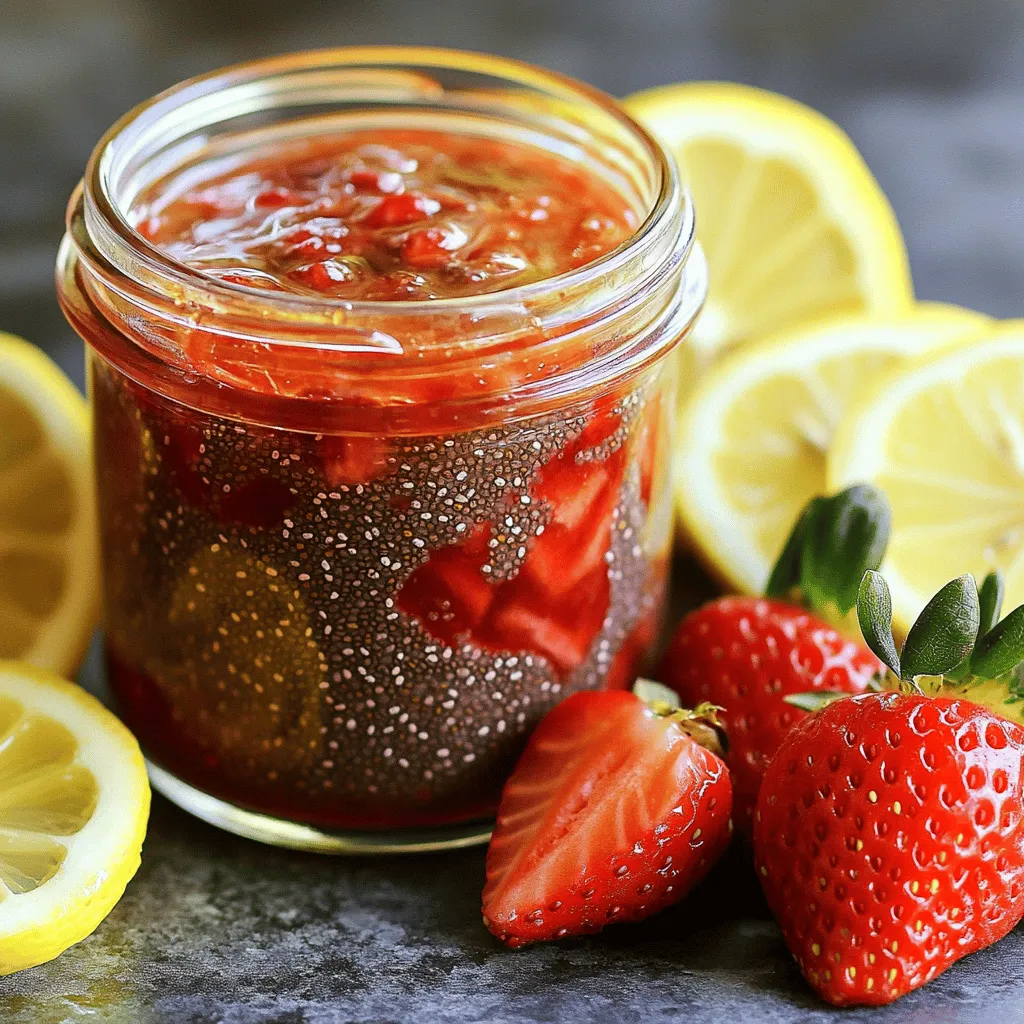
If you’re craving a sweet treat that’s also good for you, I’ve got just the thing: Strawberry Chia Seed Jam! Read Full RecipeMango Coconut Chia Pudding Healthy and Easy Recipe
Are you ready to indulge in a delicious, healthy treat? Mango Coconut Chia Pudding is simple to make and packed Read Full RecipePumpkin Spice Muffins Warm and Cozy Fall Treat
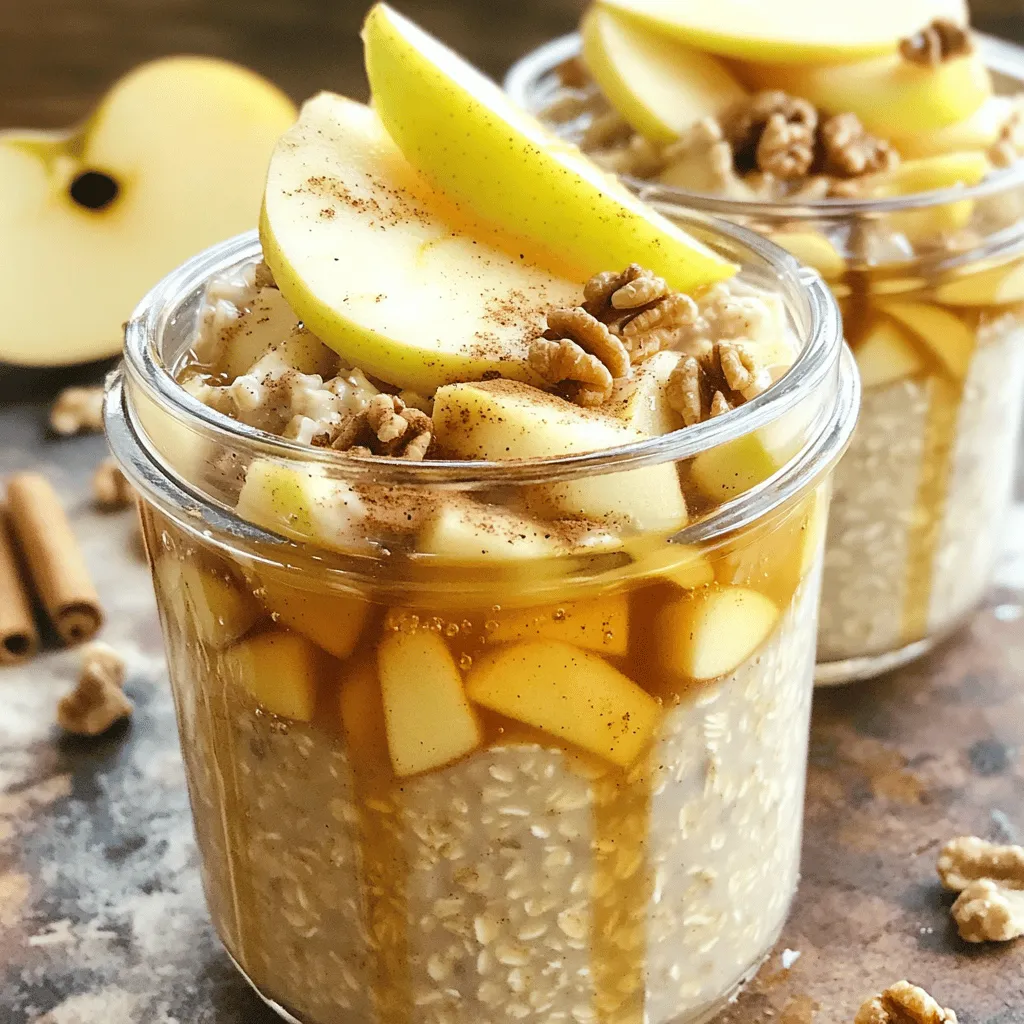
Fall is the perfect time for warm and cozy treats, and nothing says autumn like pumpkin spice muffins. These fluffy Read Full RecipeApple Cinnamon Overnight Oats Healthy Breakfast Option
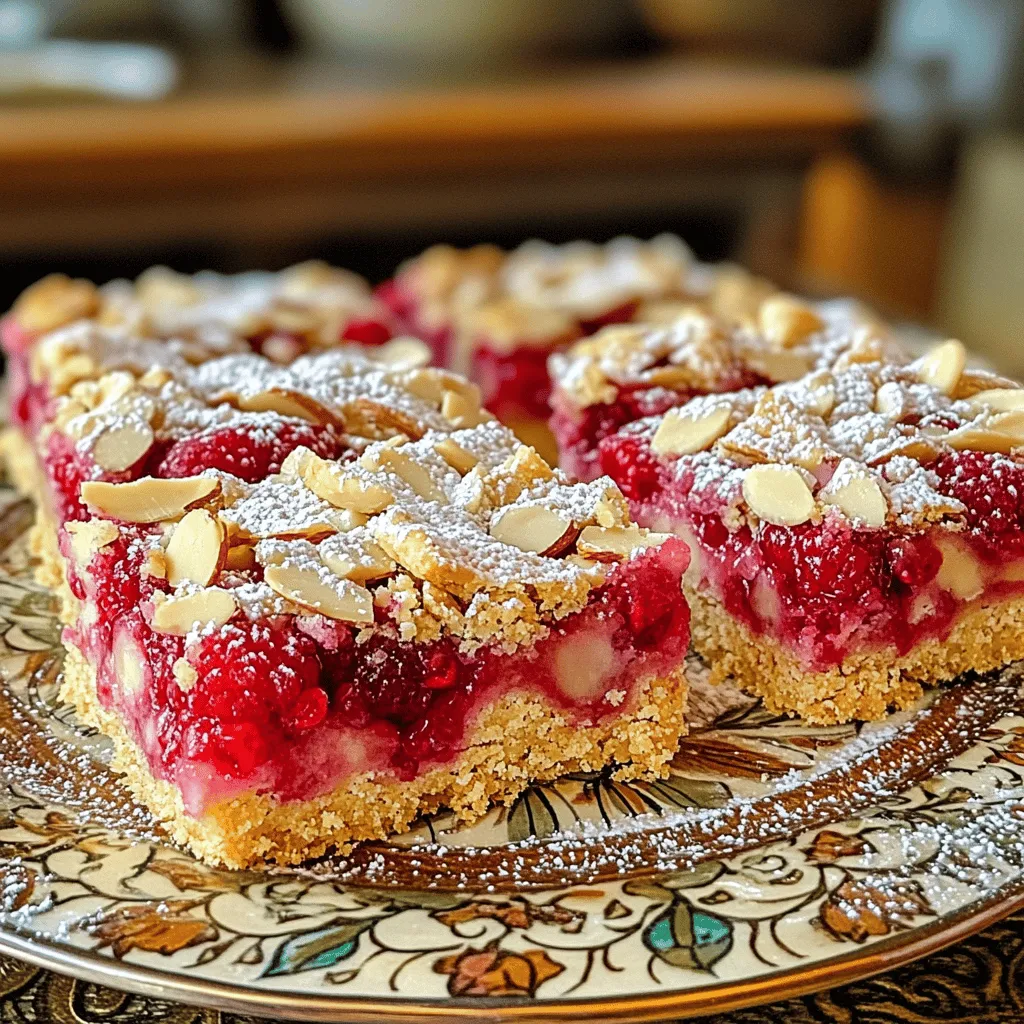
Looking for a quick and healthy breakfast? You’ve found it! Apple Cinnamon Overnight Oats are the perfect choice for busy Read Full RecipeRaspberry Almond Shortbread Bars Simple and Tasty Treat
Looking for a sweet treat that’s easy to make and perfect for any occasion? Raspberry Almond Shortbread Bars are your Read Full RecipeChocolate Covered Strawberry Pops Delightful Treats
Are you ready for a sweet treat? Chocolate Covered Strawberry Pops are delicious and fun to make. I’ll guide you Read Full RecipeFresh Strawberry Yogurt Bark Delicious and Easy Treat
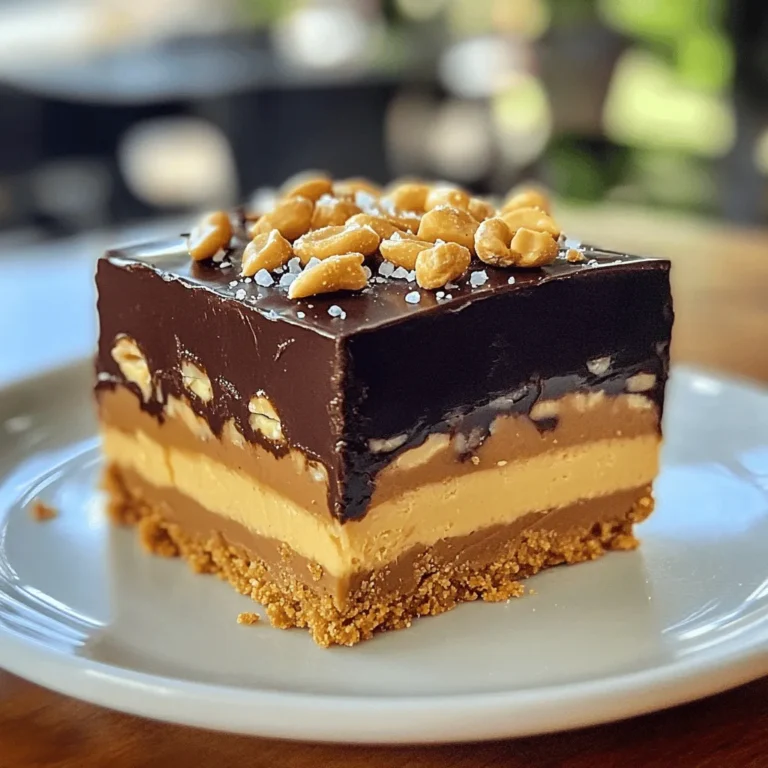
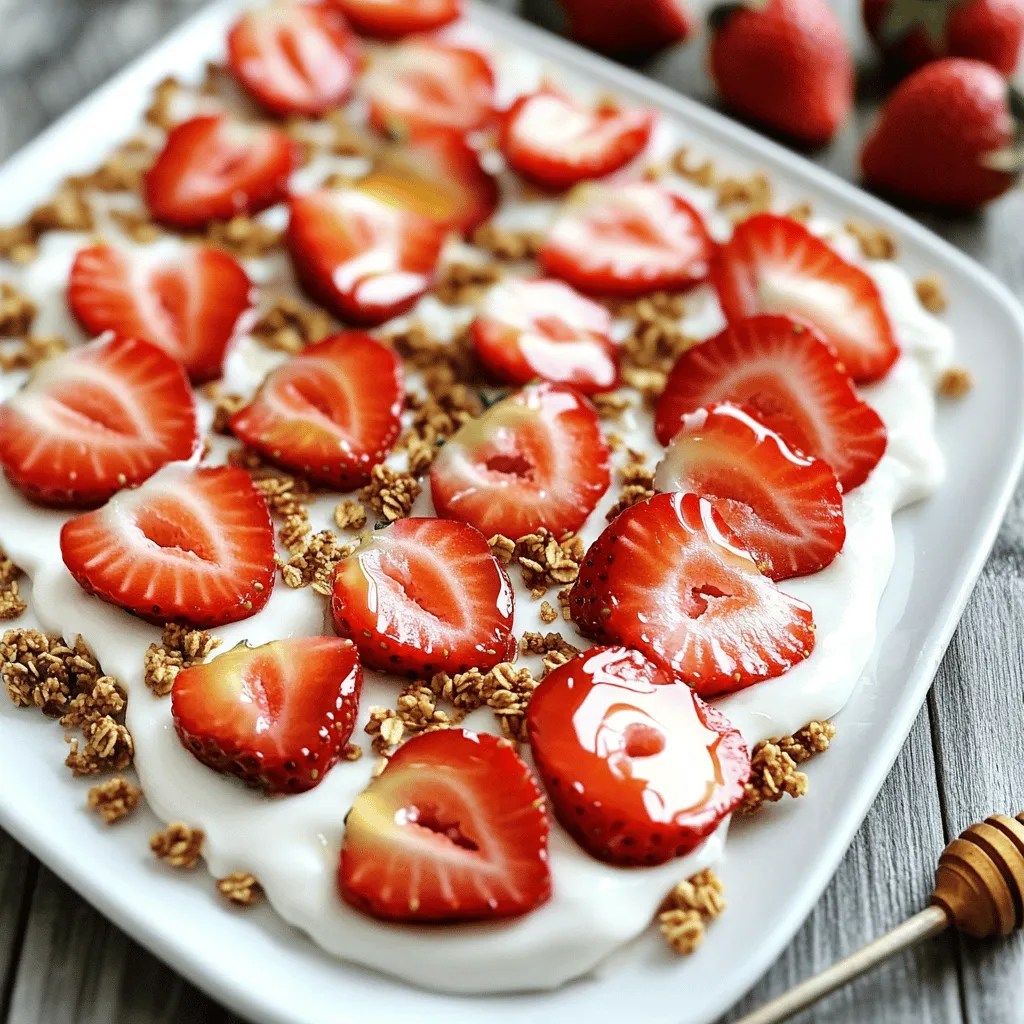
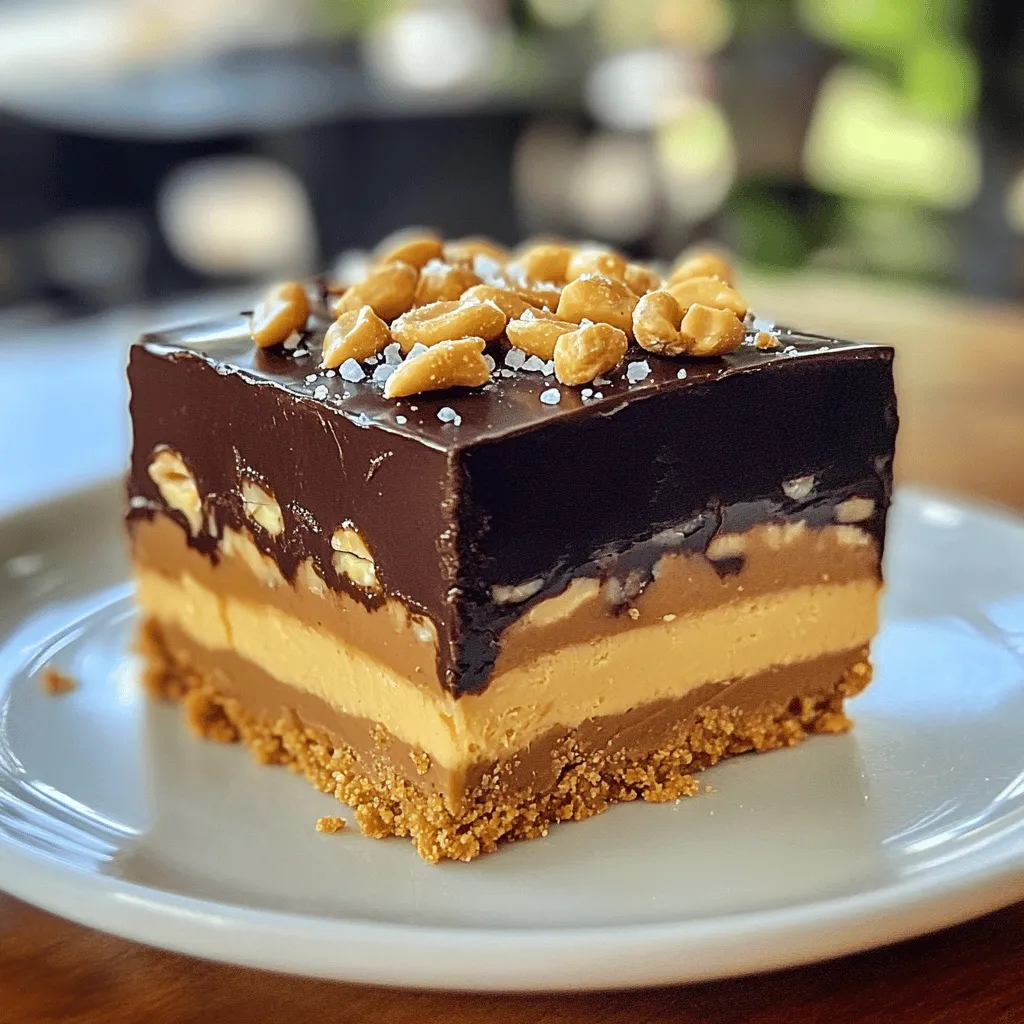
Looking for a quick and tasty treat? Fresh Strawberry Yogurt Bark is your answer! This easy recipe combines creamy Greek Read Full RecipeNo-Bake Snickers Bars Simple and Decadent Treat
Indulge in a simple and delicious treat with my No-Bake Snickers Bars recipe! These bars come together fast and need Read Full RecipeLemon Blueberry Energy Bites Nourishing Snack Idea
Looking for a tasty, energy-packed snack? Try my Lemon Blueberry Energy Bites! These little balls are the perfect blend of Read Full Recipe
My Latest Recipes
hey,
i’m !
I’m so happy you’re here!
Each recipe I share is a little piece of love from my kitchen. May they fill your heart and home with warmth. Let’s cook up something wonderful together.
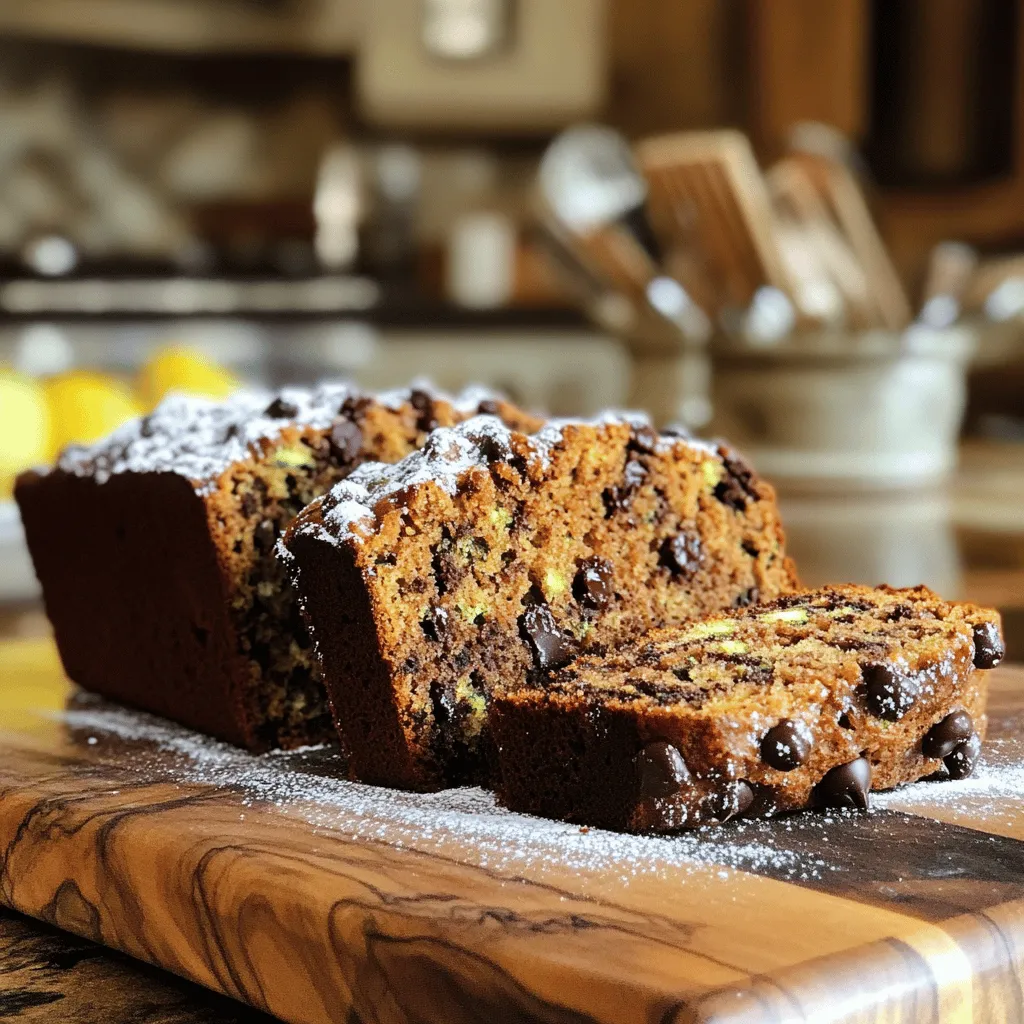
Savory Chocolate Chip Zucchini Bread Easy and Tasty Treat
If you love sweet treats that are easy to make, then you’ll adore this Chocolate Chip Zucchini Bread! This recipe combines fresh zucchini with…








![To make the 20-Minute One-Pan Spinach Gnocchi, gather these key components: - 1 pound store-bought potato gnocchi - 2 cups fresh spinach, roughly chopped - 1 cup cherry tomatoes, halved - 1 cup heavy cream - 1/2 cup grated Parmesan cheese - 2 cloves garlic, minced - 2 tablespoons olive oil - 1/2 teaspoon red pepper flakes (optional, for heat) - Salt and pepper to taste - Fresh basil leaves for garnish Using fresh ingredients makes a big difference in flavor. Fresh spinach adds a bright taste. Cherry tomatoes burst with juice, enhancing the dish. Heavy cream creates a rich and creamy sauce. If you prefer, frozen ingredients can work too. Just thaw the spinach and tomatoes before cooking. They may not taste as vibrant, but the dish will still be good. For those with dietary needs, substitutions are easy. Use gluten-free gnocchi instead of regular ones. This keeps the dish friendly for gluten-sensitive eaters. You can also swap heavy cream with a non-dairy option like coconut cream. Enjoy making this meal suit your taste! For the full recipe, check out the One-Pan Wonder: Spinach Gnocchi Delight. 1. Preparing the skillet and sautéing garlic Start by heating 2 tablespoons of olive oil in a large non-stick skillet over medium heat. Once the oil is hot, add 2 cloves of minced garlic. Sauté for about 1 minute. You want the garlic to be fragrant but not browned. This step adds a lovely base flavor. 2. Cooking the cherry tomatoes Next, you will add 1 cup of halved cherry tomatoes to the skillet. Cook these for about 2-3 minutes. You want them to start softening and releasing their juices. This will help create a nice sauce for the gnocchi. 3. Adding gnocchi and heavy cream Now, it’s time to add 1 pound of store-bought potato gnocchi to the skillet. Stir gently and cook for about 3-4 minutes. You want the gnocchi to get a little golden. Then, pour in 1 cup of heavy cream. If you like heat, sprinkle in 1/2 teaspoon of red pepper flakes. Season with salt and pepper to taste. 4. Incorporating spinach and finishing touches Gently fold in 2 cups of roughly chopped fresh spinach. Allow the mixture to simmer for another 5-6 minutes. This step thickens the cream and wilts the spinach. The colors will be bright and inviting. 5. Presentation tips for serving Once everything is done, sprinkle 1/2 cup of grated Parmesan cheese over the top. Stir until the cheese melts into the dish. For serving, you can either keep it in the pan for a casual meal or spoon it into bowls. Top with fresh basil leaves for a pop of color. This makes the dish look beautiful and fresh. You can find the [Full Recipe] for more details. Enjoy your quick and easy meal! To get the best texture for gnocchi, choose store-bought options. They offer a soft, pillowy bite. Be gentle when stirring in the pan. Over-mixing can break them apart. Adjust cooking time based on your stove. If it cooks fast, check the gnocchi sooner. If it’s slower, give it a bit more time. Always keep an eye on the pan. Seasoning is key! Taste as you cook and adjust salt and pepper. A hint of red pepper flakes can add a nice kick. Save time by prepping ingredients first. Chop garlic and tomatoes right before you start cooking. This way, you won’t waste time looking for things. While the gnocchi cooks, wash your cutting board and tools. This keeps your kitchen tidy and ready for the next meal. You can also set the table or prep drinks during cooking. {{image_2}} You can easily swap out ingredients in this dish. Try using kale or broccoli instead of spinach. Both add great flavor and nutrition. If you want a different cheese, consider using mozzarella or feta. Each offers a unique taste that can change the dish. Adding proteins like chicken or sausage can make it heartier. Just cook the protein first, then add the other ingredients. Herbs can really lift the flavors in this dish. Fresh basil, parsley, or oregano add brightness. You can also try spicy variations by adding different peppers. Jalapeños or red pepper flakes can bring some heat. Adjust the amount based on your spice level. These enhancements make the dish fun and exciting. You can create a new meal every time! To keep your leftover gnocchi fresh, store it in the fridge. Place it in an airtight container. You can enjoy the gnocchi for up to three days. If you want to keep it longer, freeze it. Put it in a freezer-safe bag or container. Frozen gnocchi stays good for about two months. When reheating gnocchi, keep its texture in mind. The best way is to use a skillet. Add a splash of water or cream to help it heat evenly. Warm it over low heat, stirring gently. This method keeps the gnocchi soft and tasty. Avoid using the microwave, as it can make the gnocchi tough. For a full experience, check out the Full Recipe for detailed steps and tips! Can I make my own gnocchi? Yes, you can make your own gnocchi at home. It’s fun and simple! You’ll need potatoes, flour, and eggs. Cook the potatoes, mash them, then mix with flour and egg. Roll, cut, and shape them into small pieces. This adds a special touch to your meal. How do I know when the gnocchi is cooked? Gnocchi is cooked when it floats to the top of the water. This means they are light and ready to eat. You can also taste one to check for doneness. It should be soft but not mushy. What can I serve with 20-Minute One-Pan Spinach Gnocchi? This dish is great on its own, but you can add a side salad. A fresh green salad adds crunch and color. Garlic bread also pairs well. It helps soak up the creamy sauce and adds flavor. Can this dish be made ahead of time? Yes, you can prepare this dish ahead of time. Cook it, let it cool, and store it in the fridge. Reheat it in a skillet or microwave when you are ready to eat. The flavors will blend nicely overnight. What to do if the sauce is too thick or too thin? If the sauce is too thick, add a splash of water or broth. Stir well until it reaches your desired consistency. If the sauce is too thin, let it simmer longer. This helps it thicken up. You can also add more cheese for richness. For the full recipe, check out the [Full Recipe]. You learned how to make a tasty 20-Minute One-Pan Spinach Gnocchi. We covered ingredients, steps, and tips for cooking. Fresh ingredients can boost flavor, and substitutions make it easy for everyone. I shared quick cooking tips to keep you efficient. Remember, feel free to change the recipe with different veggies or proteins to suit your taste. With the right storage, your leftovers can last. Enjoy your cooking journey, and have fun creating your own versions of this dish!](https://lisadishes.com/wp-content/uploads/2025/05/3bfc30b8-1b07-471a-9164-2d4de0c2e563-300x300.webp)


