Latest & Greatest
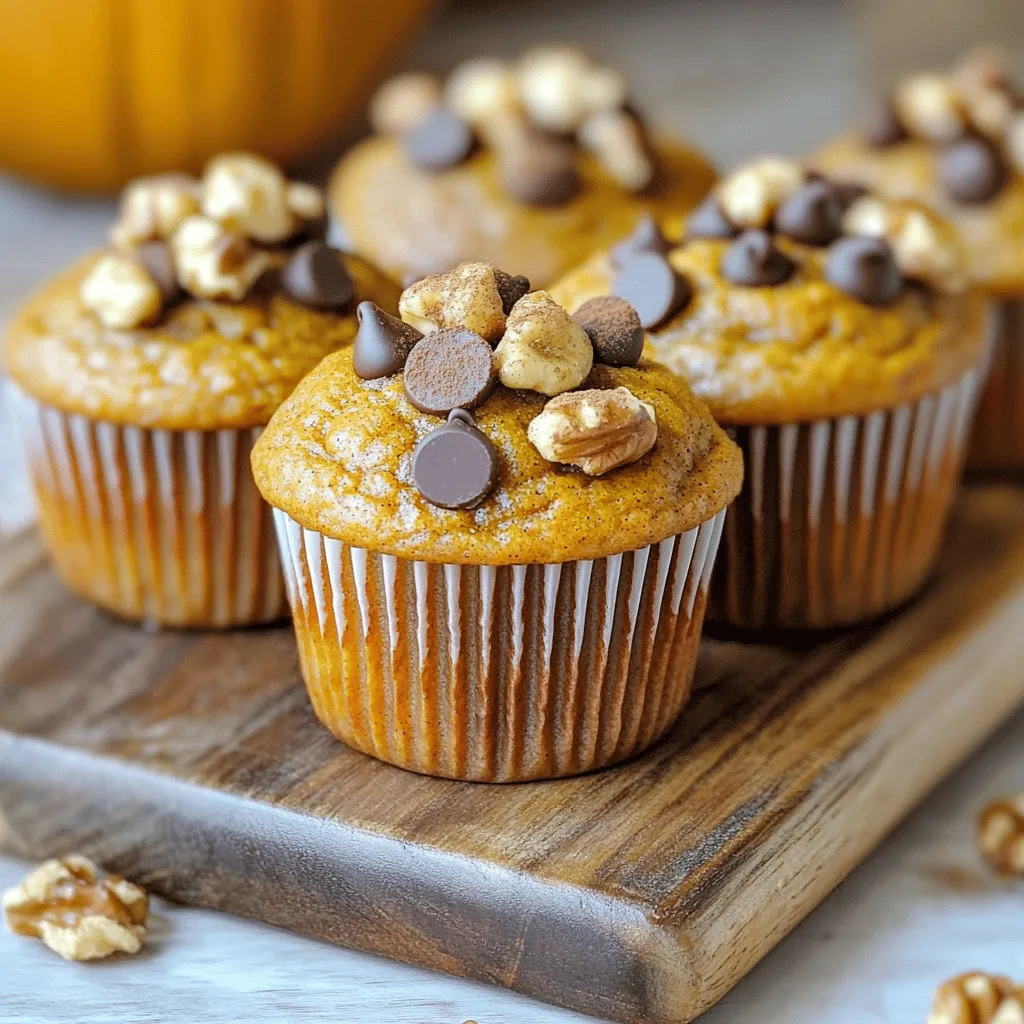
2-Point Pumpkin Muffins Recipe Simple and Tasty Treat
Are you ready for a treat that’s both tasty and guilt-free? Let me introduce you to my 2-Point Pumpkin Muffins
Read more…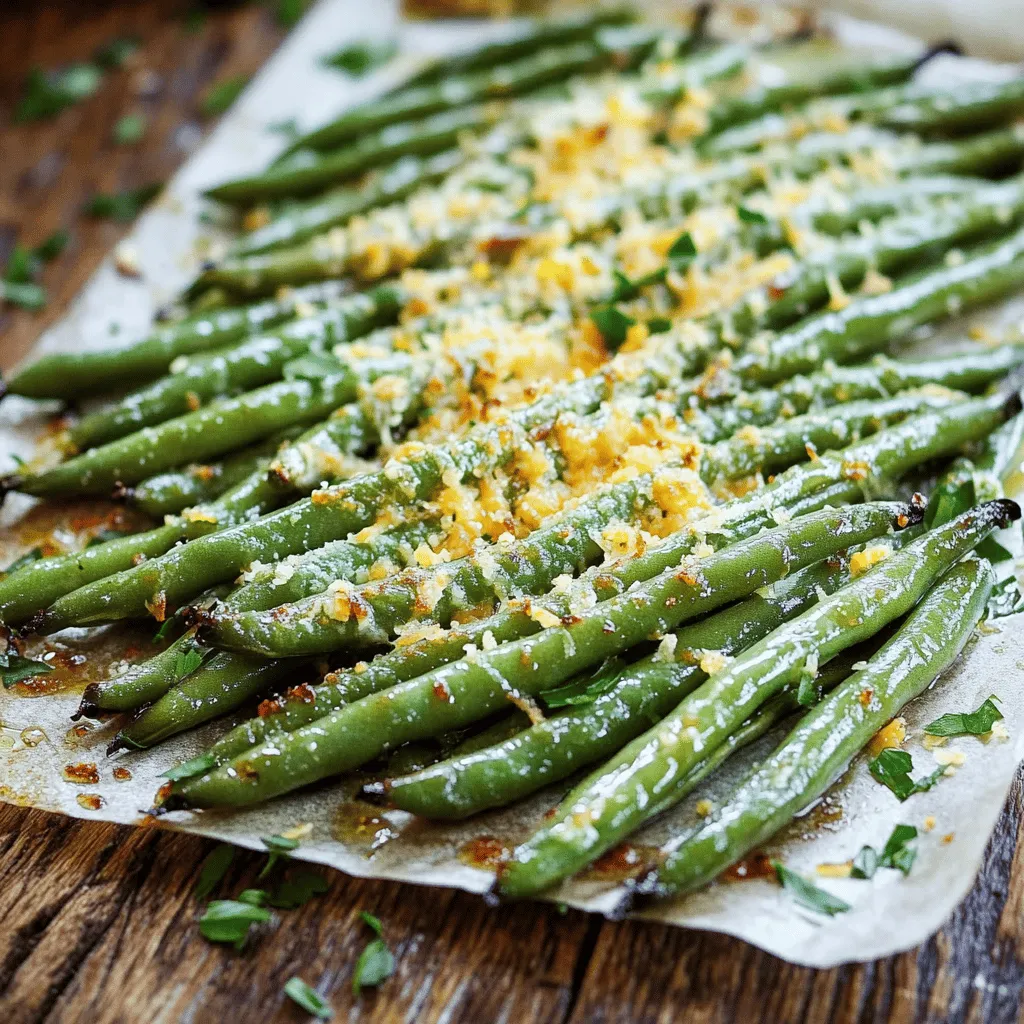
Roasted Parmesan Green Beans Flavorful and Simple Dish
If you’re looking for a quick, tasty side dish, roasted Parmesan green beans are the answer! This simple recipe combines
Read more…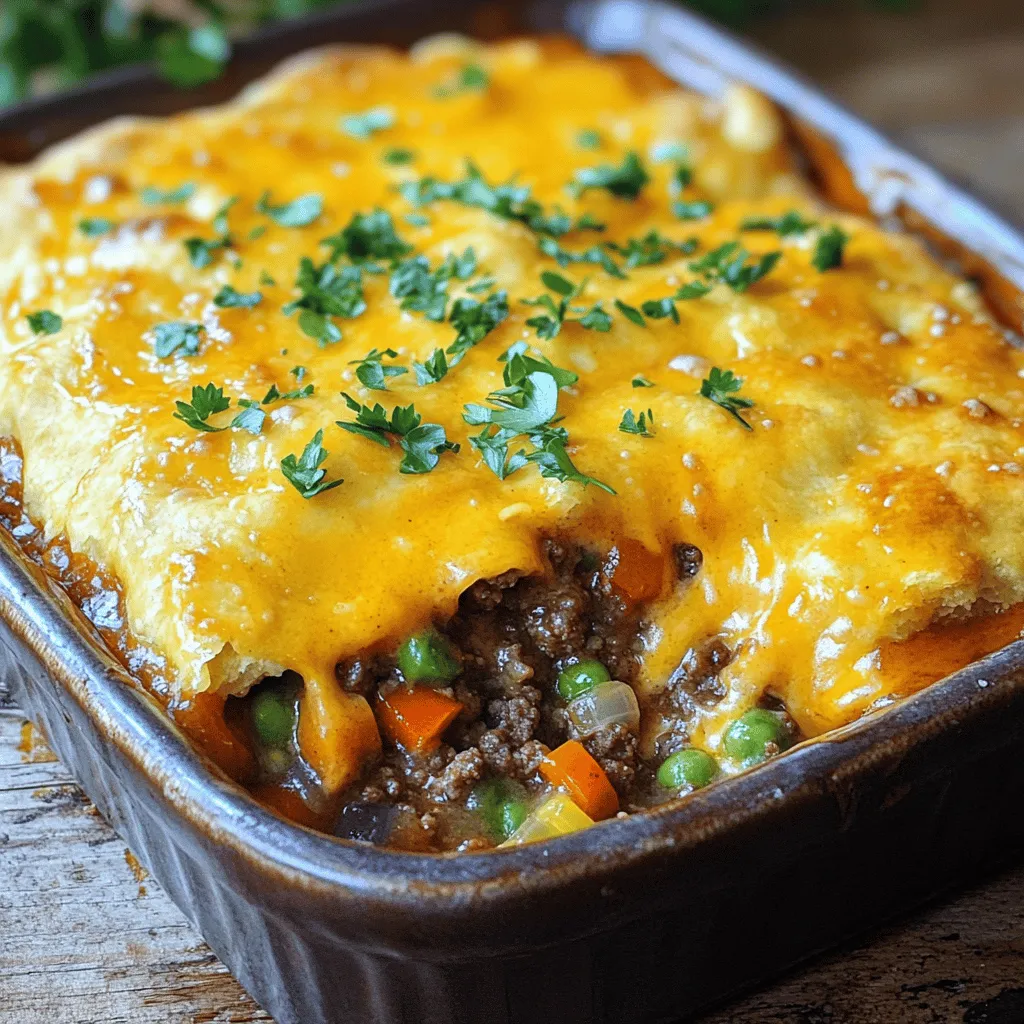
Cheddar Bay Ground Beef Cobbler Flavorful Comfort Meal
If you crave a warm, comforting meal, look no further than Cheddar Bay Ground Beef Cobbler. This dish combines seasoned
Read more…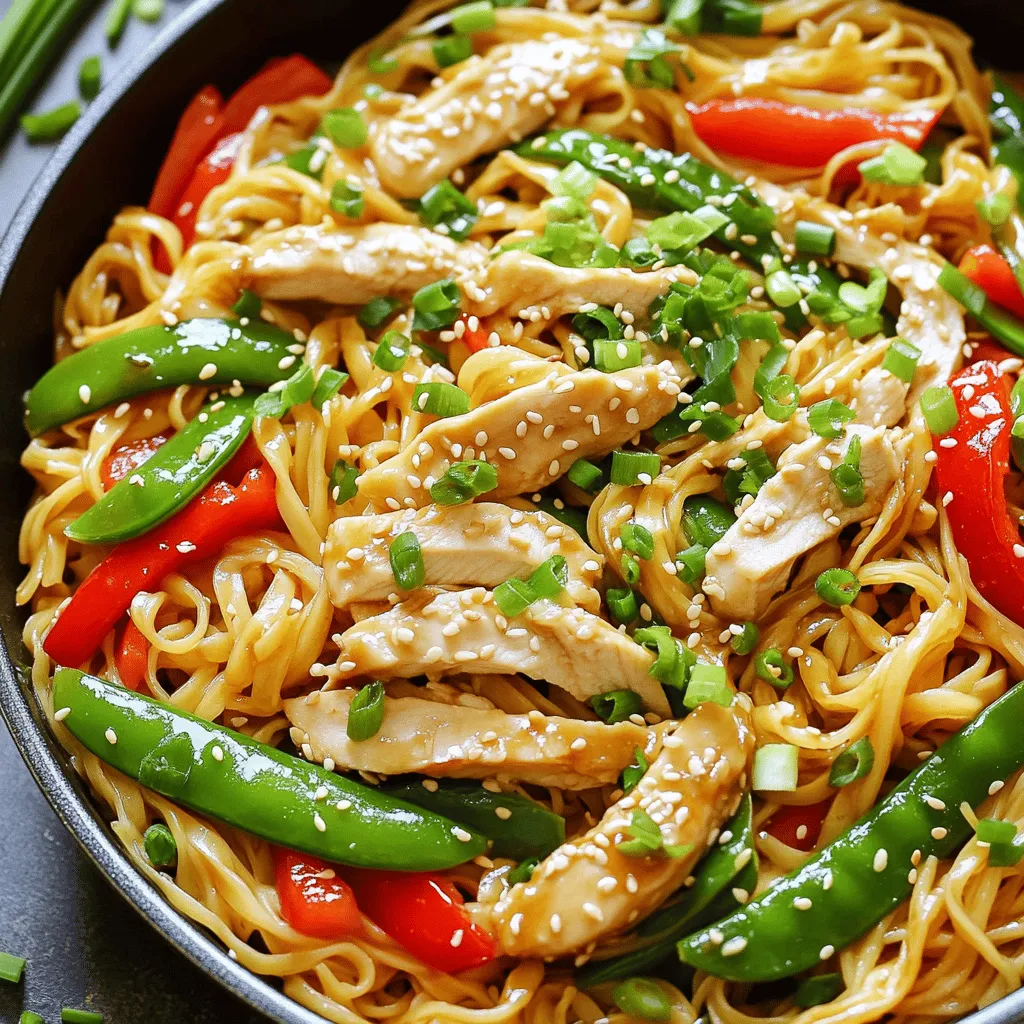
15-Minute Chicken Stir Fry Noodles Quick and Easy Meal
Looking for a quick and tasty meal? You’ll love this 15-Minute Chicken Stir Fry Noodles recipe! It’s packed with flavor
Read more…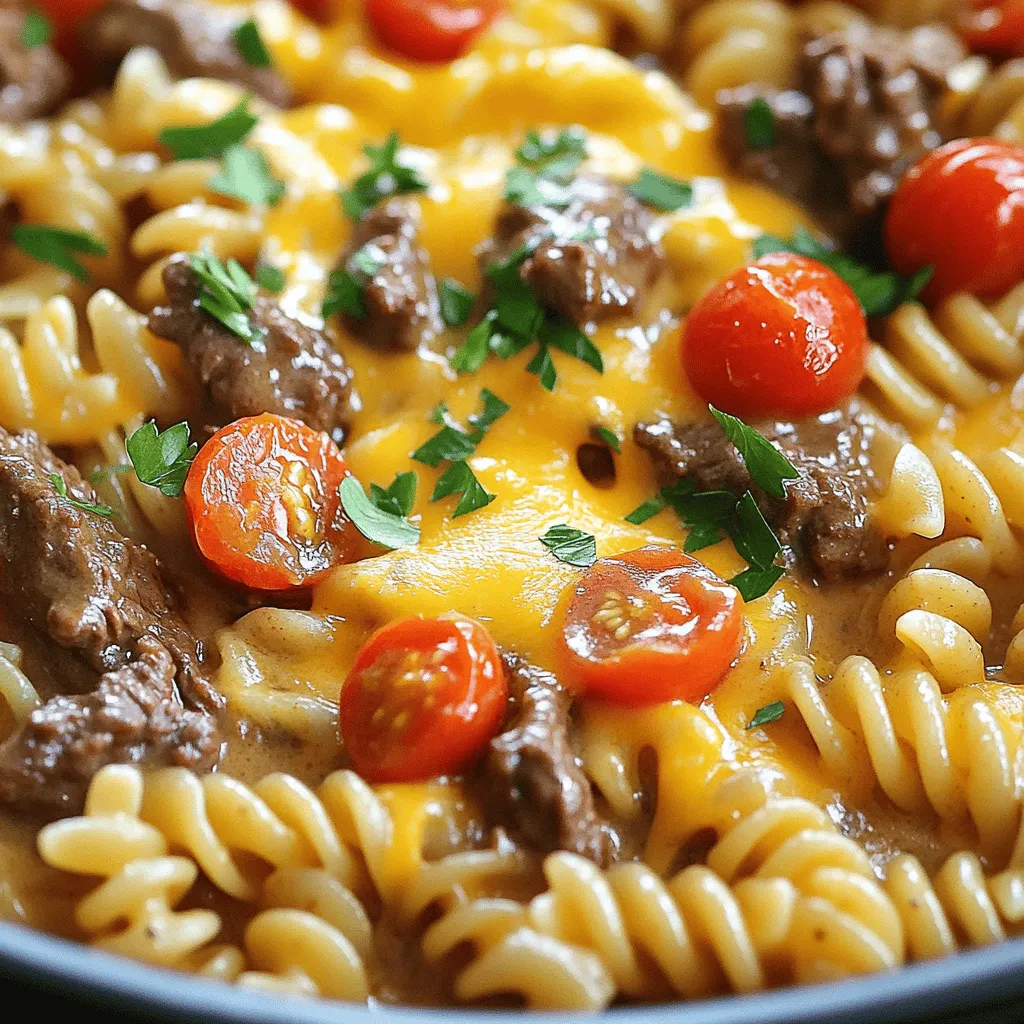
One-Pot Beef and Cheddar Ranch Pasta Simple Dish
Looking for a hearty meal that’s quick and easy? You’ve found it! This One-Pot Beef and Cheddar Ranch Pasta is
Read more…
Chocolate Chip Mint Greek Yogurt Pops Delightful Treat
Looking for a cool and tasty treat? Try my Chocolate Chip Mint Greek Yogurt Pops! These delightful pops are creamy,
Read more…
Garlic Chicken Puffs Irresistible Flavor Packed Snack
If you dream of snacks that burst with flavor, then Garlic Chicken Puffs are for you! These tasty treats offer
Read more…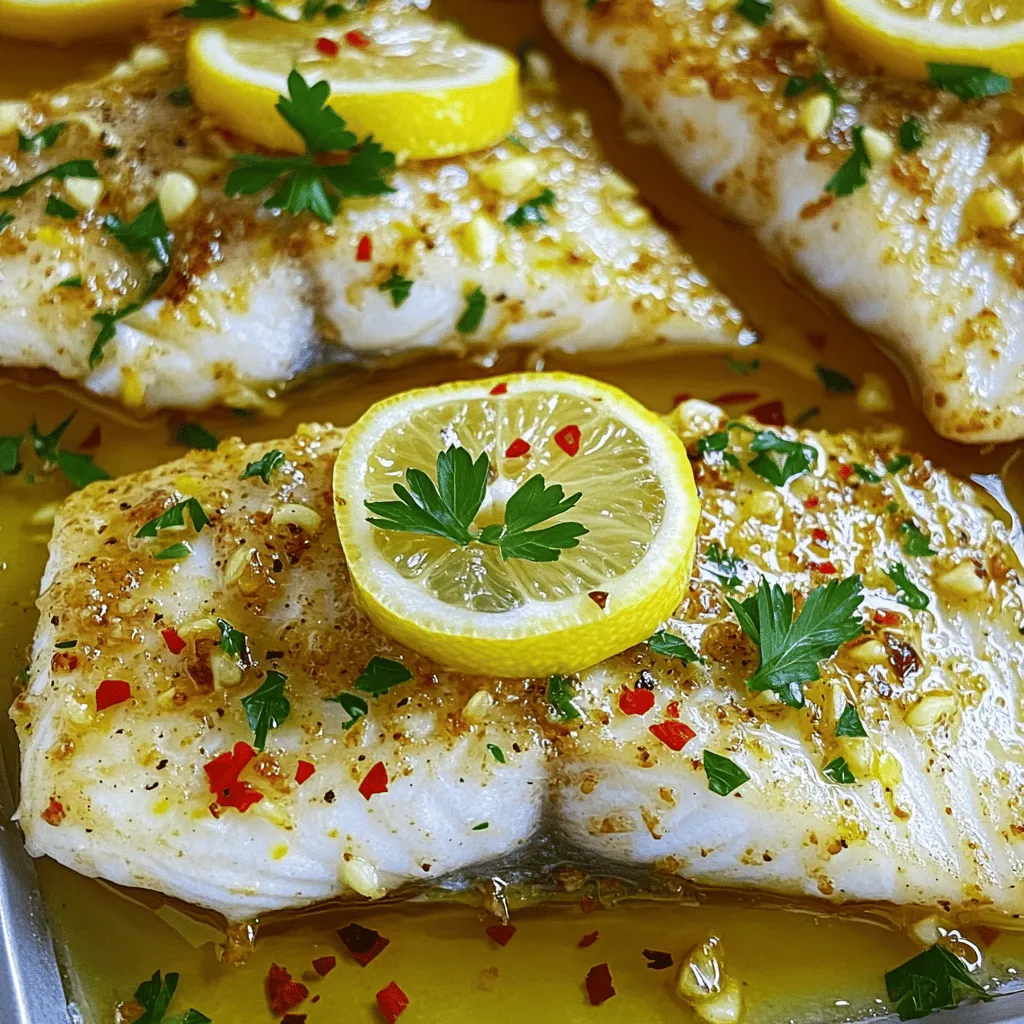
Spicy Lemon Garlic Baked Tilapia Flavorful Dinner Dish
Are you ready to spice up your dinner routine? This Spicy Lemon Garlic Baked Tilapia is your answer! With just
Read more…browse recipes


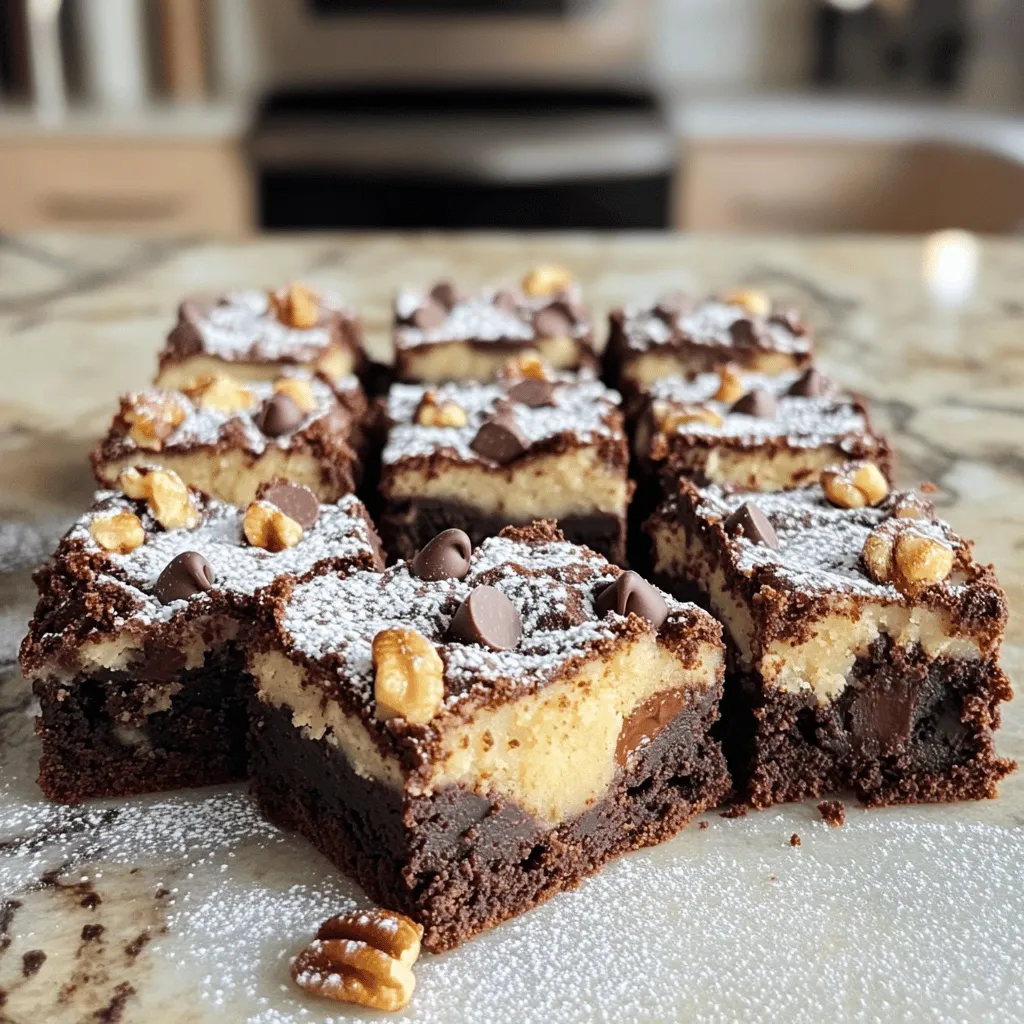
Fudgy Chewy Brookies Irresistible Dessert Recipe
Are you ready to enjoy a treat that combines the best of both worlds? Fudgy chewy brookies are the perfect blend of brownies and…
My Latest Desserts

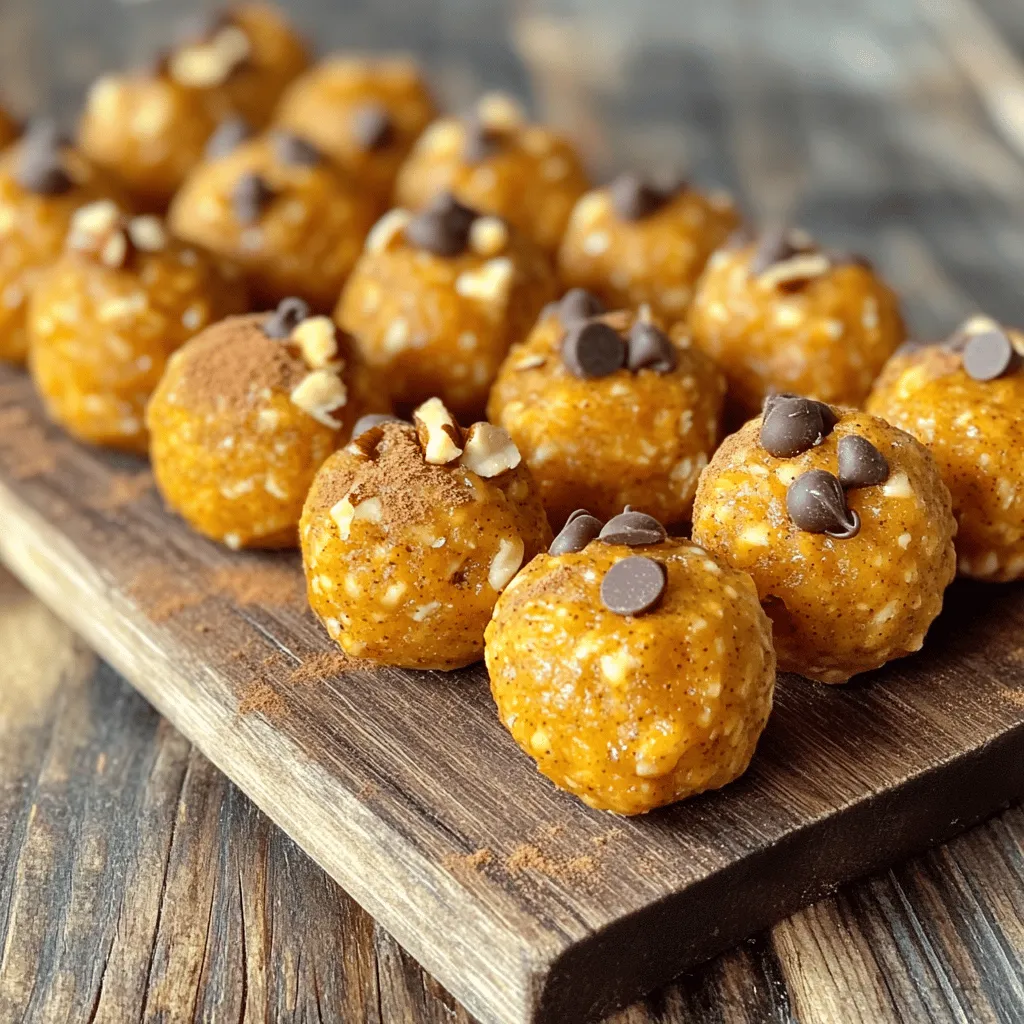
Pumpkin Spice Energy Bites Tasty and Healthy Snack
Looking for a tasty and healthy snack to fuel your day? This Pumpkin Spice Energy Bites recipe is your answer! Read Full Recipe-
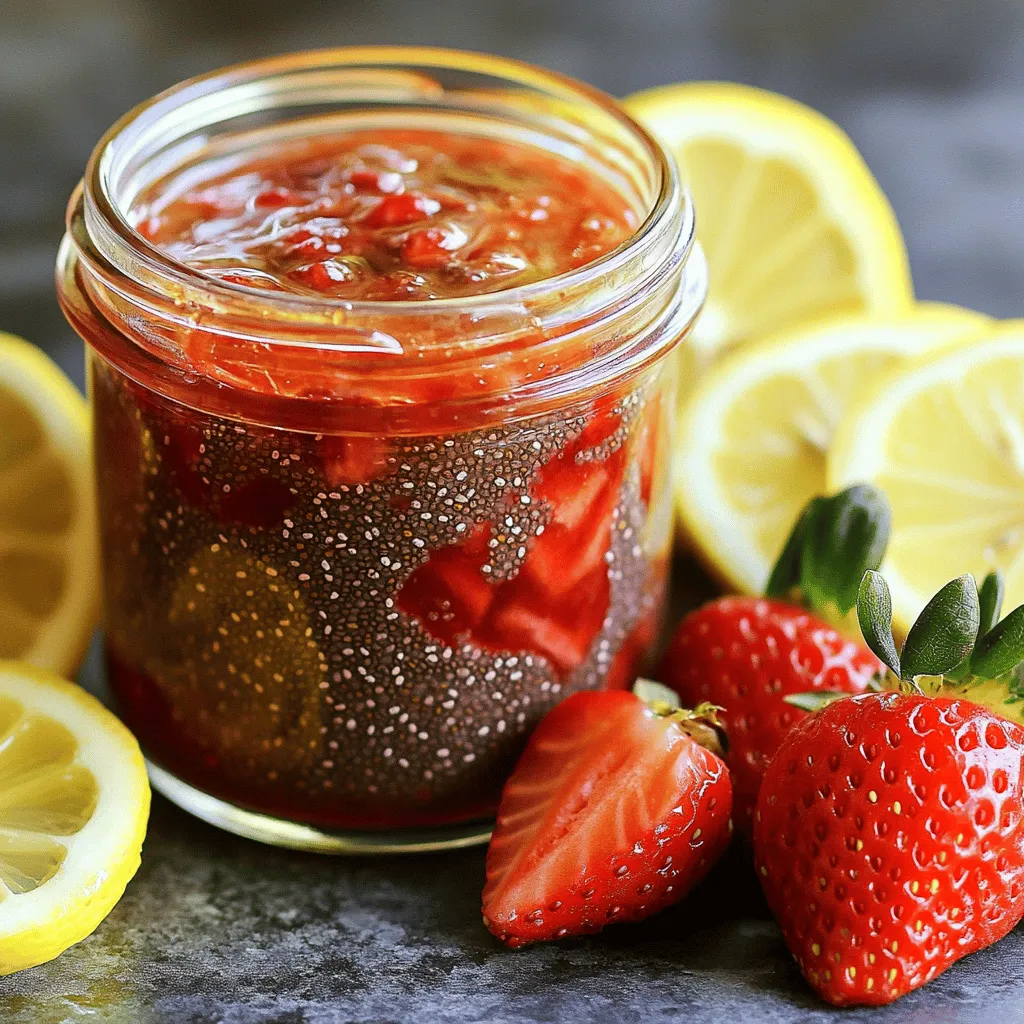
Strawberry Chia Seed Jam Tasty and Healthy Treat
If you’re craving a sweet treat that’s also good for you, I’ve got just the thing: Strawberry Chia Seed Jam! Read Full Recipe -
Pumpkin Spice Muffins Warm and Cozy Fall Treat
Fall is the perfect time for warm and cozy treats, and nothing says autumn like pumpkin spice muffins. These fluffy Read Full Recipe -
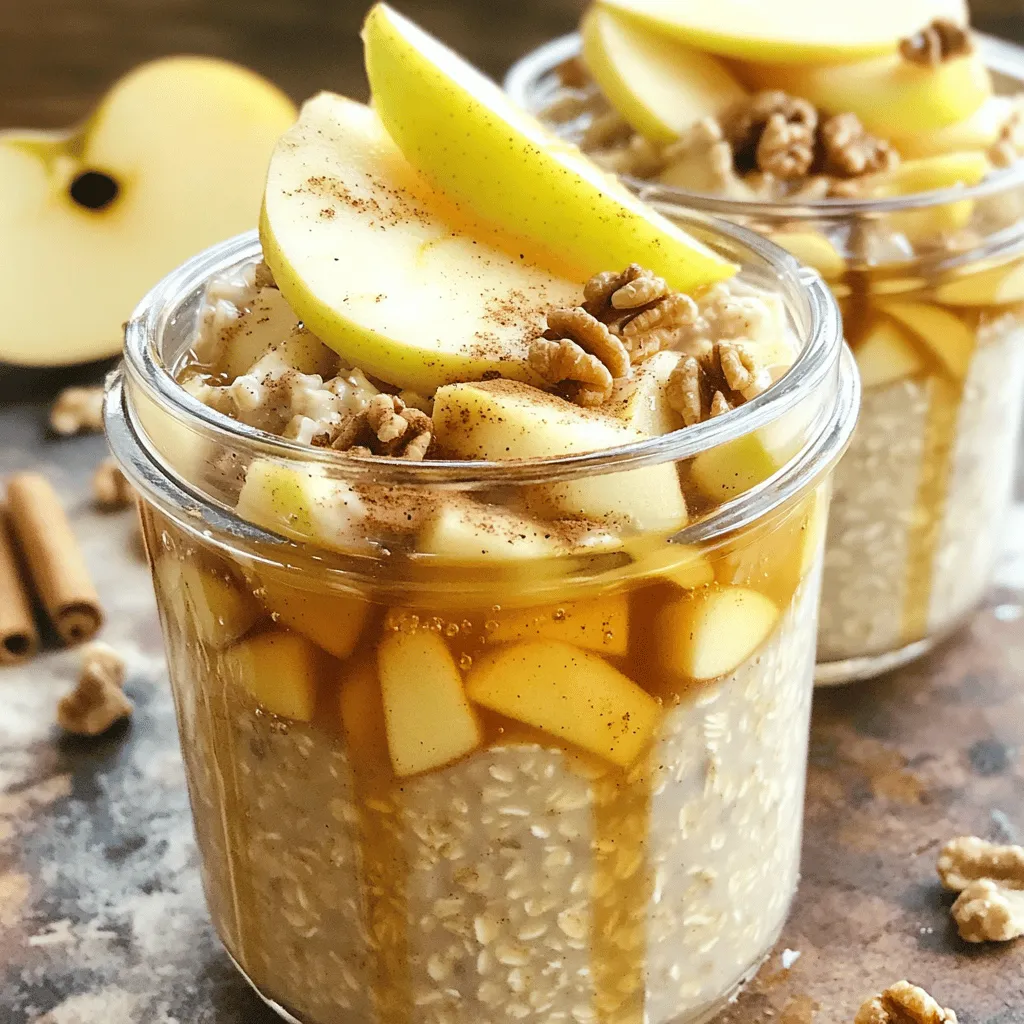
Apple Cinnamon Overnight Oats Healthy Breakfast Option
Looking for a quick and healthy breakfast? You’ve found it! Apple Cinnamon Overnight Oats are the perfect choice for busy Read Full Recipe -
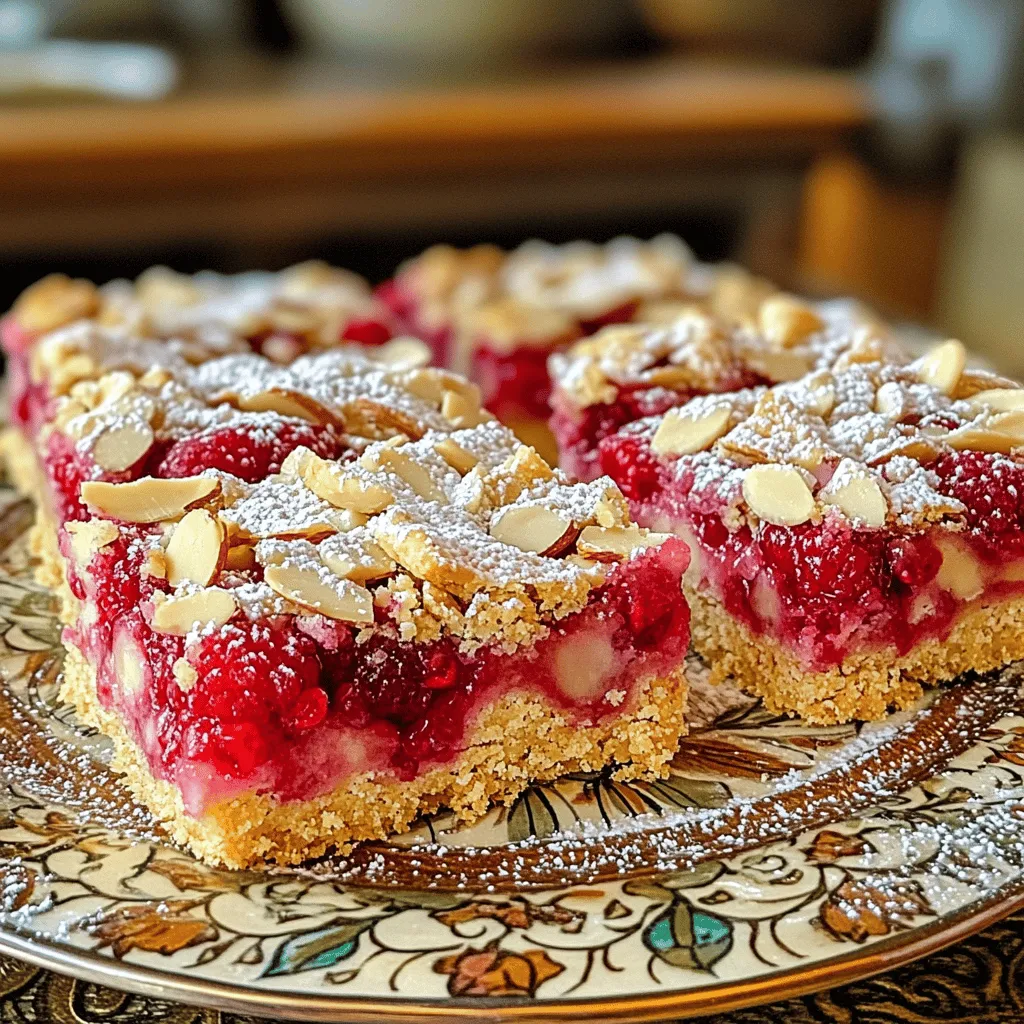
Raspberry Almond Shortbread Bars Simple and Tasty Treat
Looking for a sweet treat that’s easy to make and perfect for any occasion? Raspberry Almond Shortbread Bars are your Read Full Recipe -
Chocolate Covered Strawberry Pops Delightful Treats
Are you ready for a sweet treat? Chocolate Covered Strawberry Pops are delicious and fun to make. I’ll guide you Read Full Recipe -
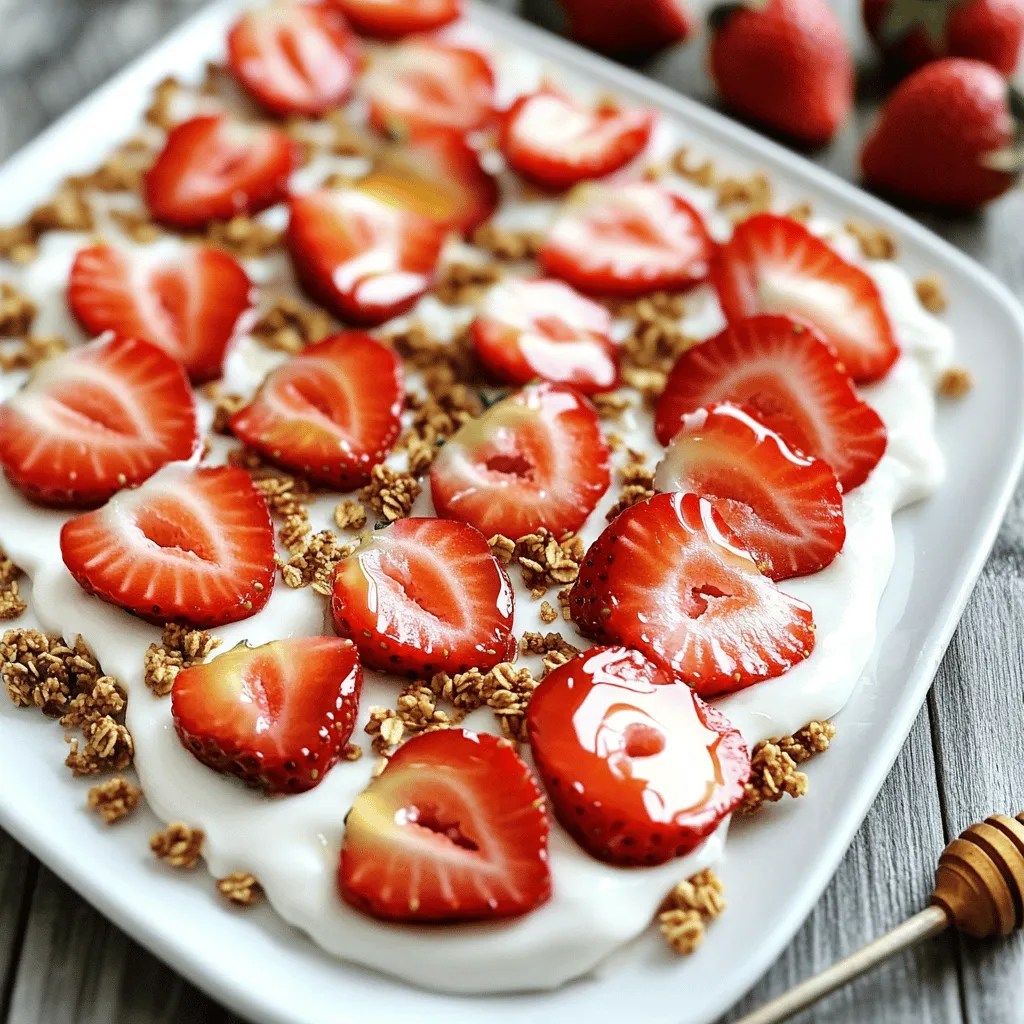
Fresh Strawberry Yogurt Bark Delicious and Easy Treat
Looking for a quick and tasty treat? Fresh Strawberry Yogurt Bark is your answer! This easy recipe combines creamy Greek Read Full Recipe -
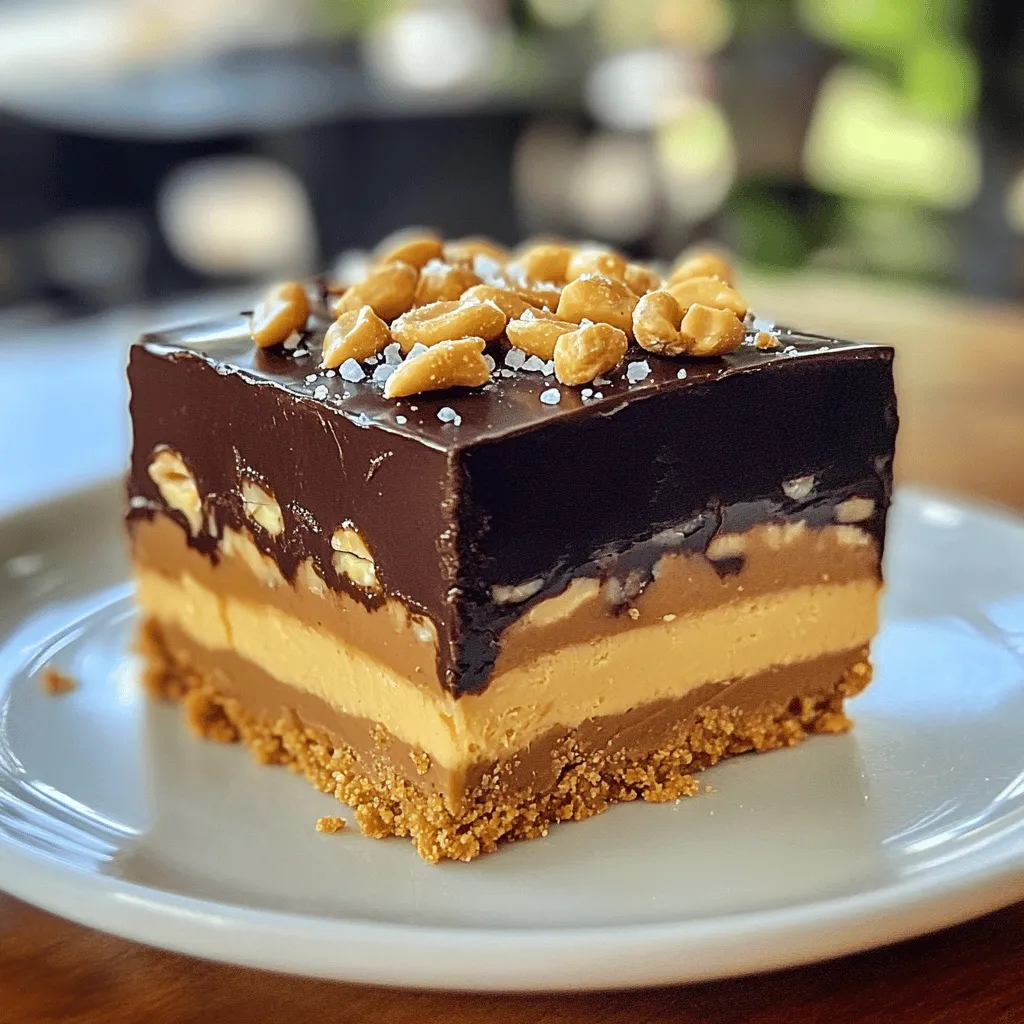
No-Bake Snickers Bars Simple and Decadent Treat
Indulge in a simple and delicious treat with my No-Bake Snickers Bars recipe! These bars come together fast and need Read Full Recipe -
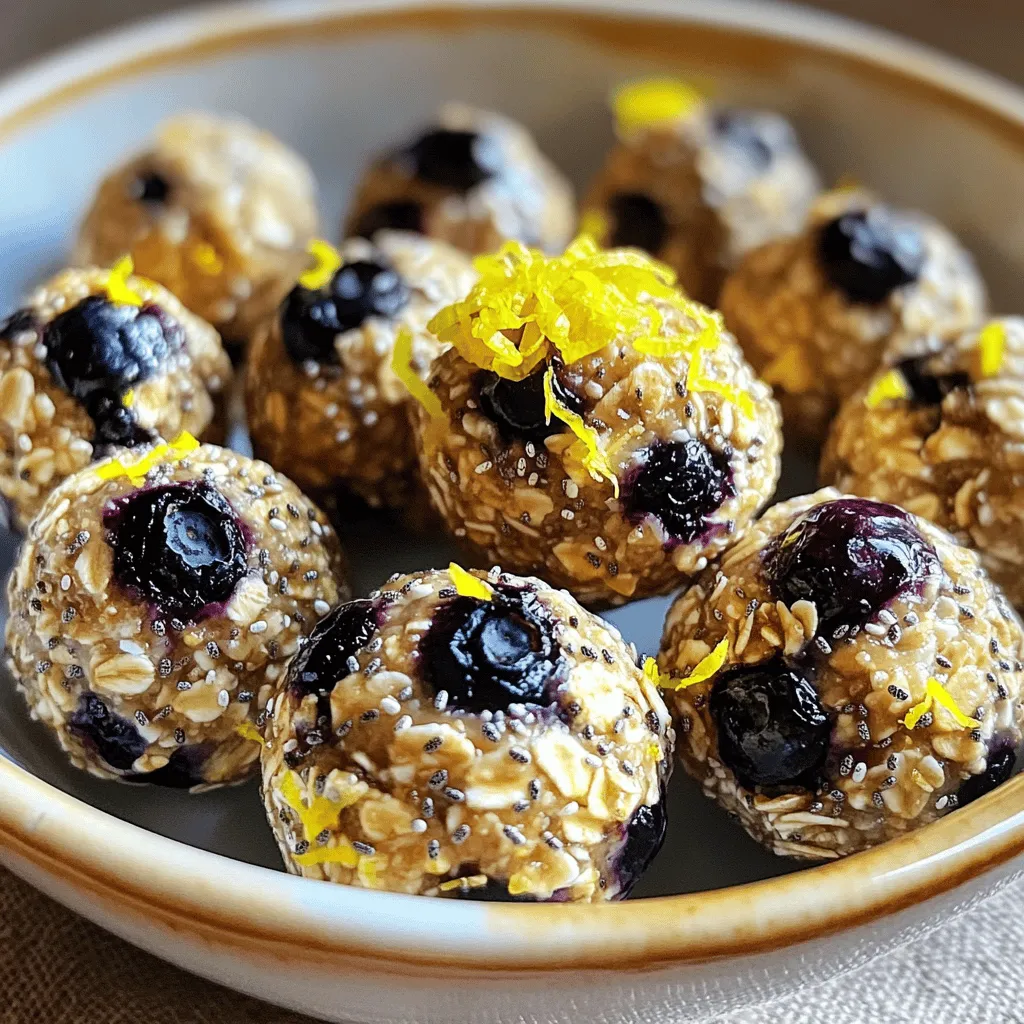
Lemon Blueberry Energy Bites Nourishing Snack Idea
Looking for a tasty, energy-packed snack? Try my Lemon Blueberry Energy Bites! These little balls are the perfect blend of Read Full Recipe -
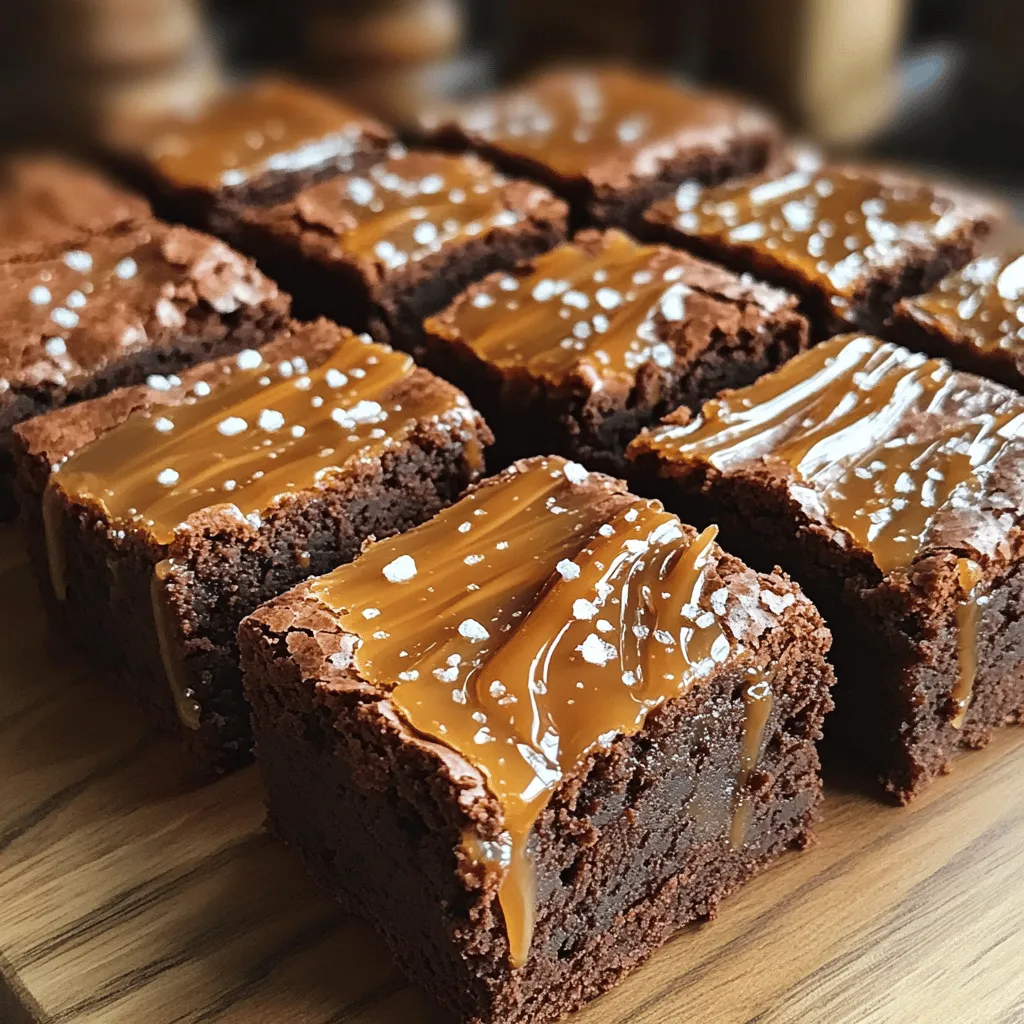
Fudgy Salted Caramel Brownies Rich and Indulgent Treat
Love brownies? Get ready to elevate your dessert game with these Fudgy Salted Caramel Brownies! They combine rich chocolate with Read Full Recipe -
Pumpkin Chocolate Chip Muffins Tasty and Simple Treat
Looking for a delicious treat that’s easy to make? You’re in the right place! These Pumpkin Chocolate Chip Muffins are Read Full Recipe -
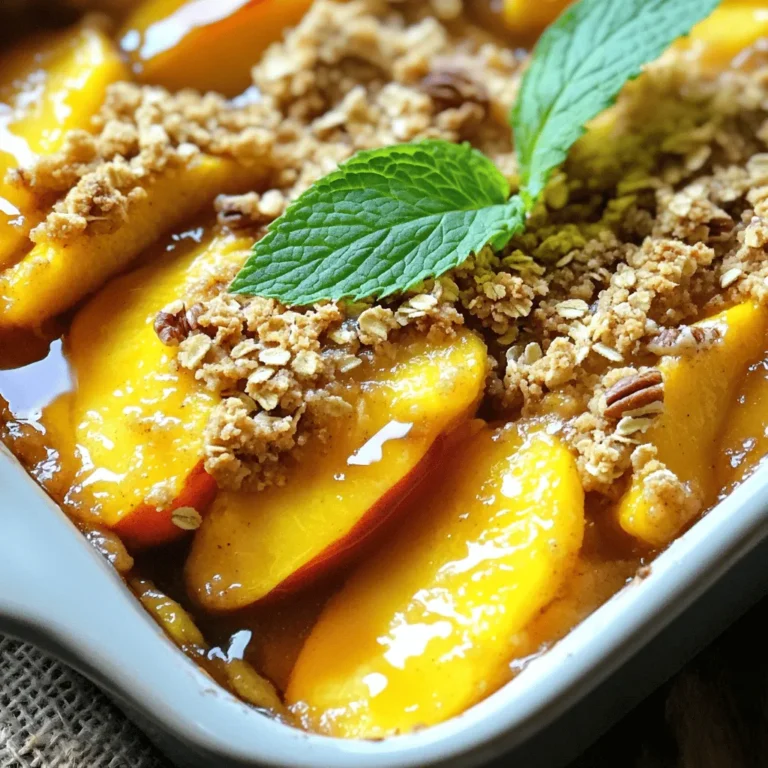
Healthy Apple Crisp Flavorful and Nutritious Treat
Are you ready for a delicious treat that’s both flavorful and nutritious? In this post, I’ll show you how to Read Full Recipe


hey,
i’m !
I’m so happy you’re here!
Each recipe I share is a little piece of love from my kitchen. May they fill your heart and home with warmth. Let’s cook up something wonderful together.


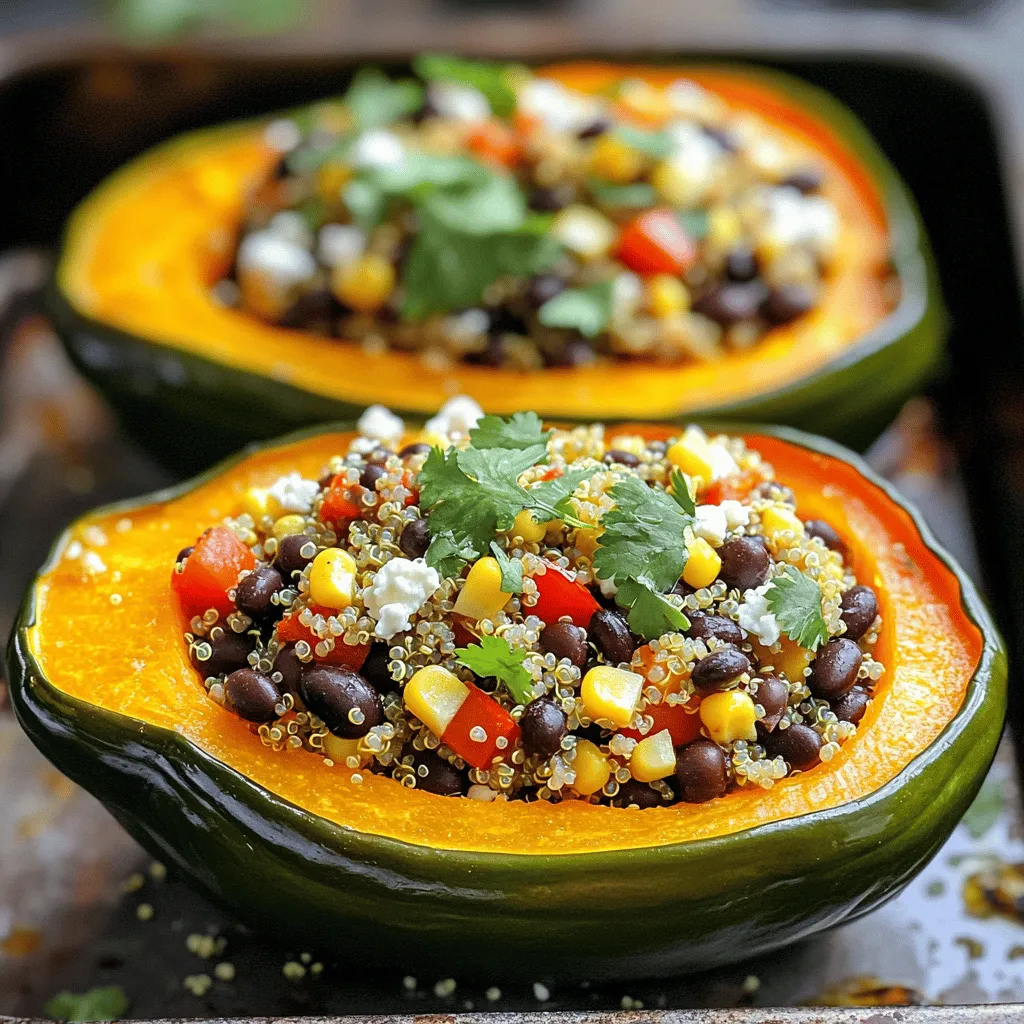
Vegetarian Stuffed Acorn Squash Flavorful Holiday Dish
Looking for a festive dish that wows your guests? Try my flavorful vegetarian stuffed acorn squash. This dish combines hearty quinoa, black beans, and…
My Latest Dinners
-
Barbecue Chicken Pizza Delightful and Easy Recipe
Craving a tasty and easy meal? Barbecue Chicken Pizza is the answer! This delightful dish combines tender chicken, zesty barbecue Read Full Recipe -
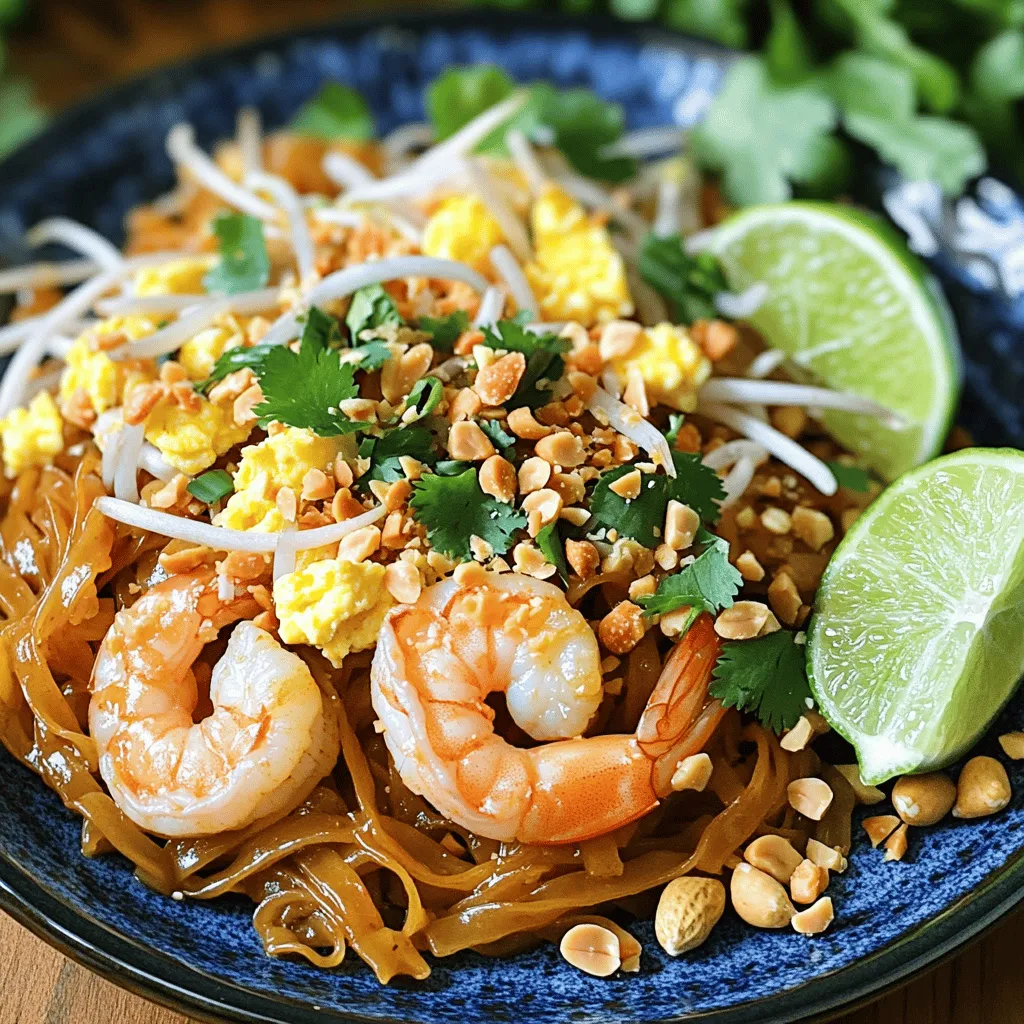
Easy Pad Thai Simple and Flavorful Home Recipe
Craving a delicious meal that’s easy to make at home? Look no further! In this post, I’ll guide you through Read Full Recipe -
Jalapeño Popper Chicken Flavorful and Easy Recipe
If you crave a dish that’s packed with flavor but easy to make, you’ll love Jalapeño Popper Chicken. This recipe Read Full Recipe -
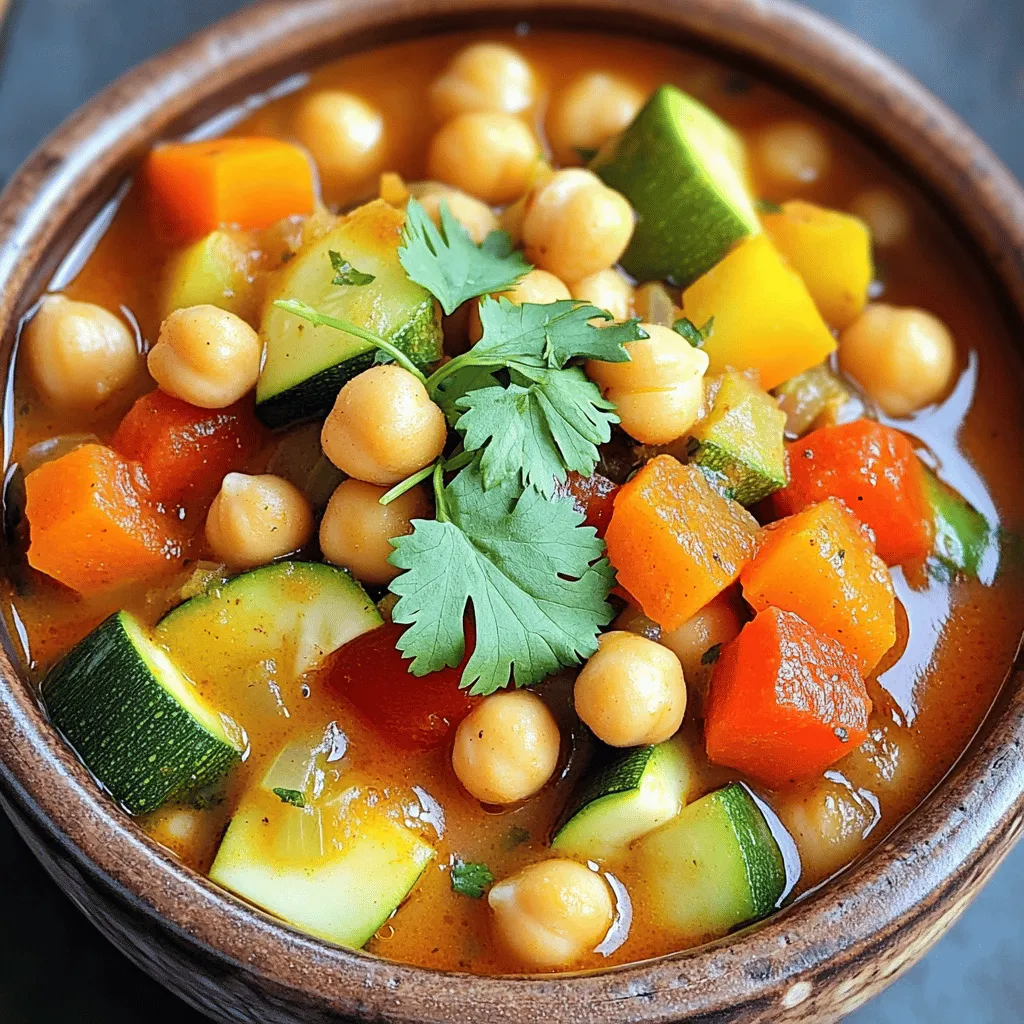
Moroccan Chickpea Stew Flavorful and Hearty Meal
Are you ready to enjoy a hearty meal that bursts with flavor? Moroccan Chickpea Stew is a delicious blend of Read Full Recipe -
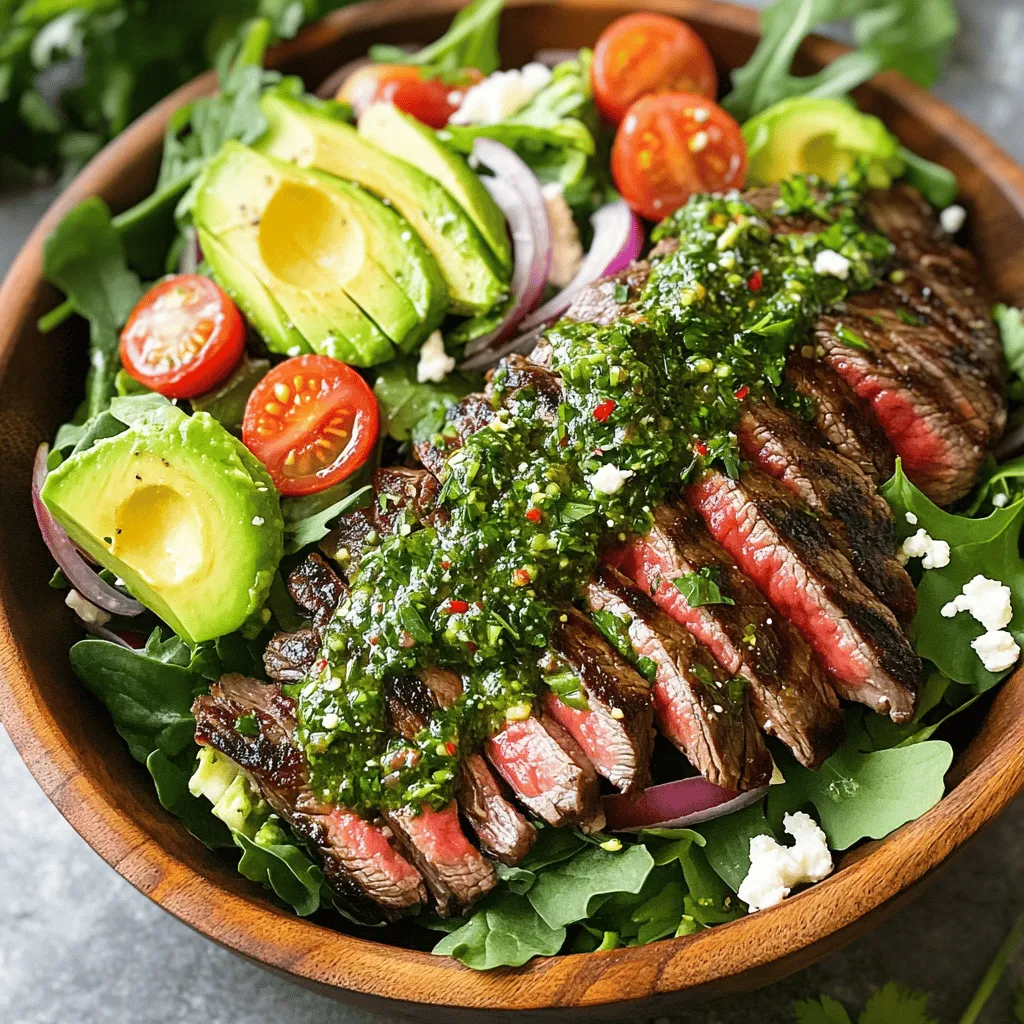
Chimichurri Steak Salad Fresh and Flavorful Meal
Looking for a fresh and flavorful meal? You’ve come to the right place! This Chimichurri Steak Salad combines juicy steak Read Full Recipe -
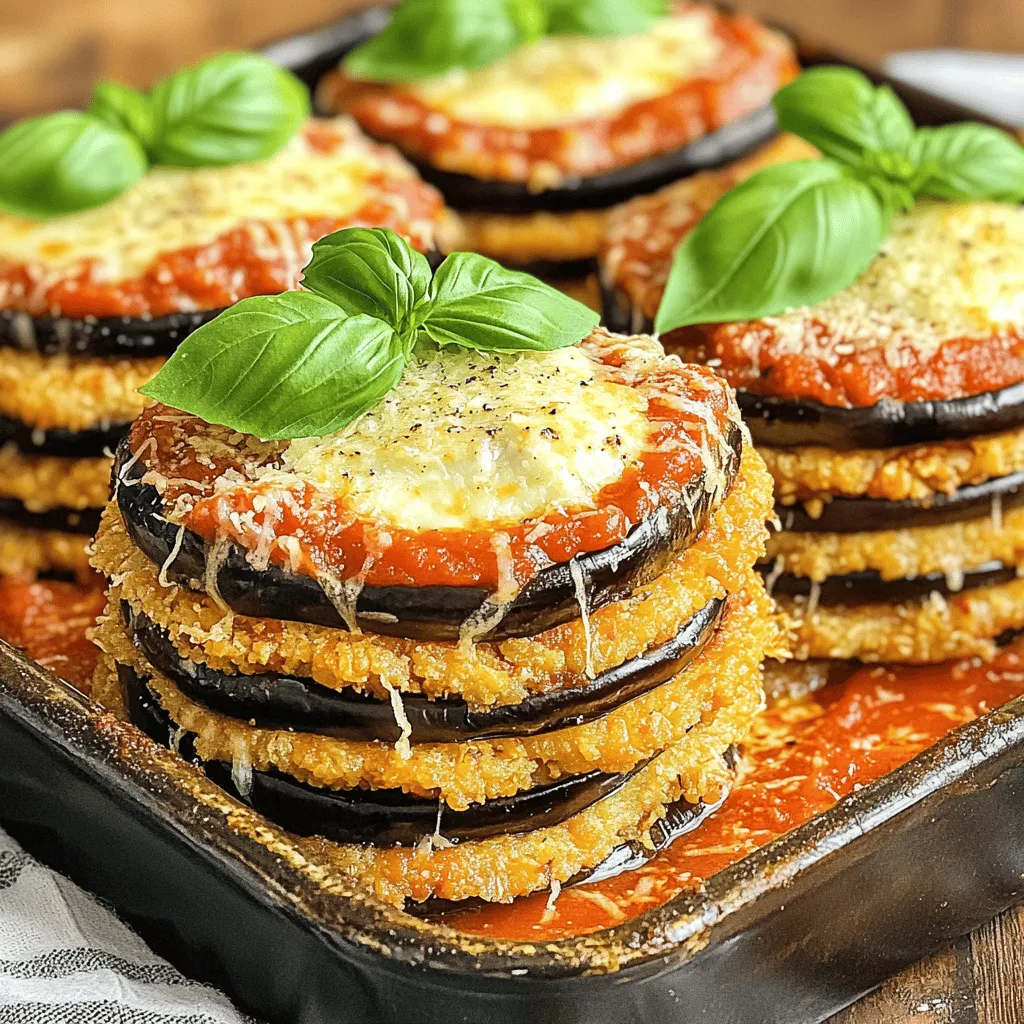
Eggplant Parmesan Stacks Flavorful and Easy Recipe
If you crave a dish that’s both tasty and easy to make, you’ll love Eggplant Parmesan Stacks. This fun twist Read Full Recipe