
Latest & Greatest
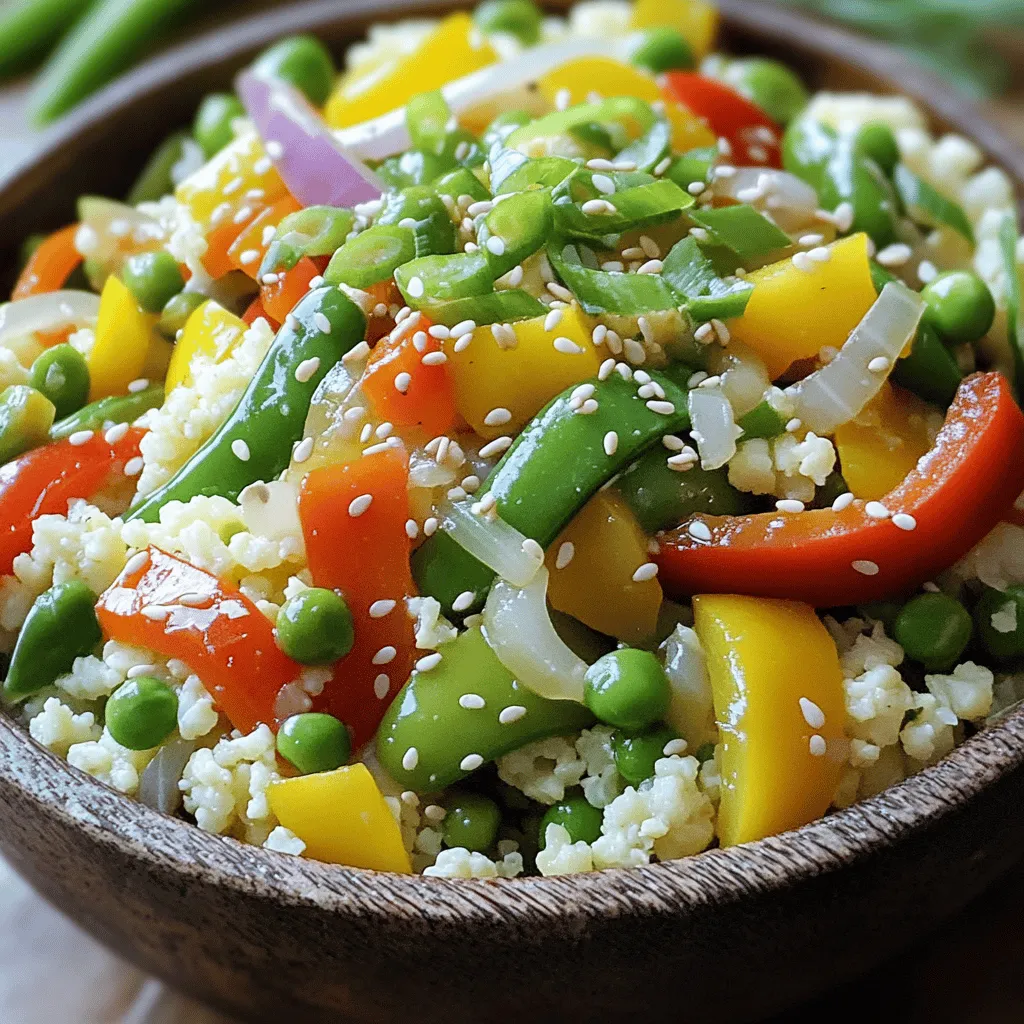
Cauliflower Rice Stir-Fry Flavorful and Easy Meal
Are you looking for a quick and tasty meal? Cauliflower rice stir-fry is the answer! It’s simple to make and
Read more…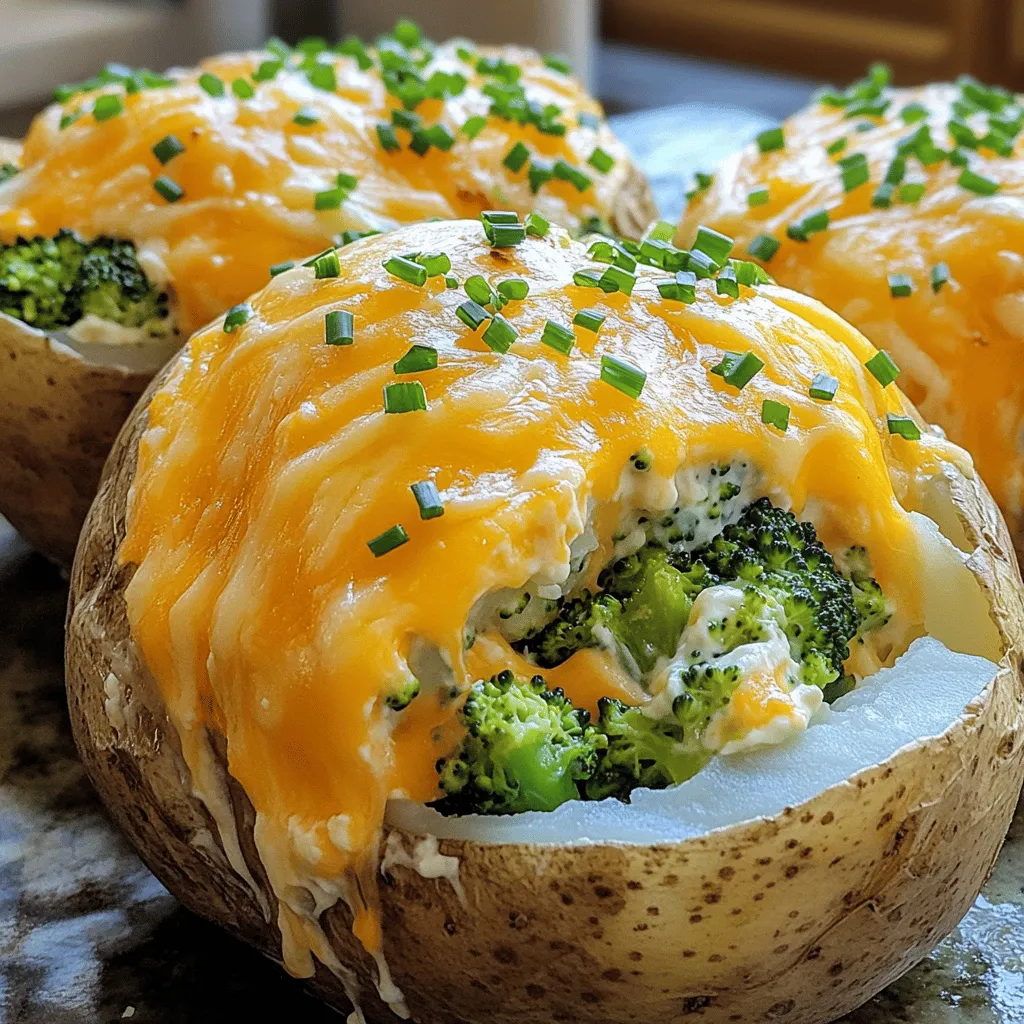
Broccoli Cheddar Stuffed Potatoes Flavorful Comfort Dish
If you’re looking for a cozy meal that’s easy to make, you’ve found it! Broccoli Cheddar Stuffed Potatoes are the
Read more…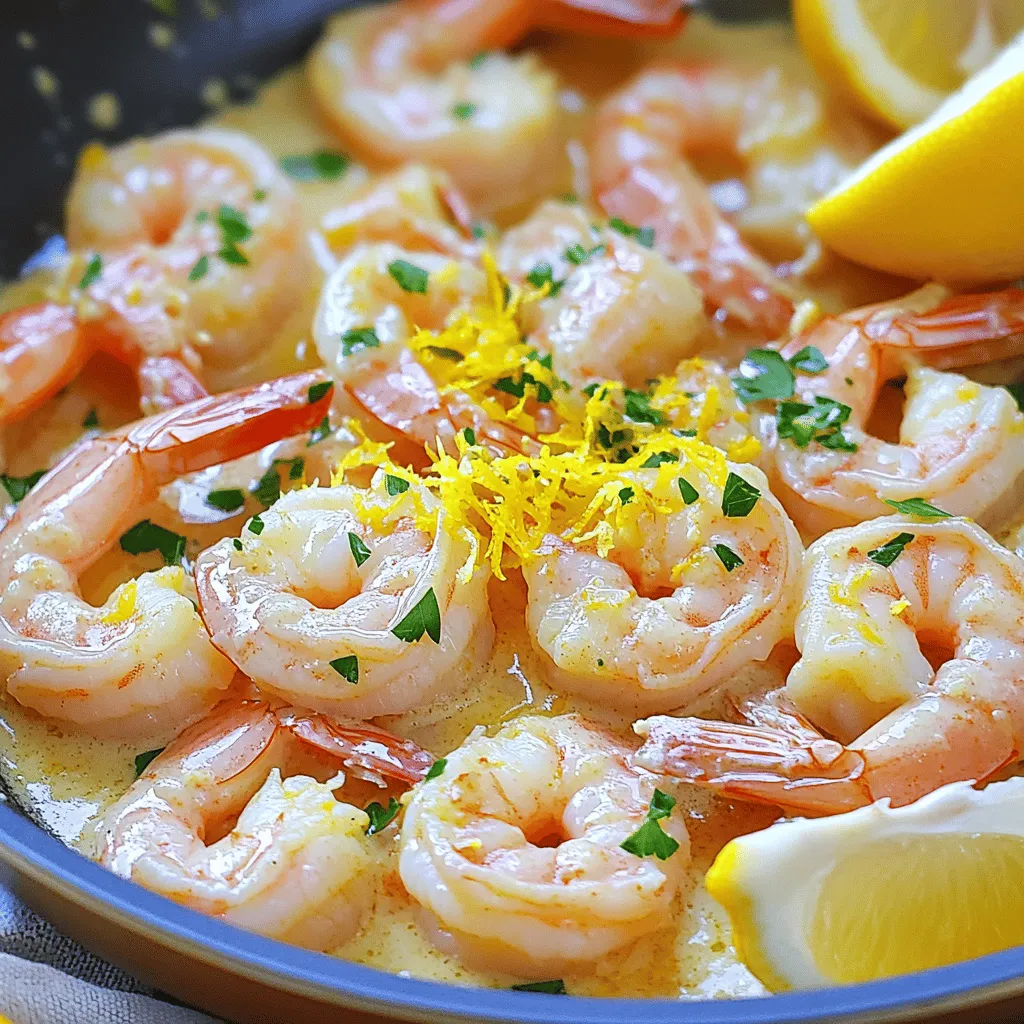
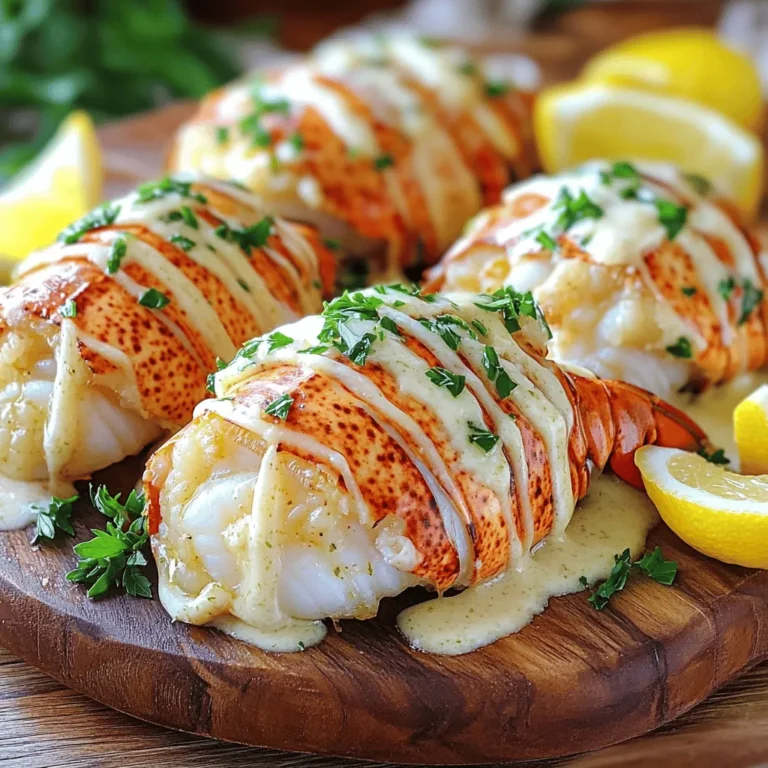
Lemon Garlic Butter Shrimp Mouthwatering Flavor Dish
Are you ready to impress your family and friends with a dish that bursts with flavor? Lemon Garlic Butter Shrimp
Read more…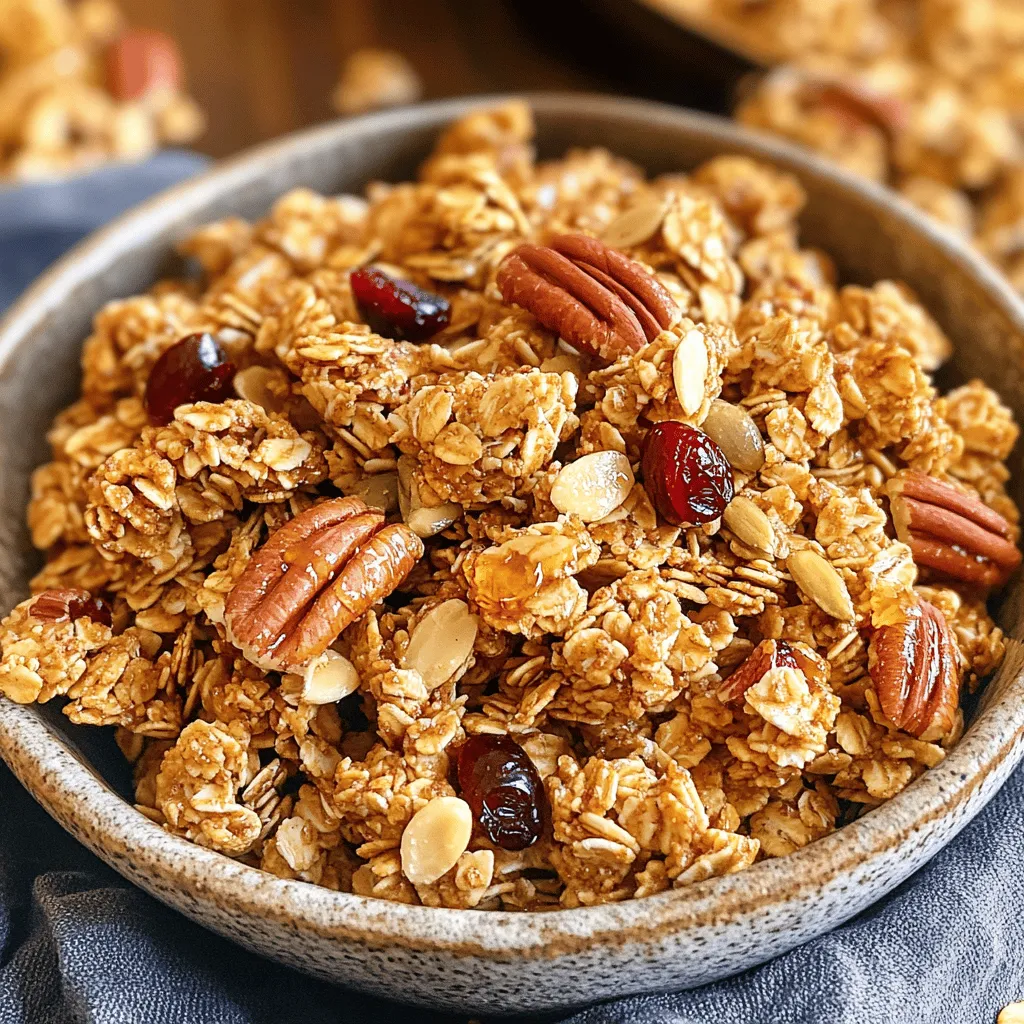
Maple Pecan Granola Crunchy and Healthy Snack
Looking for a tasty yet healthy snack? You’ll love my Maple Pecan Granola! This crunchy treat is simple to make
Read more…
Coconut Curry Lentil Soup Rich and Flavorful Delight
Are you ready to dive into a bowl of warmth and flavor? My Coconut Curry Lentil Soup is a delicious
Read more…
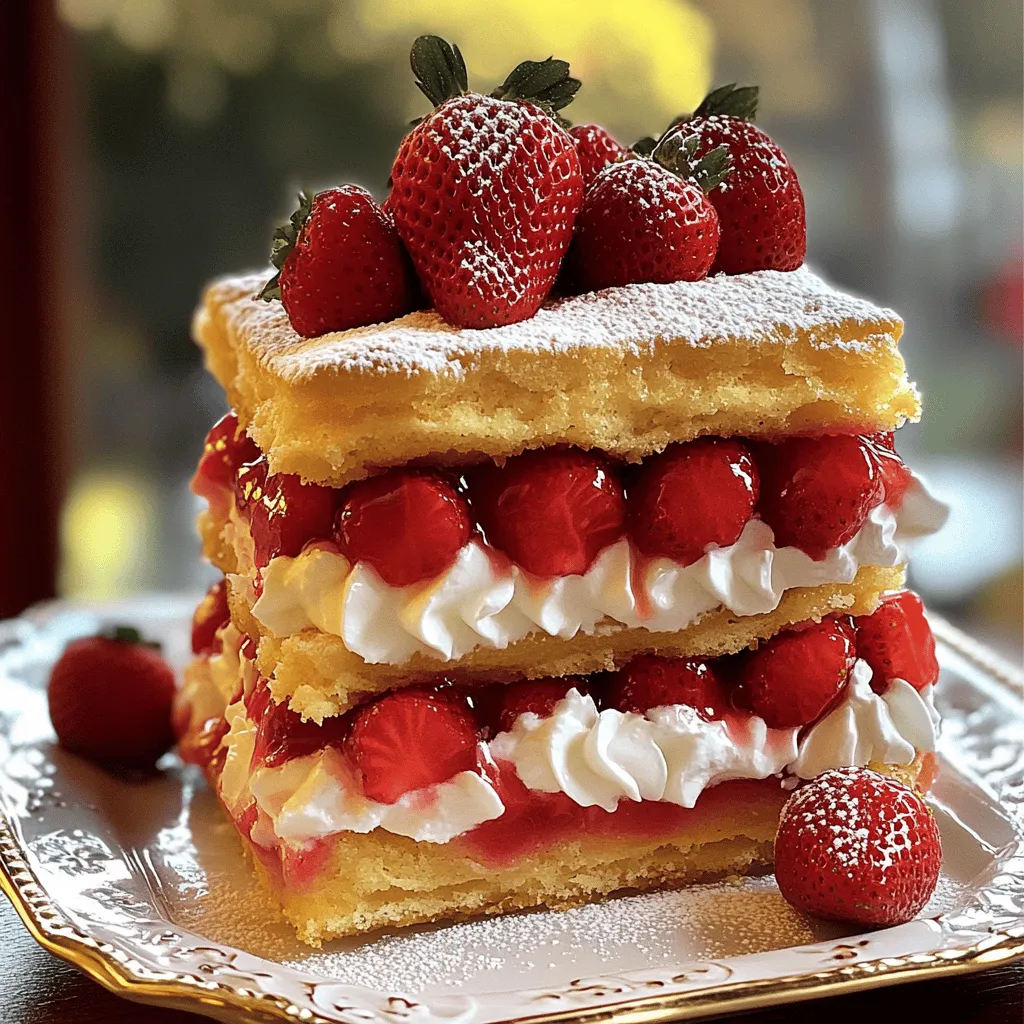
Strawberry Shortcake Trifle Delightful Layered Treat
Are you ready to impress your friends with a strawberry shortcake trifle? This delightful layered treat combines juicy strawberries, fluffy
Read more…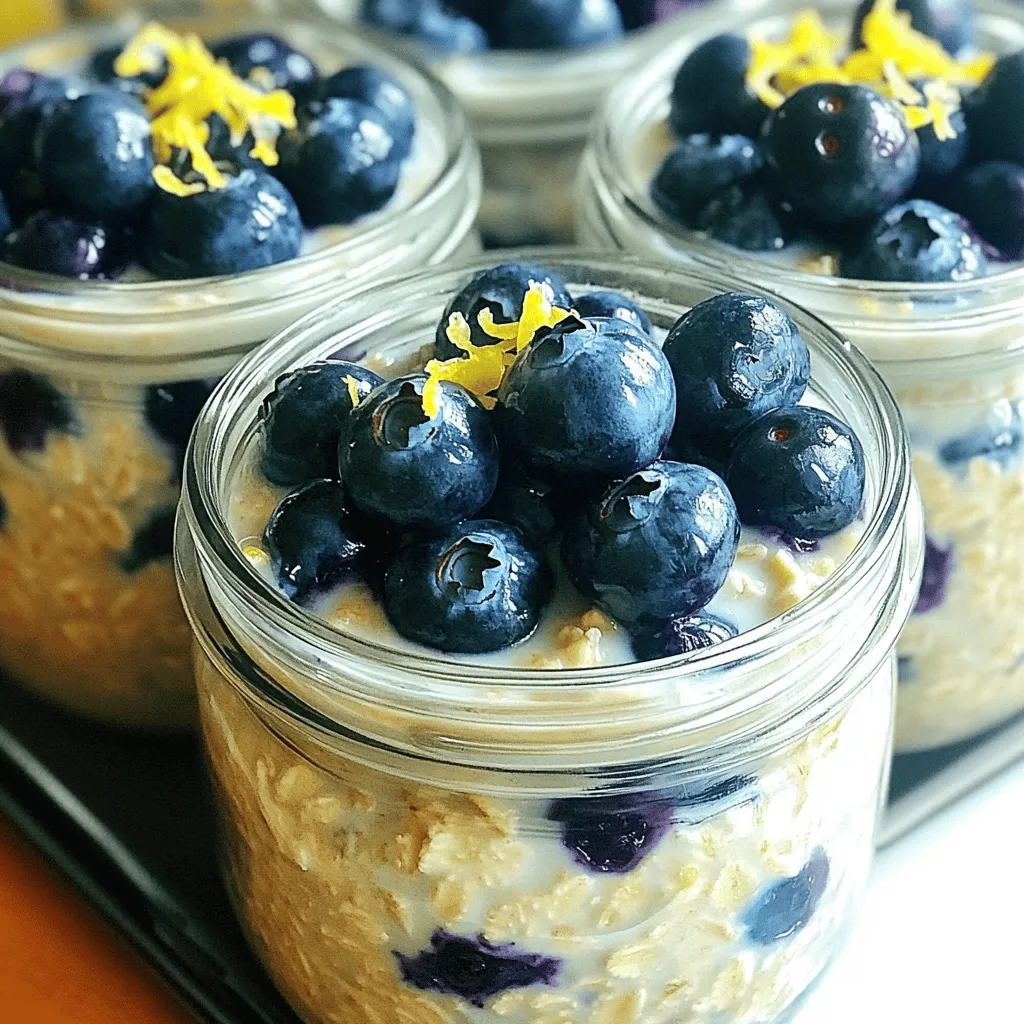
Blueberry Lemon Overnight Oats Easy and Nutritious Meal
Looking for a quick, tasty breakfast? Blueberry Lemon Overnight Oats are your answer! Packed with nutrients and flavor, they’re easy
Read more…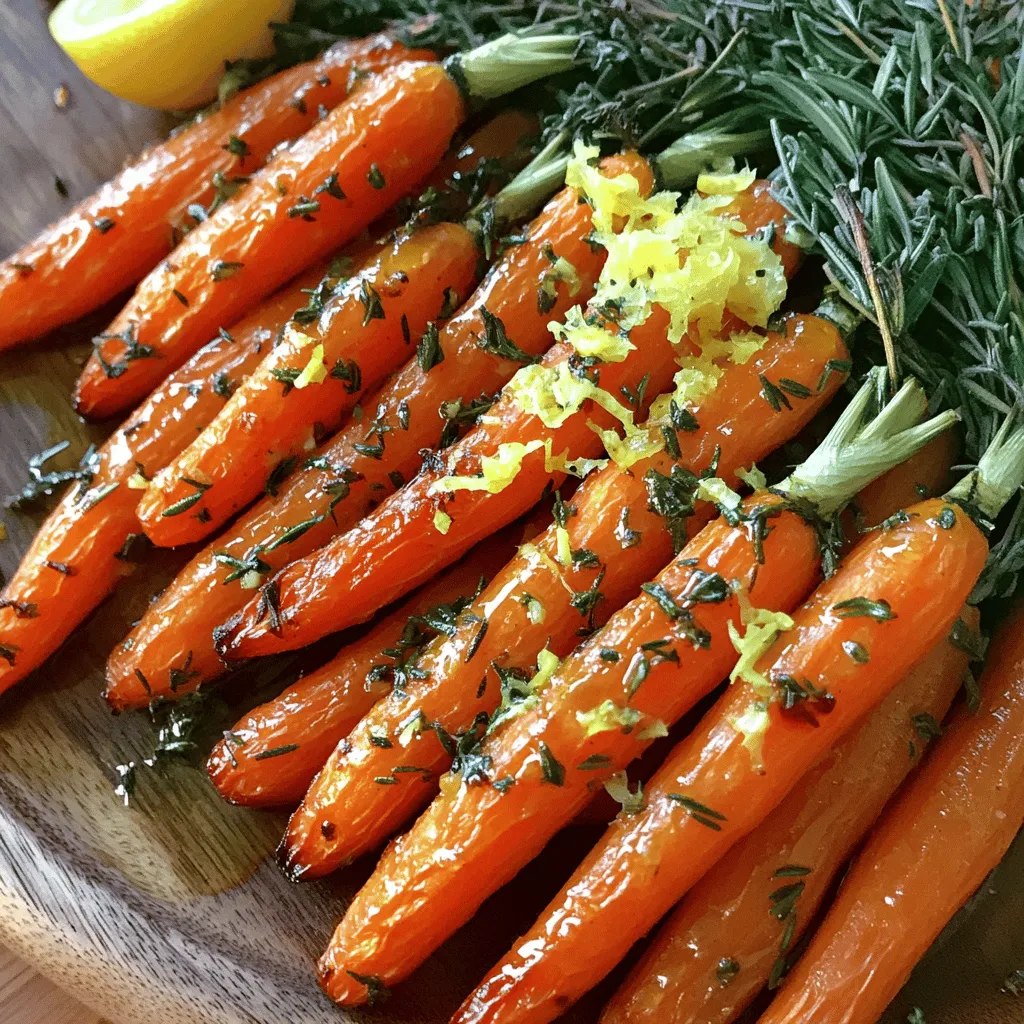
Garlic Herb Roasted Carrots Flavorful and Simple Dish
Are you ready to elevate your side dish game? Garlic Herb Roasted Carrots are both flavorful and easy to make.
Read more…browse recipes


![- 1 cup unsweetened cocoa powder - 1 cup granulated sugar - 1 cup brown sugar, packed - 1/2 cup unsalted butter, melted - 4 large eggs - 1 teaspoon vanilla extract - 1/2 cup all-purpose flour - 1/4 teaspoon salt - 2 cups fresh strawberries, hulled and sliced - 1 tablespoon lemon juice - 1 cup heavy cream - 2 tablespoons powdered sugar - Optional chocolate drizzle - Fresh mint leaves for garnish - Baking pan - Mixing bowls - Electric mixer (for whipping cream) The ingredients for this brownie strawberry shortcake are simple yet effective. The cocoa powder gives a rich taste. The mix of sugars adds sweetness. Butter provides richness, while eggs bind everything together. Vanilla brings warmth to the flavor. Flour and salt balance the mix. Fresh strawberries add a juicy and fruity bite. Lemon juice brightens the strawberries’ flavor. Heavy cream becomes a fluffy topping when whipped. Powdered sugar sweetens the cream perfectly. You can add a chocolate drizzle for extra flair. For equipment, a baking pan helps shape the brownies. Mixing bowls are essential for combining ingredients. An electric mixer makes whipping cream easy and quick. You can find all these ingredients and tools at your local store. This recipe is well-rounded. You get rich brownies, sweet strawberries, and creamy whipped cream. Enjoy the balance of flavors and textures in every bite. I love how simple it is to make this treat delicious and beautiful. You can find the full recipe above. 1. Preheat oven and prepare baking pan: Set your oven to 350°F (175°C). Grease a 9x9-inch baking pan. Line it with parchment paper, leaving some overhang. This helps with easy removal later. 2. Mixing dry ingredients: In a big bowl, whisk together 1 cup cocoa powder, 1 cup granulated sugar, 1 cup brown sugar, 1/2 cup flour, and 1/4 teaspoon salt. Make sure everything blends well. 3. Incorporating wet ingredients: Add 1/2 cup melted butter to the dry mix. Stir until smooth. Next, add 4 large eggs, one at a time. Then, mix in 1 teaspoon vanilla extract until well combined. 1. Pouring and spreading the batter: Pour your brownie batter into the prepared pan. Use a spatula to spread it out evenly. 2. Baking time and checking for doneness: Bake for 25-30 minutes. To check if they are done, insert a toothpick in the center. It should come out with a few moist crumbs. 3. Cooling brownies before assembly: Once baked, let the brownies cool completely in the pan. Place them on a wire rack. After they cool, lift them out using the parchment paper and cut them into squares. 1. Macerating the strawberries with lemon juice: In a bowl, mix 2 cups hulled and sliced strawberries with 1 tablespoon lemon juice. Let them sit for about 15 minutes. This softens them and brings out their sweetness. 2. Preparing the whipped cream: In another bowl, whip 1 cup heavy cream and 2 tablespoons powdered sugar together. Beat until soft peaks form. This creates a light and fluffy topping. 3. Tips for achieving perfect whipped cream: To get the best whipped cream, use cold cream and a chilled bowl. This helps it whip faster and hold its shape better. Now, you have all the steps to create this luscious Brownie Strawberry Shortcake delight! For the full recipe, check [Full Recipe]. To make your brownies just right, avoid over-mixing your batter. When you mix too much, the brownies can become tough. Mix until the flour disappears, and then stop. This keeps the brownies soft and chewy. Next, aim for the ideal brownie texture. You want them fudgy, not cakey. Check them in the oven around 25 minutes. When a toothpick comes out with a few moist crumbs, they are done. Let them cool completely before cutting to help maintain their shape. When you assemble your dessert, think about layering. Start with a brownie square, then add strawberries and whipped cream. Repeat the layers for a tall treat. This creates a beautiful, tasty dessert. For a nice plate presentation, use a drizzle of chocolate sauce. Place a mint leaf on top for color. This adds a fresh touch, making your dessert look as good as it tastes. You can use alternative sweeteners in your whipped cream. Try honey or maple syrup for a different flavor. This can make your cream lighter and still sweet. To boost the flavor, add extracts. A drop of almond or orange extract can elevate your whipped cream. This small change can make a big difference in taste. For the full recipe, check out the complete guide to Brownie Strawberry Shortcake. {{image_2}} You can switch up the fruit toppings for this dessert. Instead of strawberries, try raspberries or blueberries. They add a nice tartness. You can also mix in nuts or chocolate chips into the brownie batter. Walnuts or pecans give a nice crunch. Chocolate chips add more chocolate flavor. Both options make the brownies even more exciting. If you want vegan options, you can replace eggs with applesauce or flaxseed. Use plant-based butter and coconut cream for the whipped topping. For gluten-free brownies, swap all-purpose flour with almond flour or a gluten-free blend. This way, everyone can enjoy this dessert. You can serve this treat in fun ways. Individual dessert cups are great for parties. Layer the brownies, whipped cream, and fruit in clear cups. This looks pretty and makes it easy to serve. Another idea is to layer all the ingredients in a trifle dish. This big dessert looks impressive and is perfect for sharing. To keep your dessert layers fresh, store them in a cool, dry place. Use an airtight container to prevent moisture from ruining the brownies or whipped cream. If you have leftover strawberries, keep them in the fridge. You can also layer the components in a container to save space. For reheating brownies, place them in the microwave for 10-15 seconds. This will make them soft and warm. In the refrigerator, your Brownie Strawberry Shortcake will last about 3 days. If you want to keep it longer, you can freeze it. Wrap the brownies tightly in plastic wrap and then in foil. This method helps to avoid freezer burn. They can last up to 2 months in the freezer. For macerated strawberries, store them in a sealed container in the fridge. They should stay fresh for up to 2 days. To keep whipped cream light and fluffy, store it in a separate container. You can also add a pinch of cornstarch to help it hold its shape longer. Avoid mixing it again right before serving to keep the texture perfect. For the full recipe, check the details above. You can use vegan egg alternatives like applesauce or flaxseed. Each option works well. For applesauce, use 1/4 cup for each egg. Flaxseed needs mixing. Combine 1 tablespoon of ground flaxseed with 2.5 tablespoons of water. Let it sit for 5 minutes to thicken. Yes, you can use frozen strawberries. Thaw them first and drain excess liquid. This will keep your dessert from becoming too watery. Frozen strawberries can still taste sweet and delicious. The best way is the toothpick test. Insert a toothpick into the center of the brownies. If it comes out with a few moist crumbs, they are ready. If it’s wet with batter, they need more time. Making whipped cream is simple and fun. Start with cold heavy cream in a bowl. Use an electric mixer on medium speed. Whip until soft peaks form. Add 2 tablespoons of powdered sugar for sweetness. Continue until you reach your desired consistency. You now have all the tools to create a delicious brownie strawberry shortcake. From mixing the ingredients to perfecting your whipped cream, each step counts. Remember the tips for achieving the best texture and flavor. Don’t hesitate to try variations to make it your own. Whether for a special event or just a treat, this dessert will impress. Enjoy sharing your tasty creation with friends and family. Happy baking!](https://lisadishes.com/wp-content/uploads/2025/05/aa4b7f26-2eef-40a9-a1da-9d27c98bbf26.webp)
Brownie Strawberry Shortcake Delightful Dessert Recipe
Are you ready for a dessert that will wow your friends and family? This Brownie Strawberry Shortcake is a sweet mix of rich, fudgy…
My Latest Desserts

Easy Strawberry Shortcake Simple and Delicious Recipe
If you’re craving a sweet treat that’s both simple and delicious, look no further! My Easy Strawberry Shortcake recipe is Read Full Recipe-
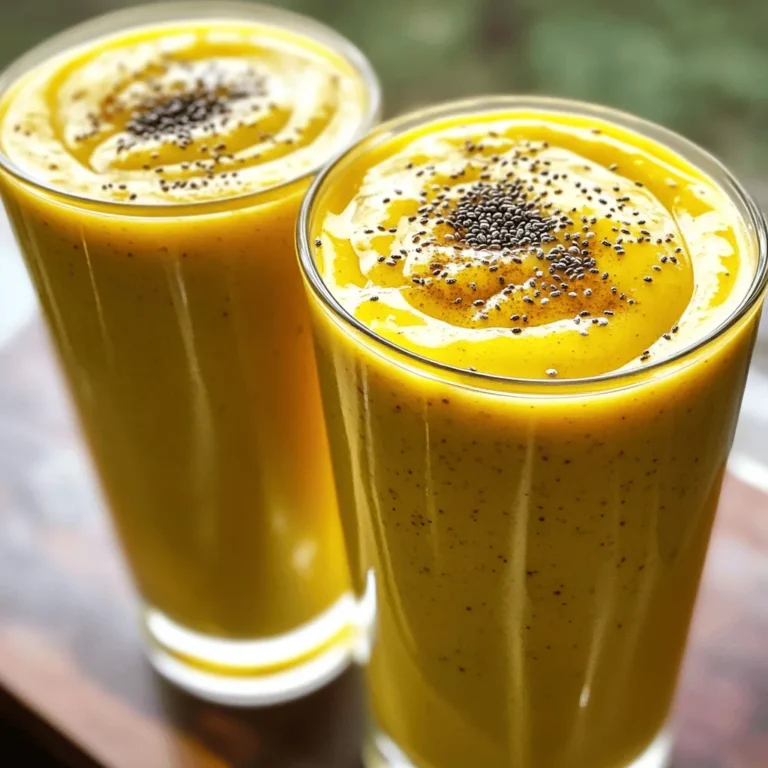
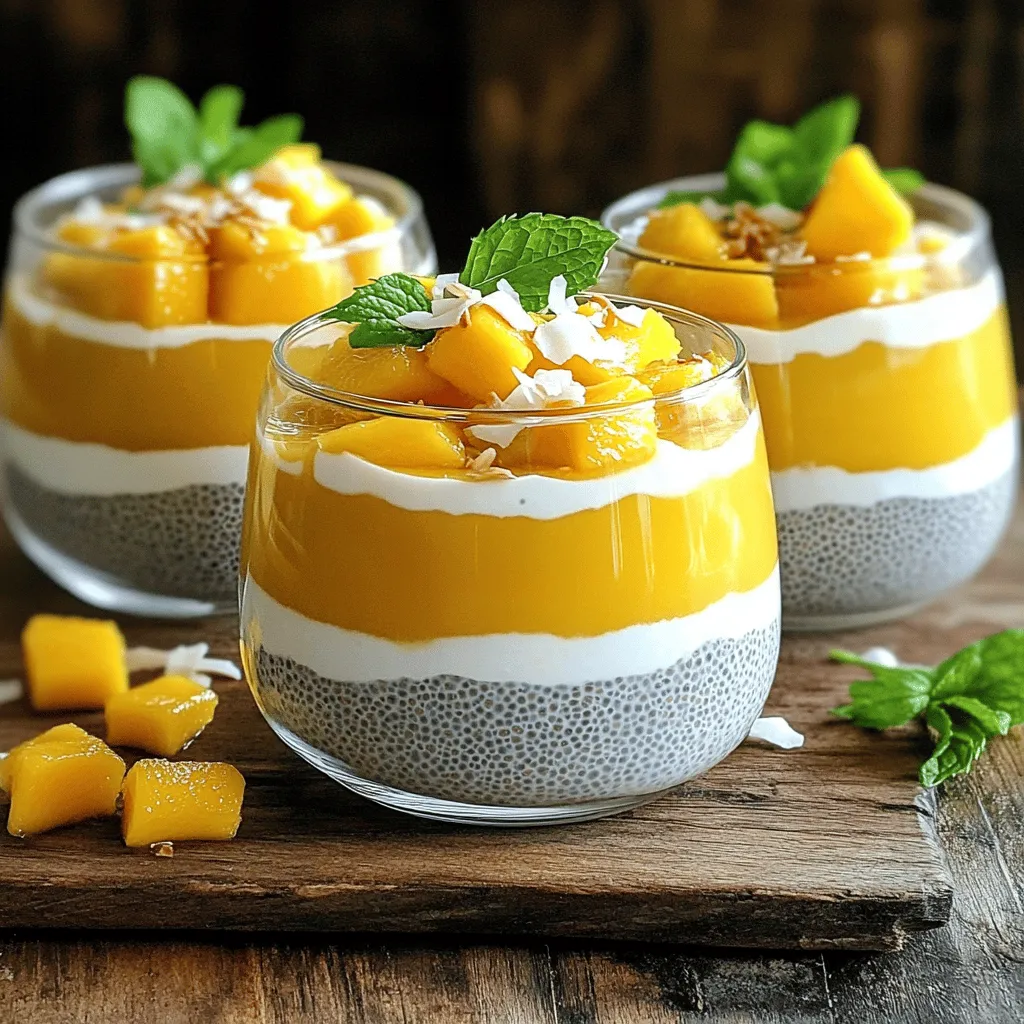
Mango Coconut Chia Pudding Delicious and Nutritious Treat
Are you ready to treat yourself to something truly delicious and nutritious? Mango Coconut Chia Pudding is the perfect way Read Full Recipe -
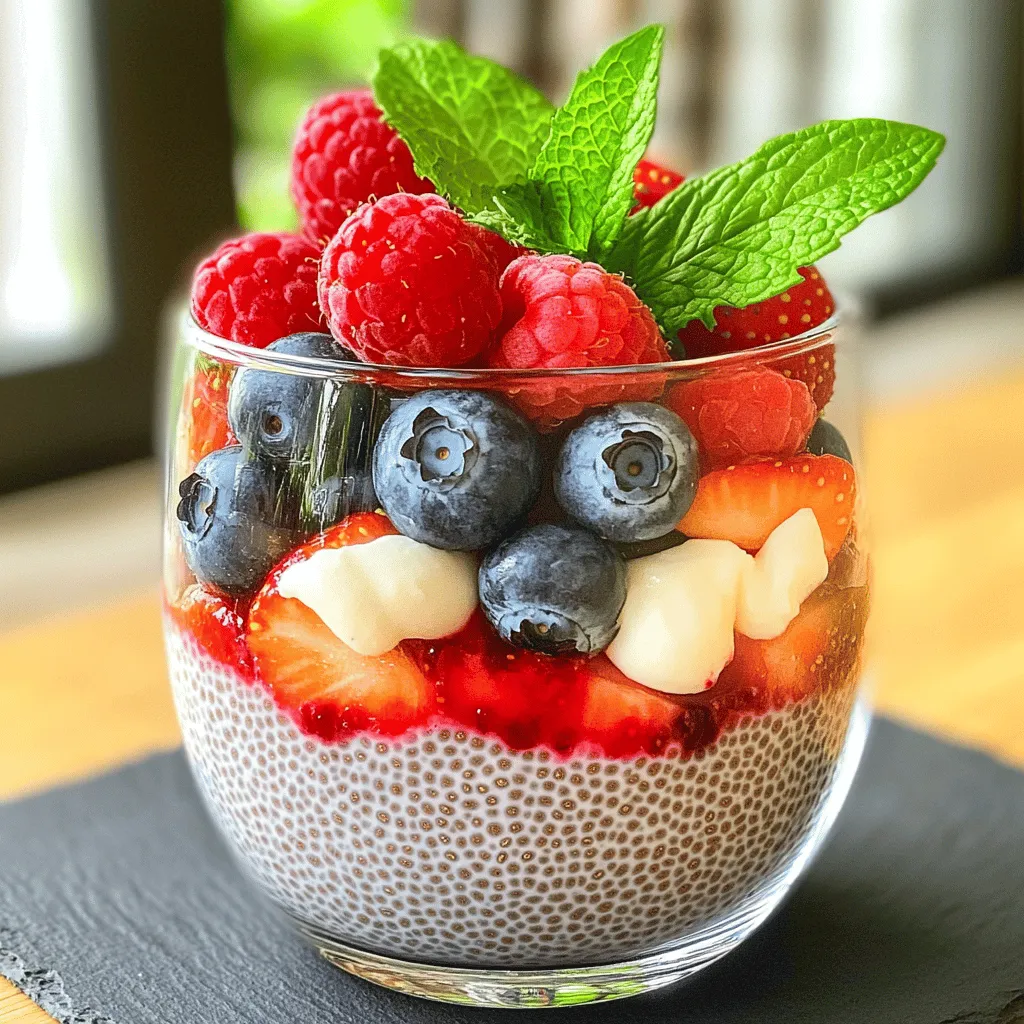
Berry Chia Pudding Simple and Healthy Delight
Berry Chia Pudding is a simple and healthy treat that packs a punch. With just a few easy ingredients, you Read Full Recipe -
Pumpkin Spice Energy Bites Tasty and Healthy Snack
Looking for a tasty and healthy snack to fuel your day? This Pumpkin Spice Energy Bites recipe is your answer! Read Full Recipe -
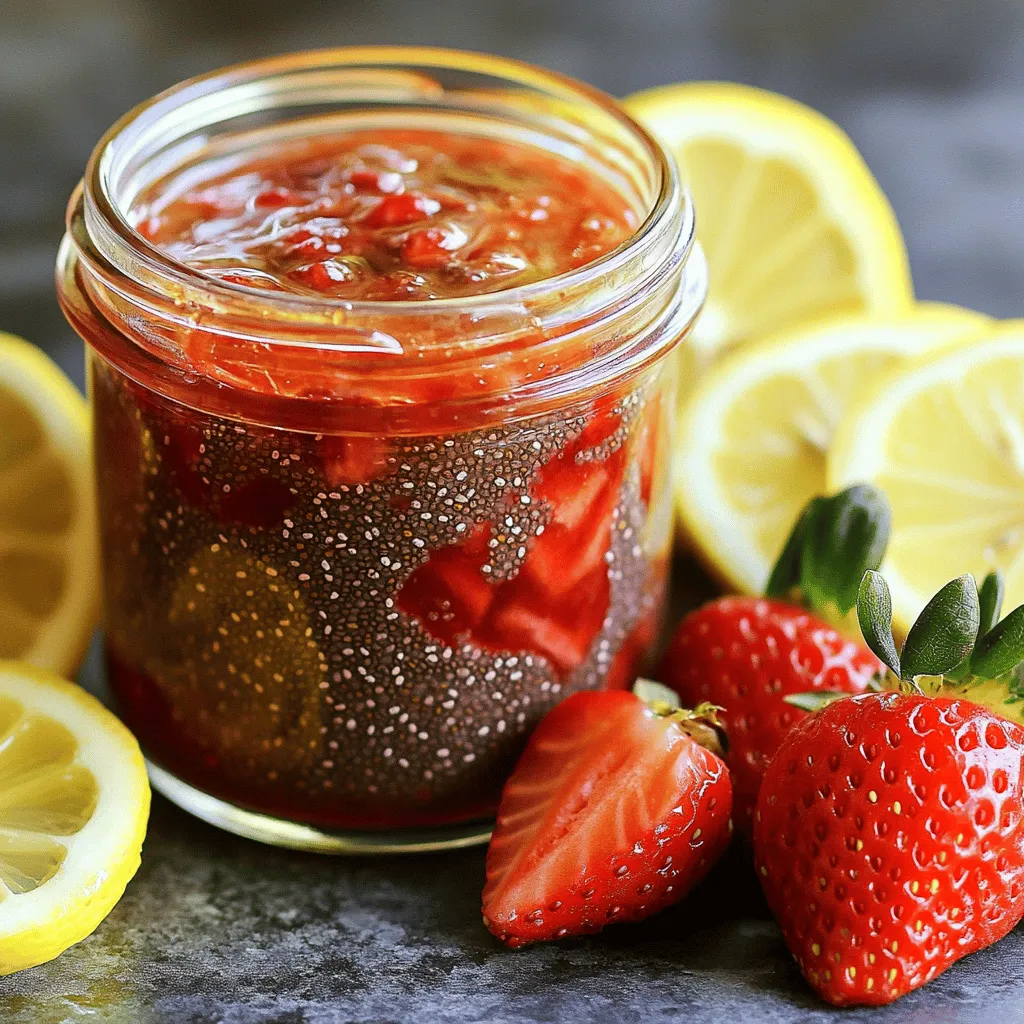
Strawberry Chia Seed Jam Tasty and Healthy Treat
If you’re craving a sweet treat that’s also good for you, I’ve got just the thing: Strawberry Chia Seed Jam! Read Full Recipe -
Pumpkin Spice Muffins Warm and Cozy Fall Treat
Fall is the perfect time for warm and cozy treats, and nothing says autumn like pumpkin spice muffins. These fluffy Read Full Recipe -
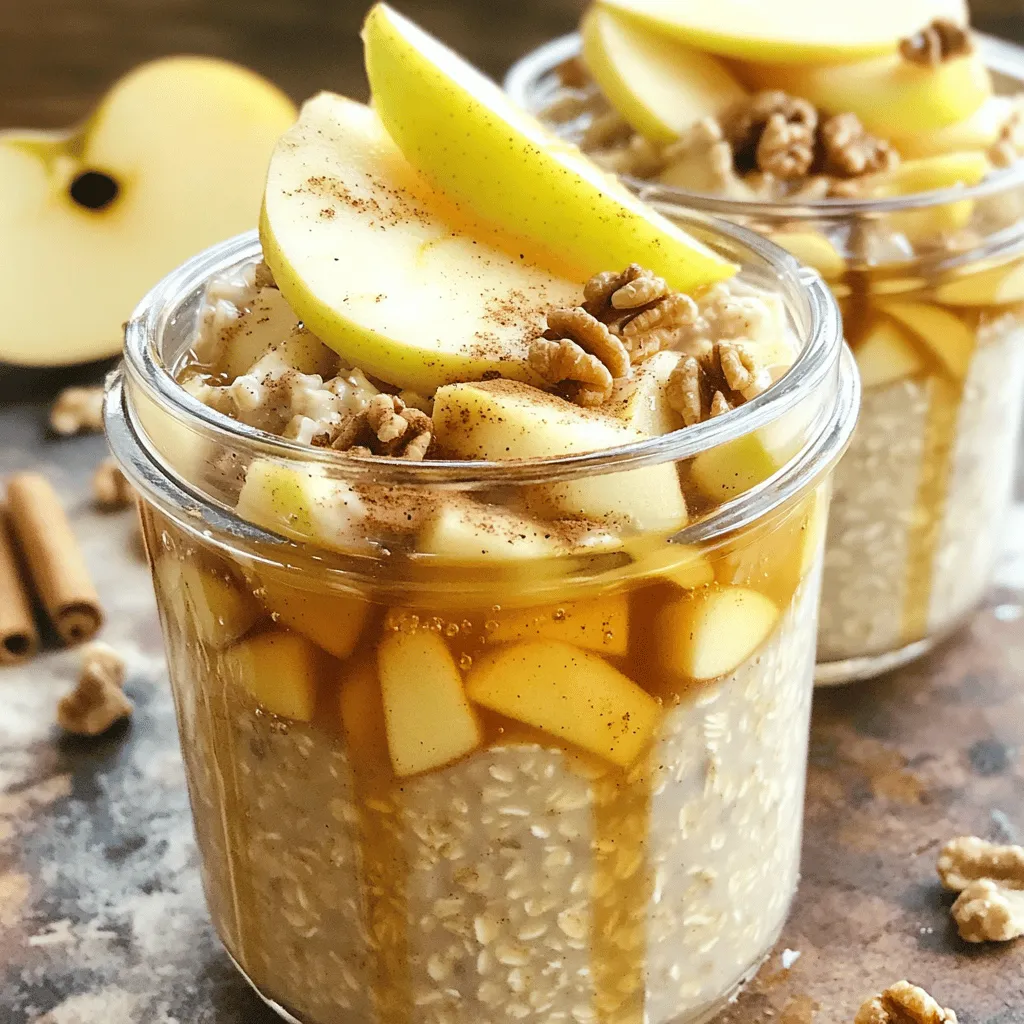
Apple Cinnamon Overnight Oats Healthy Breakfast Option
Looking for a quick and healthy breakfast? You’ve found it! Apple Cinnamon Overnight Oats are the perfect choice for busy Read Full Recipe -
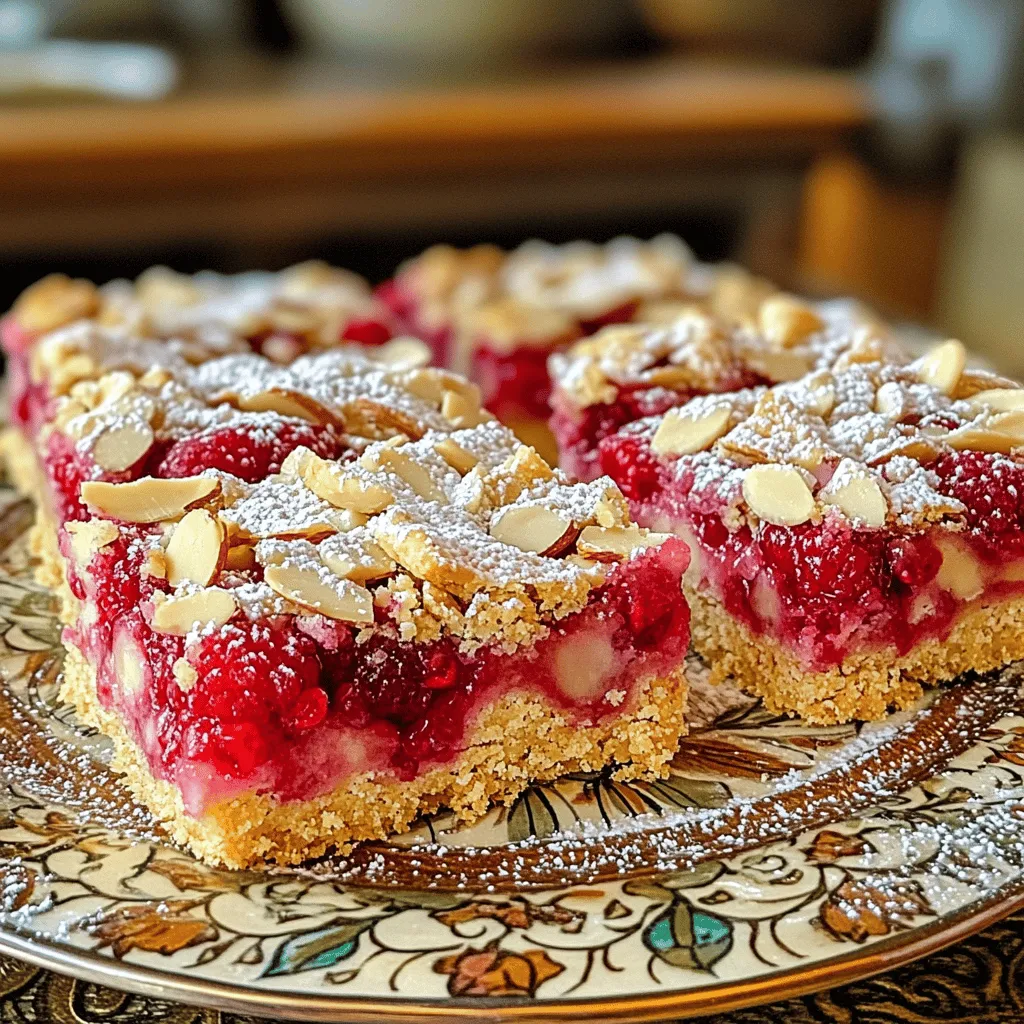
Raspberry Almond Shortbread Bars Simple and Tasty Treat
Looking for a sweet treat that’s easy to make and perfect for any occasion? Raspberry Almond Shortbread Bars are your Read Full Recipe -
Chocolate Covered Strawberry Pops Delightful Treats
Are you ready for a sweet treat? Chocolate Covered Strawberry Pops are delicious and fun to make. I’ll guide you Read Full Recipe -
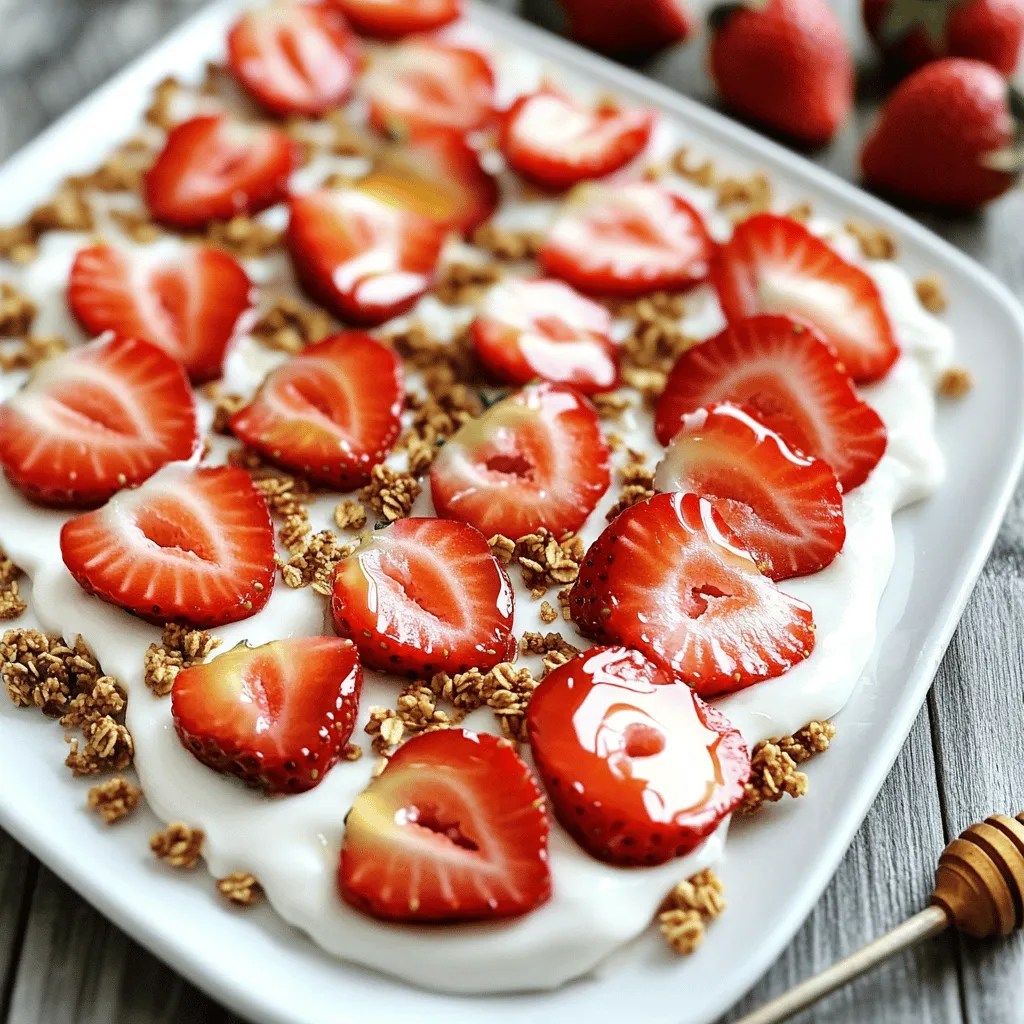
Fresh Strawberry Yogurt Bark Delicious and Easy Treat
Looking for a quick and tasty treat? Fresh Strawberry Yogurt Bark is your answer! This easy recipe combines creamy Greek Read Full Recipe -
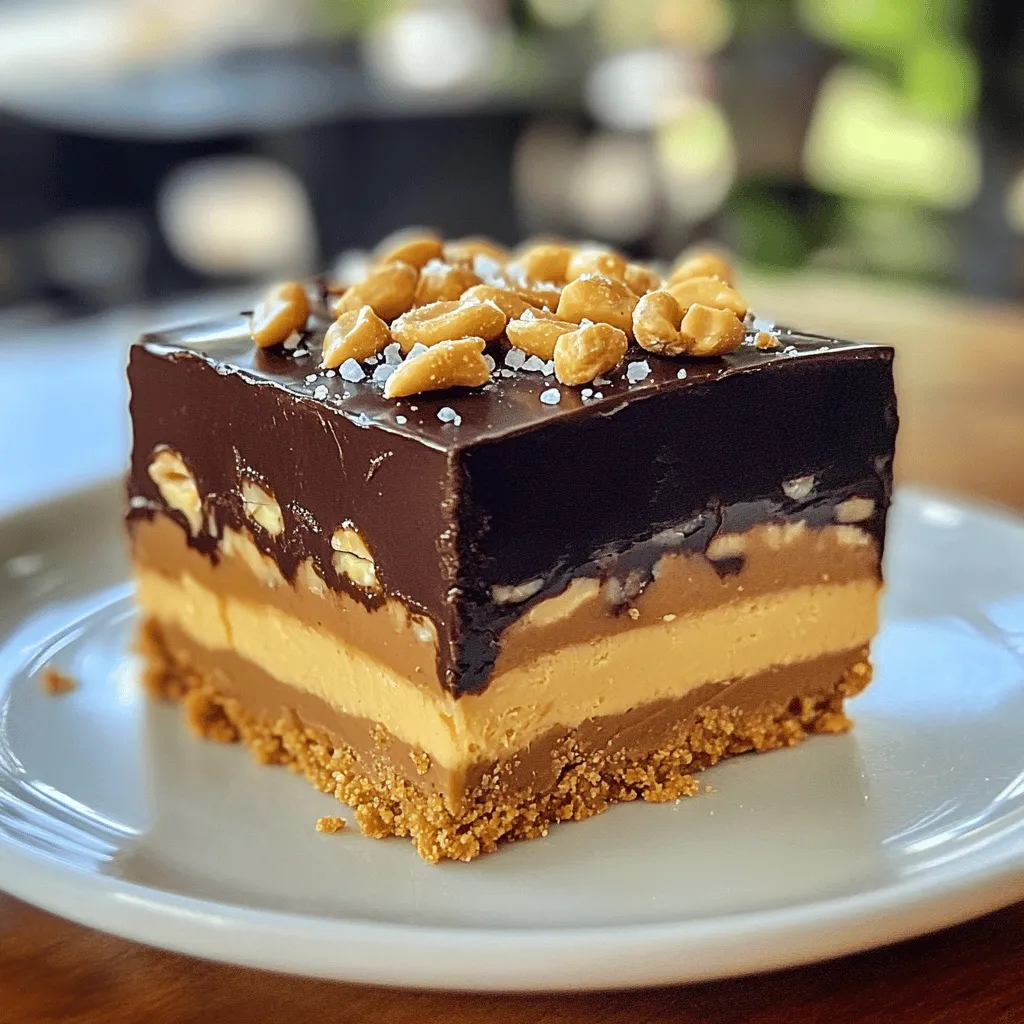
No-Bake Snickers Bars Simple and Decadent Treat
Indulge in a simple and delicious treat with my No-Bake Snickers Bars recipe! These bars come together fast and need Read Full Recipe -
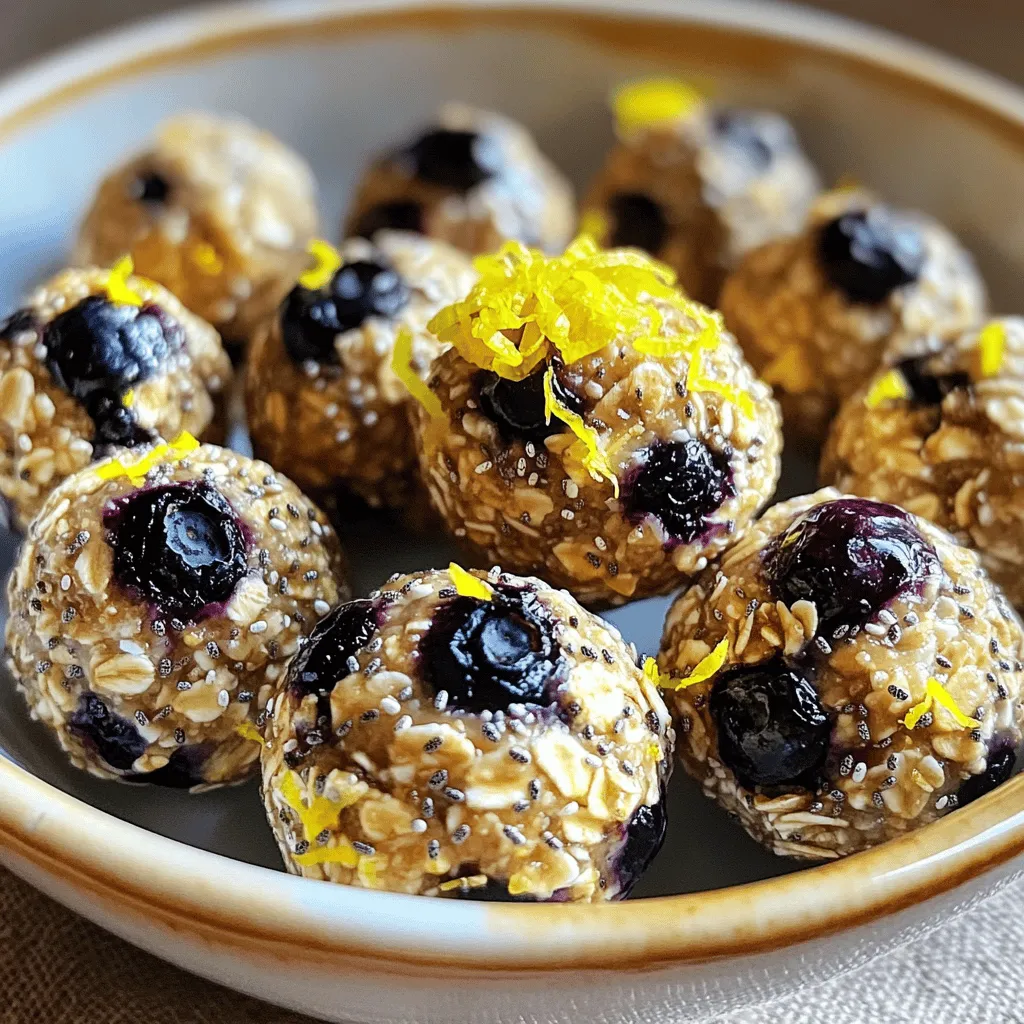
Lemon Blueberry Energy Bites Nourishing Snack Idea
Looking for a tasty, energy-packed snack? Try my Lemon Blueberry Energy Bites! These little balls are the perfect blend of Read Full Recipe


hey,
i’m !
I’m so happy you’re here!
Each recipe I share is a little piece of love from my kitchen. May they fill your heart and home with warmth. Let’s cook up something wonderful together.


![To make Lemon Garlic Shrimp Pasta, you need these fresh ingredients: - 8 oz spaghetti or linguine - 1 lb large shrimp, peeled and deveined - 4 cloves garlic, minced - 1 lemon (juiced and zested) - 1/4 cup olive oil - 1/4 cup unsalted butter - 1/4 teaspoon red pepper flakes - Salt and pepper to taste - Fresh parsley, chopped for garnish - Grated Parmesan cheese for serving (optional) These ingredients bring bright flavors to your dish. Fresh shrimp and lemon add a nice touch. If you lack some ingredients, don’t worry! Here are some easy swaps: - Pasta: Use any pasta you like, such as penne or fettuccine. - Shrimp: You can use scallops or chicken instead of shrimp. - Garlic: Garlic powder works if you don’t have fresh garlic. - Olive oil: Any cooking oil, like avocado or canola, can work well. - Butter: You can skip butter for a lighter dish or use coconut oil. These substitutions keep your meal tasty while fitting your kitchen needs. Each serving of Lemon Garlic Shrimp Pasta offers a healthy balance. Here’s what you get: - Calories: 450 - Protein: 25g - Carbohydrates: 50g - Fat: 20g - Fiber: 2g This dish provides energy and protein while keeping it light. Enjoy it as a main meal or share it with friends. Check the [Full Recipe] for more details! To start, bring a large pot of salted water to a boil. I like to use a big pot so the pasta cooks evenly. Once it boils, add 8 oz of spaghetti or linguine. Cook it according to the package instructions until it’s al dente. This usually takes about 8 to 10 minutes. When it’s done, drain the pasta but save 1/2 cup of the pasta water. Set the pasta aside to wait for the shrimp. Next, grab a large skillet. Heat 1/4 cup of olive oil and 1/4 cup of unsalted butter over medium heat. When the butter melts and bubbles, add 4 cloves of minced garlic and 1/4 teaspoon of red pepper flakes. Sauté this mixture for about 1-2 minutes. Keep an eye on the garlic; you don’t want it to brown. Now, add 1 lb of large shrimp to the skillet. Lay them in a single layer. Cook for 2-3 minutes on each side. When they turn pink and opaque, they’re done. Season the shrimp with salt and pepper. Then, stir in the juice and zest of 1 lemon. This adds a bright flavor! Finally, add the cooked pasta and the reserved pasta water to the skillet. Toss everything together over low heat. Make sure the pasta and shrimp are well combined and heated through. Adjust the seasoning if you need to. To achieve the perfect al dente pasta, follow these tips: - Use plenty of salted water. This helps the pasta cook evenly. - Stir the pasta occasionally while it cooks to prevent sticking. - Taste the pasta one minute before the package time ends. It should be firm but not hard. - Always reserve some pasta water. It helps to create a creamy sauce later. Cooking shrimp to tender perfection is easy with these steps: - Use fresh or thawed shrimp. Frozen shrimp can become tough if overcooked. - Do not overcrowd the skillet. This helps them cook evenly. - Cook until they turn pink and opaque. This usually takes 2-3 minutes per side. - Remove from heat as soon as they’re done. Overcooking makes them rubbery. For the complete recipe, check out the [Full Recipe]. To make Lemon Garlic Shrimp Pasta, you will need a few key tools: - Large pot for boiling pasta - Skillet for cooking shrimp - Colander for draining pasta - Measuring cups for liquids - Zester for the lemon peel - Knife and cutting board for garlic and parsley These tools ensure a smooth cooking process and great results. Shrimp can be tricky to cook. Here are some pitfalls to avoid: - Overcooking: Shrimp cooks fast. Aim for 2-3 minutes per side. - Not seasoning enough: Salt and pepper enhance flavor. Don’t skip this step. - Crowding the pan: Give shrimp space to cook evenly. Cook in batches if needed. Avoiding these mistakes will help you serve perfect shrimp every time. Lemon Garlic Shrimp Pasta shines when paired with fresh sides. Consider these options: - A crisp green salad with vinaigrette - Garlic bread for a comforting touch - Steamed asparagus or broccoli for added color These sides balance flavors and create a well-rounded meal. Enjoy your delicious dish! For the complete recipe, check out the Full Recipe link. {{image_2}} You can easily make Lemon Garlic Shrimp Pasta healthier. Try using whole wheat pasta instead of regular pasta. Whole wheat adds fiber and nutrients. It also gives a nutty taste that pairs well with shrimp. If you're gluten-free, use gluten-free pasta. Many brands make great options that cook just like regular pasta. For a vegan version, swap shrimp with plant-based protein. Tofu or tempeh works well. You can also use chickpeas for a hearty texture. Use vegan butter and olive oil for cooking. Replace Parmesan cheese with a vegan alternative or nutritional yeast for a cheesy flavor. This way, you keep the dish delicious and satisfying. Adding herbs and spices can change the flavor of your dish. Fresh basil or cilantro adds a bright touch. You can also sprinkle in some oregano or thyme for depth. If you like heat, try adding more red pepper flakes. A dash of smoked paprika gives a lovely smoky flavor. Experiment with what you love to make this dish your own. For the full recipe, refer back to the main section. To keep your Lemon Garlic Shrimp Pasta fresh, store it in an airtight container. Make sure it cools down first. This helps avoid extra moisture. You can keep it in the fridge for up to three days. If you have a lot of leftovers, you can freeze it too. Just place portions in freezer bags. Remove as much air as you can to prevent freezer burn. When you're ready to enjoy your leftovers, reheating is key. The best way is to use a skillet. Add a splash of olive oil or a bit of water. Warm it over low heat, stirring gently. This method keeps the pasta moist. You can also use a microwave. Place the pasta in a bowl and cover it with a damp paper towel. Heat in short bursts, stirring in between. This prevents it from drying out. Lemon Garlic Shrimp Pasta will stay fresh in the fridge for about three days. If frozen, it can last for about three months. Always check for any changes in smell or texture before eating. If it smells off, it's best to toss it out. Enjoy your delicious meal knowing you stored it right! For the full recipe, refer back to the main section. Yes, you can use frozen shrimp. Just thaw them before cooking. Place them in cold water for quick thawing. Drain well after thawing. Frozen shrimp cooks well and saves time. They may take one or two extra minutes to cook. Always check that they are pink and opaque before serving. This ensures they are cooked through. Lemon Garlic Shrimp Pasta pairs well with several sides. A fresh green salad adds a nice crunch. Garlic bread is perfect for soaking up the sauce. You can also serve steamed vegetables for a healthy touch. Consider a light white wine like Pinot Grigio for a drink. These options enhance the meal without overpowering it. To spice up your dish, add more red pepper flakes. You can start with half a teaspoon more. If you like heat, try adding sliced fresh jalapeños. For a smoky flavor, add smoked paprika. Adjust the spice to your taste as you cook. Always taste before serving to find your perfect heat level. This blog post covered every aspect of making Lemon Garlic Shrimp Pasta. You learned about necessary ingredients, easy steps, and useful tips. We also explored variations and storage methods to keep your pasta fresh. With these insights, you can enjoy a delightful meal anytime. Cooking doesn’t have to be hard. Follow the steps, and you’ll impress your family and friends. Keep experimenting with flavors to make this dish your own!](https://lisadishes.com/wp-content/uploads/2025/05/af8bb54e-3a42-44b6-b609-3e3d0ea7e18d-300x300.webp)
Creamy Parmesan Sausage Ditalini Soup Delight
Get ready to warm your belly with my Creamy Parmesan Sausage Ditalini Soup Delight! This dish is packed with savory sausage, fresh veggies, and…
![To make a hearty Creamy Parmesan Sausage Ditalini Soup, you need a few key ingredients: - 1 tablespoon olive oil - 1 pound Italian sausage (mild or spicy, your choice) - 1 medium onion, diced - 2 cloves garlic, minced - 2 medium carrots, diced - 2 celery stalks, diced - 6 cups chicken broth - 1 cup ditalini pasta These ingredients form the base of the soup, bringing rich flavors and a satisfying texture. Next, we add the creamy elements that make this soup truly special: - 1 cup heavy cream - 1 cup grated Parmesan cheese These creamy ingredients create a velvety texture that makes each spoonful delightful. Lastly, don’t forget the seasoning to elevate the flavors: - 1 teaspoon Italian seasoning - 2 cups fresh spinach, roughly chopped - Fresh parsley, chopped (for garnish) These extras add freshness and brightness to the soup. You can customize the soup to your taste by adjusting the seasonings. For the full recipe, check out the details provided earlier in this article. This dish is not just a meal but an experience that warms the heart. - Start by sautéing the sausage. In a large pot, heat 1 tablespoon of olive oil over medium heat. Add 1 pound of Italian sausage, removing the casings first. Break it apart with a wooden spoon. Cook until it's browned, which should take about 5 to 7 minutes. If there is too much grease, remove it. - Next, cook the aromatics. Add 1 medium onion, diced, 2 medium carrots, diced, and 2 celery stalks, diced, to the pot. Sauté these for about 5 minutes until they soften. Stir in 2 cloves of minced garlic and cook for one more minute until it smells great. - Bring in the chicken broth. Pour in 6 cups of chicken broth and let it come to a gentle boil. Once boiling, add 1 cup of ditalini pasta and 1 teaspoon of Italian seasoning. Lower the heat and let it simmer. Cook the pasta according to the package, usually 8 to 10 minutes until it’s al dente. - Add heavy cream and finishing touches. After the pasta is cooked, stir in 1 cup of heavy cream and 1 cup of grated Parmesan cheese. Mix well until the cheese melts and the soup becomes creamy. Season with salt and pepper to your taste. - For ladling and garnishing the soup, use a ladle to serve the soup into bowls. Top with fresh parsley for a pop of color. You can also offer extra Parmesan cheese on the side for those who love it. - Ideas for accompanying bread or sides include serving the soup with crusty bread. This adds a nice crunch and completes your meal. You can also pair it with a simple salad for a fresh touch. To boost flavor, try adding spices. A pinch of red pepper flakes brings heat. Fresh herbs like basil or thyme add brightness. You can also toss in diced bell peppers or zucchini. These veggies give the soup more texture and taste. For the best creaminess, add heavy cream slowly. Stir it in well after cooking the pasta. If you want chewy pasta, cook it separately. This keeps the pasta from getting too soft in the soup. Use a large pot for even cooking. A sturdy wooden spoon is best for stirring. It won’t scratch your pot and helps break up the sausage. Make sure you have a ladle for serving. It makes it easy to dish out the soup. For the complete recipe, check the Full Recipe section. {{image_2}} You can switch up the meat in this soup. Using chicken or turkey sausage is a great option. These choices are leaner but still packed with flavor. They will make your soup lighter but just as tasty. For a vegetarian version, skip the sausage altogether. Use mushrooms for umami flavor. Tofu or tempeh can also add protein. Think about adding more beans for extra texture and nutrition. If you need a gluten-free soup, don’t worry! You can find gluten-free ditalini pasta at most stores. Rice or quinoa can also work well. They’ll change the texture a bit but still give you a hearty meal. For thickening, use cornstarch or arrowroot powder. Just mix them with a little cold water first. This will help avoid clumps in your soup. You can easily change the spice level in your soup. Choose mild sausage for a gentle taste. If you like heat, spicy sausage is the way to go. You can also have fun with cheeses. While Parmesan shines in this dish, adding mozzarella can make it extra gooey. Feta cheese will give a tangy twist. Mix and match to find your favorite! For the full recipe, check out the [Full Recipe]. To store your Creamy Parmesan Sausage Ditalini Soup, cool it to room temperature first. Then, transfer the leftovers into airtight containers. Glass or plastic containers work well for this. Make sure to leave some space in the container, as the soup may expand when frozen. This helps keep the soup fresh and tasty. If you want to freeze the soup for later, use freezer-safe containers. Fill them about three-quarters full, leaving room for expansion. If you use a plastic bag, remove as much air as possible before sealing. To thaw, place the soup in the fridge overnight. Reheat it gently on the stove over low heat, stirring often to keep it creamy. In the fridge, your soup will last about 3 to 4 days. Look for signs of spoilage, like a sour smell or unusual texture. If you see any mold, it’s best to throw it away. Keeping an eye on these details helps ensure your soup stays safe and delicious. For the full recipe, check the earlier section. Can I make this soup ahead of time? Yes, you can prepare this soup a day before. Just store it in the fridge. When you're ready to eat, heat it up on the stove. The flavors will blend even more. Is it possible to freeze the creamy soup? Absolutely! This soup freezes well. Let it cool before putting it in airtight containers. It can last up to three months in the freezer. Thaw in the fridge overnight when you want to enjoy it again. What can I substitute if I can’t find ditalini pasta? If you can't find ditalini, use small pasta like elbow macaroni or shells. These will work well and still bring great texture to your soup. Alternatives for heavy cream If you need a lighter option, use half-and-half instead of heavy cream. You can also try coconut milk for a dairy-free version. What if I don’t have Italian sausage on hand? You can swap Italian sausage with ground turkey or chicken. For a vegetarian option, use mushrooms or lentils to add depth and flavor. How to double the recipe for larger gatherings To double the recipe, just double all the ingredients. Remember to use a bigger pot to cook it all at once. Suggestions for reducing serving sizes for meal prep For meal prep, halve the recipe and store portions in individual containers. This makes it easy to grab a quick meal on busy days. This blog post covered the essentials for making Creamy Parmesan Sausage Ditalini Soup. We explored key ingredients like sausage, vegetables, and creamy elements. I provided step-by-step instructions, tips for the perfect texture, and even variations for dietary needs. In conclusion, cooking this soup is simple and rewarding. You can adjust flavors and ingredients to suit your taste. Enjoy this warm dish with friends or family, and make it your own!](https://lisadishes.com/wp-content/uploads/2025/05/83726569-fc98-4320-9421-15b720e3bbda.webp)
My Latest Dinners
-
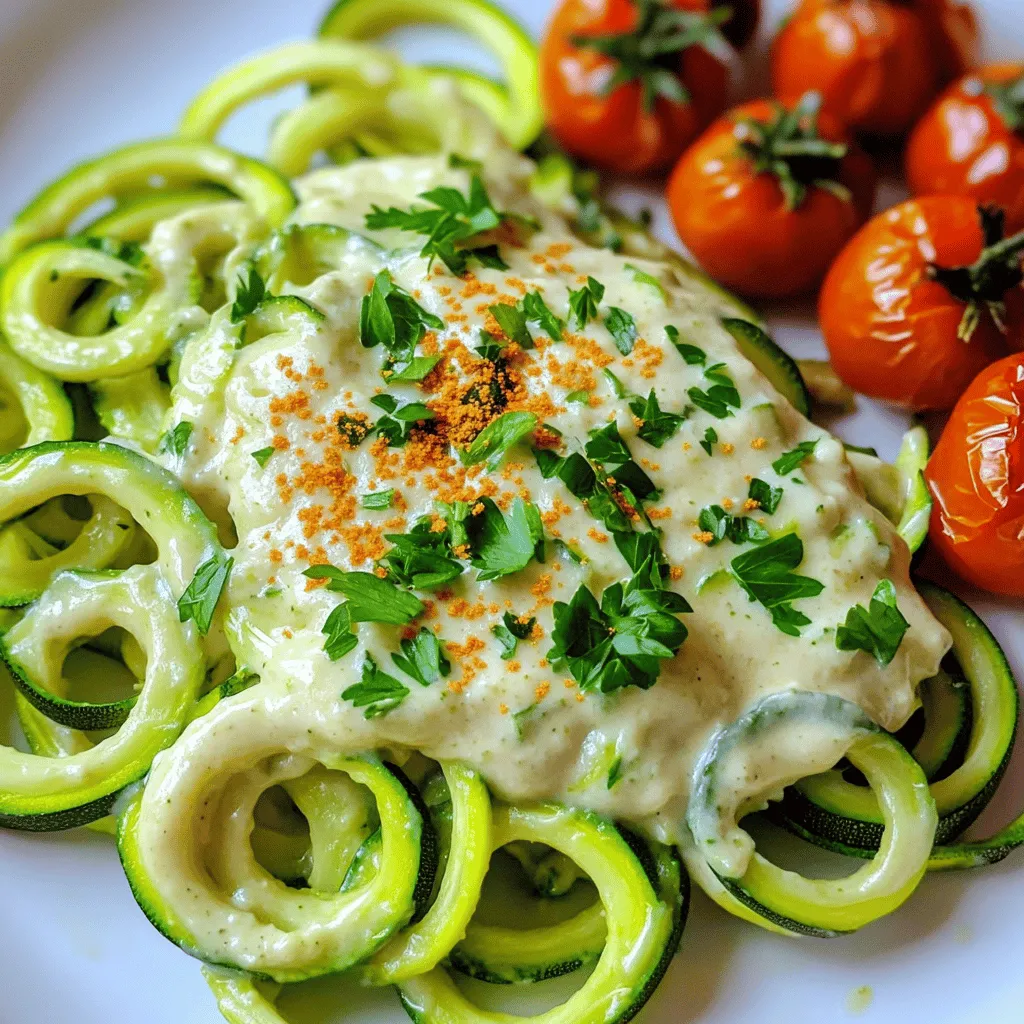
Zucchini Noodle Alfredo Creamy and Flavorful Delight
Zucchini Noodle Alfredo is a creamy and tasty dish that you can make at home. It’s a great choice if Read Full Recipe -
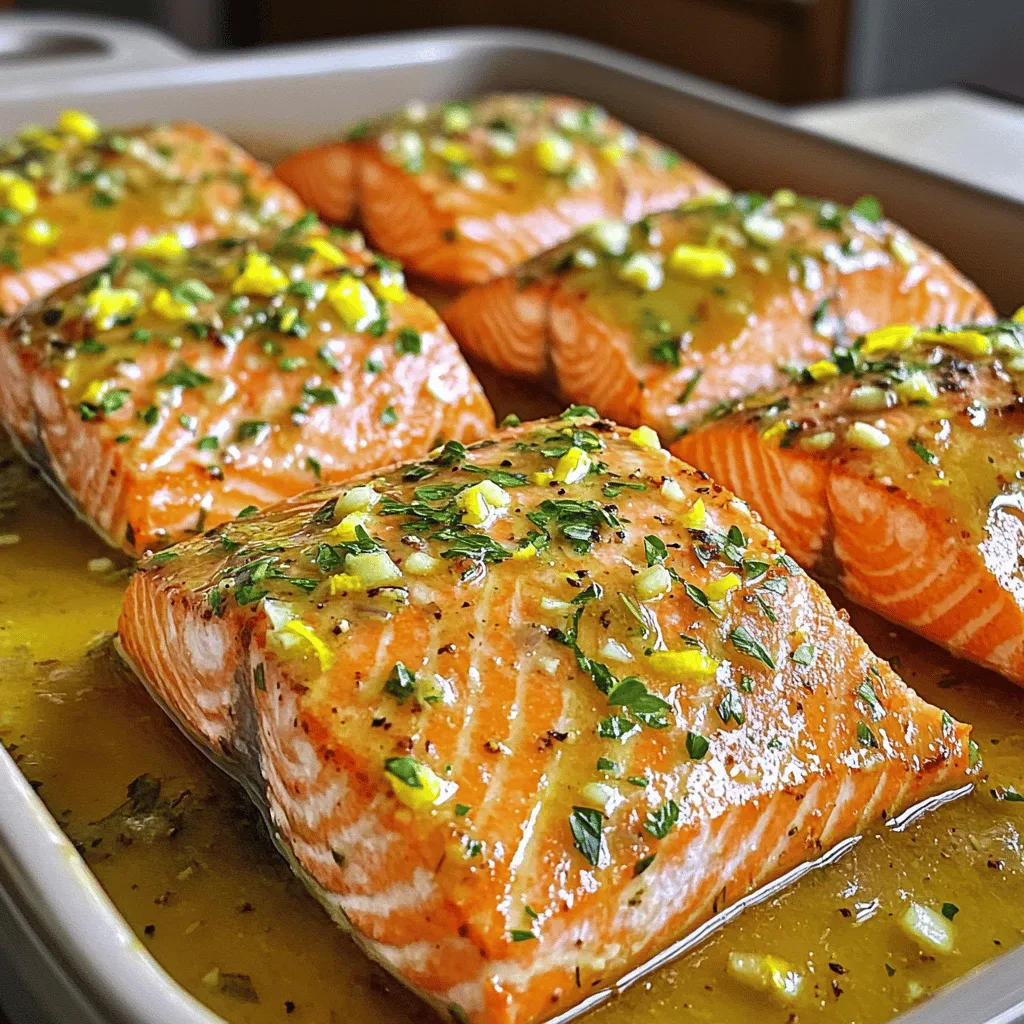
Lemon Garlic Roasted Salmon Flavorful and Simple Dish
Are you ready to impress with a dish that’s both simple and bursting with flavor? Lemon Garlic Roasted Salmon is Read Full Recipe -
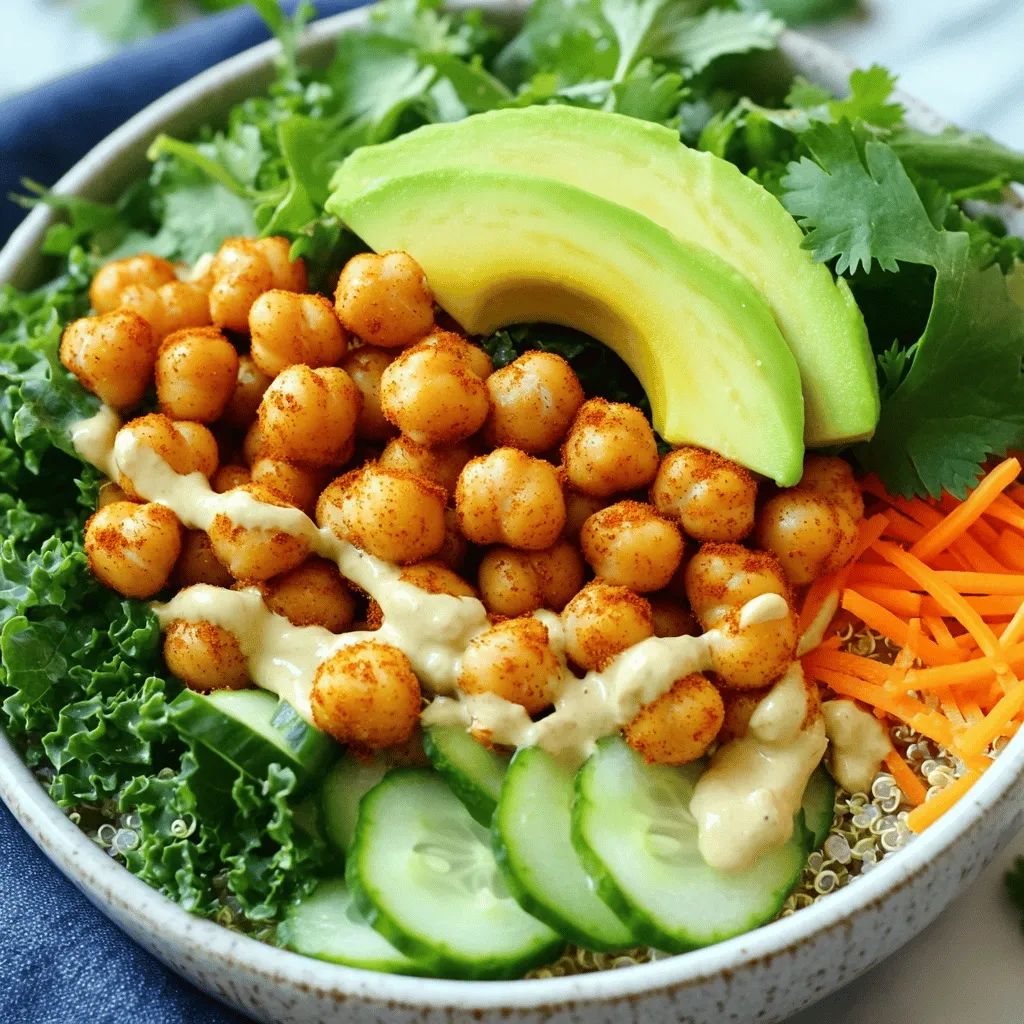
Crispy Chickpea Buddha Bowl Energizing and Nutritious
Looking for a delicious, energizing meal? Try my Crispy Chickpea Buddha Bowl! Packed with protein, fresh veggies, and a zesty Read Full Recipe -
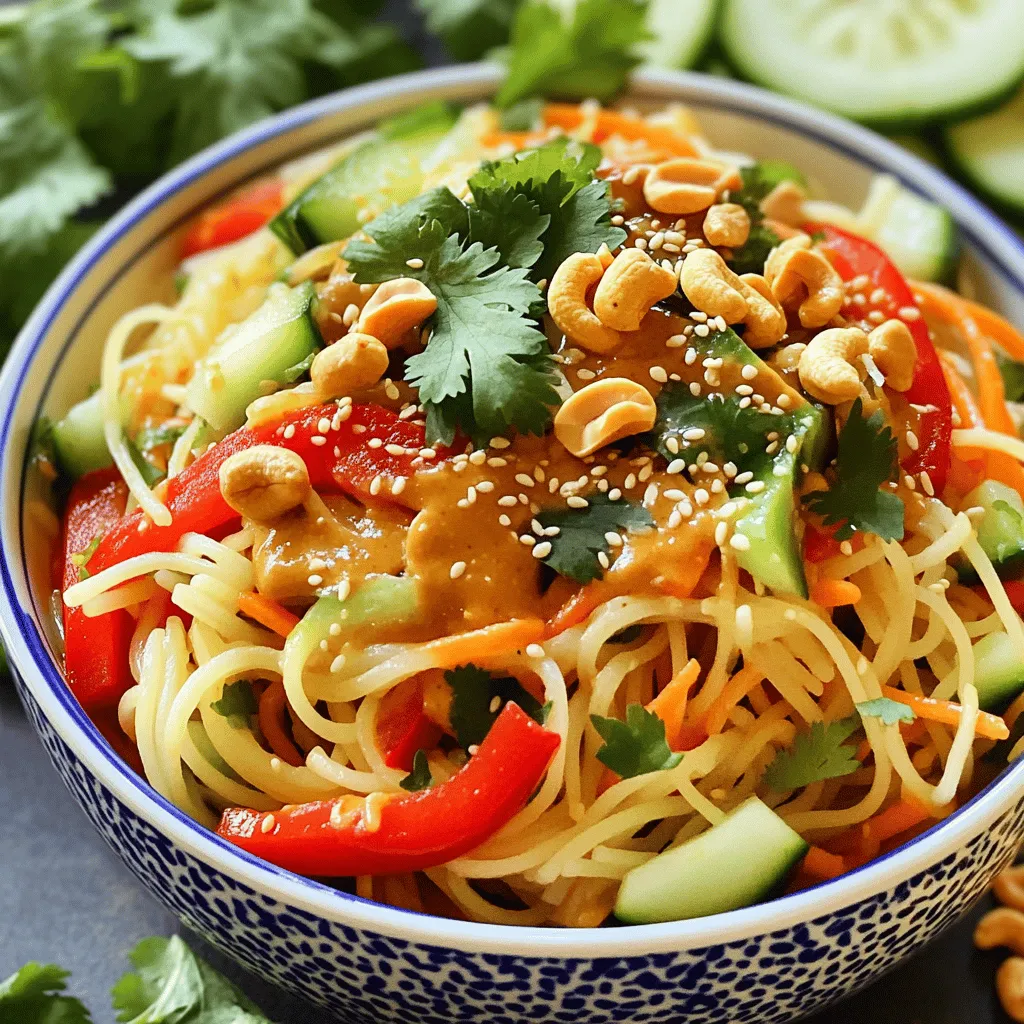
Spicy Cashew Noodle Salad Tasty and Simple Recipe
Are you ready to enjoy a tasty dish that packs a flavorful punch? My Spicy Cashew Noodle Salad is not Read Full Recipe -
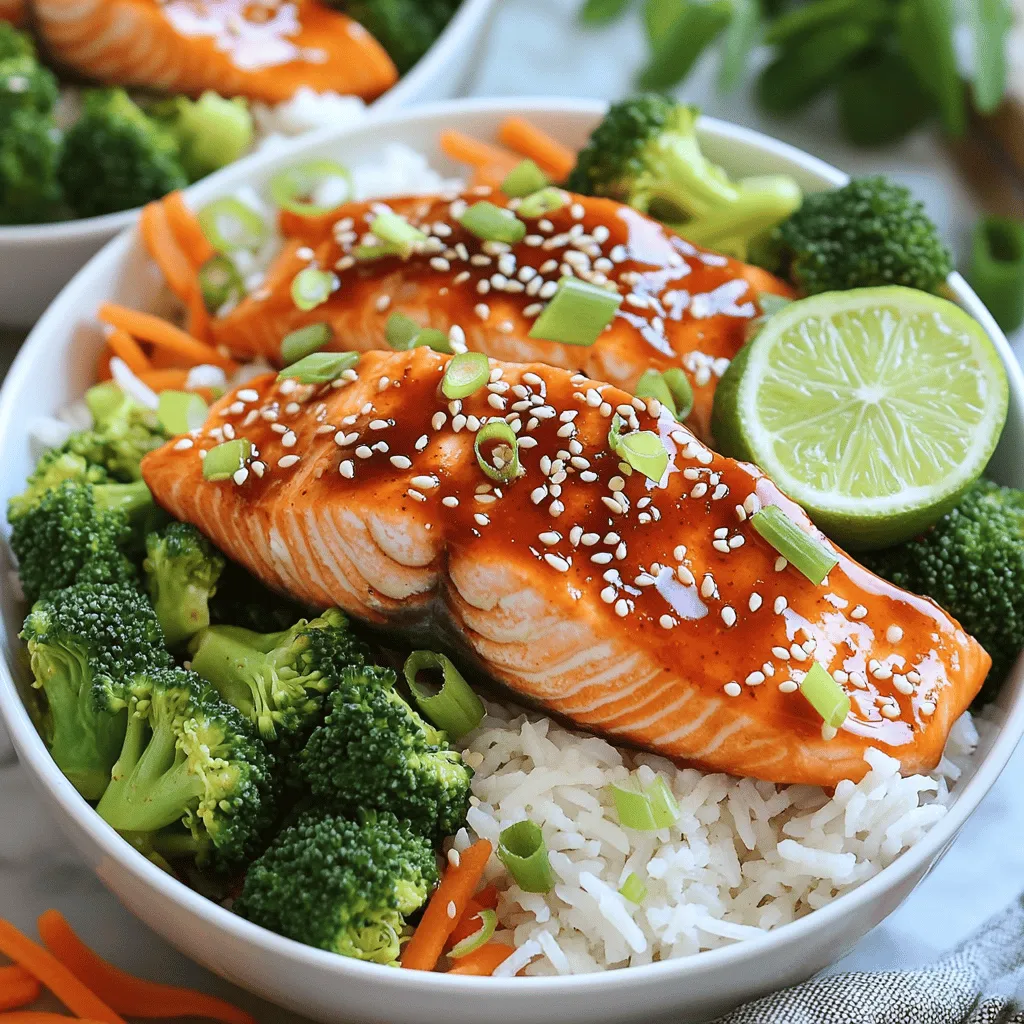
Sweet Chili Salmon Bowls Healthy and Flavorful Meal
Looking for a quick, healthy meal that’s bursting with flavor? Sweet Chili Salmon Bowls are the answer! I’ll walk you Read Full Recipe -
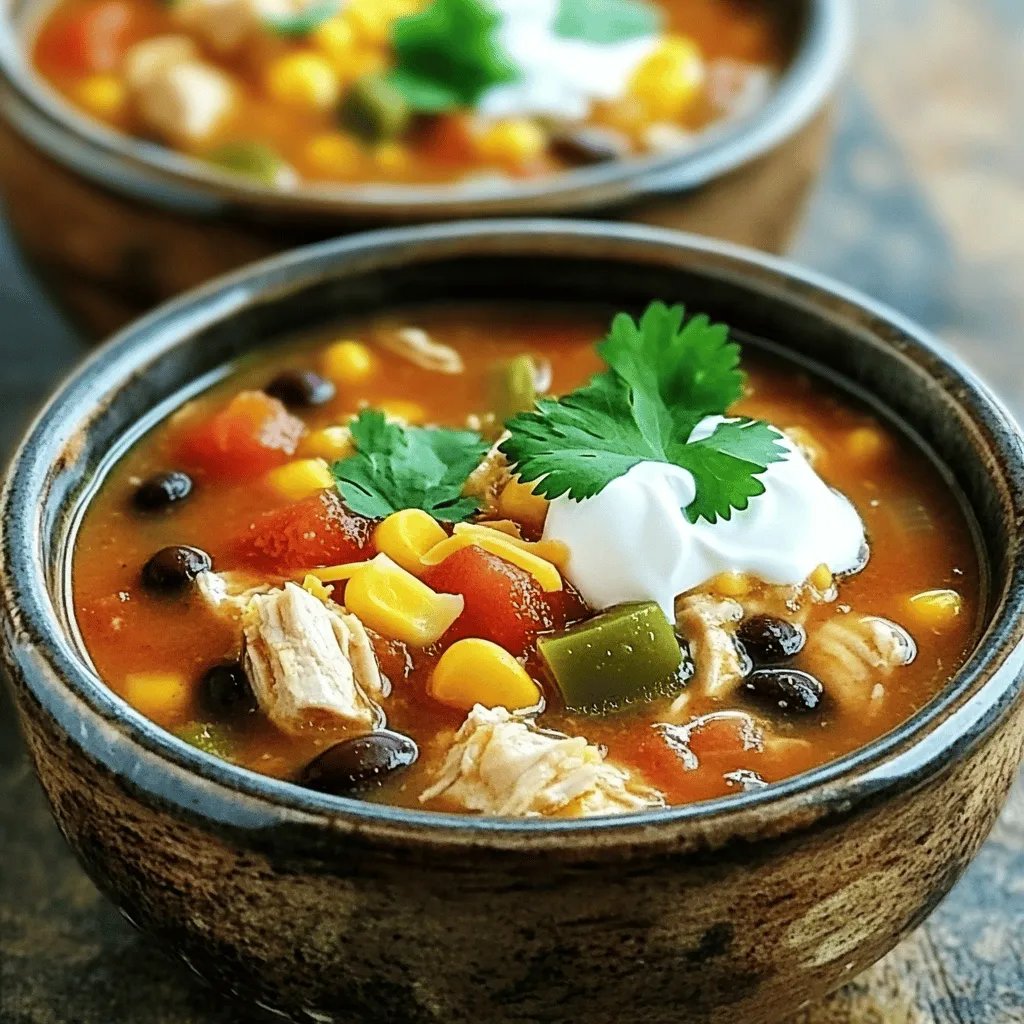
Chicken Taco Soup Flavorful and Simple Recipe Guide
Looking for a quick and tasty meal? I’ve got the perfect solution: Chicken Taco Soup! This flavor-packed recipe is easy Read Full Recipe