
Latest & Greatest

Homemade Biscuits Comforting and Tasty Recipe
Homemade biscuits bring warmth and joy to any meal. In this post, I’ll guide you through crafting these comforting treats from scratch. You’ll learn essential tips,…
Read more…
Mini Pineapple Upside-Down Cheesecakes Delightful Treat
If you love desserts that are cute and delicious, these Mini Pineapple Upside-Down Cheesecakes are for you! They’re easy to make and bursting with flavor. Imagine…
Read more…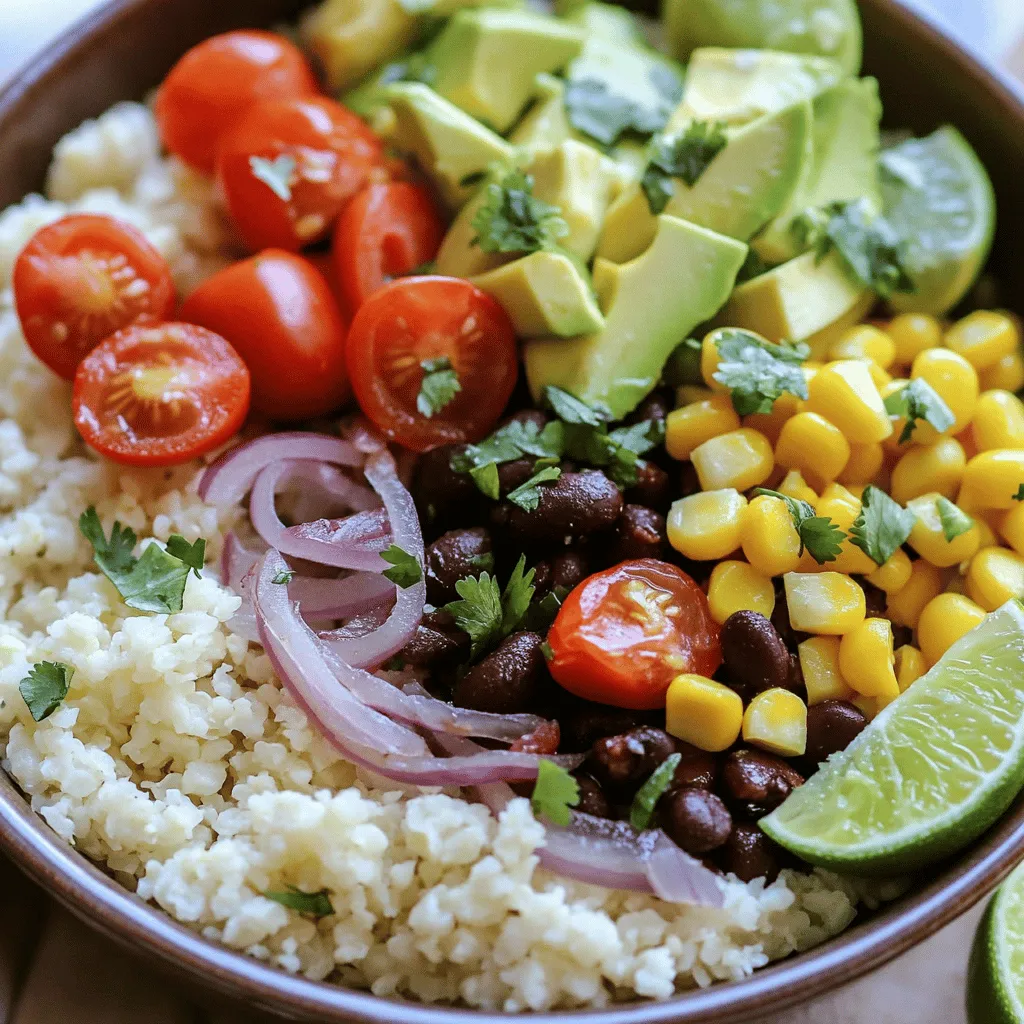
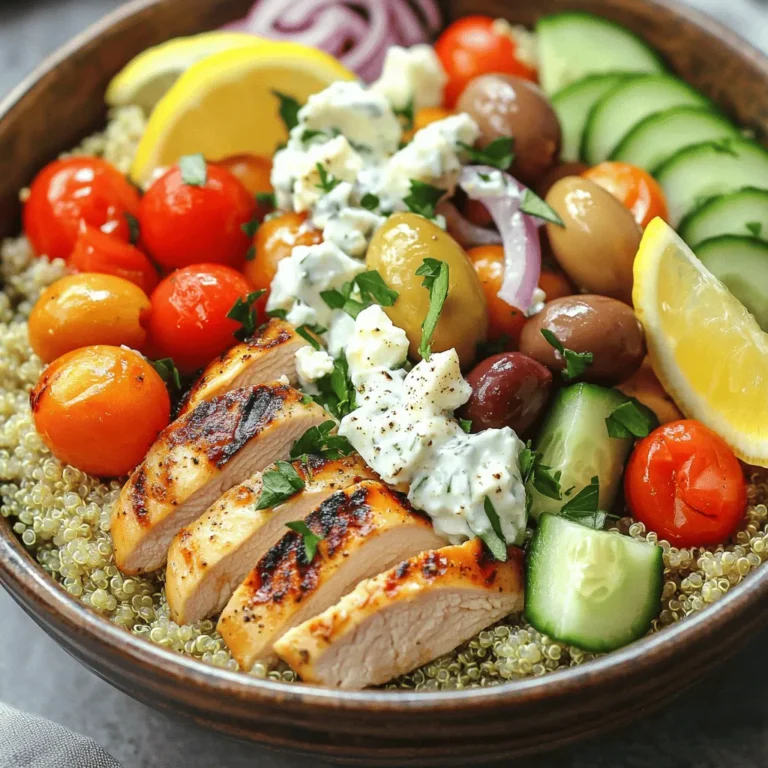
Cauliflower Rice Bowl Flavorful and Nutritious Meal
Looking for a healthy and tasty meal? A cauliflower rice bowl might be your answer. This dish is packed with nutrients and flavors that satisfy your…
Read more…
Creamy Smothered Chicken and Rice Cozy Comfort Meal
If you’re craving a warm and filling meal, you’ve come to the right place! This Creamy Smothered Chicken and Rice is like a cozy hug on…
Read more…
Crockpot Mexican Chicken Flavorful and Easy Dish
Are you ready for a meal that’s both simple and packed with flavor? This Crockpot Mexican Chicken recipe is your new go-to dish! With just a…
Read more…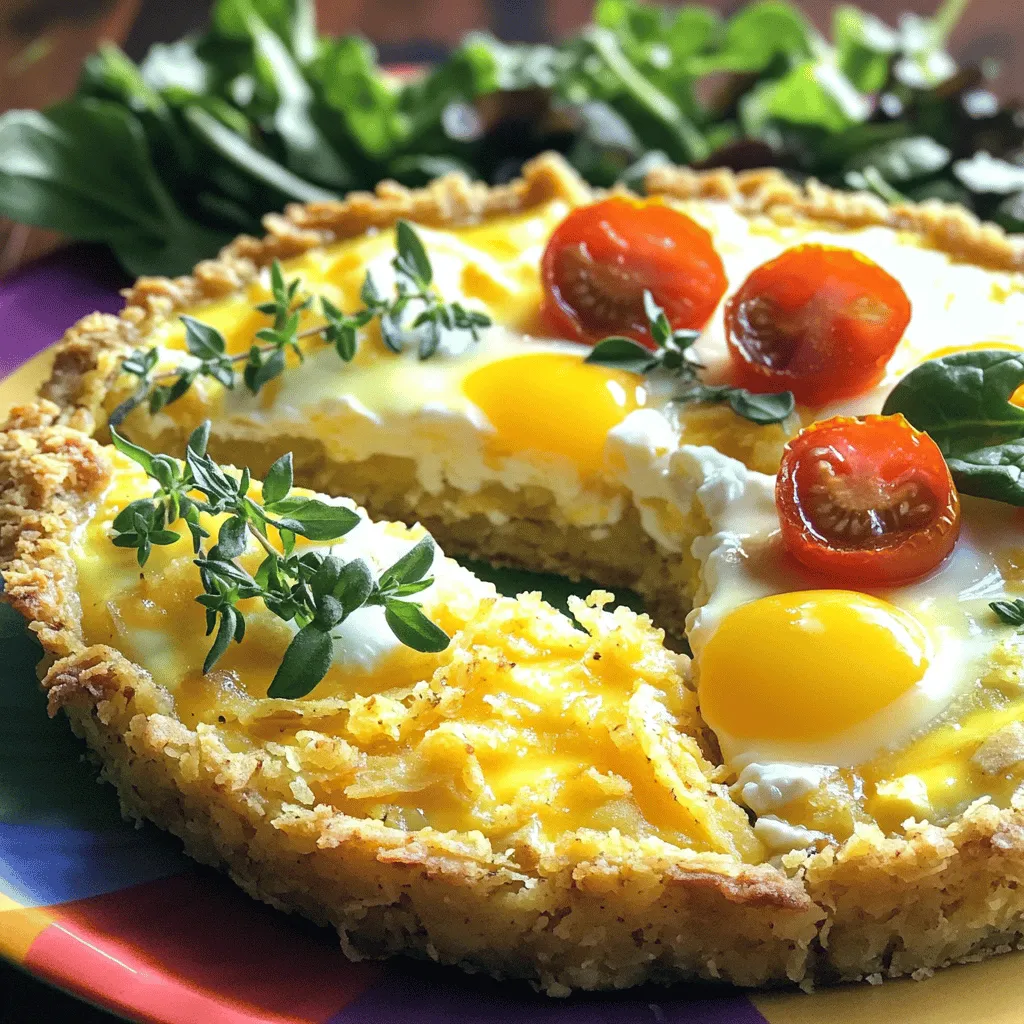
Spring Hash Brown Crust Quiche Savory and Simple Dish
Get ready to brighten your brunch with my Spring Hash Brown Crust Quiche! This dish is not just savory and satisfying; it’s also simple to make.…
Read more…browse recipes


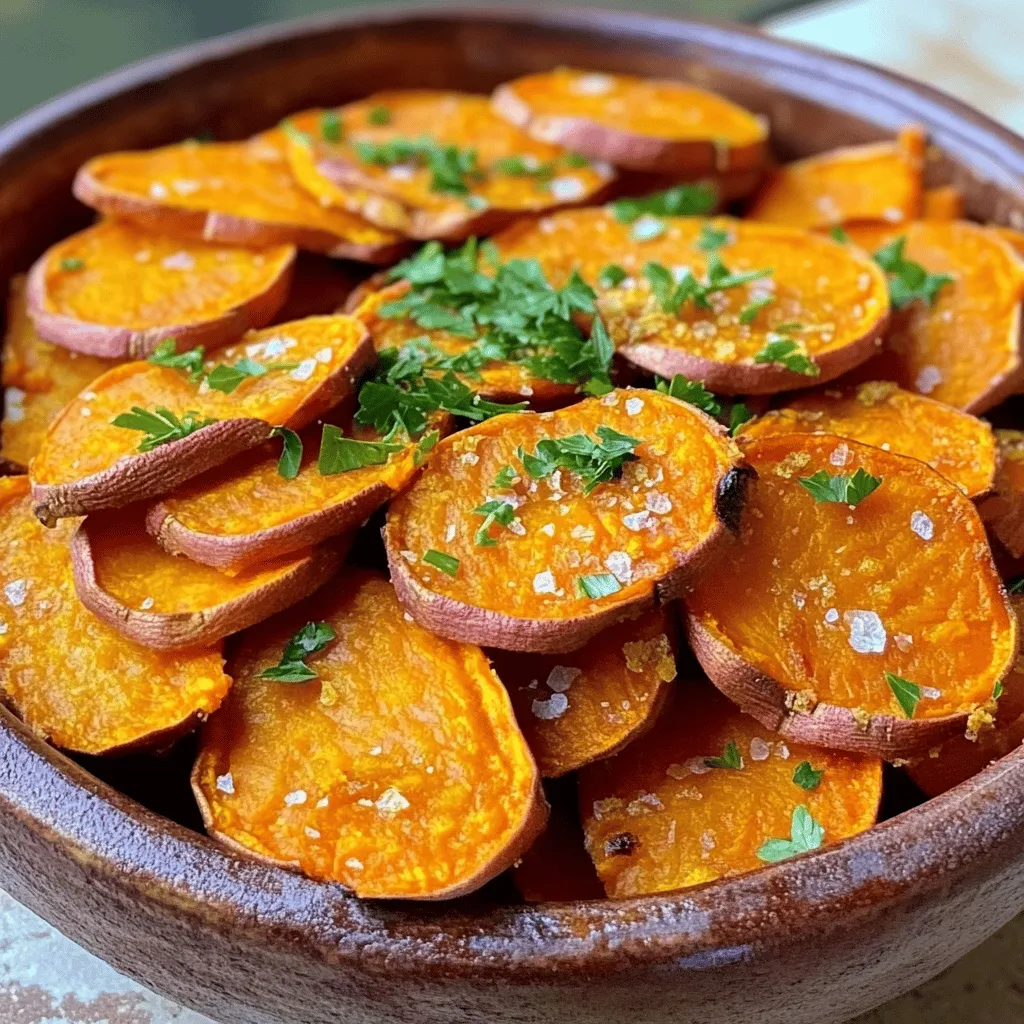
Baked Sweet Potato Fries Crunchy and Flavorful Snack
If you love a crunchy snack that bursts with flavor, you need to try baked sweet potato fries! These fries are easy to make…
My Latest Desserts

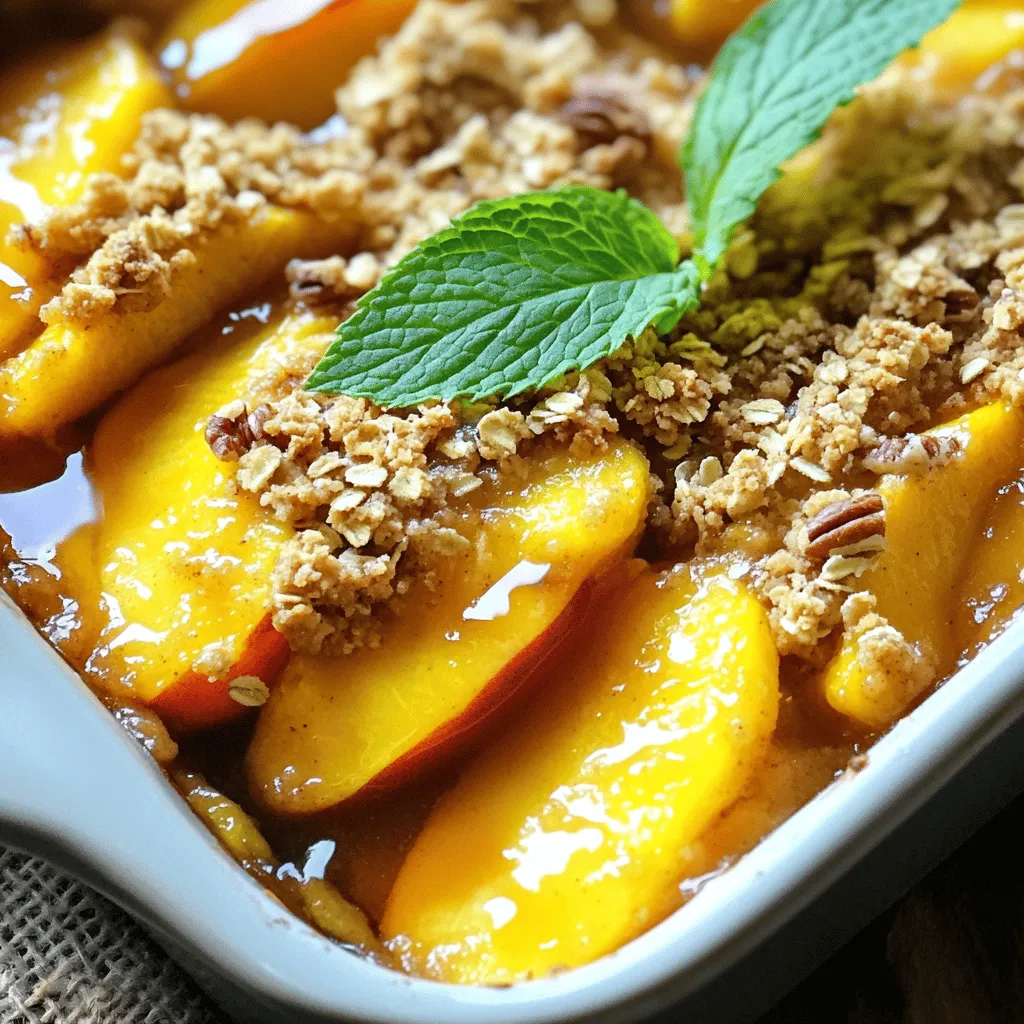
Peach Crisp with Oat Topping Simple Comfort Food
If you’re craving a dessert that combines juicy peaches with a crunchy oat topping, you’re in the right place! My Peach Crisp with Oat Topping is a warm and comforting... Read Full Recipe-
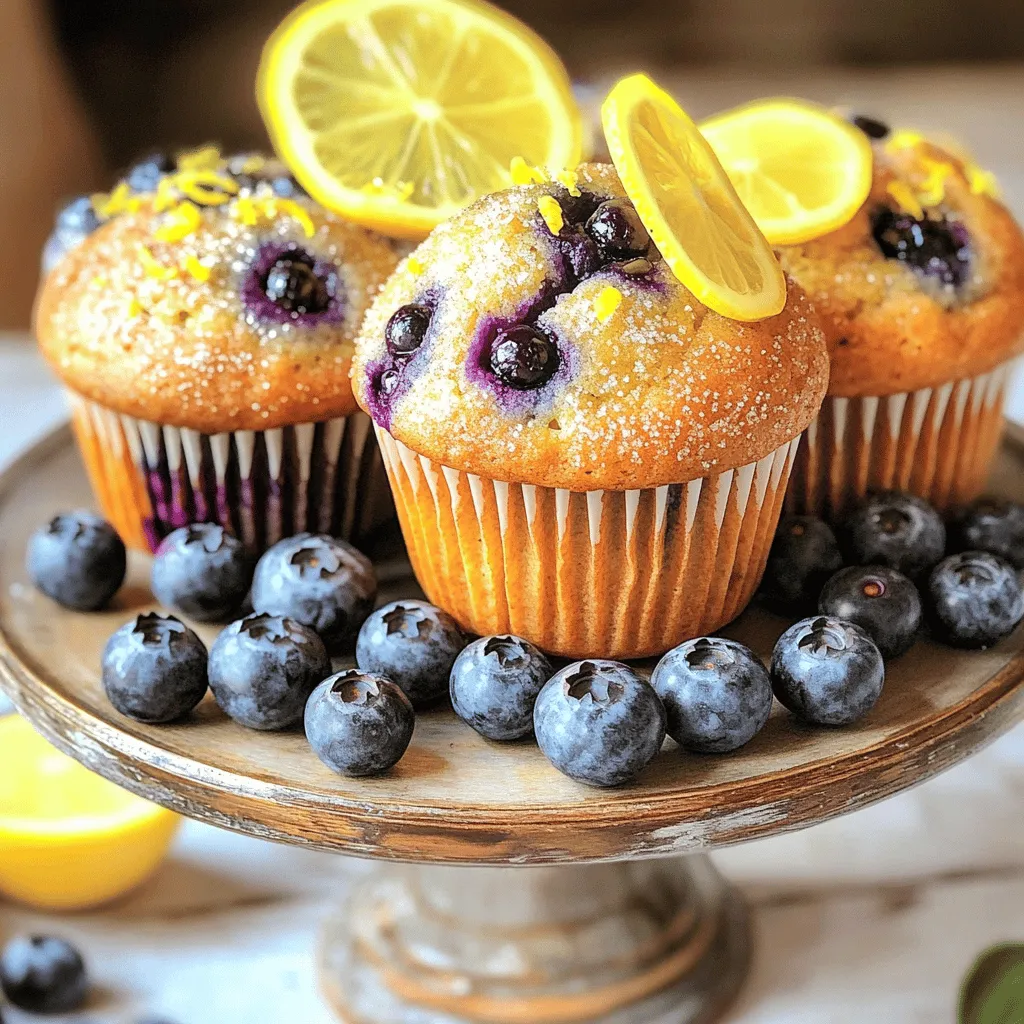
Lemon Blueberry Muffins Fresh and Flavorful Treat
Looking for a fresh and tasty treat? My Lemon Blueberry Muffins are just what you need! Bursting with zesty lemon and sweet blueberries, these muffins are perfect for breakfast or... Read Full Recipe -
Apple Cinnamon Overnight Oats Tasty and Simple Recipe
Start your mornings right with a delicious bowl of Apple Cinnamon Overnight Oats! This simple recipe combines wholesome ingredients to give you a quick, easy breakfast. You’ll only need a... Read Full Recipe -
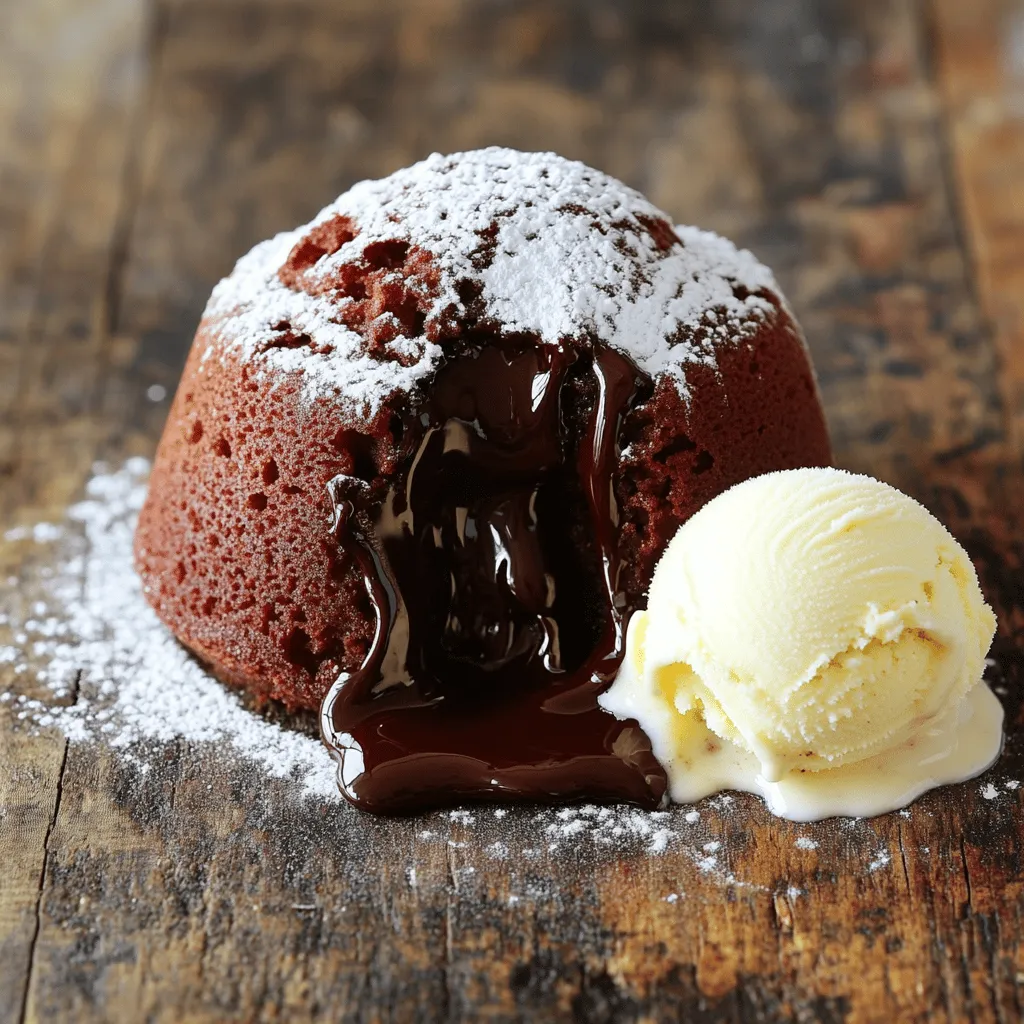
Easiest Chocolate Lava Cake Quick and Delicious Treat
Craving a sweet treat that impresses without complicated steps? You’ll love this Easiest Chocolate Lava Cake recipe! This dessert is quick to make and packed with gooey chocolate goodness. With... Read Full Recipe -
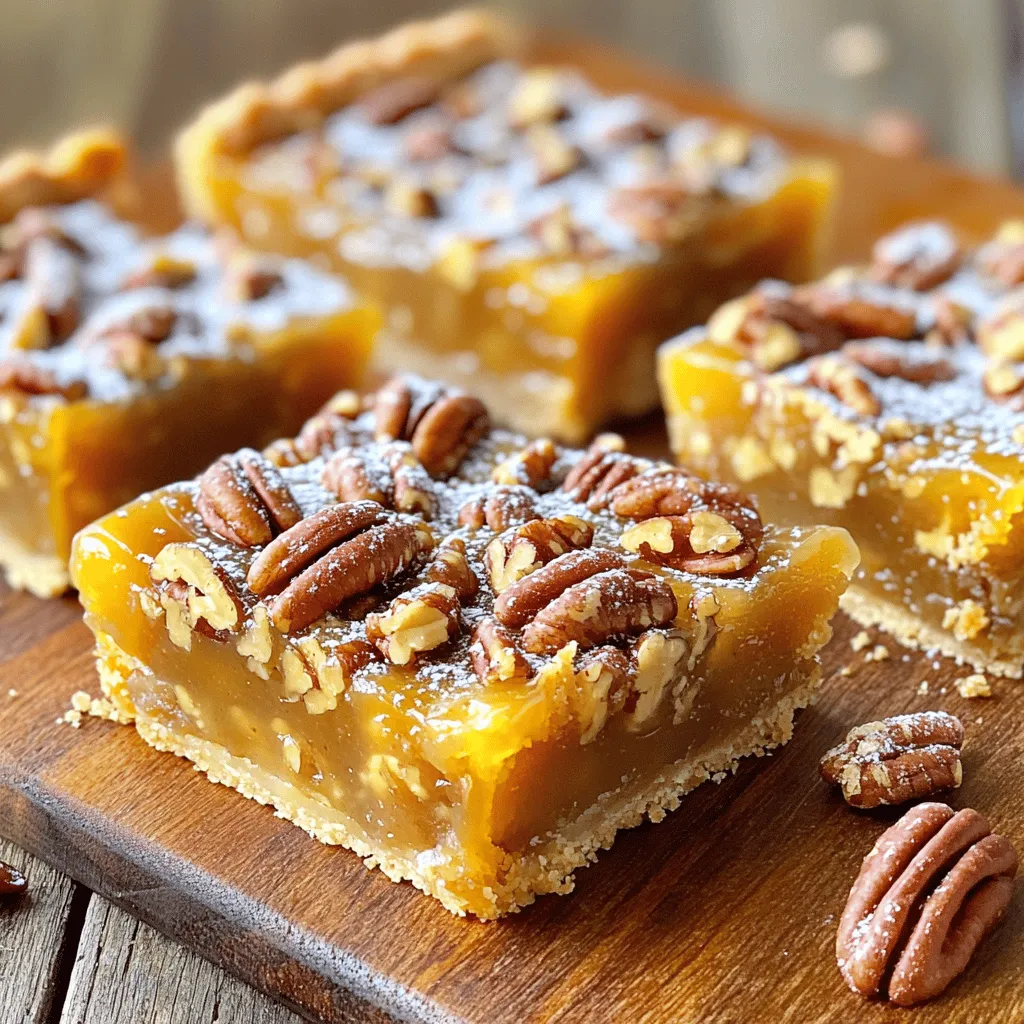
Maple Pecan Pie Bars Delightful Dessert Treat
Are you ready to indulge in a delightful dessert? These Maple Pecan Pie Bars are a sweet twist on a classic favorite! With crunchy pecans and rich maple flavor, every... Read Full Recipe -
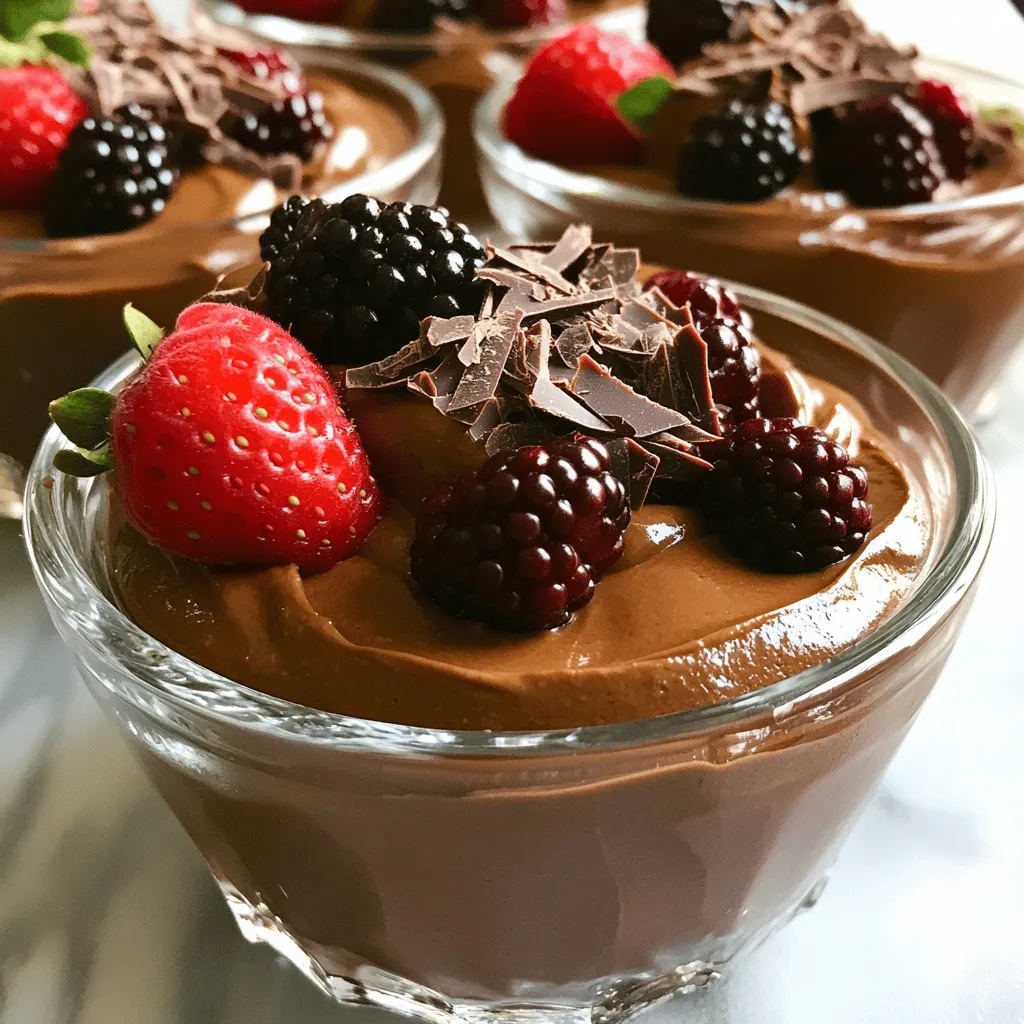
Vegan Chocolate Avocado Mousse Rich and Creamy Delight
If you crave a dessert that’s both rich and healthy, you’re in the right place. This Vegan Chocolate Avocado Mousse combines ripe avocados, unsweetened cocoa powder, and a touch of... Read Full Recipe -
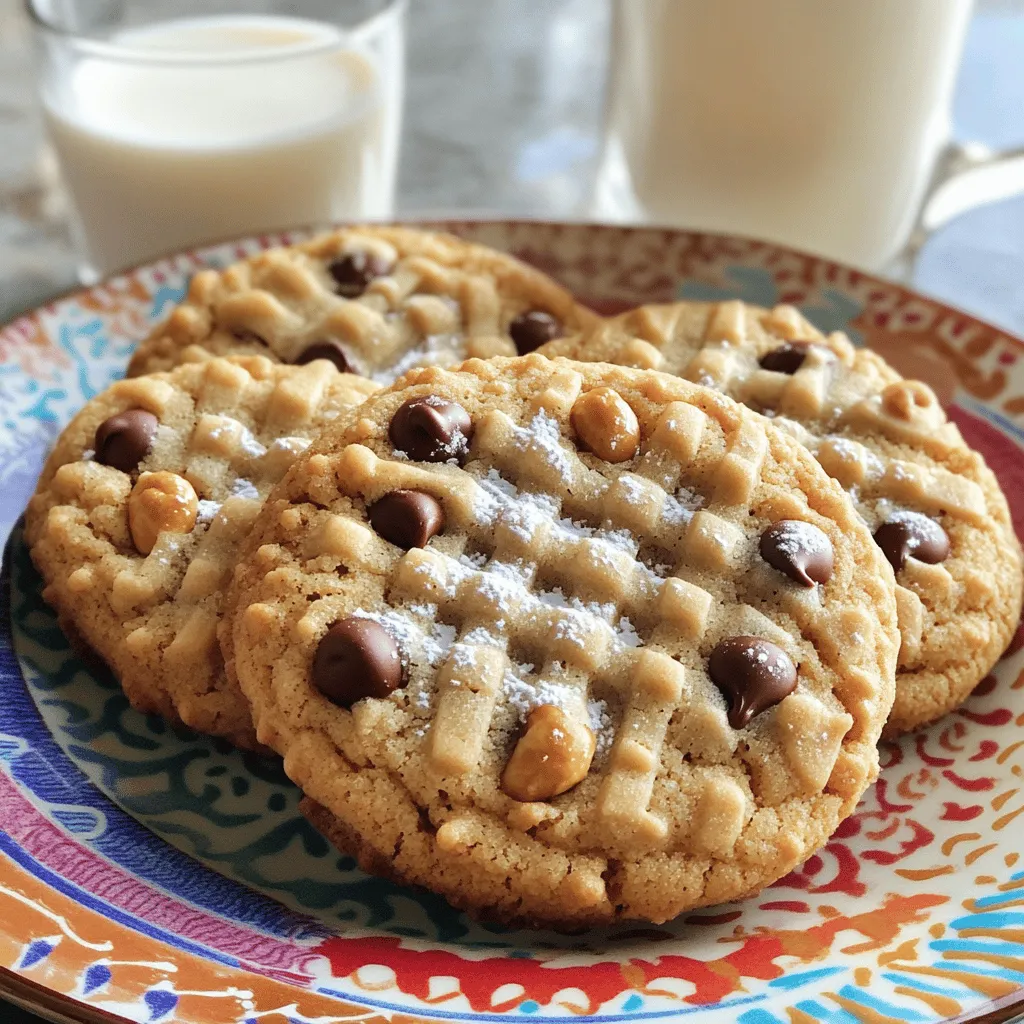
Peanut Butter Chocolate Chip Cookies Simple and Sweet
If you love the rich taste of peanut butter and the sweetness of chocolate, you’re in for a treat! This blog post will guide you through making simple and sweet... Read Full Recipe -
No-Bake Strawberry Shortcake Quick and Simple Delight
Are you craving a sweet treat that’s easy and delicious? Look no further! My No-Bake Strawberry Shortcake is a quick and simple delight, perfect for any occasion. With just a... Read Full Recipe -
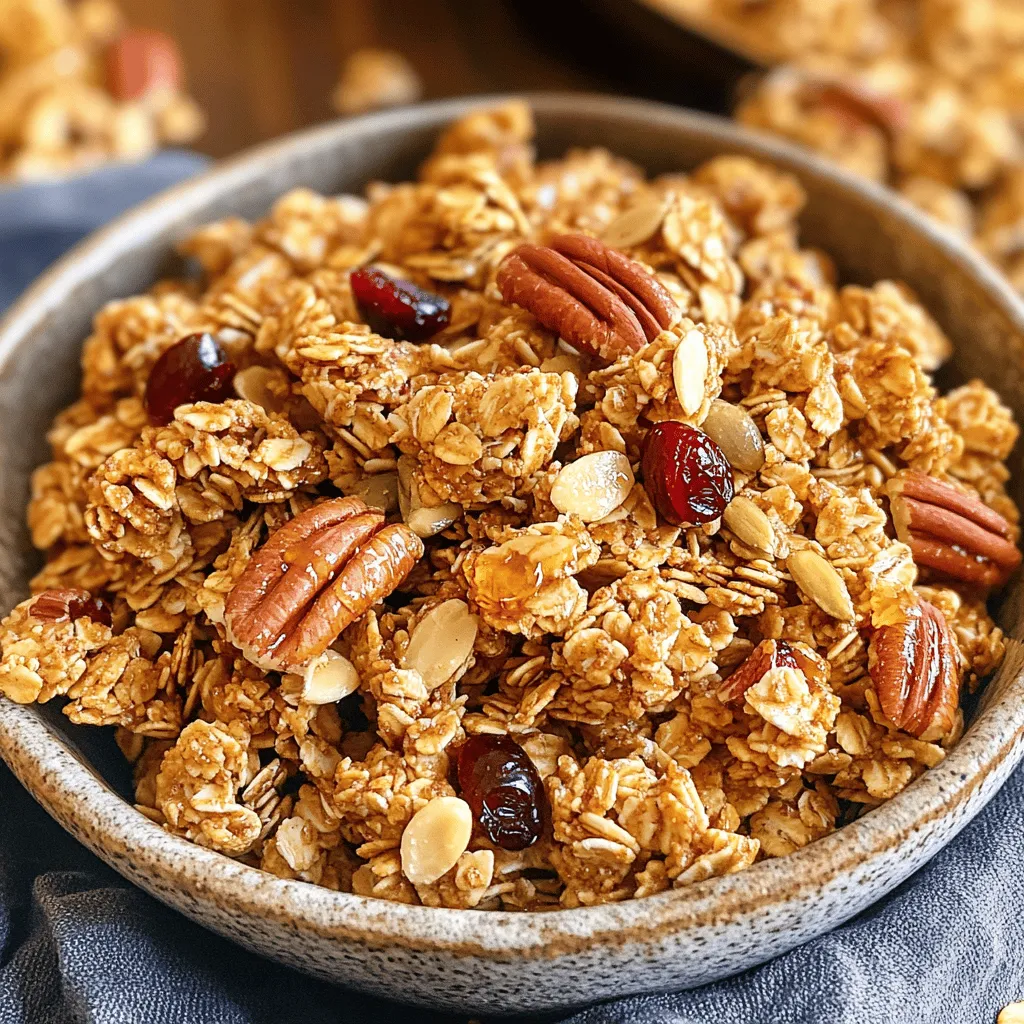
Maple Pecan Granola Crunchy and Healthy Snack
Looking for a tasty yet healthy snack? You’ll love my Maple Pecan Granola! This crunchy treat is simple to make and packed with flavor. With a few key ingredients and... Read Full Recipe -
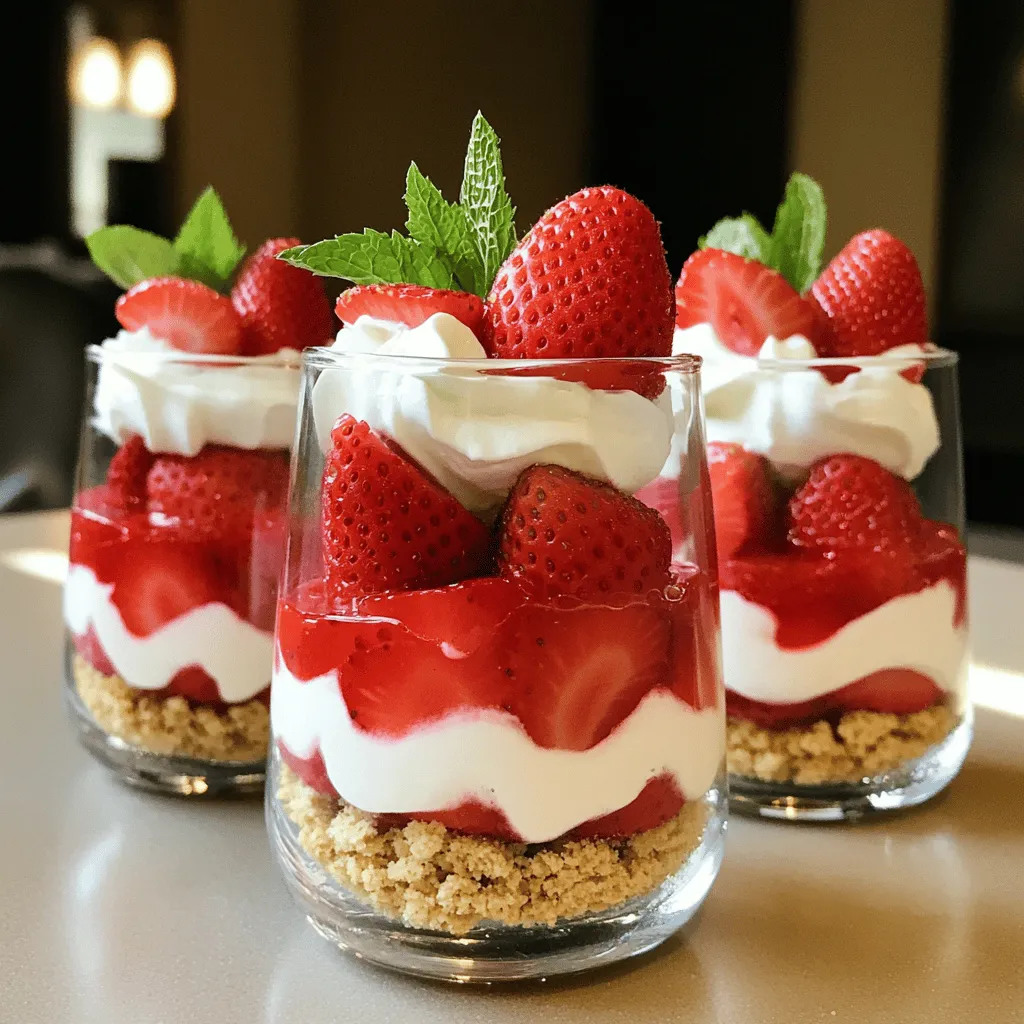
Strawberry Shortcake Trifle Delightful Layered Treat
Are you ready to impress your friends with a strawberry shortcake trifle? This delightful layered treat combines juicy strawberries, fluffy whipped cream, and soft cake for pure indulgence. It’s a... Read Full Recipe


My Latest Recipes

hey,
i’m !
I’m so happy you’re here!
Each recipe I share is a little piece of love from my kitchen. May they fill your heart and home with warmth. Let’s cook up something wonderful together.


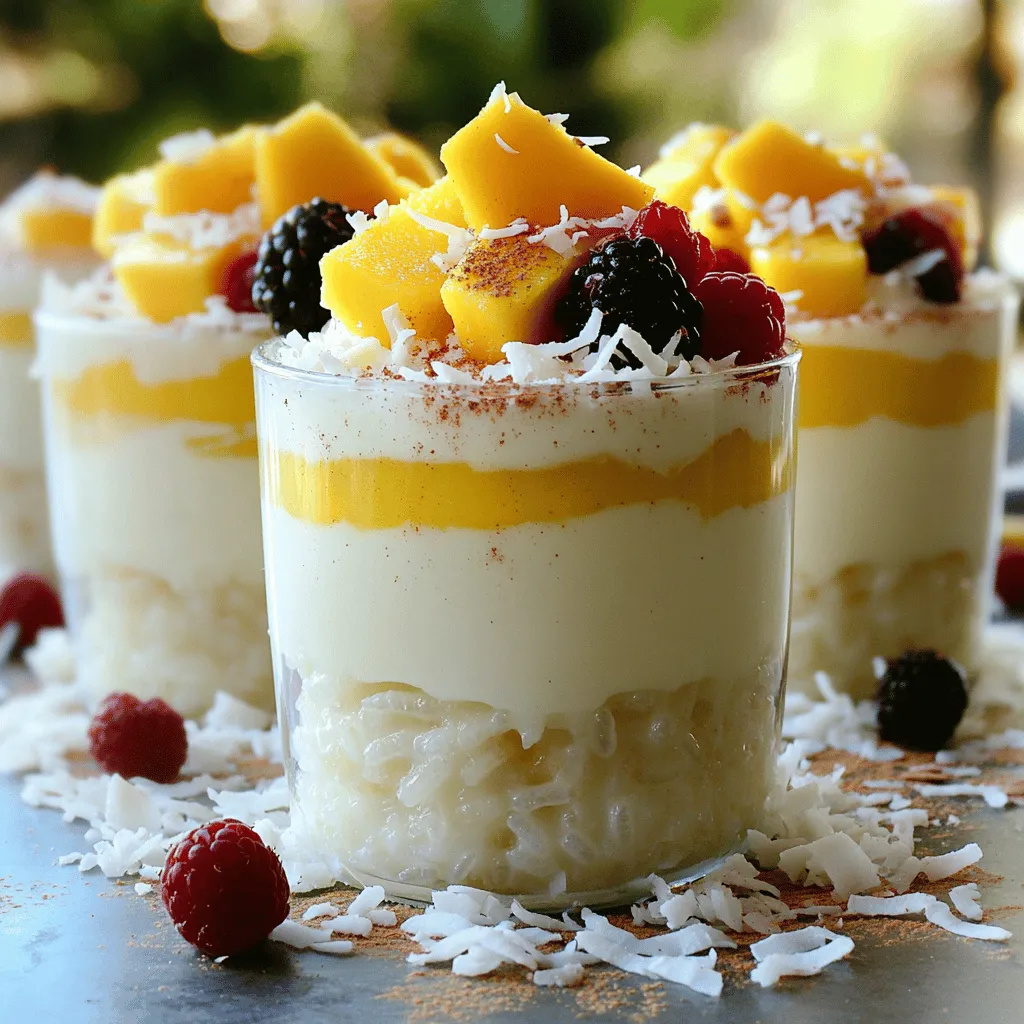
Coconut Rice Pudding Disney Copycat Delightful Recipe
Dive into the sweet world of Coconut Rice Pudding, inspired by Disney’s delightful treat! This creamy, coconut-infused dish is easy to make and will…