
Latest & Greatest
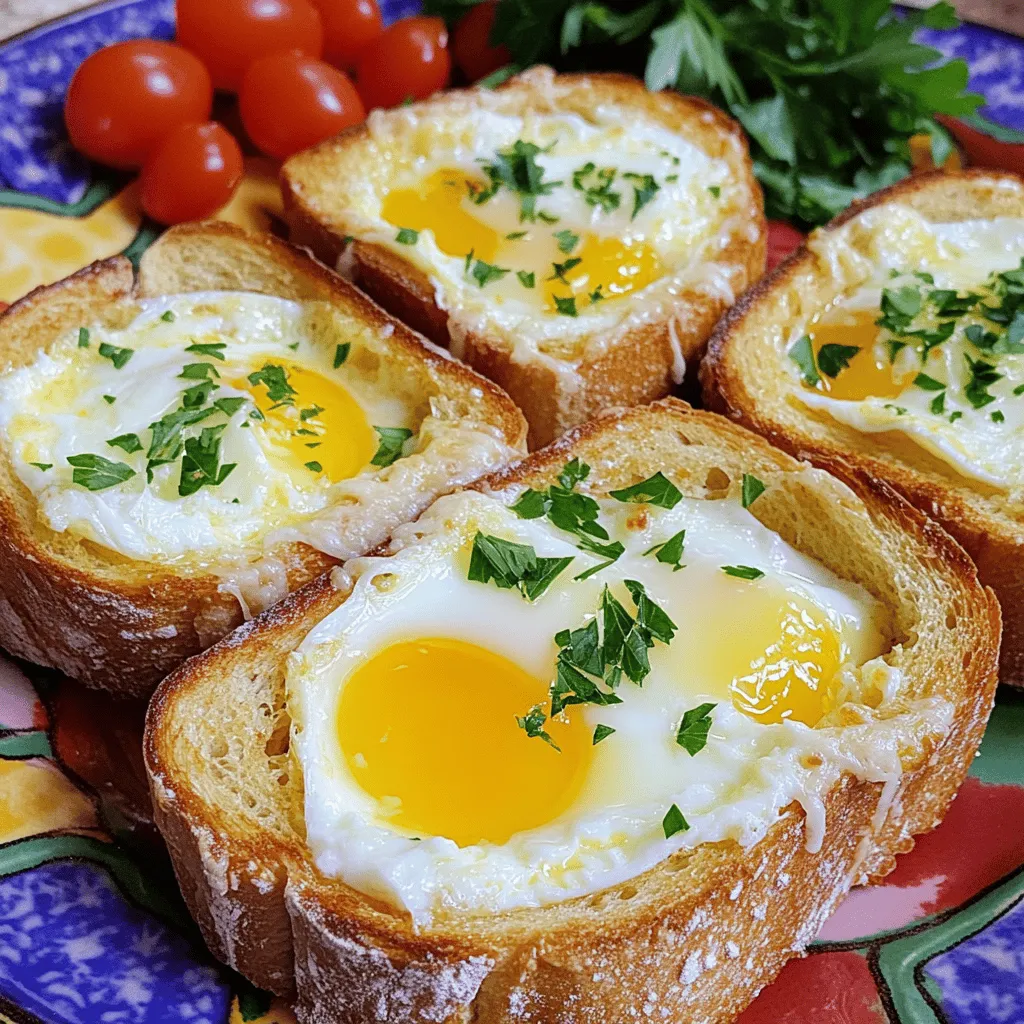
Cheesy Baked Egg Toast Simple and Tasty Recipe
Are you ready to whip up a breakfast that’s both quick and delicious? This Cheesy Baked Egg Toast recipe combines thick, hearty bread with gooey cheese…
Read more…
2-Point Pumpkin Muffins Recipe Simple and Tasty Treat
Are you ready for a treat that’s both tasty and guilt-free? Let me introduce you to my 2-Point Pumpkin Muffins Recipe! These muffins pack all the…
Read more…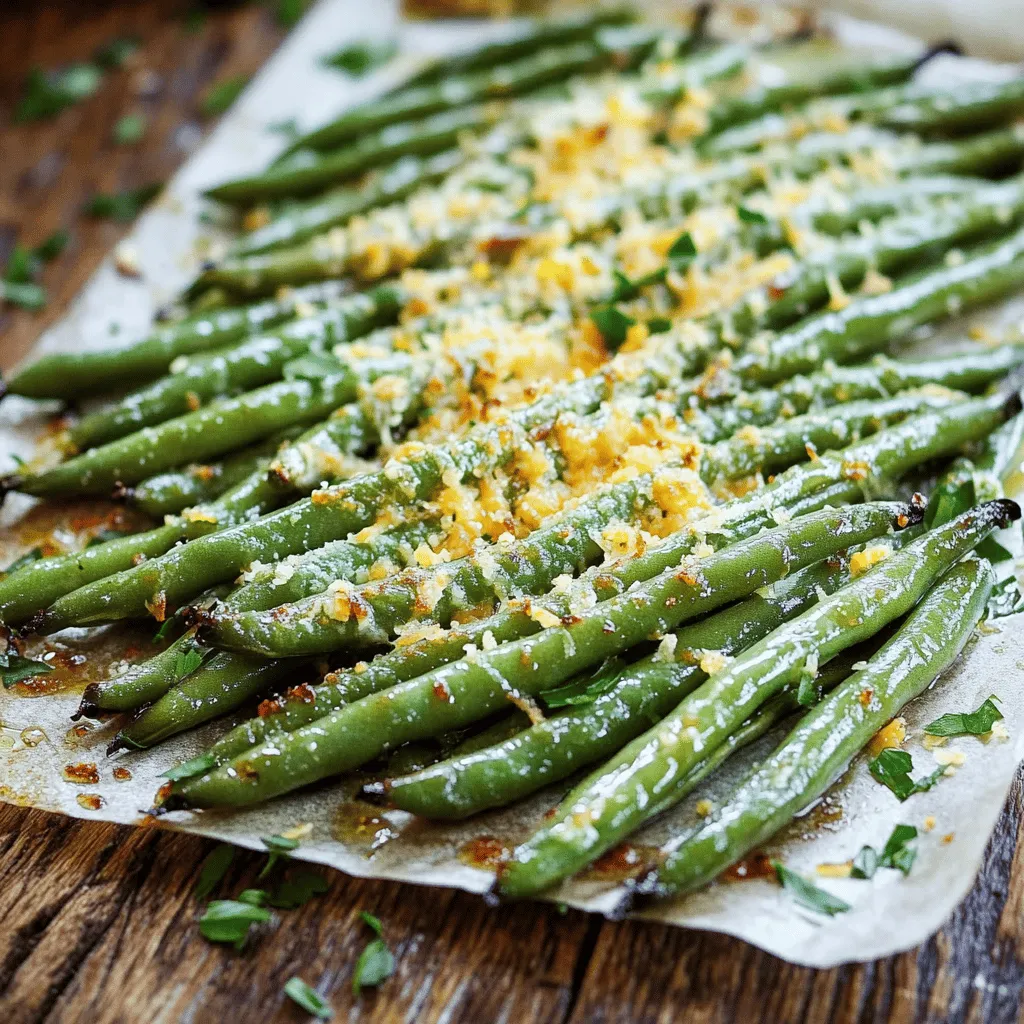
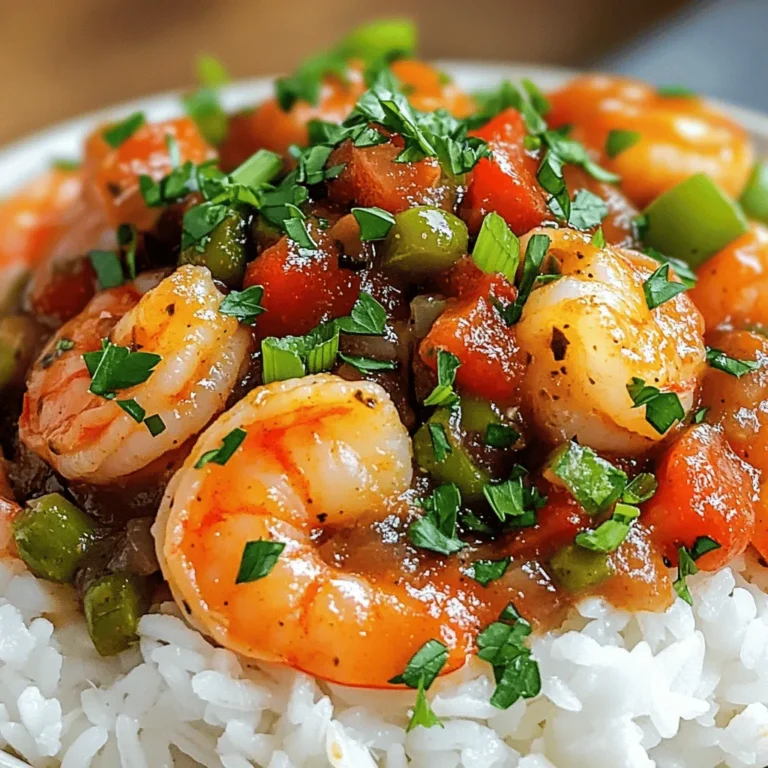
Roasted Parmesan Green Beans Flavorful and Simple Dish
If you’re looking for a quick, tasty side dish, roasted Parmesan green beans are the answer! This simple recipe combines fresh green beans with savory spices…
Read more…
Cheddar Bay Ground Beef Cobbler Flavorful Comfort Meal
If you crave a warm, comforting meal, look no further than Cheddar Bay Ground Beef Cobbler. This dish combines seasoned ground beef with a fluffy, cheesy…
Read more…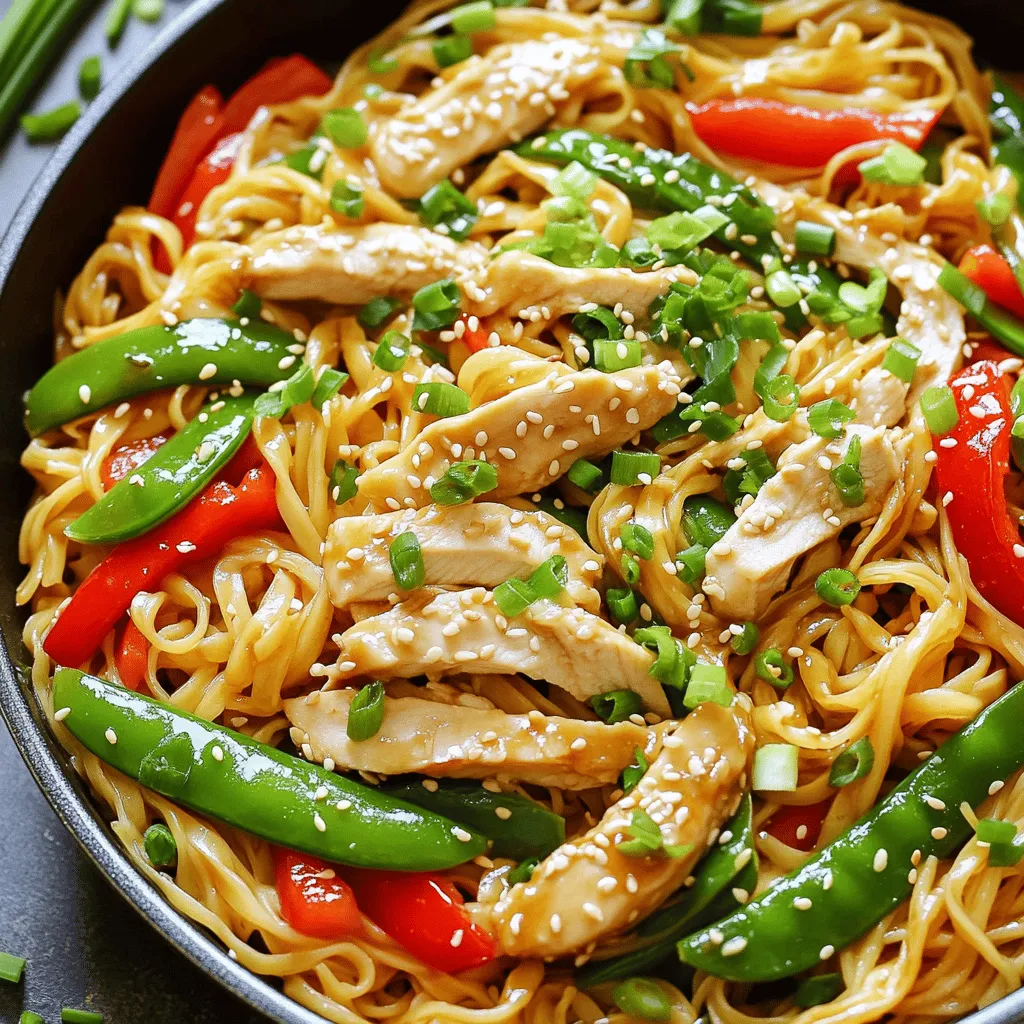
15-Minute Chicken Stir Fry Noodles Quick and Easy Meal
Looking for a quick and tasty meal? You’ll love this 15-Minute Chicken Stir Fry Noodles recipe! It’s packed with flavor and takes just minutes to make.…
Read more…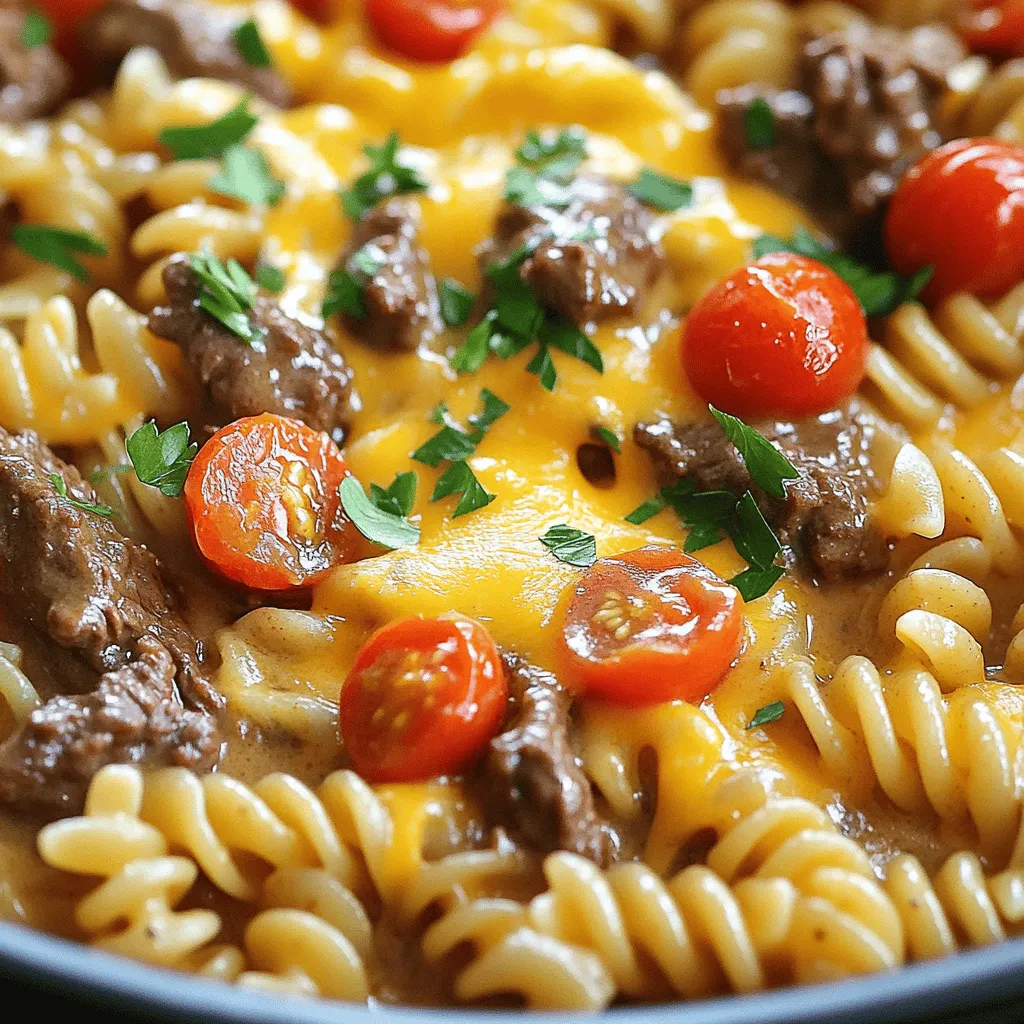
One-Pot Beef and Cheddar Ranch Pasta Simple Dish
Looking for a hearty meal that’s quick and easy? You’ve found it! This One-Pot Beef and Cheddar Ranch Pasta is full of flavor and ready in…
Read more…
Chocolate Chip Mint Greek Yogurt Pops Delightful Treat
Looking for a cool and tasty treat? Try my Chocolate Chip Mint Greek Yogurt Pops! These delightful pops are creamy, refreshing, and packed with flavor. Perfect…
Read more…
Garlic Chicken Puffs Irresistible Flavor Packed Snack
If you dream of snacks that burst with flavor, then Garlic Chicken Puffs are for you! These tasty treats offer a savory twist that will make…
Read more…browse recipes


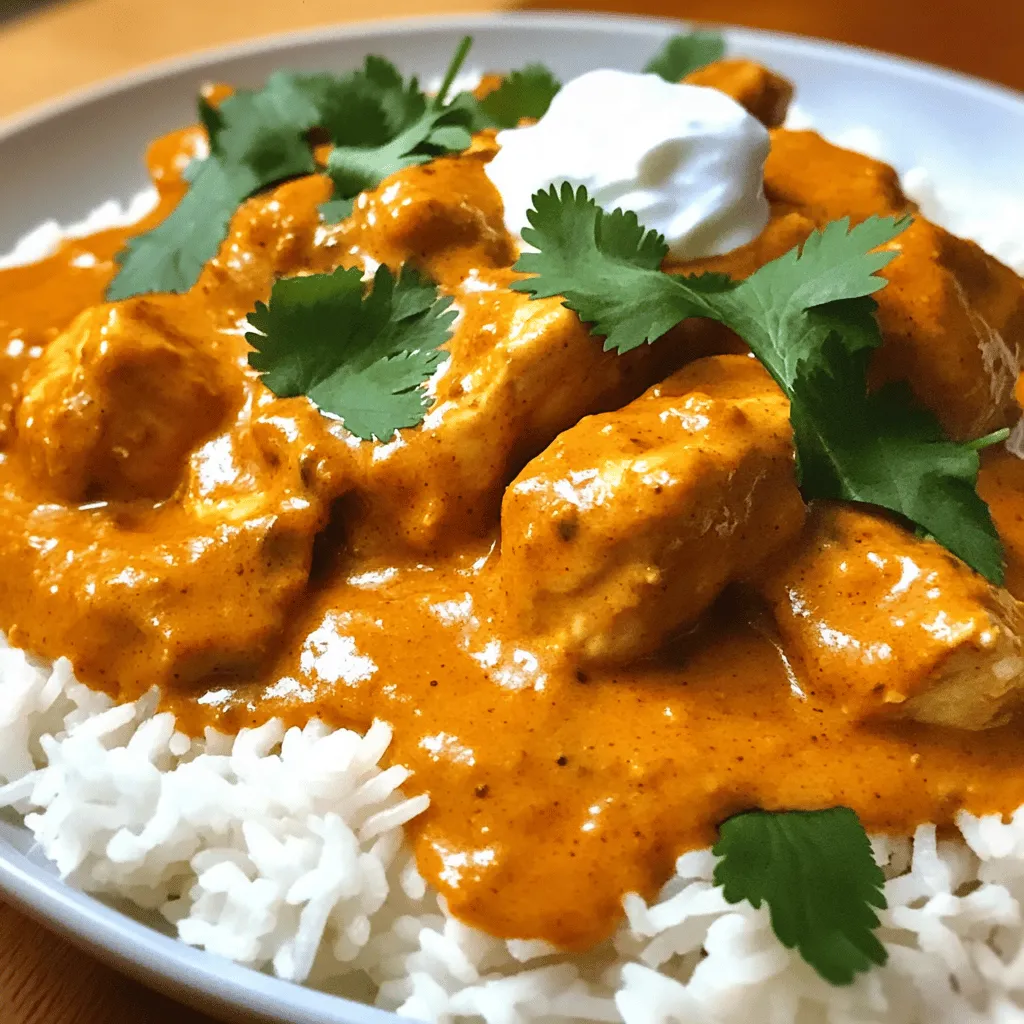
Instant Pot Chicken Tikka Masala Flavorful Delight
If you’re craving a rich, flavorful meal that’s easy to whip up, look no further than my Instant Pot Chicken Tikka Masala. This dish…
My Latest Desserts

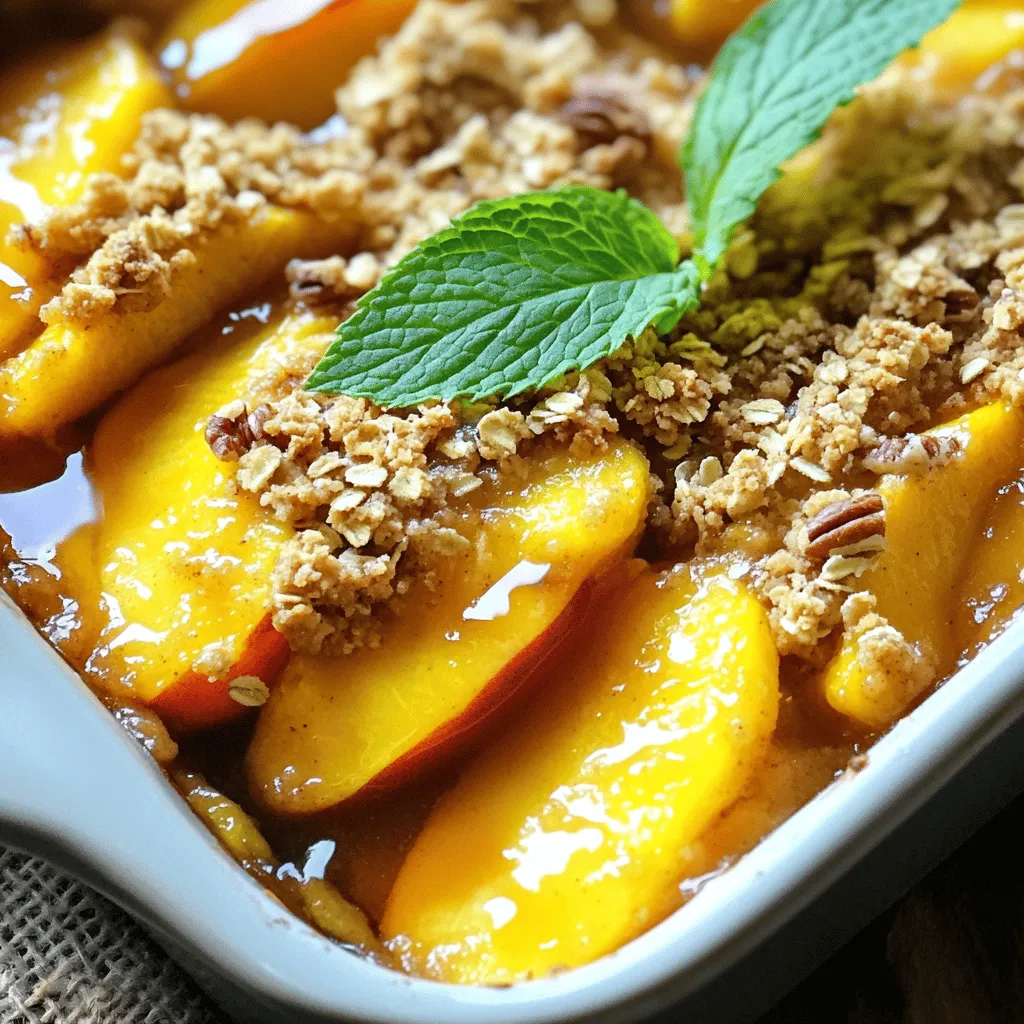
Peach Crisp with Oat Topping Simple Comfort Food
If you’re craving a dessert that combines juicy peaches with a crunchy oat topping, you’re in the right place! My Peach Crisp with Oat Topping is a warm and comforting... Read Full Recipe-
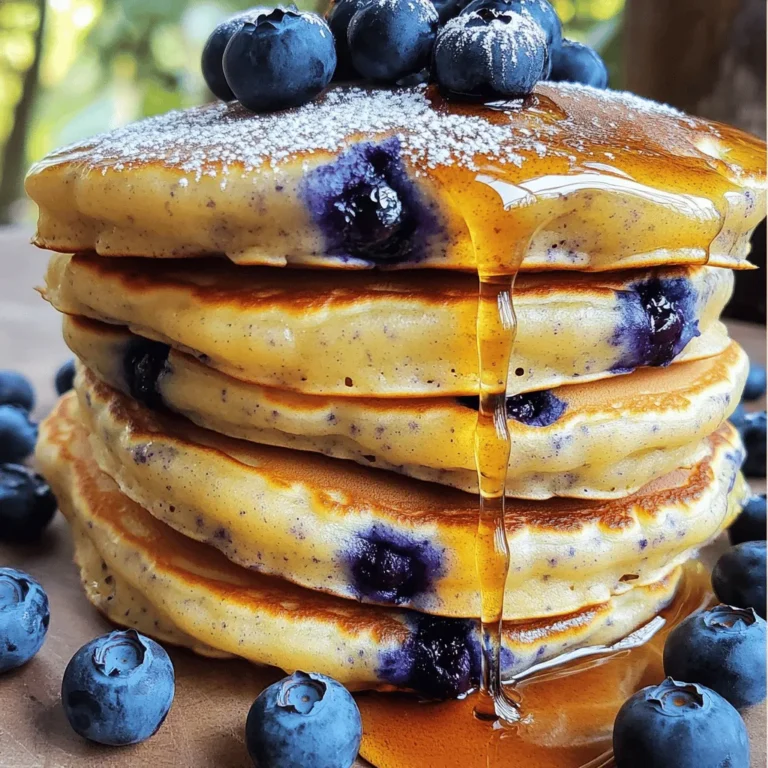
Lemon Blueberry Muffins Fresh and Flavorful Treat
Looking for a fresh and tasty treat? My Lemon Blueberry Muffins are just what you need! Bursting with zesty lemon and sweet blueberries, these muffins are perfect for breakfast or... Read Full Recipe -
Apple Cinnamon Overnight Oats Tasty and Simple Recipe
Start your mornings right with a delicious bowl of Apple Cinnamon Overnight Oats! This simple recipe combines wholesome ingredients to give you a quick, easy breakfast. You’ll only need a... Read Full Recipe -
Easiest Chocolate Lava Cake Quick and Delicious Treat
Craving a sweet treat that impresses without complicated steps? You’ll love this Easiest Chocolate Lava Cake recipe! This dessert is quick to make and packed with gooey chocolate goodness. With... Read Full Recipe -
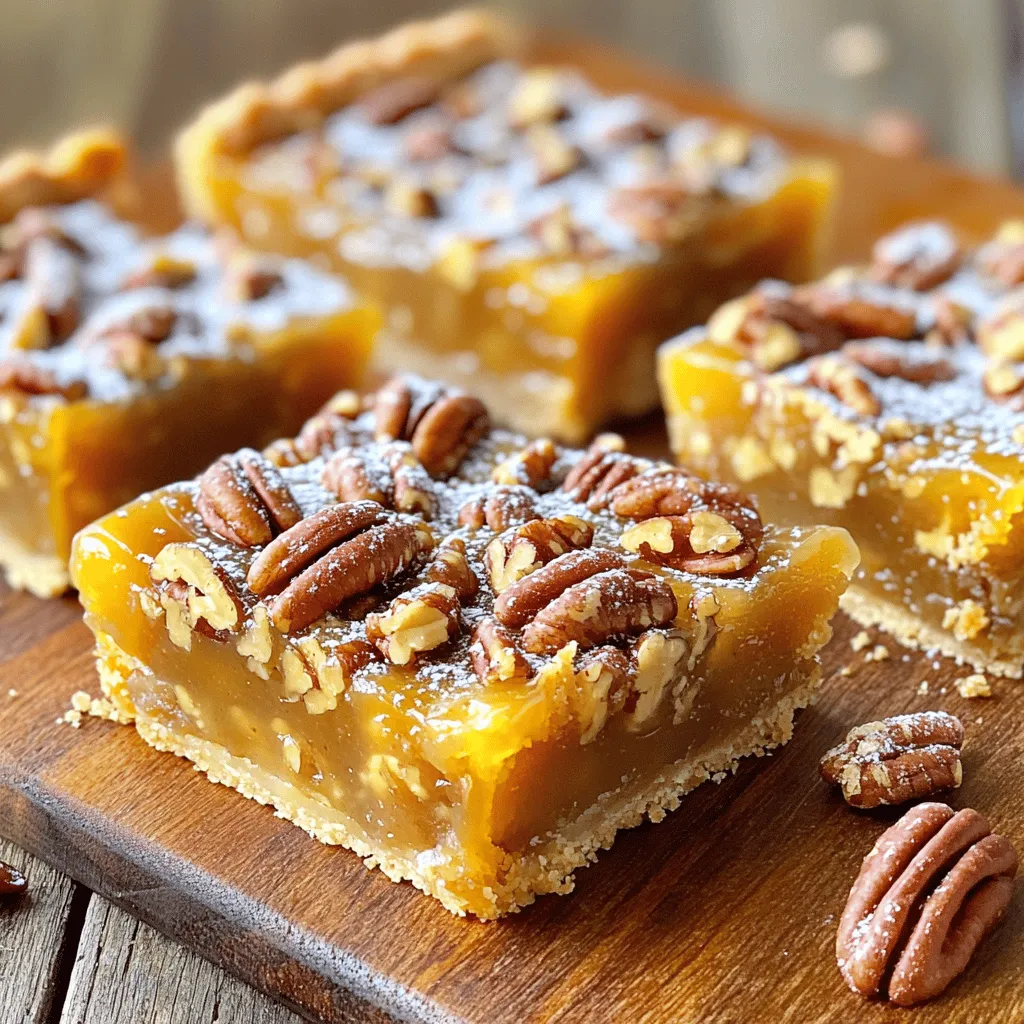
Maple Pecan Pie Bars Delightful Dessert Treat
Are you ready to indulge in a delightful dessert? These Maple Pecan Pie Bars are a sweet twist on a classic favorite! With crunchy pecans and rich maple flavor, every... Read Full Recipe -
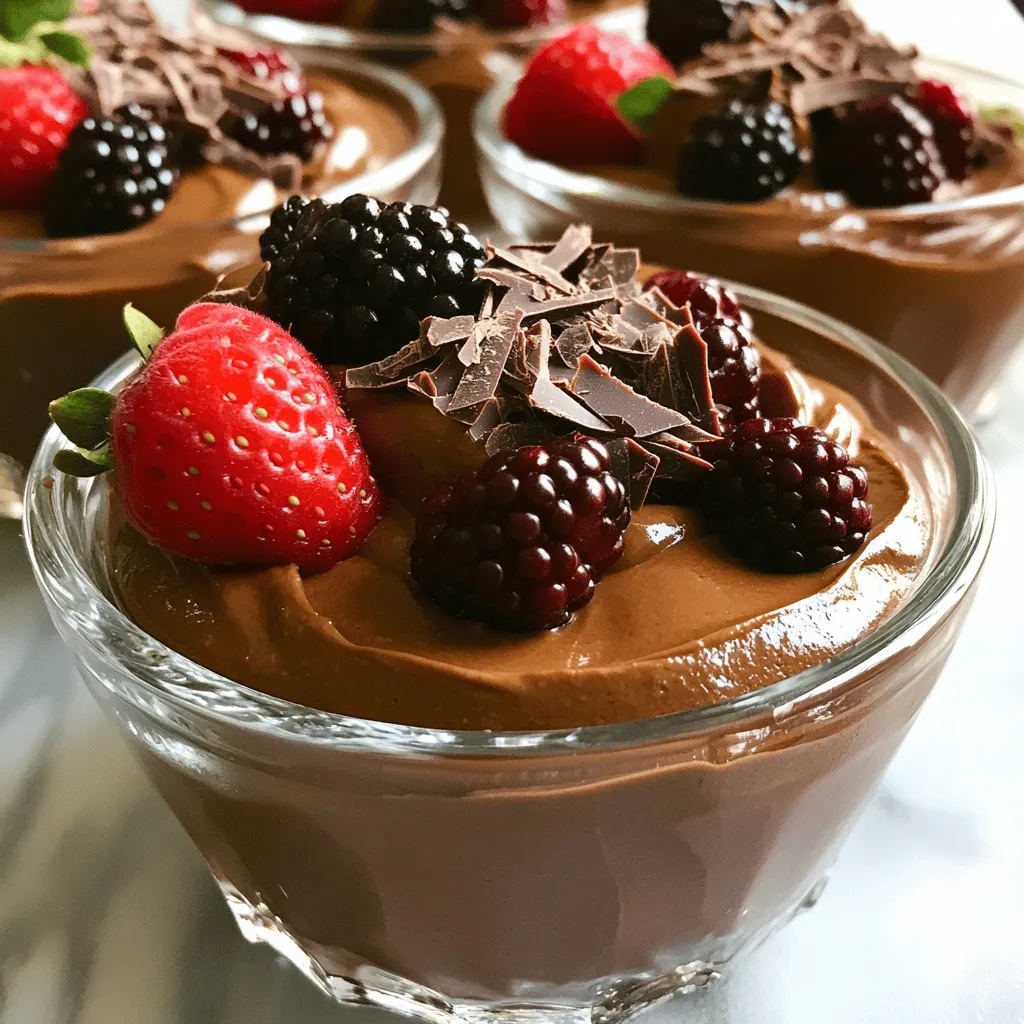
Vegan Chocolate Avocado Mousse Rich and Creamy Delight
If you crave a dessert that’s both rich and healthy, you’re in the right place. This Vegan Chocolate Avocado Mousse combines ripe avocados, unsweetened cocoa powder, and a touch of... Read Full Recipe -
Peanut Butter Chocolate Chip Cookies Simple and Sweet
If you love the rich taste of peanut butter and the sweetness of chocolate, you’re in for a treat! This blog post will guide you through making simple and sweet... Read Full Recipe -
No-Bake Strawberry Shortcake Quick and Simple Delight
Are you craving a sweet treat that’s easy and delicious? Look no further! My No-Bake Strawberry Shortcake is a quick and simple delight, perfect for any occasion. With just a... Read Full Recipe -
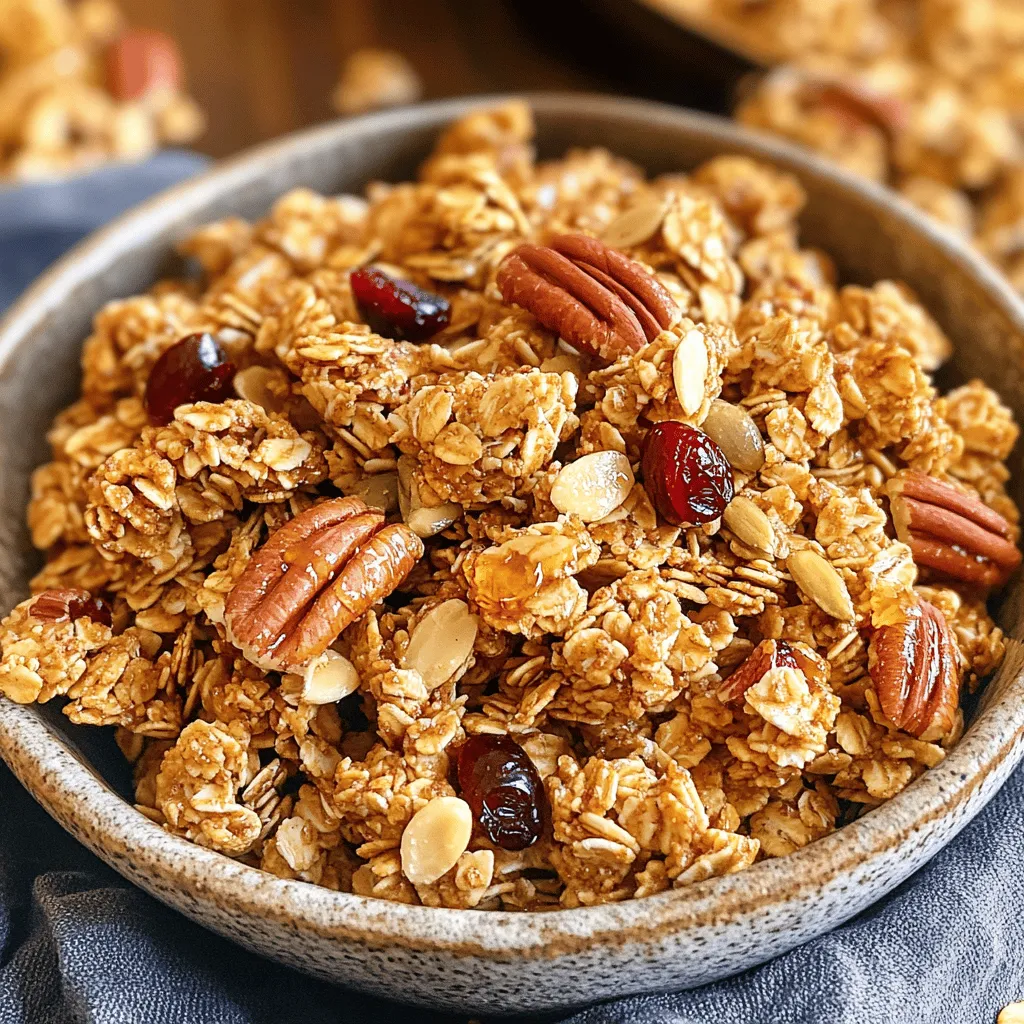
Maple Pecan Granola Crunchy and Healthy Snack
Looking for a tasty yet healthy snack? You’ll love my Maple Pecan Granola! This crunchy treat is simple to make and packed with flavor. With a few key ingredients and... Read Full Recipe -
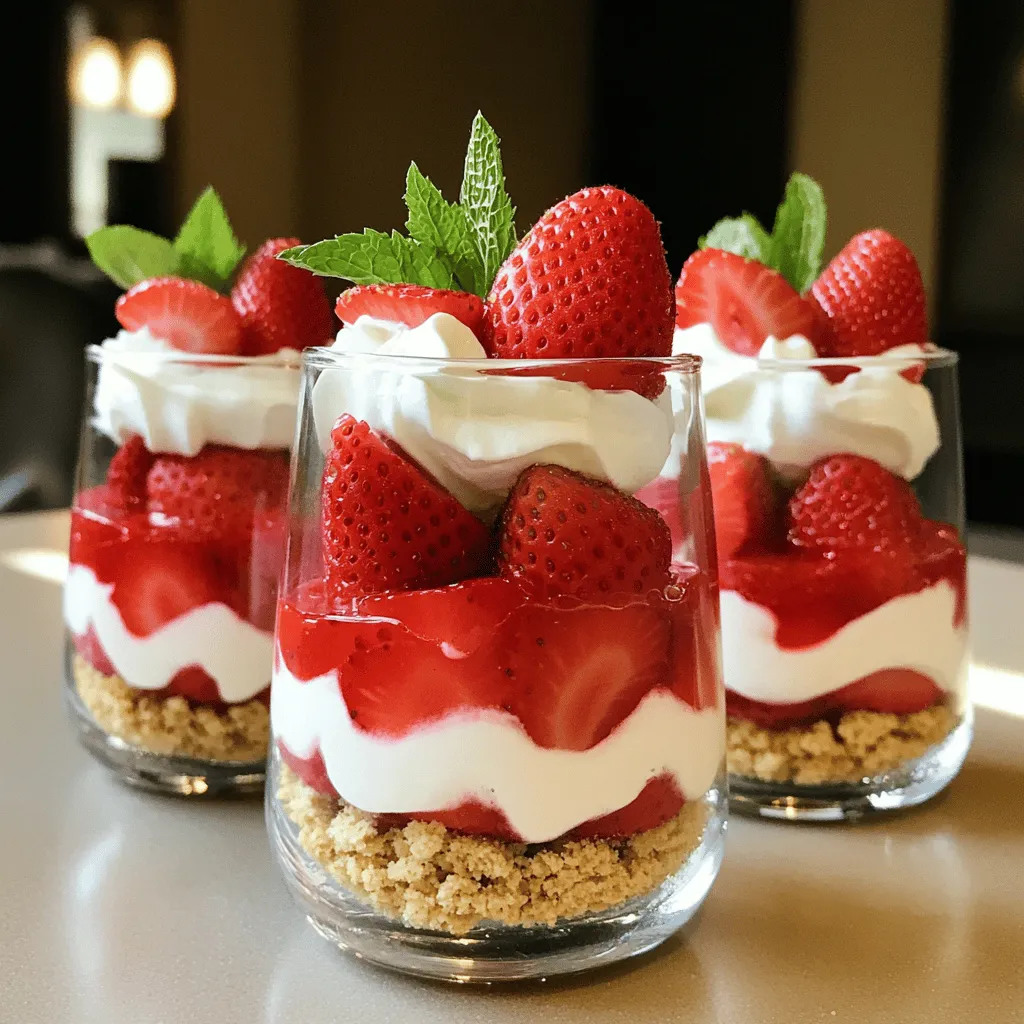
Strawberry Shortcake Trifle Delightful Layered Treat
Are you ready to impress your friends with a strawberry shortcake trifle? This delightful layered treat combines juicy strawberries, fluffy whipped cream, and soft cake for pure indulgence. It’s a... Read Full Recipe


My Latest Recipes

hey,
i’m !
I’m so happy you’re here!
Each recipe I share is a little piece of love from my kitchen. May they fill your heart and home with warmth. Let’s cook up something wonderful together.
![To make a tasty vegetable fried rice, gather these ingredients: - 2 cups cooked jasmine rice (preferably day-old) - 1 cup mixed vegetables (carrots, peas, bell peppers, and corn) - 1 small onion, finely chopped - 2 garlic cloves, minced - 2 green onions, chopped - 2 tablespoons soy sauce (or tamari for gluten-free) - 1 tablespoon sesame oil - 1 tablespoon vegetable oil - 1 teaspoon ginger, grated - Salt and pepper to taste - Optional: 1/4 cup cooked edamame or chickpeas for added protein You will need a few tools to make this dish: - A large skillet or wok - A spatula for stirring - A cutting board and knife - Measuring spoons and cups Feel free to swap or add these items: - Extra vegetables like broccoli or zucchini - Any protein like chicken or tofu - Spicy sauce to kick it up a notch - Fresh herbs like cilantro or basil for added flavor These ingredients and tools will help you create a flavorful vegetable fried rice. Don’t forget to check out the Full Recipe for more tips and details! Before you start, get everything ready. Gather all your ingredients. Chop the onion, garlic, and green onions. Measure out your mixed vegetables. If using day-old rice, break up any clumps. This makes cooking easier. It helps ensure even frying. 1. Heat the vegetable oil in a large skillet or wok over medium-high heat. 2. Add the chopped onion and sauté for 2-3 minutes until it turns translucent. 3. Stir in the minced garlic and grated ginger. Cook for about one minute until fragrant. 4. Add the mixed vegetables to the skillet. Stir-fry for 4-5 minutes. You want them tender but still crisp. 5. Push the veggie mixture to one side of the skillet. Add the cooked jasmine rice to the other side. 6. Pour the soy sauce and sesame oil over the rice. Use a spatula to break up any clumps. Mix well to combine everything. 7. Season with salt and pepper to taste. Incorporate the green onions and, if using, cooked edamame or chickpeas. 8. Cook all together for an additional 2-3 minutes. Make sure everything is heated through. 9. Remove from heat and serve right away. To get great flavor in your fried rice, follow these tips: - Use day-old rice. It is drier and fries better. - Add fresh herbs like cilantro or basil for a burst of flavor. - For spice, include chili flakes or sriracha. - Don’t skip the sesame oil. It adds a nutty taste that’s key. - Taste as you cook. Adjust salt and pepper to your liking. These steps and tips will help you create a delicious dish that shines with flavor. For the complete recipe, check out the Full Recipe section. Using day-old rice is key for great fried rice. Fresh rice is wet and sticky, which makes it clump. Day-old rice is drier and firmer, perfect for frying. When you use day-old rice, you get fluffy grains that separate easily. Make sure to spread the rice out on a plate and chill it in the fridge. This step helps it dry out even more. To boost the flavor of your fried rice, use a mix of sauces. Soy sauce adds saltiness, while sesame oil gives a nutty taste. You can also add ginger and garlic for extra depth. Fresh herbs like cilantro or basil can brighten the dish. For a spicy kick, toss in some chili flakes or sriracha. These small changes can transform your meal. Avoid cooking too many veggies at once. Overcrowding the pan makes them steam instead of fry. This can lead to soggy vegetables. Always cook in batches if you have a lot. Also, don’t skip on seasoning. A pinch of salt and pepper at the end adds a lot. Finally, be careful not to overcook the rice. It should be heated through but not mushy. For the full recipe, check the complete guide above. {{image_2}} You can change up the veggies in your fried rice. Try using broccoli, zucchini, or snap peas. Each choice adds a new flavor and texture. If you want more color, add red bell peppers or purple cabbage. Mixing different veggies makes the dish fun and tasty. You can also use frozen veggies for a quick option. Just make sure to thaw them first. Adding protein can make your fried rice filling. You can toss in cooked chicken, shrimp, or pork for extra flavor. For a meatless option, try tofu or tempeh. These proteins soak up the sauce, making each bite delicious. If you like legumes, add cooked edamame or chickpeas from the Full Recipe. They provide protein and a nice crunch. You can easily make this dish vegan and gluten-free. Use tamari instead of soy sauce for a gluten-free choice. For a vegan version, skip any animal proteins and stick to plant-based options. You can also add more veggies or nuts for protein. This way, everyone can enjoy a tasty meal, no matter their diet. Store leftover fried rice in an airtight container. Let it cool down first. This helps keep it fresh. You can keep it in the fridge for up to four days. Make sure to label the container with the date. This way, you’ll know when to eat it. To reheat, use a skillet or microwave. If using a skillet, add a splash of water. This keeps the rice from drying out. Heat on medium until warm, stirring often. In the microwave, cover the dish with a damp paper towel. Heat for one to two minutes. Check if it’s hot all the way through. You can freeze vegetable fried rice for up to three months. Portion it into small containers or freezer bags. Remove air from bags before sealing. When you’re ready to eat, thaw it overnight in the fridge. Reheat it in a skillet or microwave as mentioned above. Enjoy your tasty meal without wasting food! The best rice for fried rice is jasmine rice. Its fluffy texture works well. Day-old rice is ideal because it is drier than fresh rice. This prevents clumps and helps fry better. You can also use long-grain rice. But avoid sticky rice as it won't yield the right texture. Yes, you can make fried rice without soy sauce. You can use coconut aminos for a soy-free option. This gives a similar flavor without the soy. You can also use salt, pepper, or other sauces like teriyaki. Just remember to adjust flavors to suit your taste. To make vegetable fried rice spicy, add red pepper flakes. You can also use fresh chili peppers or hot sauce. Start with a small amount and taste as you go. This way, you can control the heat level. Adding ginger will also enhance the flavor and spice. For a full flavor experience, try the [Full Recipe]. You now have all you need to make great vegetable fried rice. We covered ingredients, tools, and cooking steps. You learned tips for flavor and common mistakes to avoid. There are many tasty variations to try, too. Don’t forget how to store and reheat your dish for later. Fried rice is easy to customize to your tastes. Enjoy your cooking adventure and make it your own!](https://lisadishes.com/wp-content/uploads/2025/05/3cb97586-c71c-44f4-85f4-a3ba126b22de-300x300.webp)
![To make my favorite stuffed bell peppers, you will need: - 4 large bell peppers (any color) - 1 cup quinoa, rinsed - 2 cups vegetable broth - 1 can (15 oz) black beans, drained and rinsed - 1 cup corn (fresh or frozen) - 1 cup diced tomatoes (canned or fresh) - 1 small onion, finely chopped - 2 cloves garlic, minced - 1 teaspoon cumin - 1 teaspoon paprika - Salt and pepper to taste - 1 cup shredded cheese (cheddar, Monterey jack, or a blend) - Fresh cilantro for garnish (optional) Using fresh ingredients can boost the flavor of your dish. Fresh bell peppers bring crunch and sweetness. Fresh corn adds a sweet pop. However, canned options also work well. They save time and often taste great. Use canned tomatoes for ease. Just remember to rinse canned beans to reduce sodium. You can swap ingredients based on what you have. Use brown rice instead of quinoa for a different texture. If you don't have black beans, try kidney beans or lentils. For cheese, go dairy-free with a vegan option. Herbs like parsley or basil can replace cilantro if you prefer. Start by preheating your oven to 375°F (190°C). Grab four large bell peppers. You can choose any color you like. Cut the tops off these peppers and take out the seeds and membranes. This keeps the filling inside. Lightly brush the outsides with olive oil. Place them in a baking dish, standing tall and proud. Next, we need to cook the quinoa. In a medium pot, bring two cups of vegetable broth to a boil. Rinse one cup of quinoa in water to remove dirt. Add the rinsed quinoa to the boiling broth. Reduce the heat to low, cover the pot, and let it simmer for about 15 minutes. The quinoa will be fluffy and all the liquid will be gone when done. While the quinoa cooks, let’s make the filling. Heat a drizzle of olive oil in a large skillet over medium heat. Add one small, finely chopped onion and two minced garlic cloves. Sauté for about 3 to 4 minutes until the onion turns soft and clear. Then, add one can of drained black beans, one cup of corn, and one cup of diced tomatoes. Mix in one teaspoon of cumin and one teaspoon of paprika. Stir everything well and let it cook for about 5 minutes. Season with salt and pepper to make it tasty. Once the quinoa is ready, fold it into this mixture. Remove the skillet from heat and add half of the shredded cheese. Now, stuff each bell pepper with this delicious filling. Press down gently to fit as much as you can. Top the stuffed peppers with the rest of the cheese. Cover the baking dish with aluminum foil and bake for 25 minutes. Take off the foil and bake for another 10 minutes until the cheese is bubbly and golden. When they’re done, let the peppers cool for a few minutes before you dig in! For a nice touch, sprinkle fresh cilantro on top if you like. For the full recipe, refer to the provided details above. To make your stuffed bell peppers stand out, spices are key. I love using cumin and paprika. They add warmth and depth. You can also try chili powder for a kick. Don't be shy! Mix and match spices to find your perfect blend. Remember, fresh spices are more potent. Invest in good quality ones for the best taste. Even cooking is important for great stuffed peppers. Make sure to cut the tops off the peppers evenly. This helps them cook well. A quick tip: parboil the peppers for five minutes before stuffing. This softens them and speeds up the cooking process. You want them tender but not mushy. Cheese adds creaminess and flavor to your dish. I recommend using cheddar or Monterey Jack. They melt beautifully and bring richness. For a twist, try feta or goat cheese for a tangy taste. Always sprinkle some cheese on top before baking. This gives a nice golden crust. Enjoy experimenting with different cheeses! For more details, check the [Full Recipe]. {{image_2}} To make vegan stuffed bell peppers, you can easily swap the cheese. Use a vegan cheese or skip it altogether. The filling still tastes amazing! You can also add more veggies like zucchini or mushrooms for added texture. This way, you keep it plant-based and still delicious. The filling can change based on what you have. You can try lentils in place of black beans. Chickpeas add a nice crunch too. If you want a Mediterranean twist, use feta cheese and olives. For a Mexican flair, add salsa and jalapeños. The options are endless! Do you like heat? You can adjust the spice level easily. Add diced jalapeños or a pinch of cayenne pepper to the mix. If you prefer milder flavors, reduce the spices. You can also serve with hot sauce on the side. Each bite can be customized to your taste! For the complete recipe, check out the Full Recipe section above. Enjoy experimenting with these variations! After cooking your stuffed bell peppers, let them cool completely. Place them in an airtight container. Store in the fridge for up to 4 days. This keeps them fresh and tasty. You can freeze stuffed peppers for later. Wrap each pepper tightly in plastic wrap. Place them in a freezer-safe bag or container. They can last up to 3 months in the freezer. Just remember to label them with the date! To reheat, take the stuffed peppers out of the fridge or freezer. If frozen, thaw them overnight in the fridge. Preheat your oven to 350°F (175°C). Place the peppers in a baking dish. Cover with foil to keep them moist. Heat for about 20-25 minutes. If you want crispy cheese, take off the foil for the last 5 minutes. Enjoy your meal again! For the full recipe, check out the details above. Yes, you can prepare stuffed bell peppers ahead of time. You can make the filling and stuff the peppers a day before. Store them in the fridge. When ready to eat, just bake them. They will taste fresh and delicious. Stuffed bell peppers pair well with many side dishes. Here are some great options: - A simple green salad with lemon vinaigrette - Garlic bread for a crunchy side - Steamed vegetables like broccoli or green beans - A side of rice or quinoa for extra fiber These sides enhance the meal and add variety. You will know the stuffed peppers are done when the cheese is bubbly and golden. The peppers should also be tender when pierced with a fork. Typically, baking them for about 35 minutes does the trick. Keep an eye on them to prevent overcooking. Enjoy your meal! In this blog post, I covered how to make delicious stuffed bell peppers. We discussed fresh versus canned ingredients and shared tasty substitutes. I provided step-by-step instructions to prepare and cook the dish. We also explored tips to enhance flavor and ensure proper cooking. Stuffed bell peppers are versatile and can fit your diet. Remember, you can make them vegan or spice them up to suit your taste. Enjoy experimenting with storage for later meals. Stuffed bell peppers are a great option to keep on hand.](https://lisadishes.com/wp-content/uploads/2025/05/4d81cdbf-0d30-4990-a111-221d30953e30-300x300.webp)
![To make the 20-Minute One-Pan Spinach Gnocchi, gather these key components: - 1 pound store-bought potato gnocchi - 2 cups fresh spinach, roughly chopped - 1 cup cherry tomatoes, halved - 1 cup heavy cream - 1/2 cup grated Parmesan cheese - 2 cloves garlic, minced - 2 tablespoons olive oil - 1/2 teaspoon red pepper flakes (optional, for heat) - Salt and pepper to taste - Fresh basil leaves for garnish Using fresh ingredients makes a big difference in flavor. Fresh spinach adds a bright taste. Cherry tomatoes burst with juice, enhancing the dish. Heavy cream creates a rich and creamy sauce. If you prefer, frozen ingredients can work too. Just thaw the spinach and tomatoes before cooking. They may not taste as vibrant, but the dish will still be good. For those with dietary needs, substitutions are easy. Use gluten-free gnocchi instead of regular ones. This keeps the dish friendly for gluten-sensitive eaters. You can also swap heavy cream with a non-dairy option like coconut cream. Enjoy making this meal suit your taste! For the full recipe, check out the One-Pan Wonder: Spinach Gnocchi Delight. 1. Preparing the skillet and sautéing garlic Start by heating 2 tablespoons of olive oil in a large non-stick skillet over medium heat. Once the oil is hot, add 2 cloves of minced garlic. Sauté for about 1 minute. You want the garlic to be fragrant but not browned. This step adds a lovely base flavor. 2. Cooking the cherry tomatoes Next, you will add 1 cup of halved cherry tomatoes to the skillet. Cook these for about 2-3 minutes. You want them to start softening and releasing their juices. This will help create a nice sauce for the gnocchi. 3. Adding gnocchi and heavy cream Now, it’s time to add 1 pound of store-bought potato gnocchi to the skillet. Stir gently and cook for about 3-4 minutes. You want the gnocchi to get a little golden. Then, pour in 1 cup of heavy cream. If you like heat, sprinkle in 1/2 teaspoon of red pepper flakes. Season with salt and pepper to taste. 4. Incorporating spinach and finishing touches Gently fold in 2 cups of roughly chopped fresh spinach. Allow the mixture to simmer for another 5-6 minutes. This step thickens the cream and wilts the spinach. The colors will be bright and inviting. 5. Presentation tips for serving Once everything is done, sprinkle 1/2 cup of grated Parmesan cheese over the top. Stir until the cheese melts into the dish. For serving, you can either keep it in the pan for a casual meal or spoon it into bowls. Top with fresh basil leaves for a pop of color. This makes the dish look beautiful and fresh. You can find the [Full Recipe] for more details. Enjoy your quick and easy meal! To get the best texture for gnocchi, choose store-bought options. They offer a soft, pillowy bite. Be gentle when stirring in the pan. Over-mixing can break them apart. Adjust cooking time based on your stove. If it cooks fast, check the gnocchi sooner. If it’s slower, give it a bit more time. Always keep an eye on the pan. Seasoning is key! Taste as you cook and adjust salt and pepper. A hint of red pepper flakes can add a nice kick. Save time by prepping ingredients first. Chop garlic and tomatoes right before you start cooking. This way, you won’t waste time looking for things. While the gnocchi cooks, wash your cutting board and tools. This keeps your kitchen tidy and ready for the next meal. You can also set the table or prep drinks during cooking. {{image_2}} You can easily swap out ingredients in this dish. Try using kale or broccoli instead of spinach. Both add great flavor and nutrition. If you want a different cheese, consider using mozzarella or feta. Each offers a unique taste that can change the dish. Adding proteins like chicken or sausage can make it heartier. Just cook the protein first, then add the other ingredients. Herbs can really lift the flavors in this dish. Fresh basil, parsley, or oregano add brightness. You can also try spicy variations by adding different peppers. Jalapeños or red pepper flakes can bring some heat. Adjust the amount based on your spice level. These enhancements make the dish fun and exciting. You can create a new meal every time! To keep your leftover gnocchi fresh, store it in the fridge. Place it in an airtight container. You can enjoy the gnocchi for up to three days. If you want to keep it longer, freeze it. Put it in a freezer-safe bag or container. Frozen gnocchi stays good for about two months. When reheating gnocchi, keep its texture in mind. The best way is to use a skillet. Add a splash of water or cream to help it heat evenly. Warm it over low heat, stirring gently. This method keeps the gnocchi soft and tasty. Avoid using the microwave, as it can make the gnocchi tough. For a full experience, check out the Full Recipe for detailed steps and tips! Can I make my own gnocchi? Yes, you can make your own gnocchi at home. It’s fun and simple! You’ll need potatoes, flour, and eggs. Cook the potatoes, mash them, then mix with flour and egg. Roll, cut, and shape them into small pieces. This adds a special touch to your meal. How do I know when the gnocchi is cooked? Gnocchi is cooked when it floats to the top of the water. This means they are light and ready to eat. You can also taste one to check for doneness. It should be soft but not mushy. What can I serve with 20-Minute One-Pan Spinach Gnocchi? This dish is great on its own, but you can add a side salad. A fresh green salad adds crunch and color. Garlic bread also pairs well. It helps soak up the creamy sauce and adds flavor. Can this dish be made ahead of time? Yes, you can prepare this dish ahead of time. Cook it, let it cool, and store it in the fridge. Reheat it in a skillet or microwave when you are ready to eat. The flavors will blend nicely overnight. What to do if the sauce is too thick or too thin? If the sauce is too thick, add a splash of water or broth. Stir well until it reaches your desired consistency. If the sauce is too thin, let it simmer longer. This helps it thicken up. You can also add more cheese for richness. For the full recipe, check out the [Full Recipe]. You learned how to make a tasty 20-Minute One-Pan Spinach Gnocchi. We covered ingredients, steps, and tips for cooking. Fresh ingredients can boost flavor, and substitutions make it easy for everyone. I shared quick cooking tips to keep you efficient. Remember, feel free to change the recipe with different veggies or proteins to suit your taste. With the right storage, your leftovers can last. Enjoy your cooking journey, and have fun creating your own versions of this dish!](https://lisadishes.com/wp-content/uploads/2025/05/3bfc30b8-1b07-471a-9164-2d4de0c2e563-300x300.webp)

Crab Cake Egg Rolls Tasty and Simple Appetizer
Craving a quick and tasty appetizer? Look no further than these crab cake egg rolls! They’re packed with lump crab meat and crispy panko,…