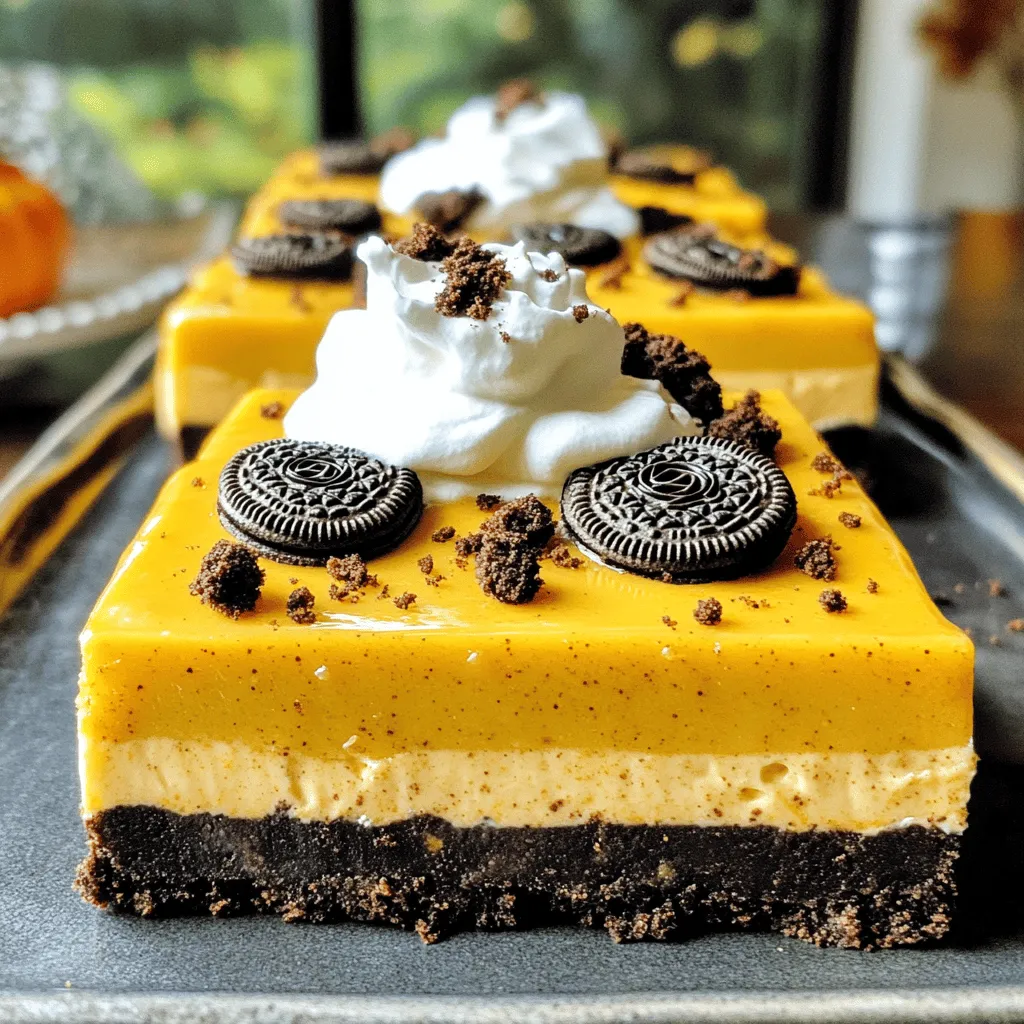
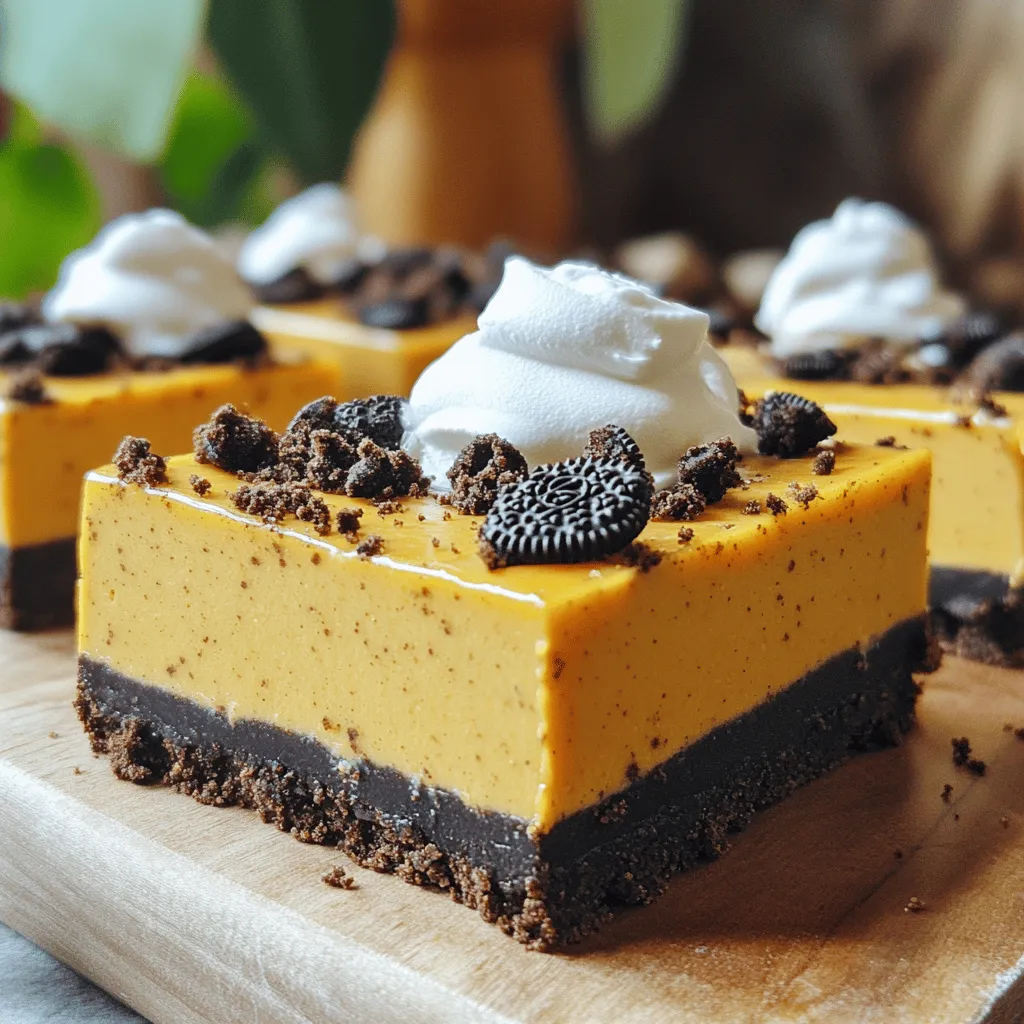
Craving a sweet treat but short on time? Look no further! These No-Bake Oreo Pumpkin Cheesecake Bars are an easy delight that blend creamy pumpkin filling with a crunchy Oreo crust. Perfect for fall gatherings or a simple dessert at home, this recipe is simple and fun to make. Join me as I guide you step-by-step to create these delicious bars that everyone will love!
Ingredients
Main Ingredients for No-Bake Oreo Pumpkin Cheesecake Bars
To make these bars, gather these key ingredients:
– 24 Oreo cookies, crushed
– 1/2 cup unsalted butter, melted
– 1 (8 oz) package cream cheese, softened
– 1 cup pumpkin puree
– 1 cup powdered sugar
– 1 teaspoon vanilla extract
– 1 teaspoon pumpkin pie spice
– 1 cup whipped topping (like Cool Whip)
These ingredients blend to create a rich and creamy filling. The Oreo cookies form a crunchy base that contrasts perfectly with the smooth cheesecake layer.
Optional Toppings and Garnishes
You can elevate your bars with these optional toppings:
– Additional crushed Oreos for sprinkling
– Whipped cream for garnish
These add-ons enhance the flavor and presentation. A sprinkle of crushed Oreos gives texture, while whipped cream adds a light touch.
Kitchen Tools and Equipment Needed
To create these delicious bars, you will need:
– A medium mixing bowl
– A 9×9-inch baking dish
– An electric mixer
– A spatula
Having the right tools makes the process easier. The electric mixer helps you achieve a creamy filling, while the baking dish holds everything together.
Step-by-Step Instructions
Preparing the Oreo Crust
To start, gather your ingredients for the crust. You will need 24 Oreo cookies and 1/2 cup of melted butter. Crush the Oreo cookies in a medium bowl. You can use a food processor or place them in a bag and crush them by hand. Mix the crushed Oreos with the melted butter. Stir until it looks like wet sand. Next, press this mixture into the bottom of a 9×9-inch baking dish. Make sure it is firm and even. Once done, put the dish in the refrigerator to set while you make the filling.
Making the Pumpkin Cheesecake Filling
Now, let’s make the pumpkin filling. In a mixing bowl, add 1 (8 oz) package of softened cream cheese. Use an electric mixer and beat it until it is smooth and creamy. Add 1 cup of pumpkin puree, 1 cup of powdered sugar, 1 teaspoon of vanilla extract, and 1 teaspoon of pumpkin pie spice. Mix all these ingredients together until they are well combined and smooth. After that, gently fold in 1 cup of whipped topping. Be careful not to deflate the mixture. You want it to stay light and fluffy.
Assembling and Chilling the Bars
With the crust set and the filling ready, it’s time to assemble. Spread the pumpkin cheesecake filling evenly over the chilled Oreo crust. Use a spatula to smooth the top. If you want, sprinkle additional crushed Oreos on top for extra texture. After that, cover the dish with plastic wrap. Chill it in the refrigerator for at least 4 hours, or overnight for the best flavor. When ready to serve, slice it into bars. If you like, add a dollop of whipped cream on top for a sweet touch. Enjoy your delicious creation!
Tips & Tricks
Achieving the Perfect Cheesecake Texture
To get that smooth, creamy texture, start with soft cream cheese. Let it sit at room temperature for about 30 minutes. This helps it mix better. Beat the cream cheese until it is fluffy and free of lumps. When you add the pumpkin puree and sugar, mix until everything blends well. Gently fold in the whipped topping last. This keeps the filling light and airy.
How to Prevent Cracking on Top
Cracks form when the mixture is too dense or overmixed. To avoid this, mix on low speed. Also, don’t chill the bars for too long in the fridge before serving. If you see cracks, don’t worry! You can cover them with whipped cream or crushed Oreos for a pretty look.
Substitutions for Dietary Preferences
You can make this recipe fit your needs. Use gluten-free Oreo cookies for a gluten-free option. For a vegan choice, swap the cream cheese with a vegan cream cheese alternative and use coconut whipped cream instead of the topping. If you need a lower sugar option, try using a sugar substitute in place of powdered sugar. These swaps make it easy for everyone to enjoy this treat!
Variations
Chocolate Layer Option
You can add a chocolate layer to these bars. After you press the Oreo crust down, melt one cup of chocolate chips. Pour the melted chocolate over the crust. Let it cool before adding the pumpkin layer. This adds a rich taste that pairs well with pumpkin.
Using Different Types of Cookies for the Crust
While Oreos make a great base, you can use other cookies too. Try using chocolate chip cookies or gingersnaps. Each type gives a unique flavor and texture. Just crush them the same way and mix with butter. The key is to make sure the crust holds together.
Adding Spices or Flavorings to Customize
You can change the flavor profile with different spices. Add a pinch of cinnamon or nutmeg for warmth. You can also use maple syrup instead of vanilla for a sweet twist. These small changes give you a fun way to make the bars your own. Enjoy experimenting to find your favorite mix!
Storage Info
How to Store Leftover Bars
To store leftover bars, first ensure they are fully chilled. Cover the dish with plastic wrap or foil. This keeps them fresh and prevents them from drying out. You can also transfer the bars to an airtight container. They stay tasty in the fridge for up to 5 days. Just remember to slice them before storing; it makes them easy to grab later.
Freezing Instructions for Extended Shelf Life
Freezing is a great way to save these bars for later. First, let the bars chill completely in the fridge. Cut them into individual portions. Wrap each piece tightly with plastic wrap. Then, place the wrapped bars in a freezer-safe bag or container. They will keep well in the freezer for up to 3 months. Make sure to label the bag with the date.
Best Practices for Thawing Frozen Cheesecake Bars
To thaw frozen cheesecake bars, take them out of the freezer. Move them to the fridge for several hours or overnight. This method keeps them smooth and creamy. If you’re in a hurry, you can let them sit at room temperature for about 30 minutes. Avoid using the microwave, as it may change the texture. Enjoy them chilled for the best taste!
FAQs
Can I use homemade pumpkin puree for this recipe?
Yes, you can use homemade pumpkin puree. Just make sure it is smooth. Fresh pumpkin adds great flavor. Use the same amount as the recipe calls for.
How long do these bars last in the refrigerator?
These bars last about 4 to 5 days in the fridge. Store them in an airtight container. This keeps them fresh and tasty for you.
Can I make this recipe gluten-free?
Yes, you can make this recipe gluten-free. Use gluten-free Oreo cookies for the crust. Check labels on all ingredients to ensure they are gluten-free.
What can I use instead of whipped topping?
If you need a substitute for whipped topping, you can use heavy cream. Whip it until it forms soft peaks. You can also use coconut whipped cream for a dairy-free option.
Can I make No-Bake Oreo Pumpkin Cheesecake Bars ahead of time?
Absolutely! You can make these bars a day or two ahead. Just store them in the fridge. This gives the flavors more time to blend and taste even better.
You now have all the steps to make No-Bake Oreo Pumpkin Cheesecake Bars. We explored key ingredients, easy instructions, and helpful tips. You learned how to customize your bars and store leftovers correctly. This dessert is simple, tasty, and fun to make. Don’t hesitate to experiment with different flavors and textures to make it your own. Enjoy every delicious bite and impress your friends and family with your baking skills. Enjoy your time creating this sweet treat!