Better Than Takeout Beef Chow Mein Simple Comfort Meal
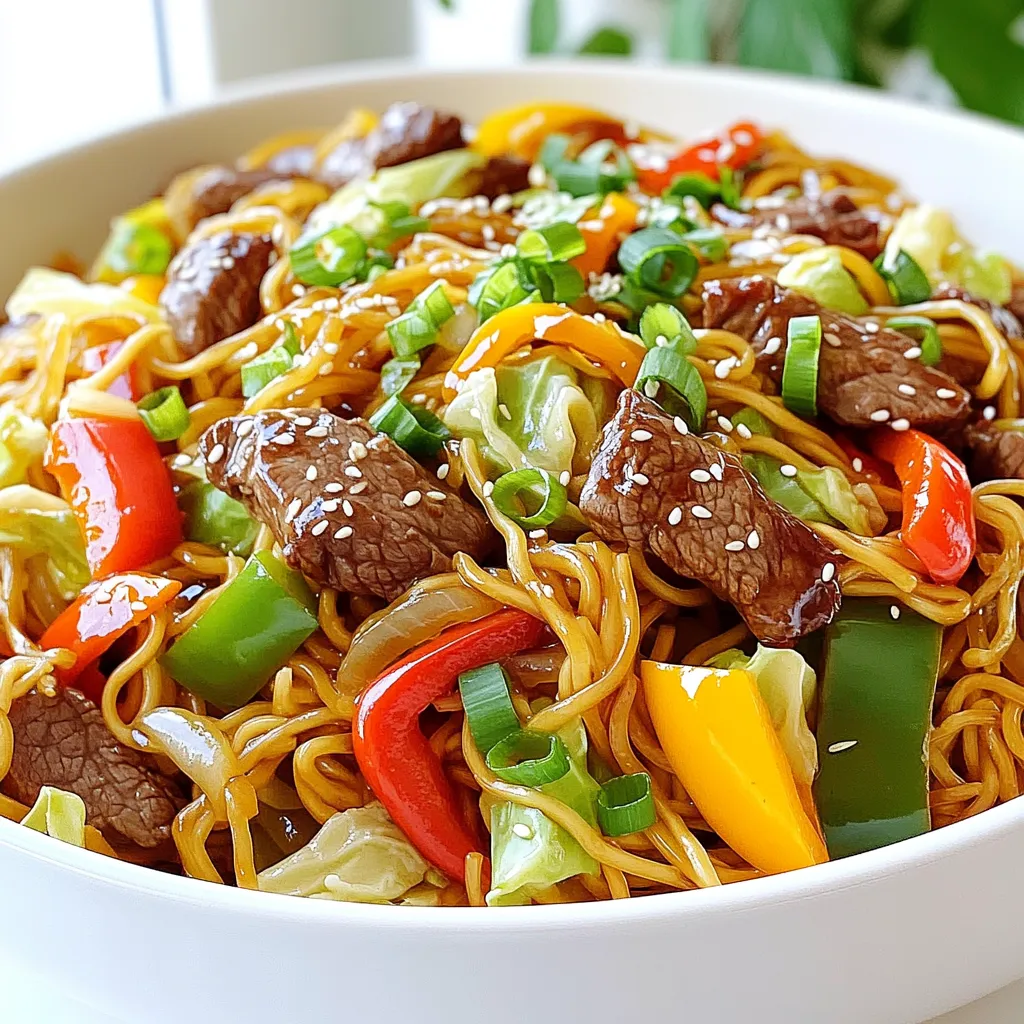
Looking for a cozy meal that beats takeout? This Better Than Takeout Beef Chow Mein is your answer! Packed with
Looking for a cozy meal that beats takeout? This Better Than Takeout Beef Chow Mein is your answer! Packed with
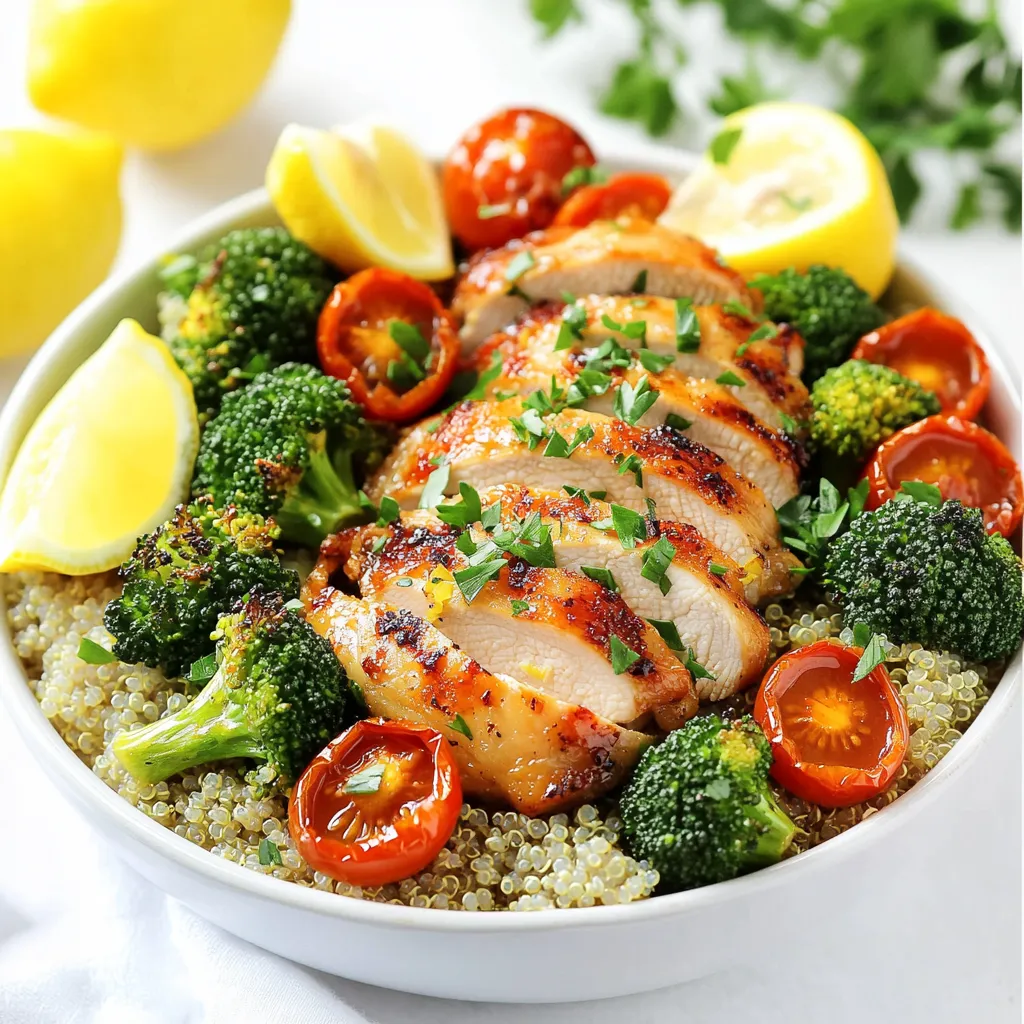
Looking for a fresh, flavorful meal that’s easy to make? You’ll love these Lemon Garlic Chicken Bowls! Using just one
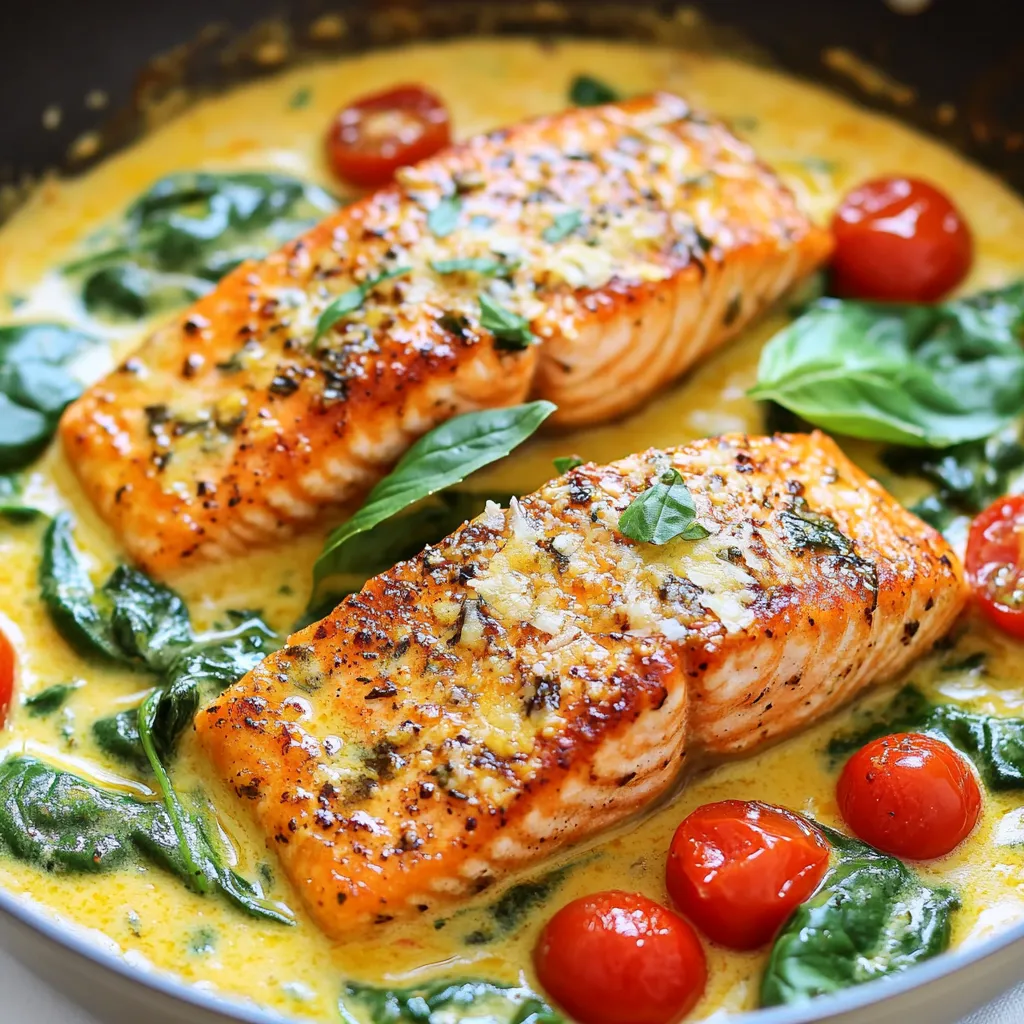
Welcome to a flavorful journey with my Tuscan Salmon Skillet! This dish bursts with taste and uses simple ingredients. Imagine
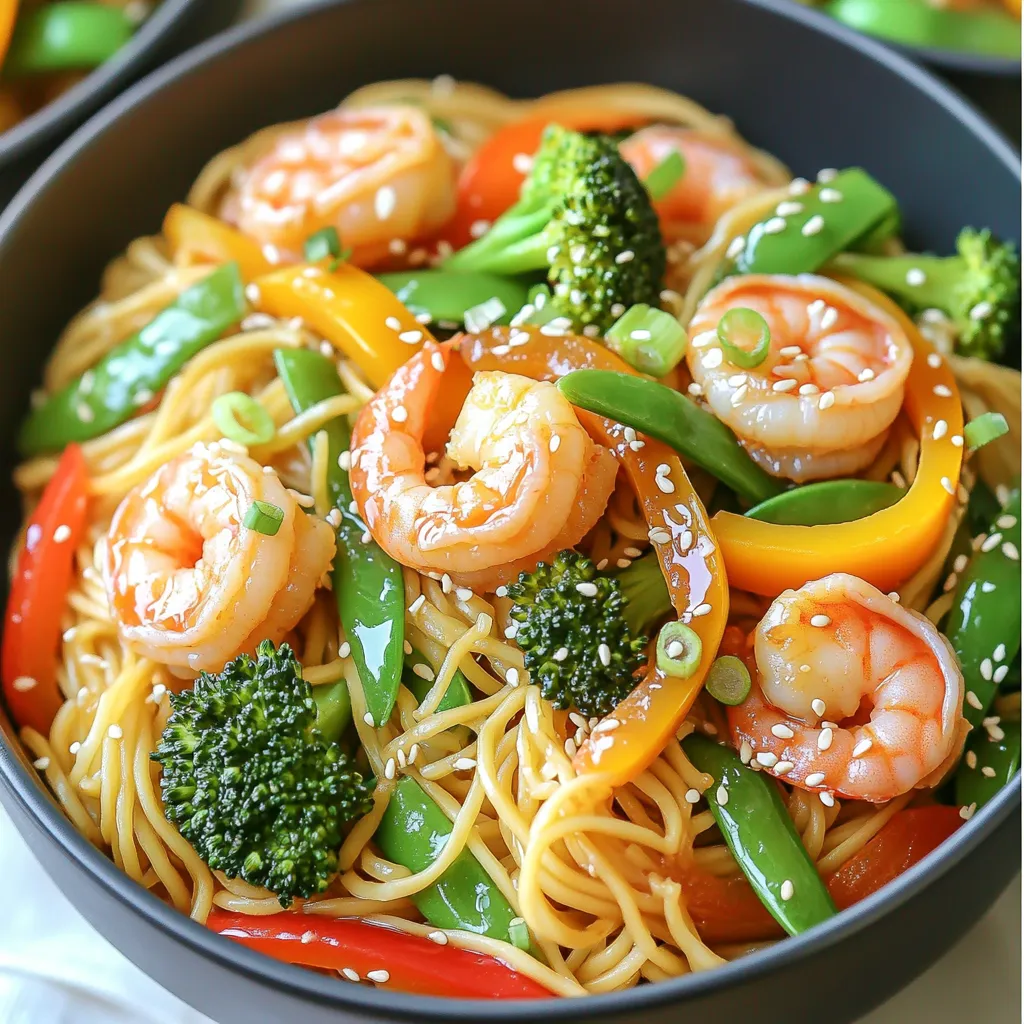
Craving a quick and delicious meal? You’re in for a treat! This Minute Teriyaki Shrimp Noodles recipe is perfect for

Are you ready to make a mouthwatering Slow Cooker Spinach Mushroom Lasagna? This dish packs layers of flavor with rich
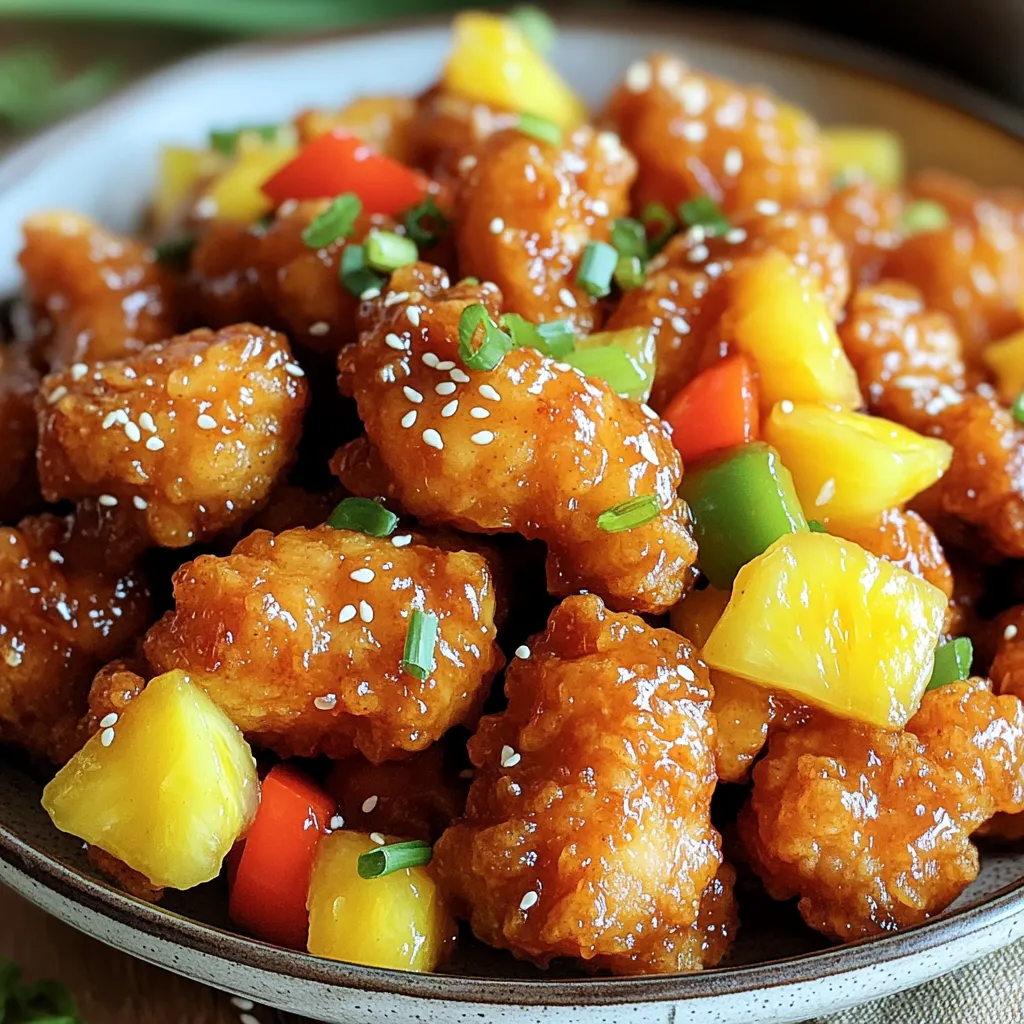
Get ready for a delicious twist on dinner with Air Fryer Sweet & Sour Chicken Bites! This recipe combines crispy
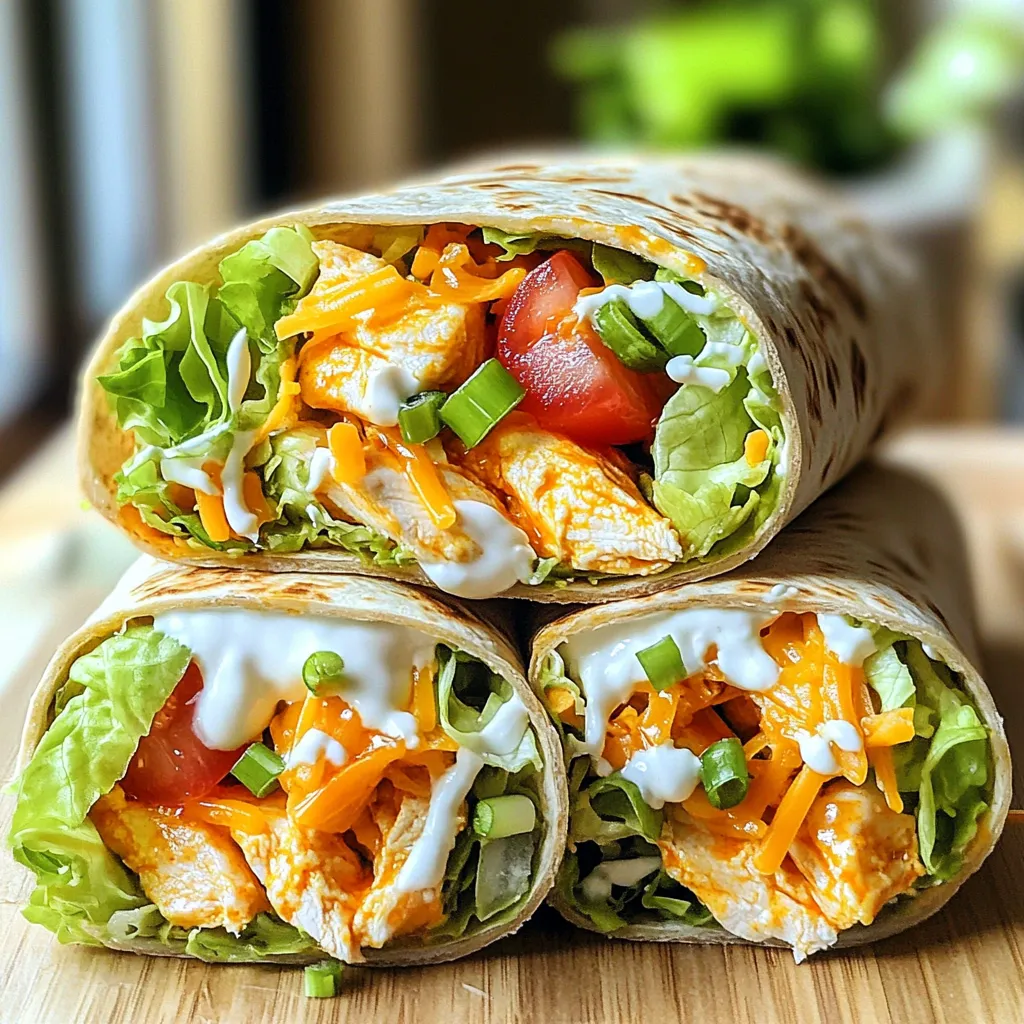
Are you ready to spice up your mealtime with a tasty twist? Buffalo Chicken Wraps with Ranch combine tender chicken,

Looking for a quick and delicious meal? Try my One-Pot Creamy Roasted Red Pepper Pasta Delight! This dish is a
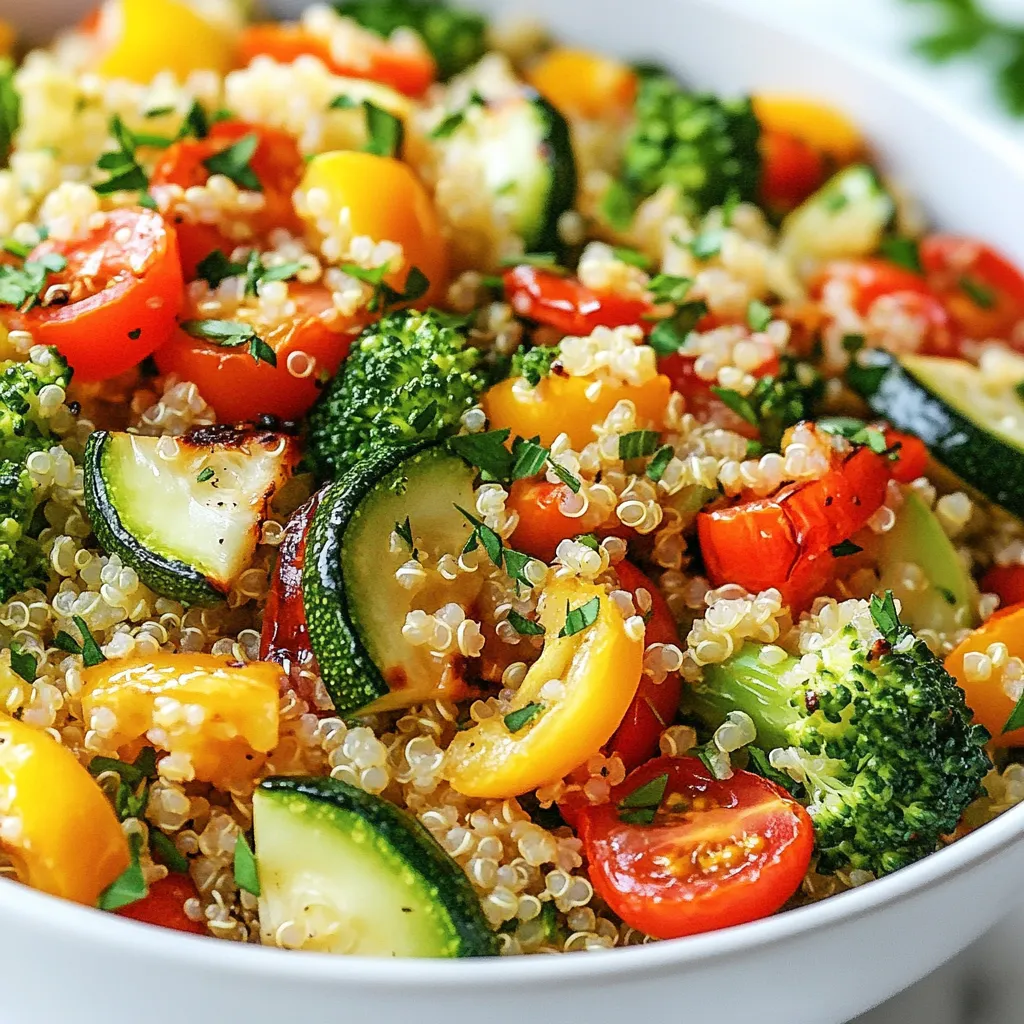
Looking for a tasty and healthy meal? Try my Garlic Herb Roasted Veggie Quinoa! It’s packed with fresh veggies, rich
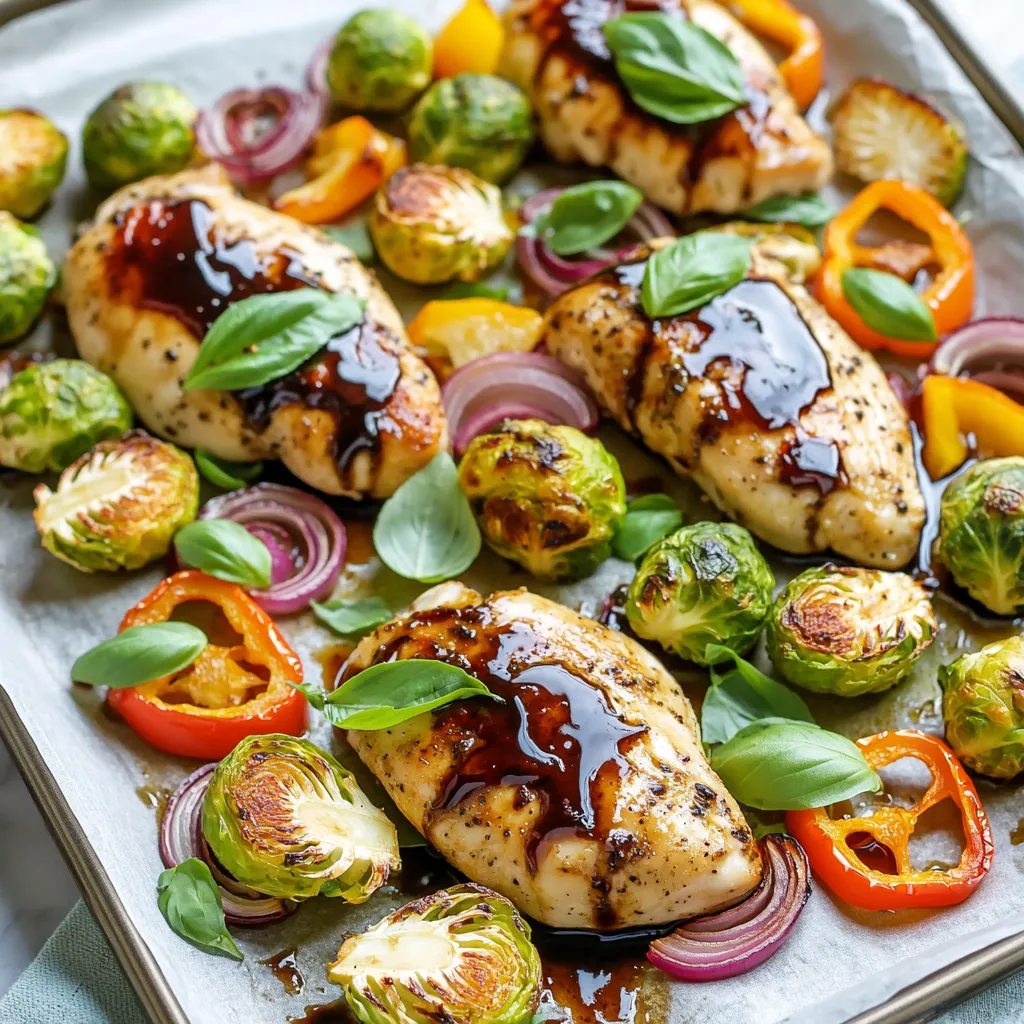
Looking for a simple, tasty meal? This Delicious Sheet Pan Balsamic Chicken Veggies Recipe is just what you need! It
