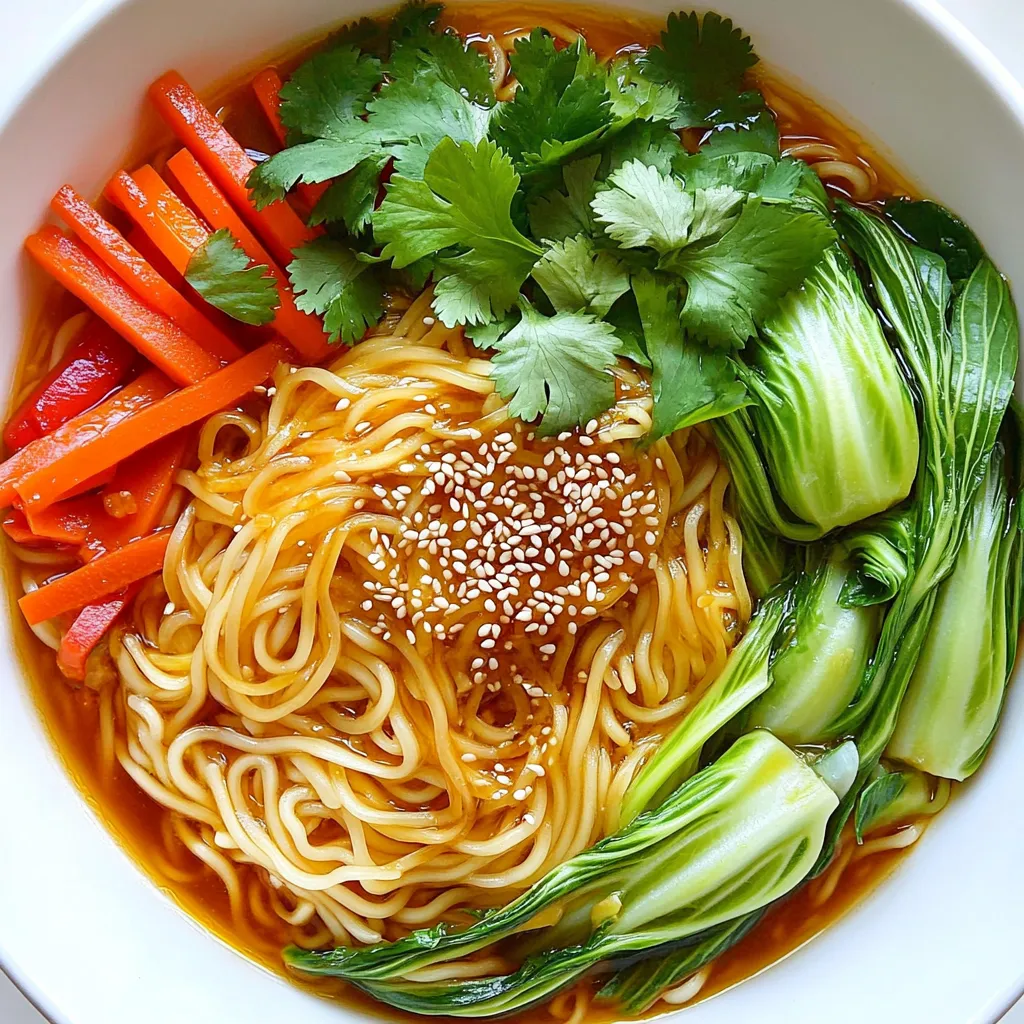
Chili Garlic Noodle Bowls with Bok Choy Delight
If you’re craving a quick and satisfying meal, try my Chili Garlic Noodle Bowls with Bok Choy! This easy recipe
If you’re craving a quick and satisfying meal, try my Chili Garlic Noodle Bowls with Bok Choy! This easy recipe
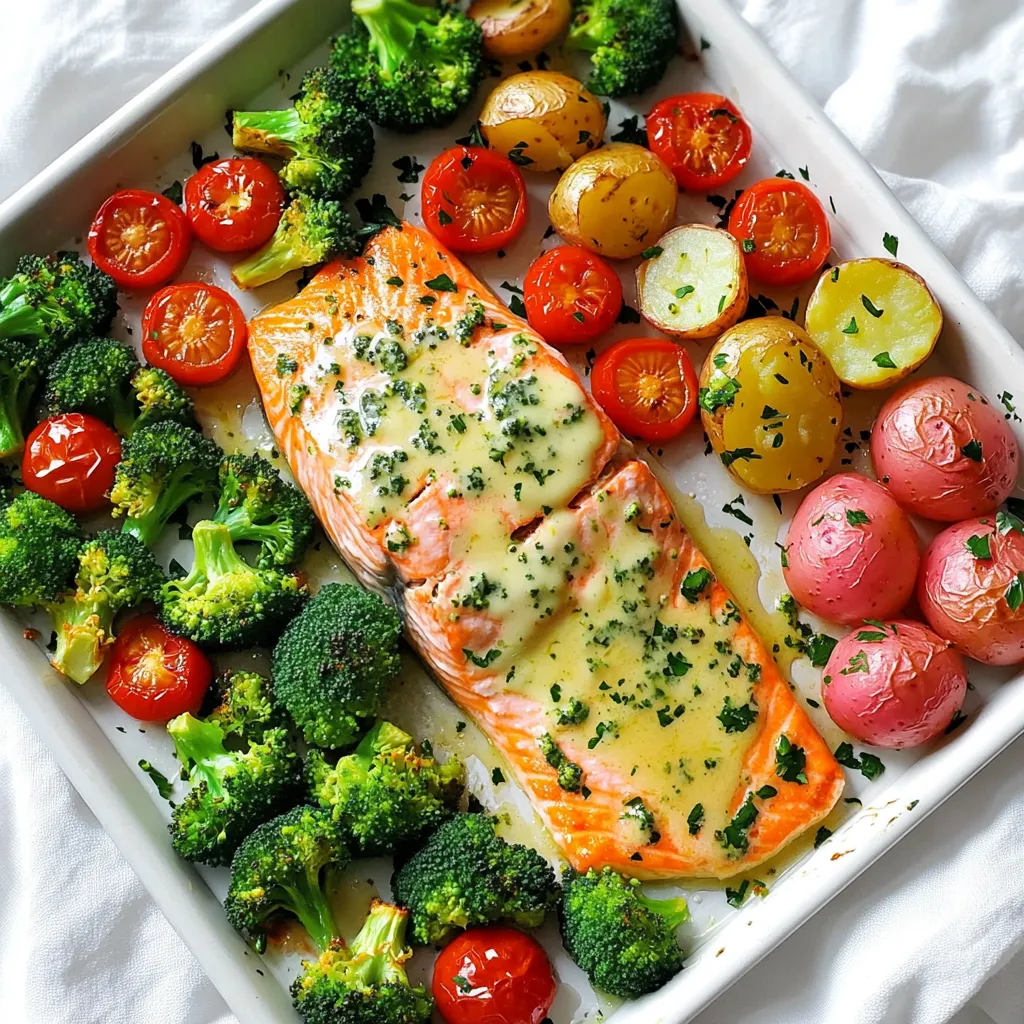
Craving a simple, mouthwatering meal? Let me introduce you to my Garlic Butter Salmon and Veggies Sheet Pan Delight! This
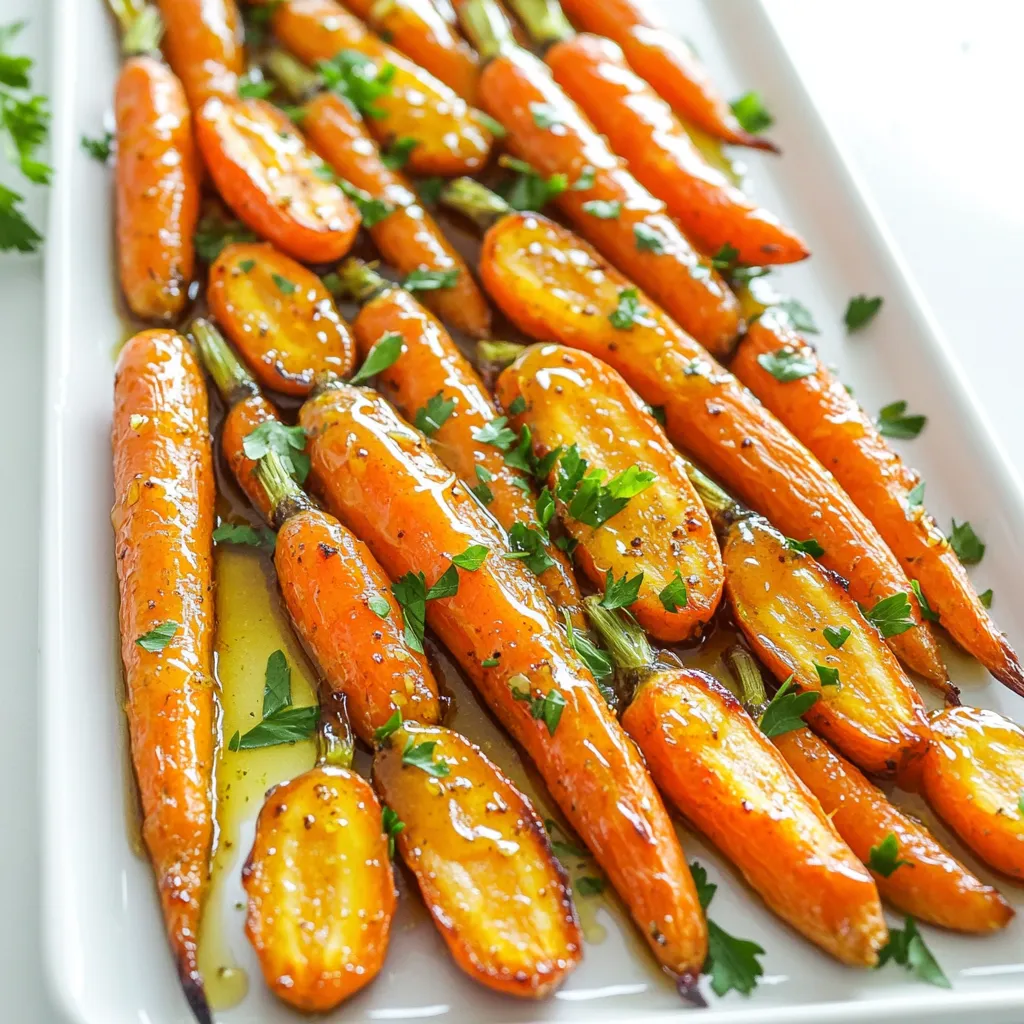
Are you ready to elevate your vegetable game? This Roasted Honey Garlic Carrots Sheet-Pan Delight is the perfect mix of
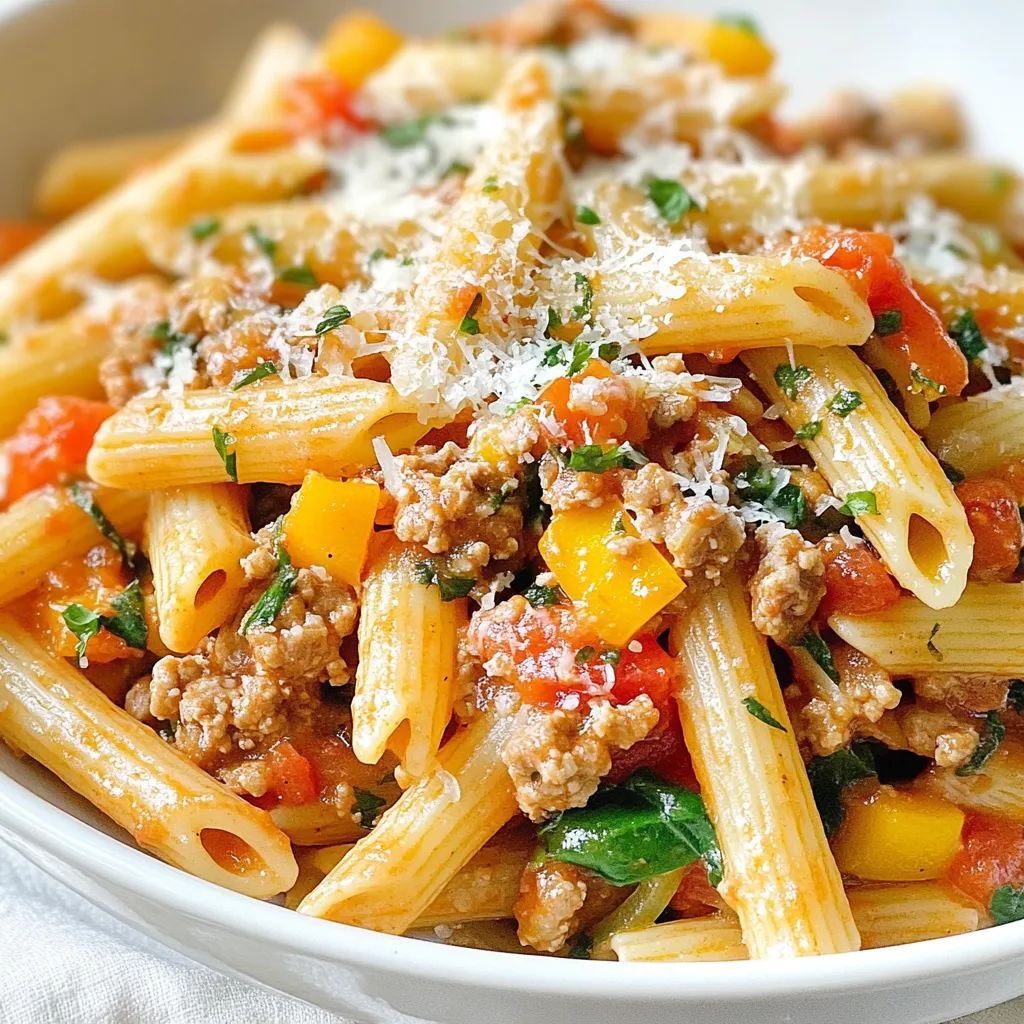
Looking for a quick, tasty meal that won’t break the bank? You’re in the right place! In this easy recipe

Looking for a quick and tasty way to enjoy veggies? My Powerful Sheet-Pan Balsamic Roasted Veggie Medley gives you flavor
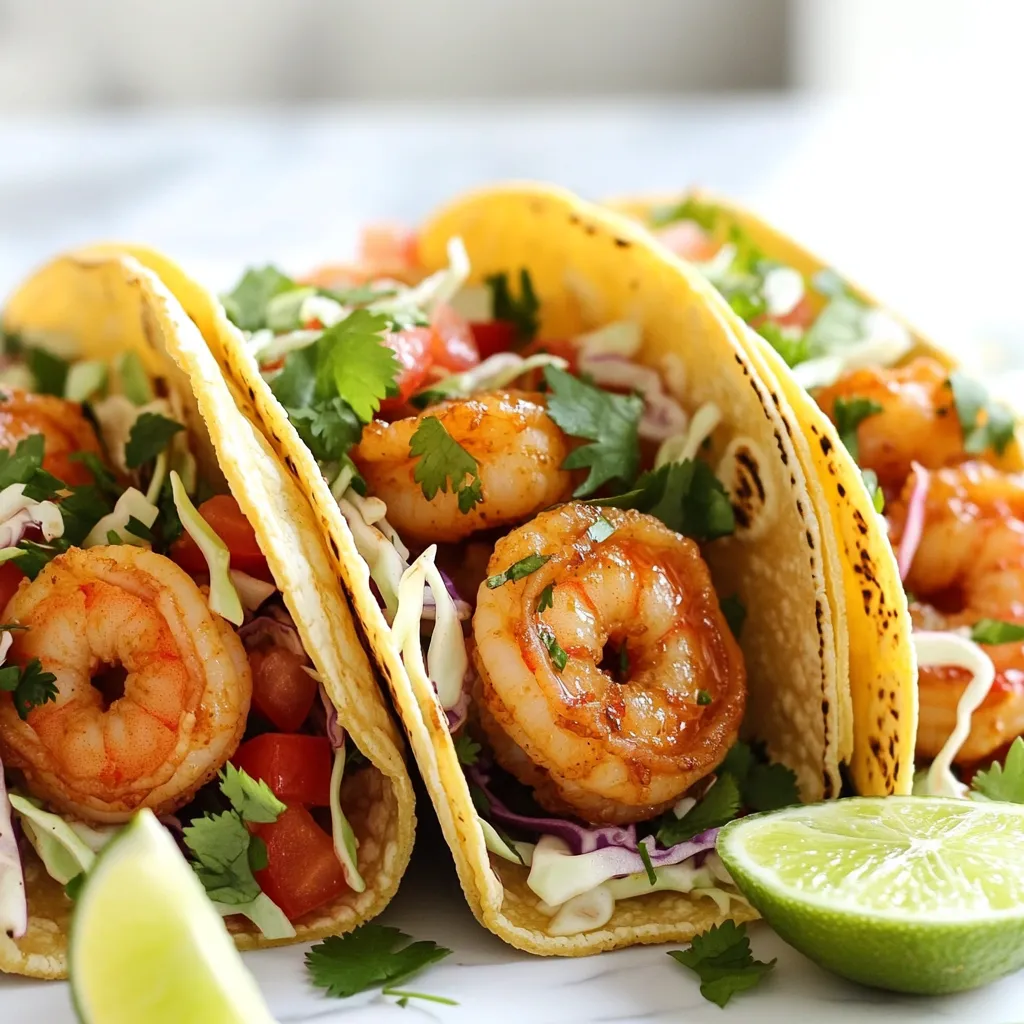
If you crave a quick and tasty meal, try these Air Fryer Garlic Butter Shrimp Tacos. With fresh shrimp, rich
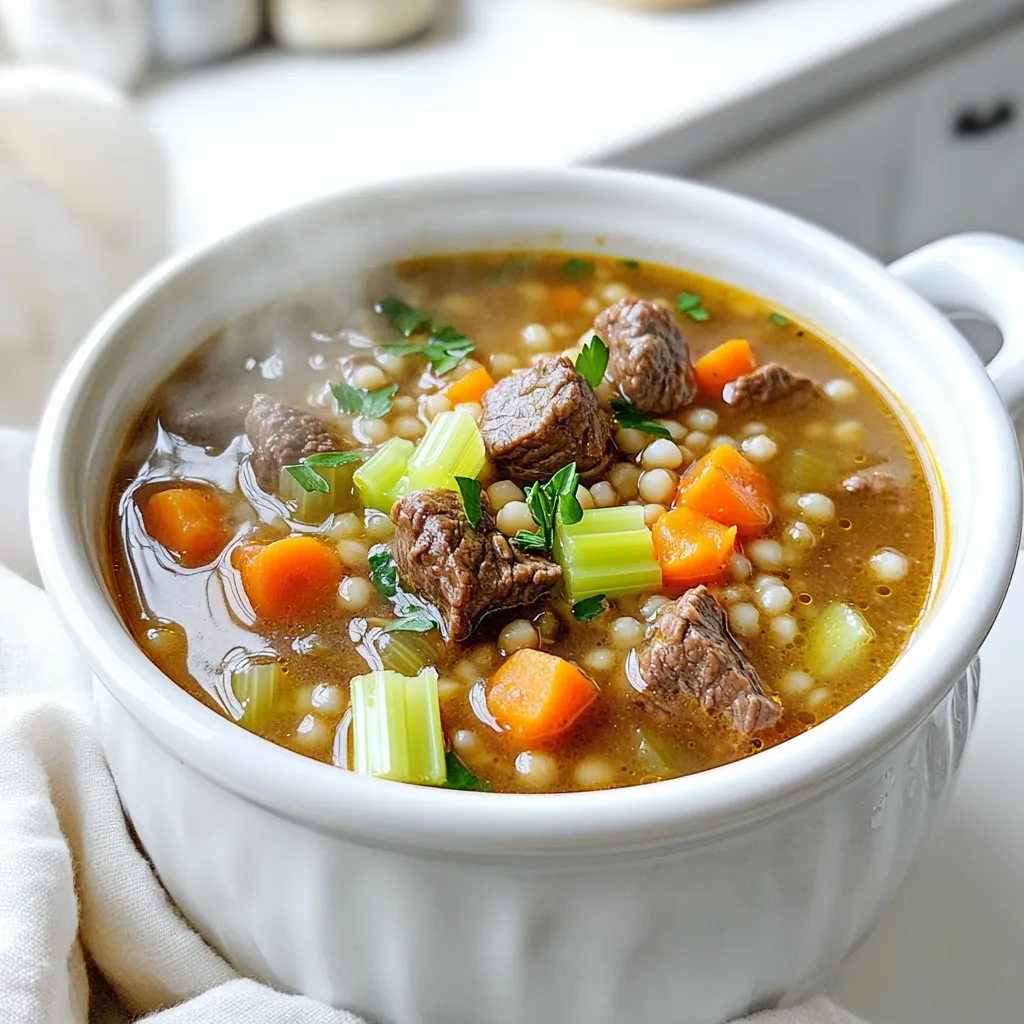
Looking for a warm, hearty meal that practically cooks itself? Discover the joy of Slow Cooker Rustic Beef and Barley
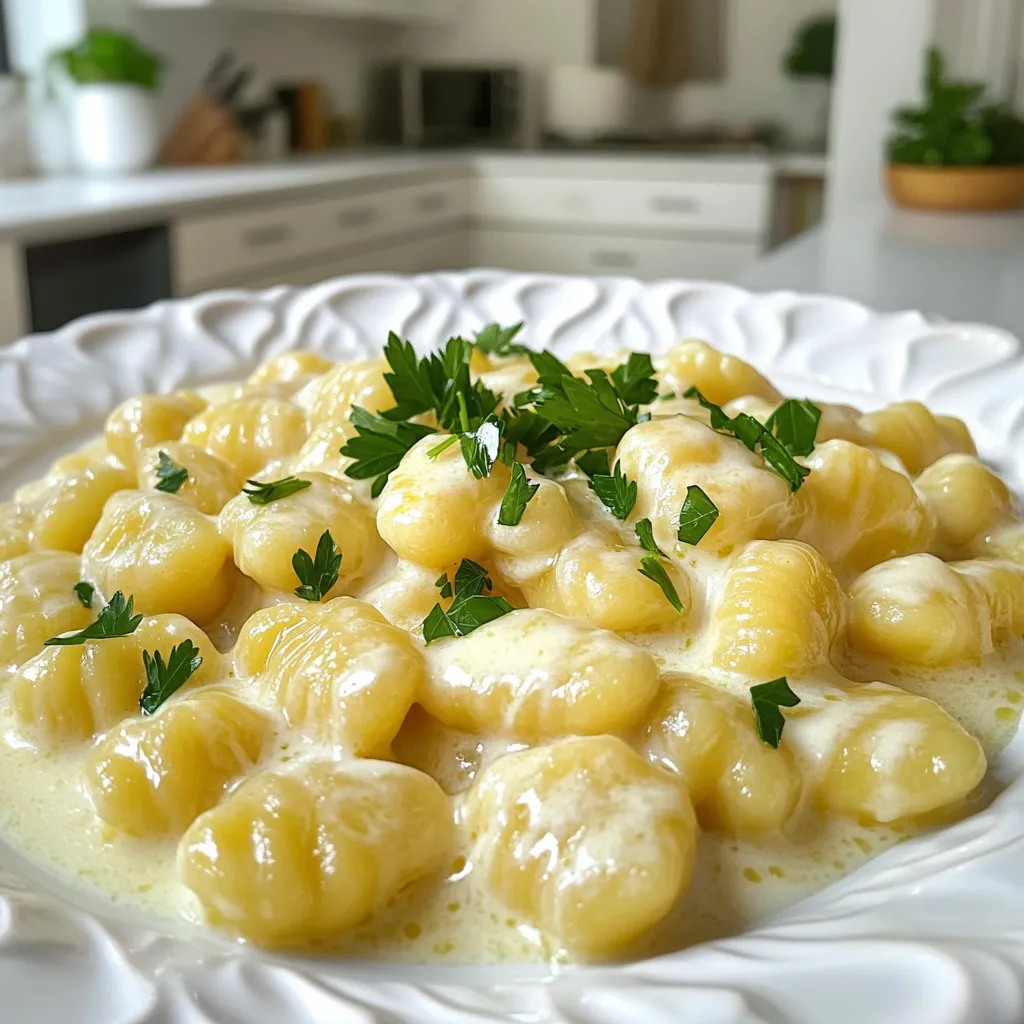
Looking for a quick meal that packs flavor? Minute Creamy Garlic Butter Gnocchi is your answer! With just a handful
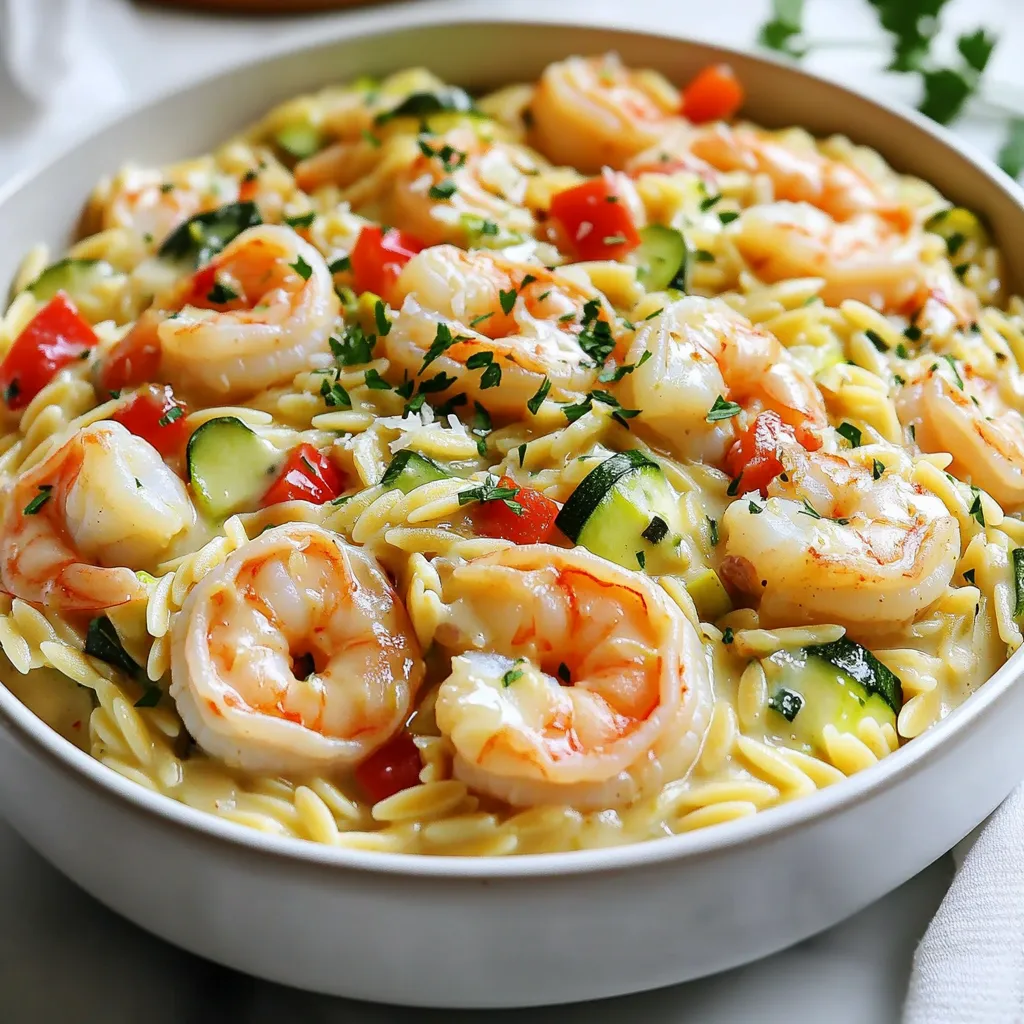
Welcome to your new favorite dish: Creamy Cajun Shrimp Orzo! This one-pot delight combines bold flavors with creamy goodness, making
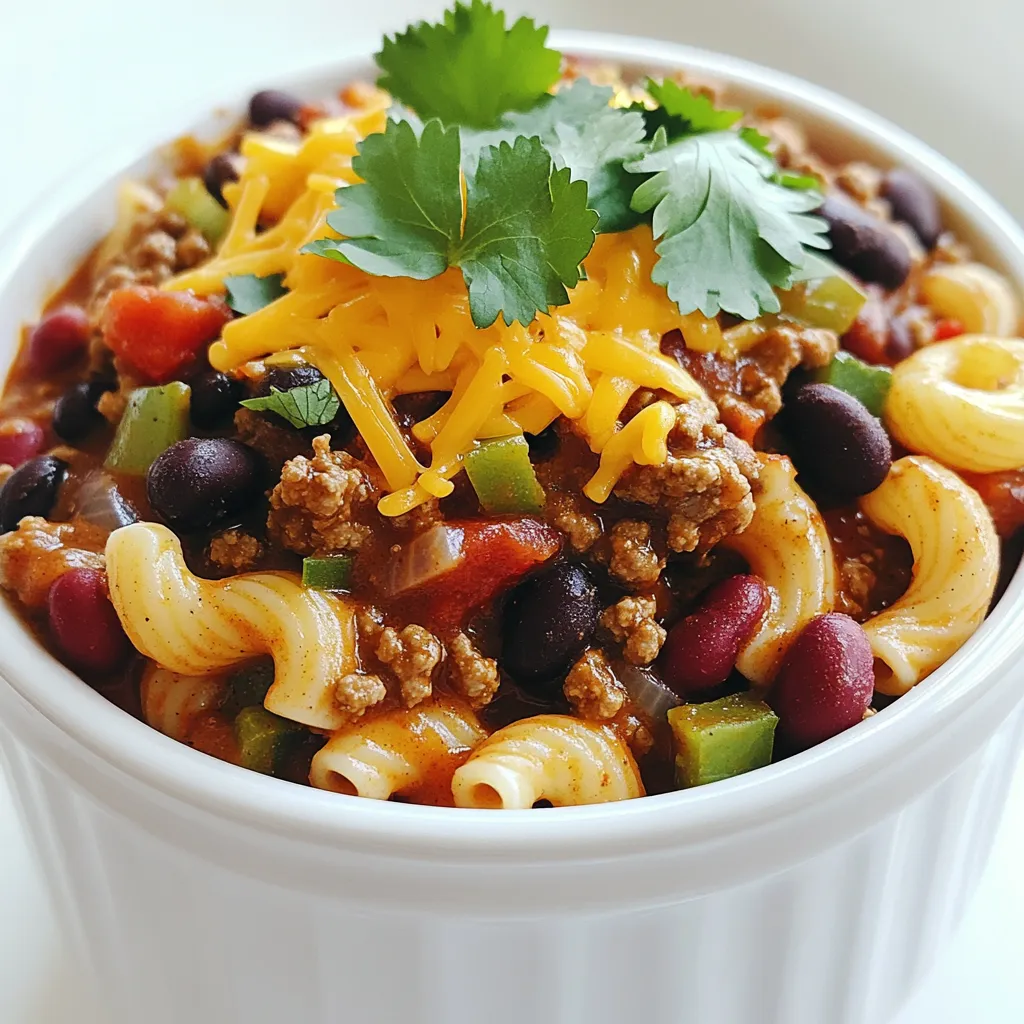
Are you ready to make a warm and tasty meal that everyone will love? The Loaded Chili Mac Slow Cooker
