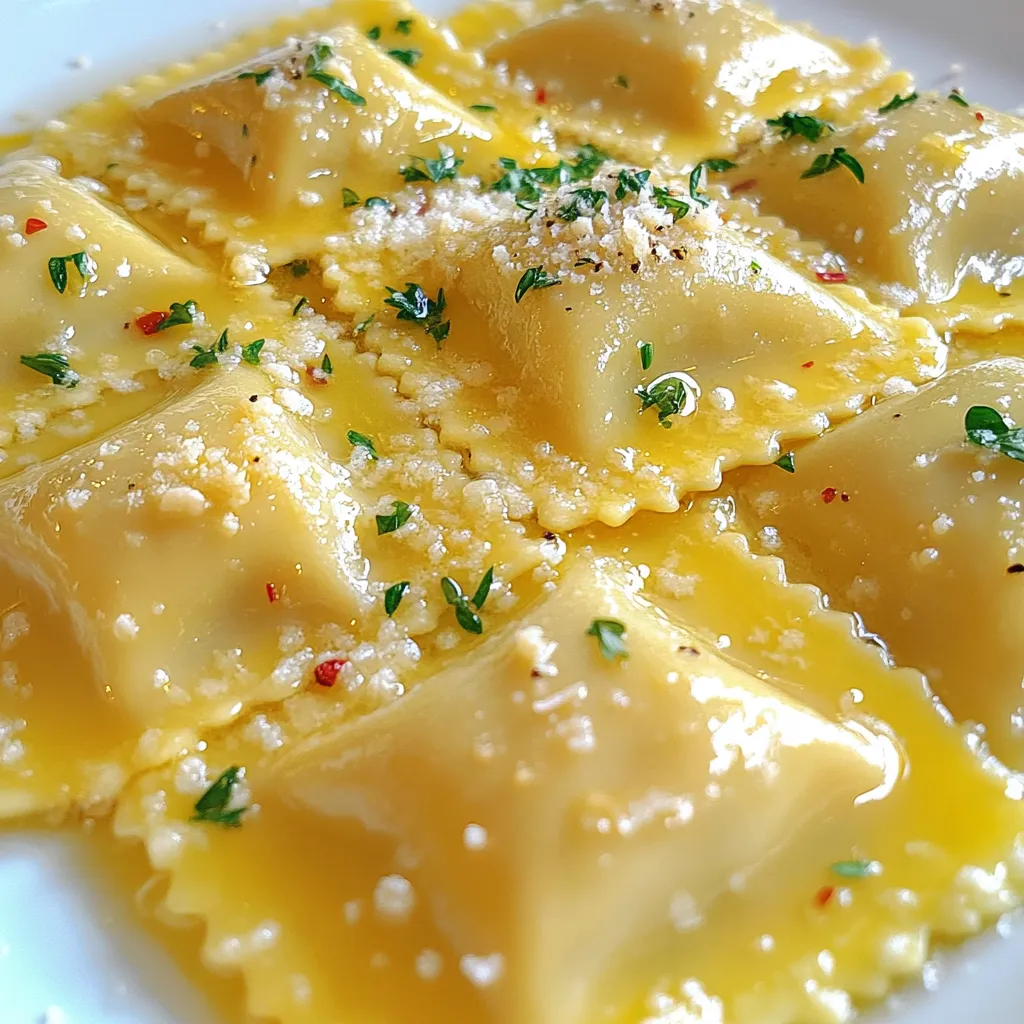
Minute Garlic Butter Ravioli Simple and Flavorful Dish
Are you craving a quick, tasty meal that impresses? Look no further than Minute Garlic Butter Ravioli! This simple and
Are you craving a quick, tasty meal that impresses? Look no further than Minute Garlic Butter Ravioli! This simple and
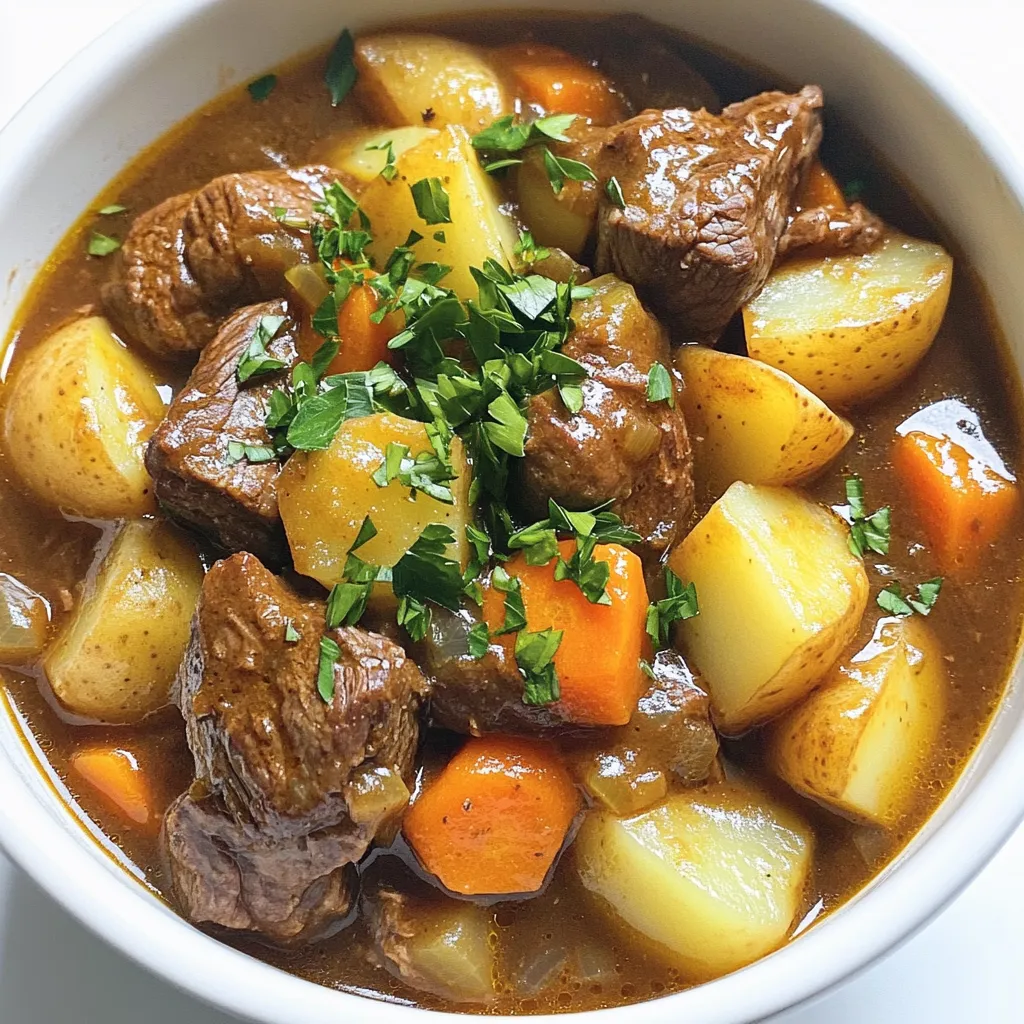
Looking for a warm, cozy meal that feels like a hug in a bowl? My Slow Cooker Rustic Beef Stew
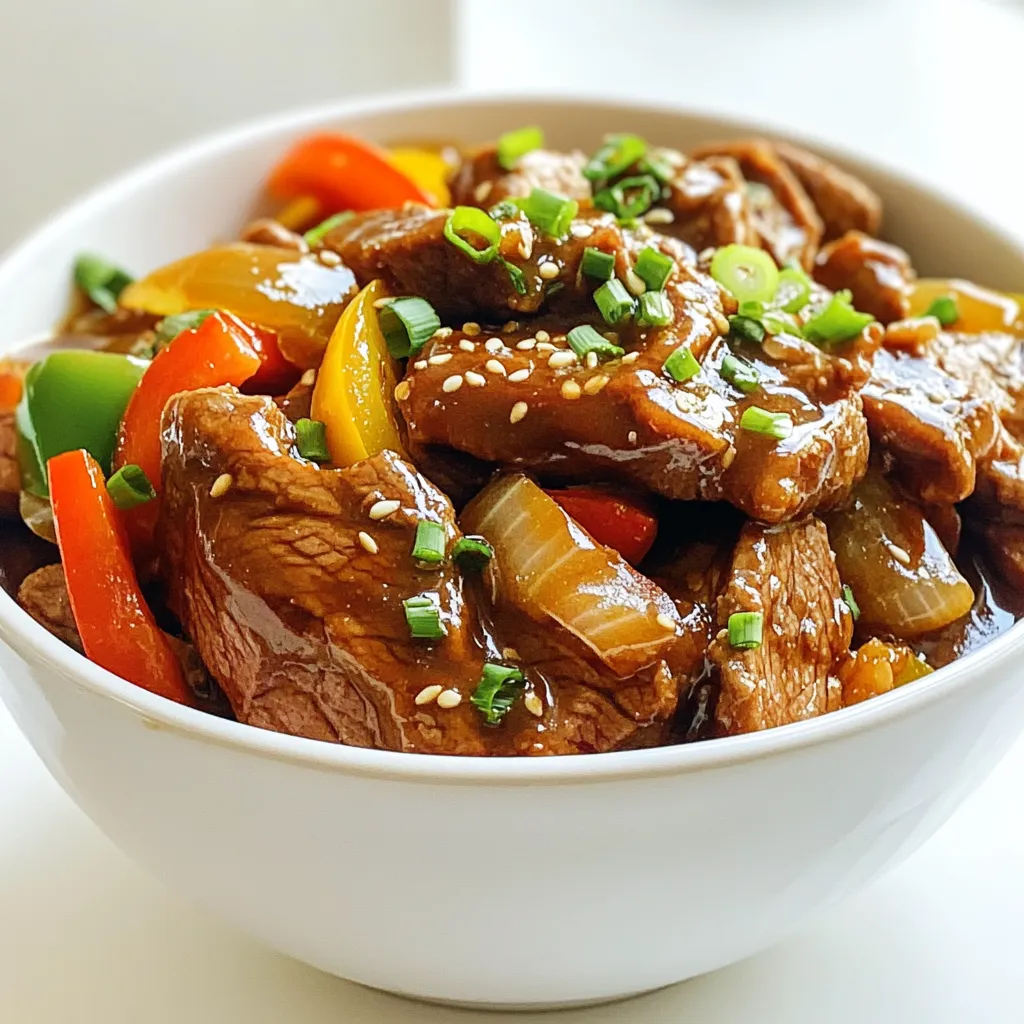
Are you craving a delicious meal that’s easy to make? Look no further than Mongolian Beef in a slow cooker.

Looking to warm up your dinner routine? This Creamy Tuscan White Bean Soup is not only comforting but also easy

Get ready for a meal that’s both easy and bursting with flavor! My Cajun Shrimp & Veggie Sheet Pan recipe
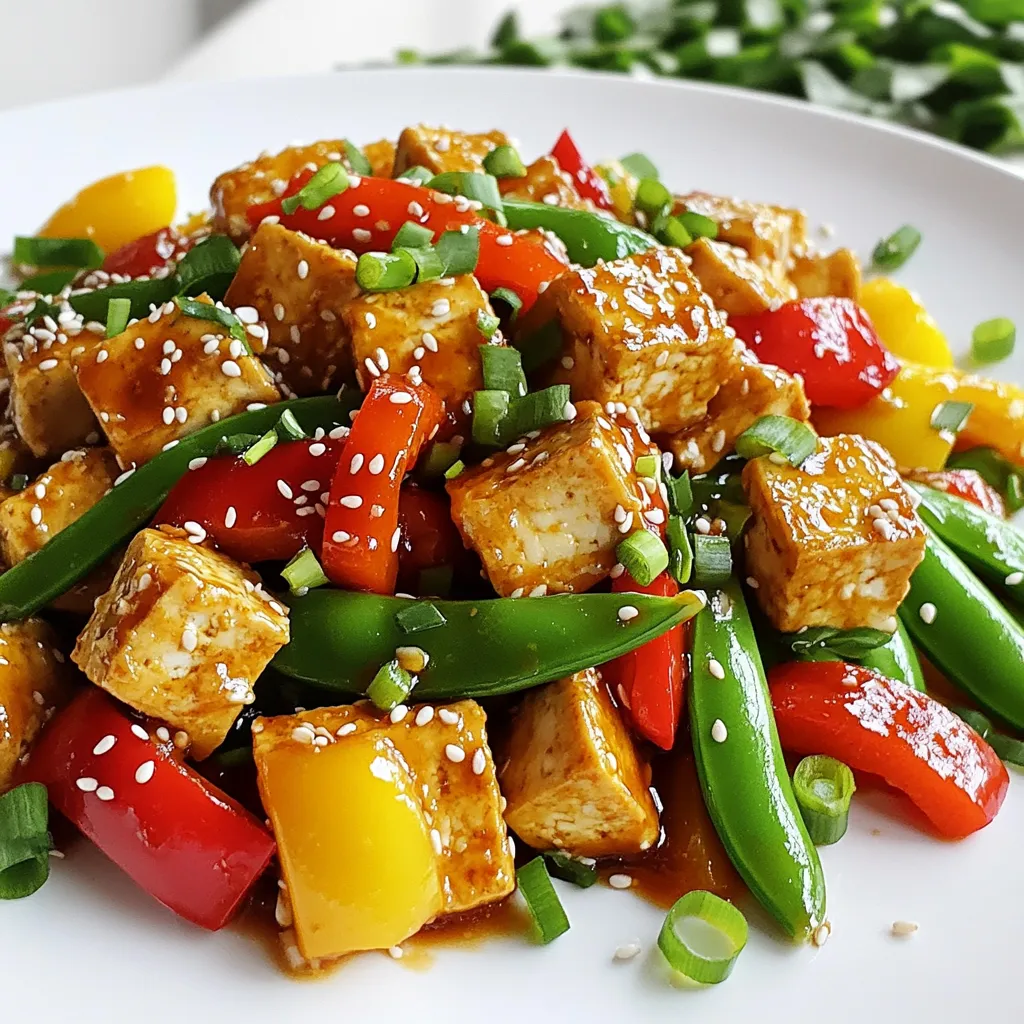
If you’re craving a quick, tasty meal, look no further than my Chili Garlic Tofu Stir Fry. This dish is

Get ready for a flavor boost with Slow Cooker Korean BBQ Beef Tacos! This dish mixes tender beef chuck roast
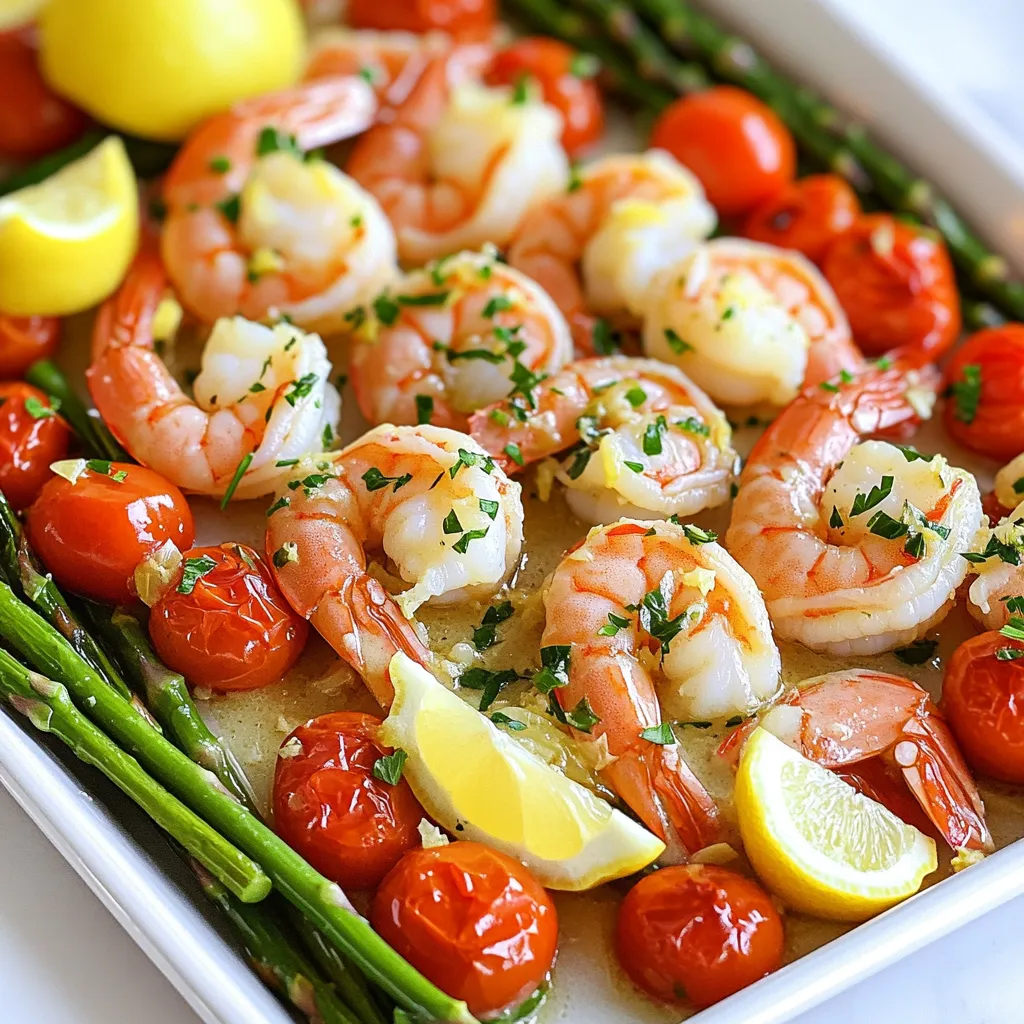
Looking for a quick and tasty dinner? Try my Sheet Pan Lemon Garlic Shrimp Scampi! This easy recipe combines fresh
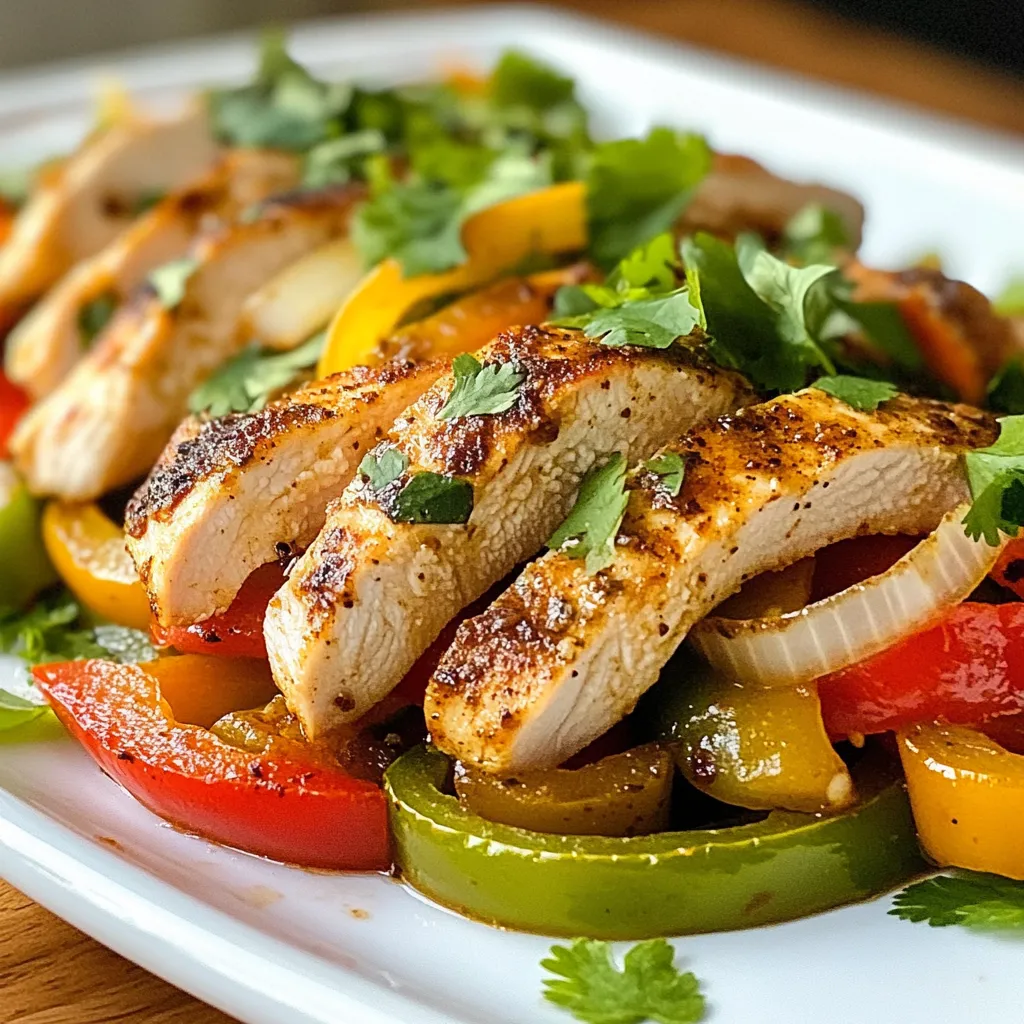
Are you ready to elevate your weeknight dinners with a dish that bursts with flavor? Baked Fajita Chicken is not

Looking for a bright, tasty dish that bursts with flavor? You’ll love this Roasted Sweet Potato Chickpea Salad! Packed with
