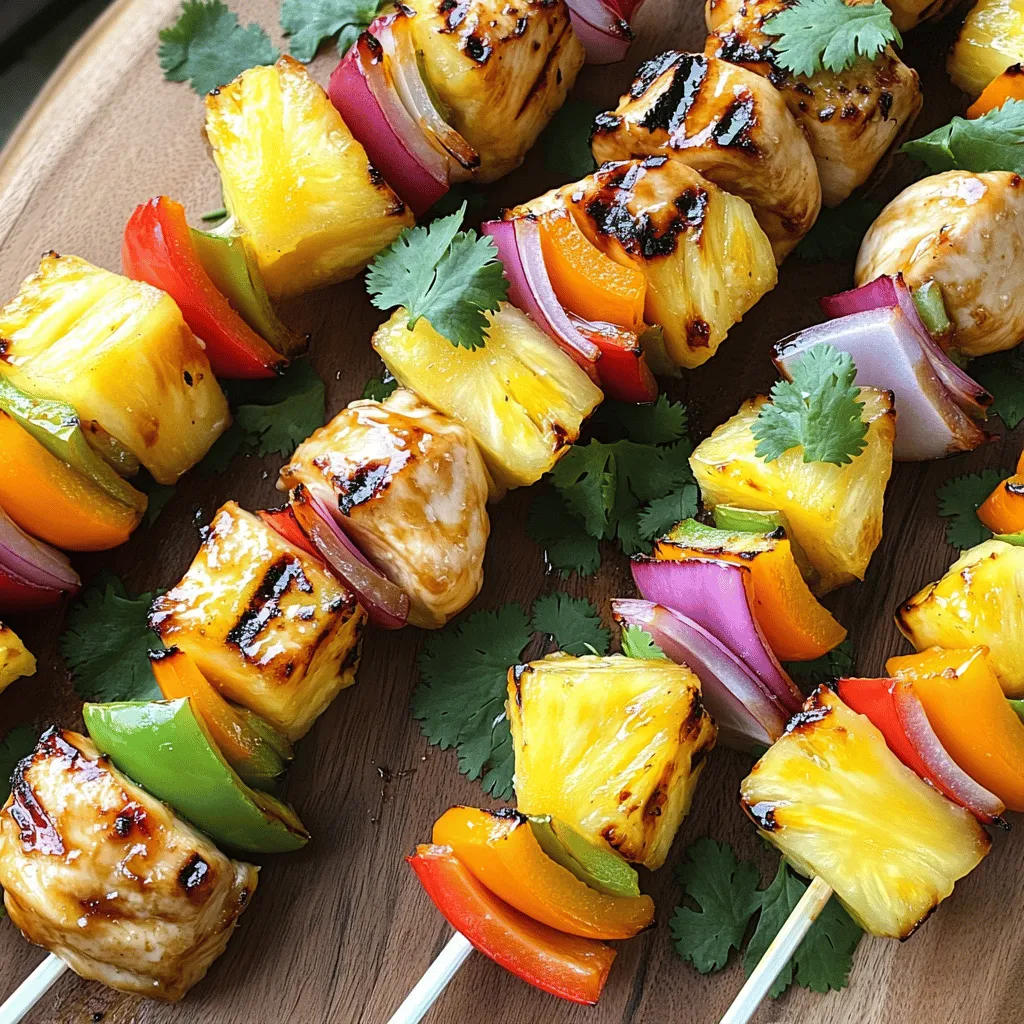
Pineapple Teriyaki Chicken Kabobs Easy and Flavorful Meal
Looking for a quick and tasty meal? Pineapple Teriyaki Chicken Kabobs are the perfect solution! These kabobs mix juicy chicken,
Looking for a quick and tasty meal? Pineapple Teriyaki Chicken Kabobs are the perfect solution! These kabobs mix juicy chicken,
. This blog post covered how to make a tasty, nutritious Cranberry Pecan Chicken Salad. You learned the ingredients, step-by-step instructions, and storage tips. We explored quick prep methods and fun variations too. Remember, you can mix and match ingredients to fit your taste. Enjoy trying different sides and flavors. This salad is great for any meal. Happy cooking!](https://lisadishes.com/wp-content/uploads/2025/08/10baeb1a-6d97-4057-84e3-40e4dd77653d.webp)
If you’re craving a light and tasty meal, try my Cranberry Pecan Chicken Salad! This dish combines tender chicken, sweet

Looking for a warm and comforting meal? This Creamy Roasted Red Pepper Pasta is the perfect dish for you! With
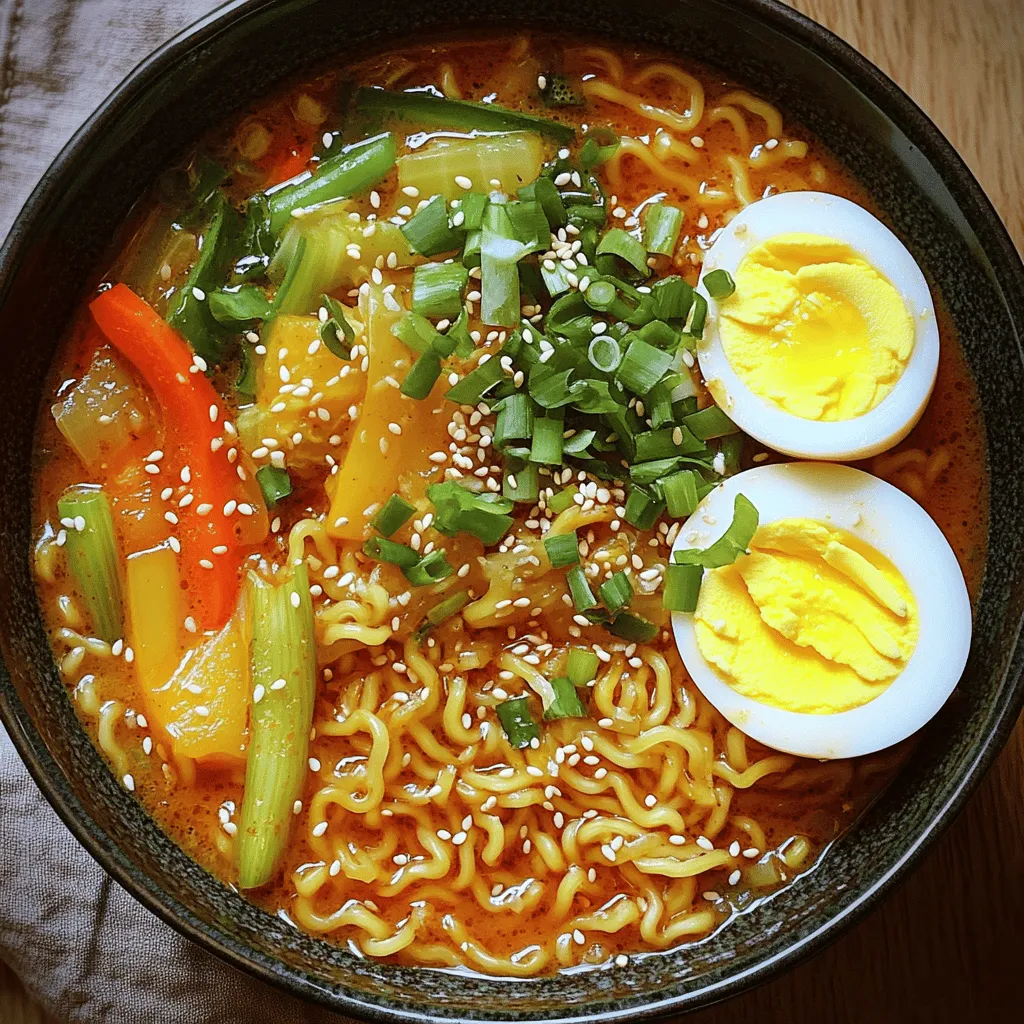
Are you craving a comforting meal that packs a punch? Look no further! My Spicy Garlic Ramen Noodles are loaded
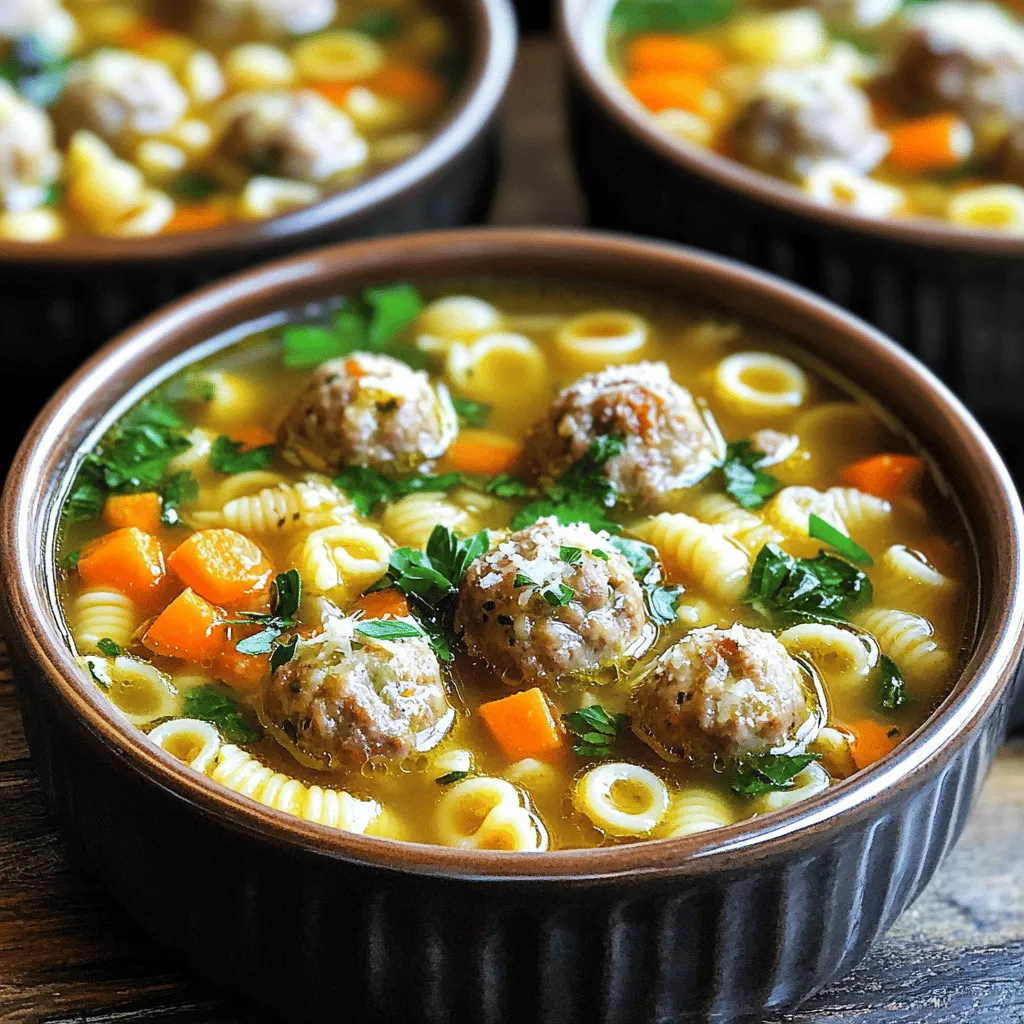
Are you ready to dive into a warm bowl of Italian Wedding Soup? This dish isn’t just delicious; it’s a
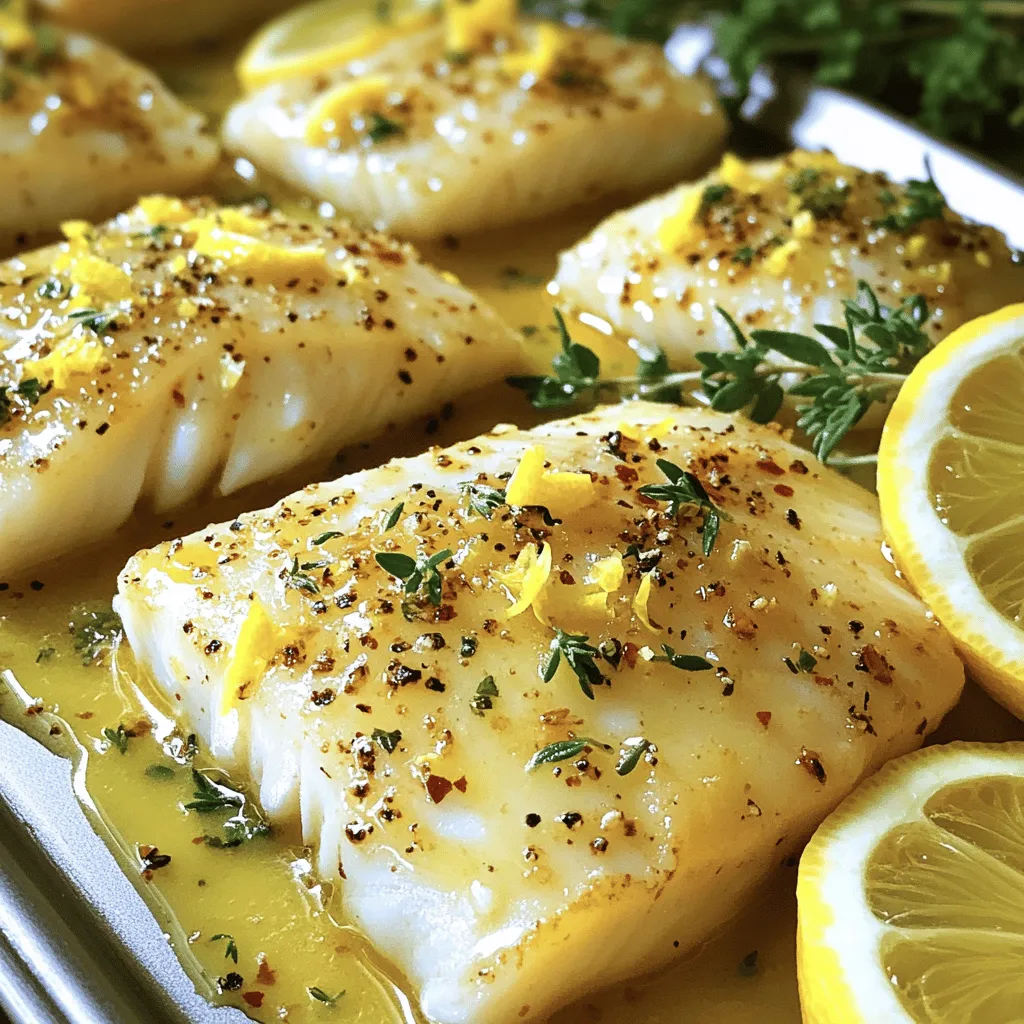
Looking for a quick and tasty dinner idea? You’ll love this Lemon Garlic Butter Cod recipe! It’s easy to make
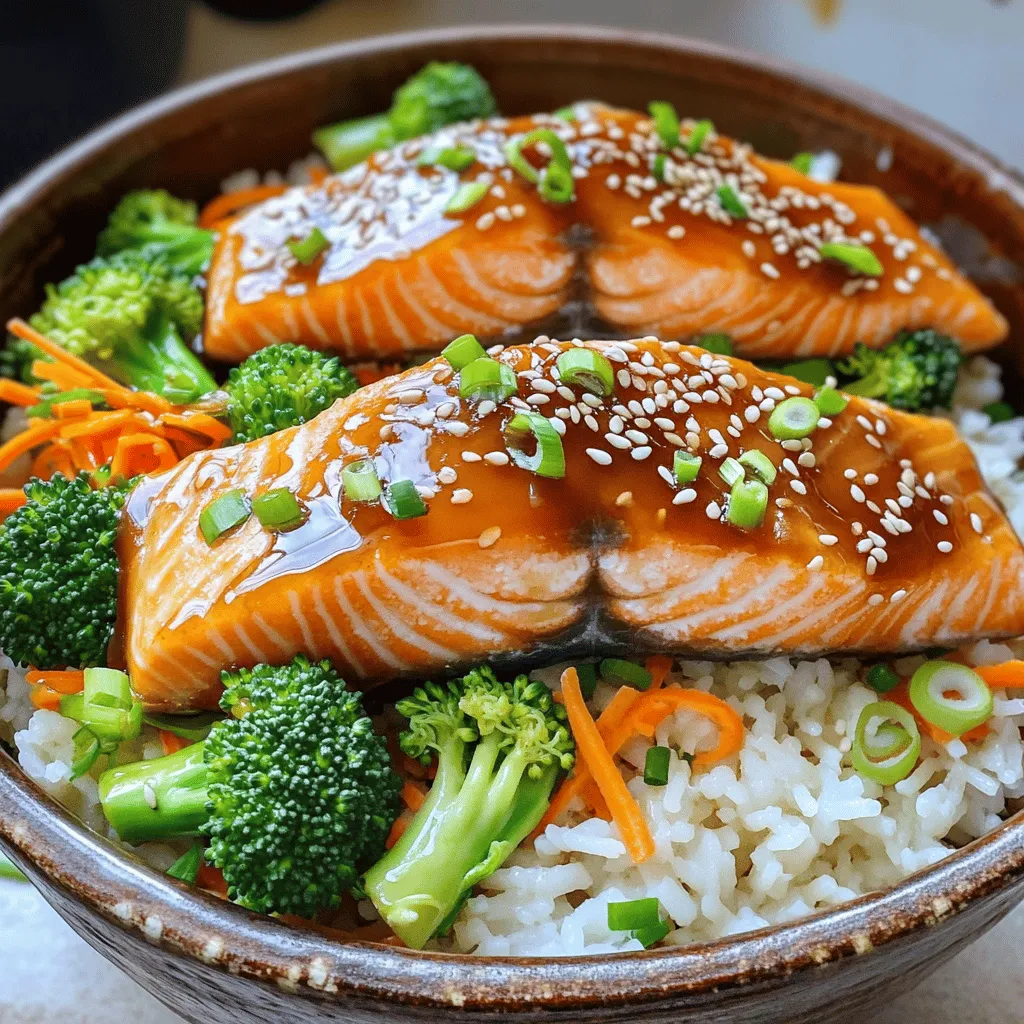
If you’re looking for a tasty and healthy meal, the Baked Teriyaki Salmon Bowl is perfect for you. This dish
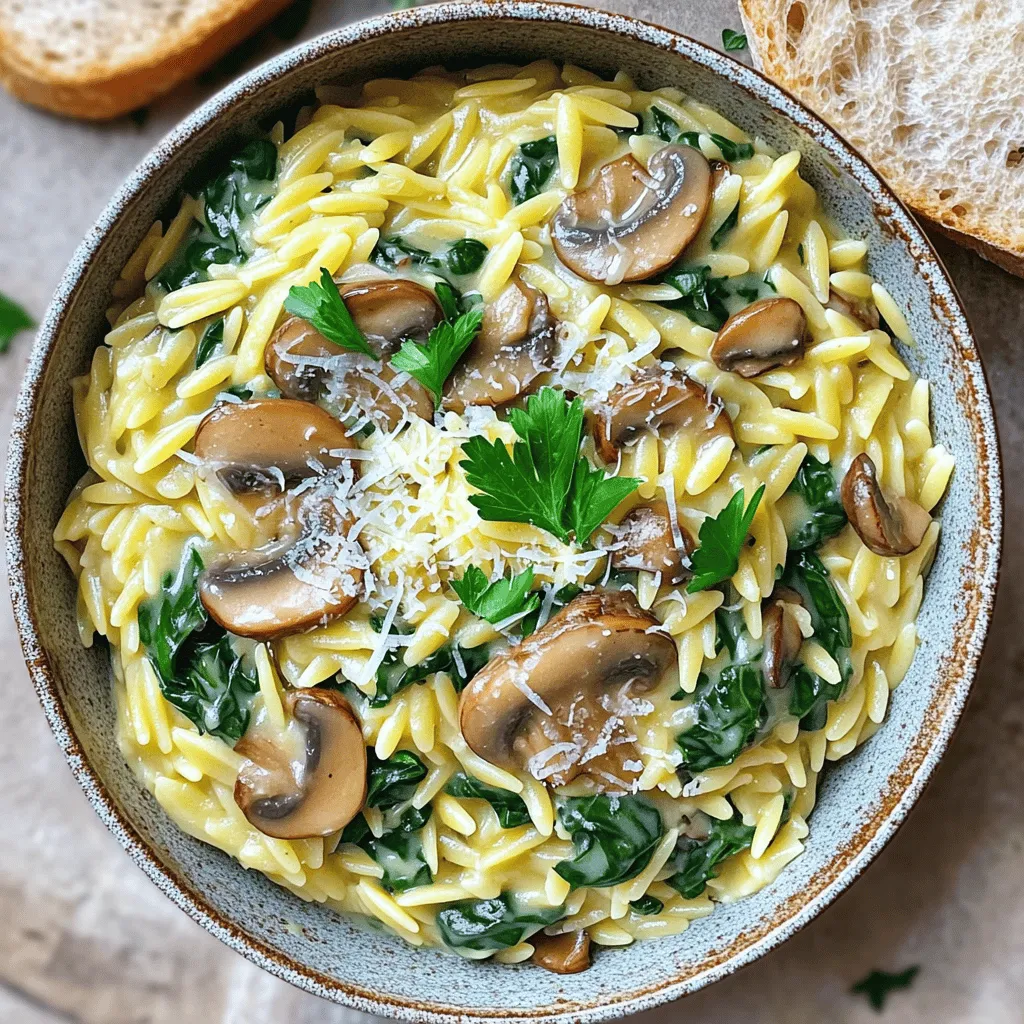
If you’re looking for a quick and tasty meal, creamy mushroom spinach orzo is it! This dish combines tender orzo
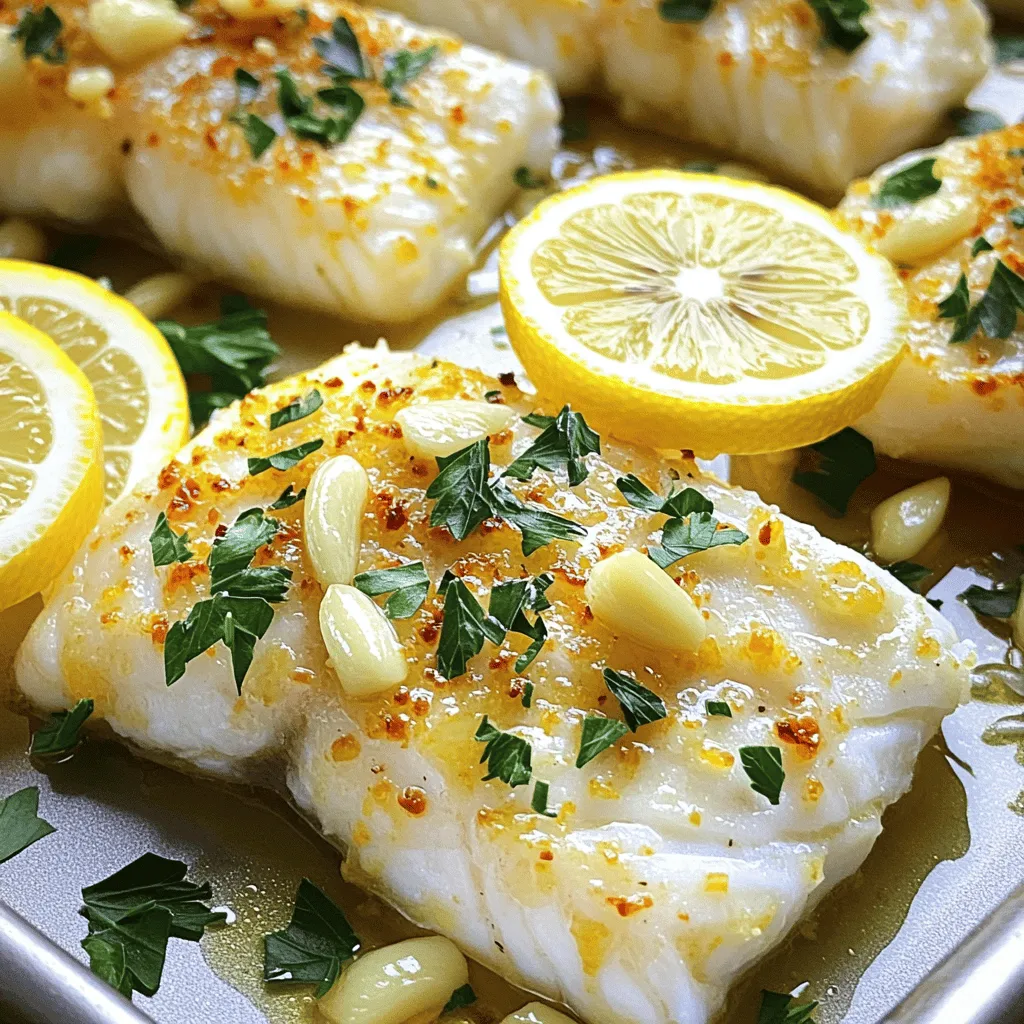
If you crave a quick, tasty meal that impresses, you’re in the right place! My Lemon Garlic Butter Cod recipe
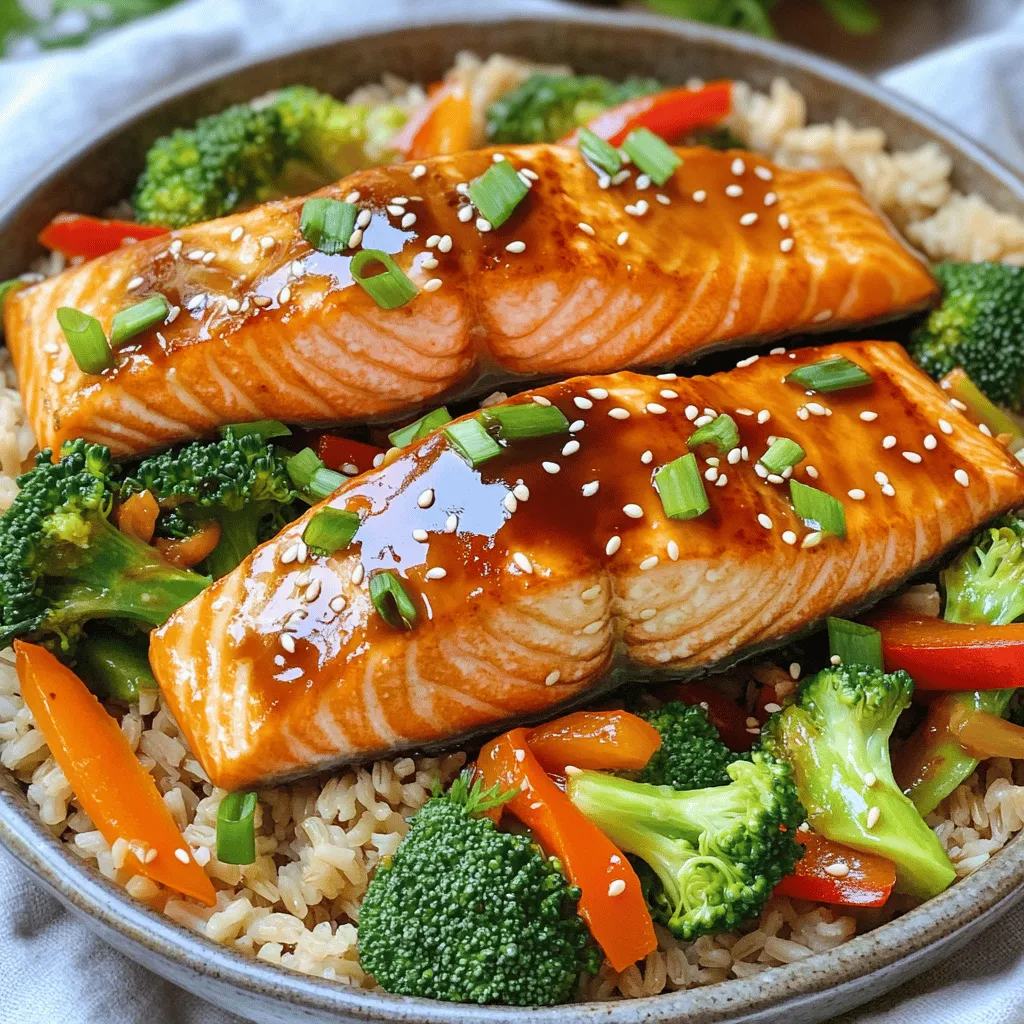
Looking for a healthy meal that’s easy to make? The Baked Teriyaki Salmon Bowl is your answer. Packed with flavor
