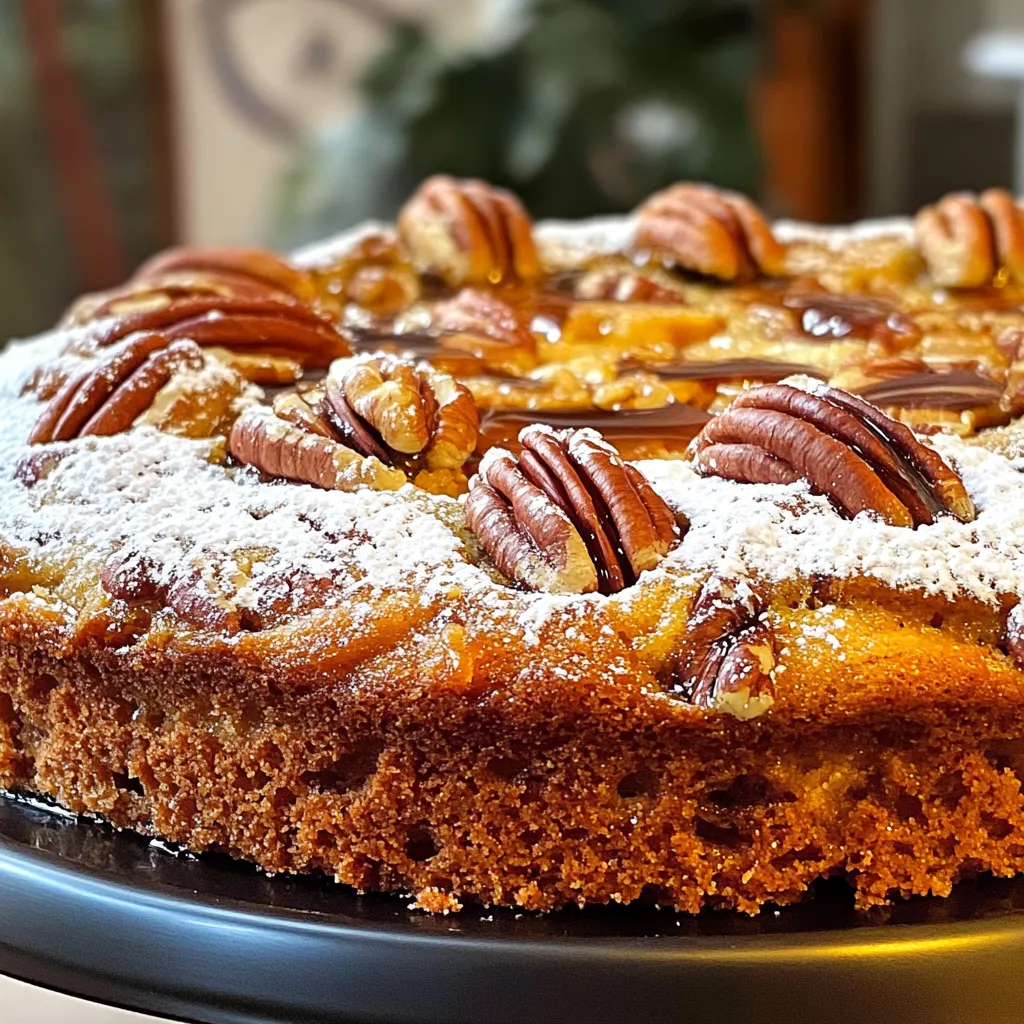
Maple Pecan Coffee Cake Rich and Simple Recipe
If you crave a cozy, delicious dessert to enjoy with your coffee, look no further! This Maple Pecan Coffee Cake
If you crave a cozy, delicious dessert to enjoy with your coffee, look no further! This Maple Pecan Coffee Cake
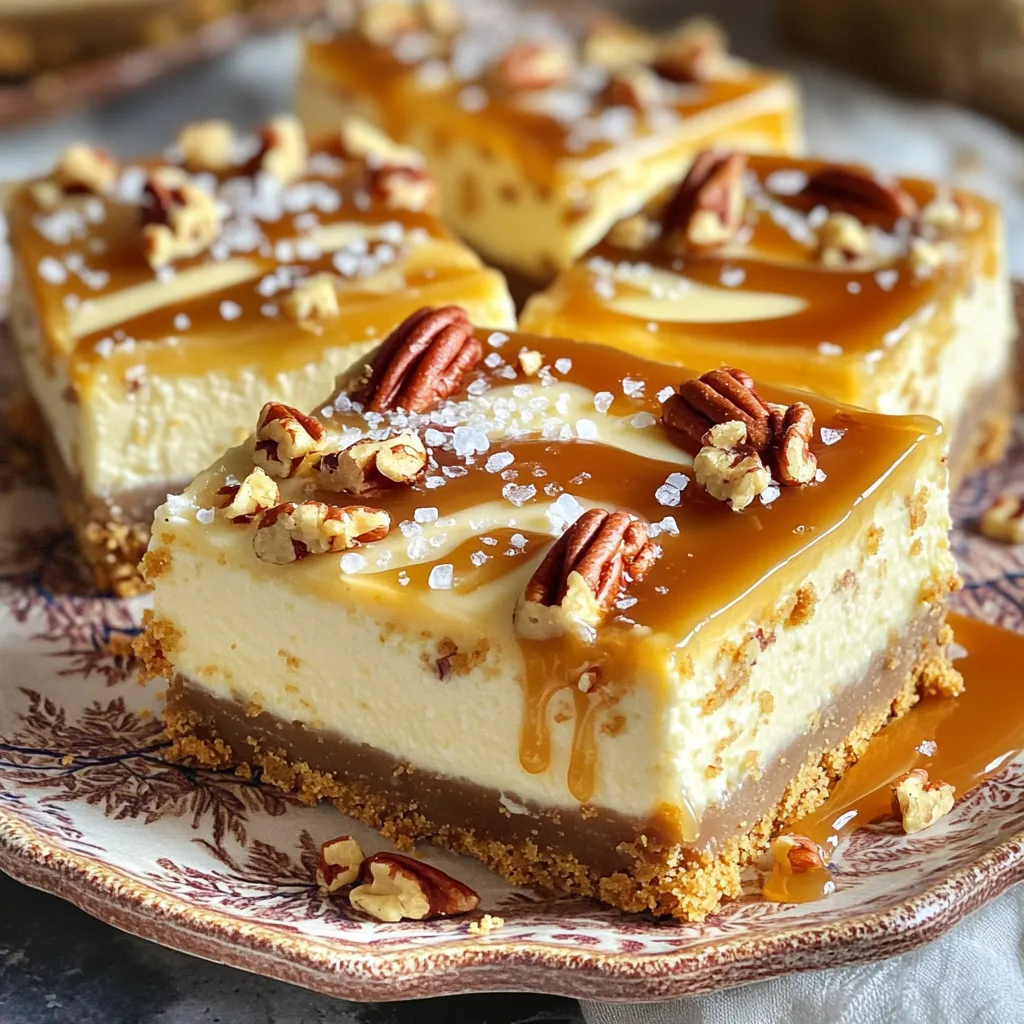
If you love sweet treats, you’ve got to try my Caramel Pecan Cheesecake Bars. These bars combine creamy cheesecake, crunchy
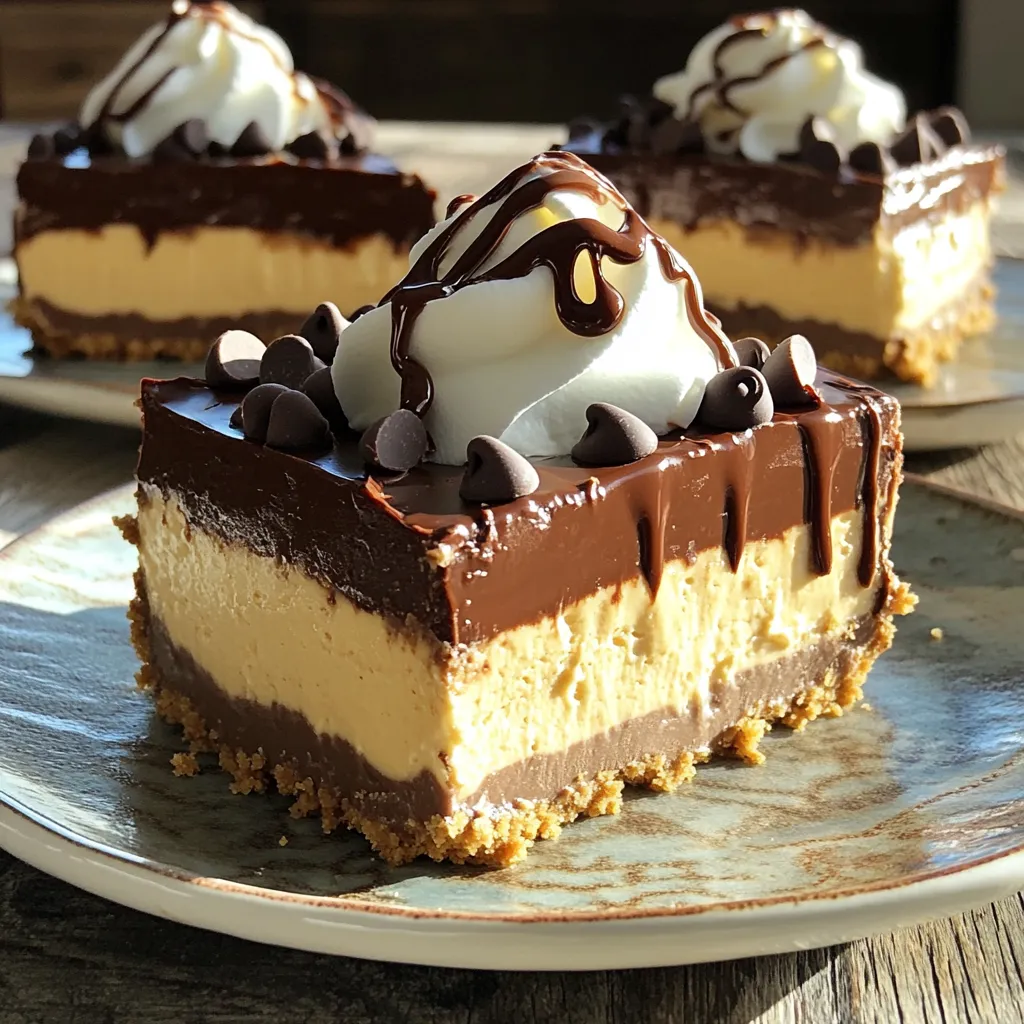
Are you ready for a dessert that combines rich chocolate and creamy peanut butter? This No Bake Chocolate Peanut Butter

If you’re craving a sweet treat that’s both simple and delicious, you’ve landed in the right spot! Mini Caramel Apple
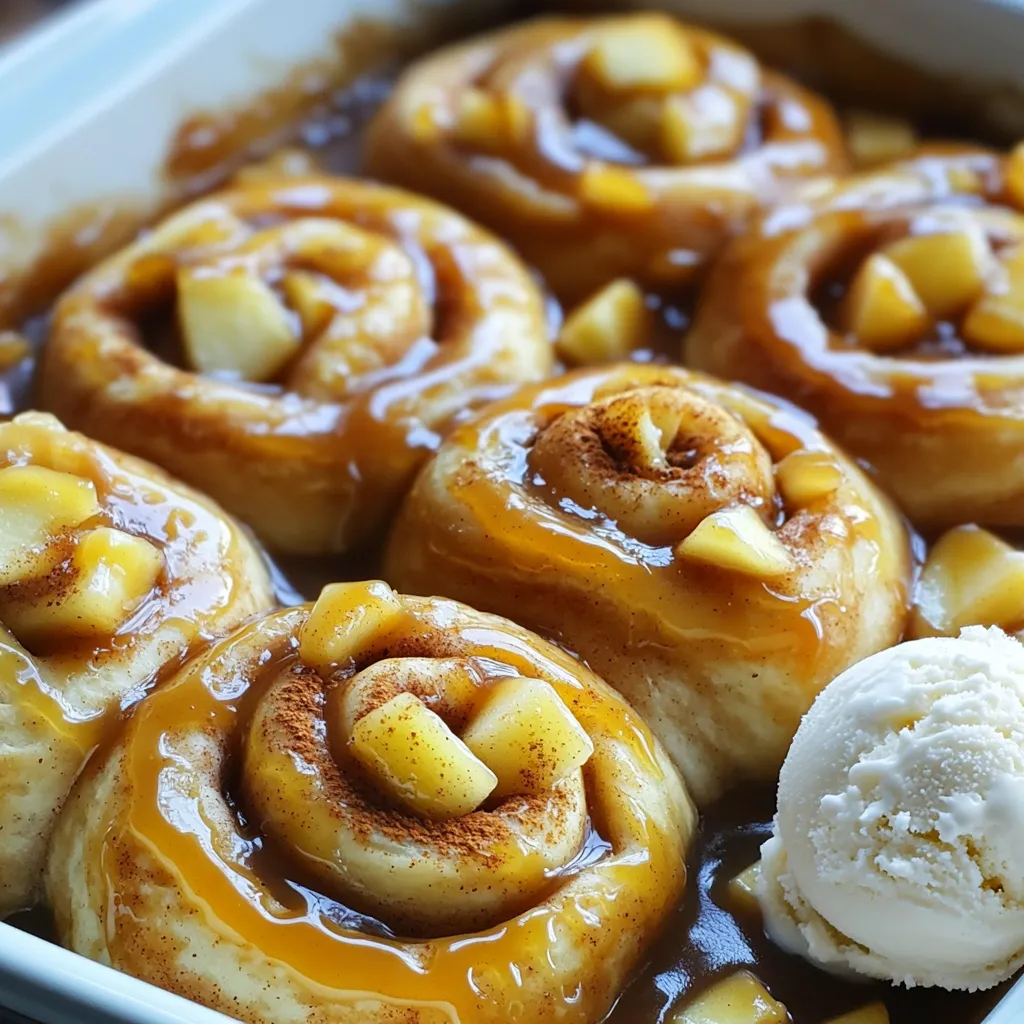
Get ready to treat yourself to the ultimate comfort food: caramel apple cinnamon rolls! Picture soft, warm dough filled with
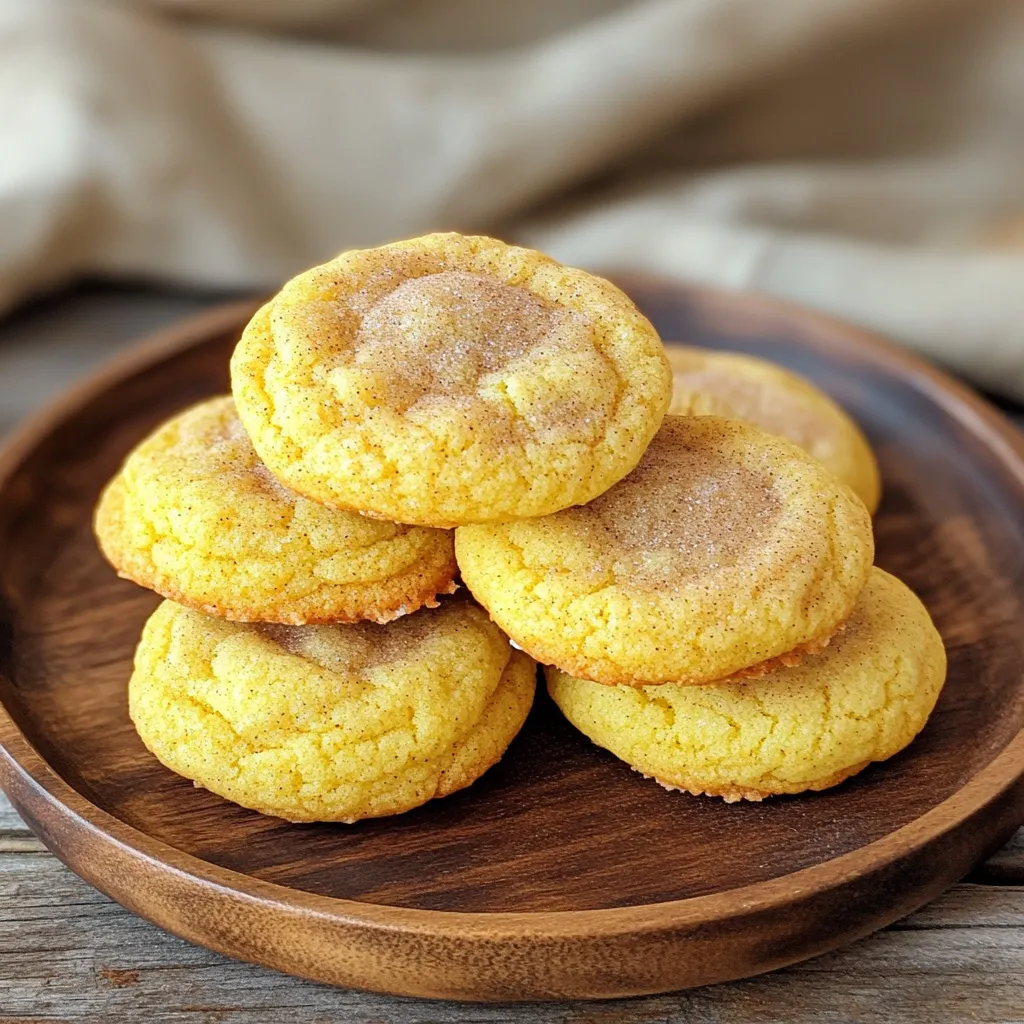
Fall is here, and it’s time to indulge in delicious treats! If you love pumpkin spice and cookies, this recipe
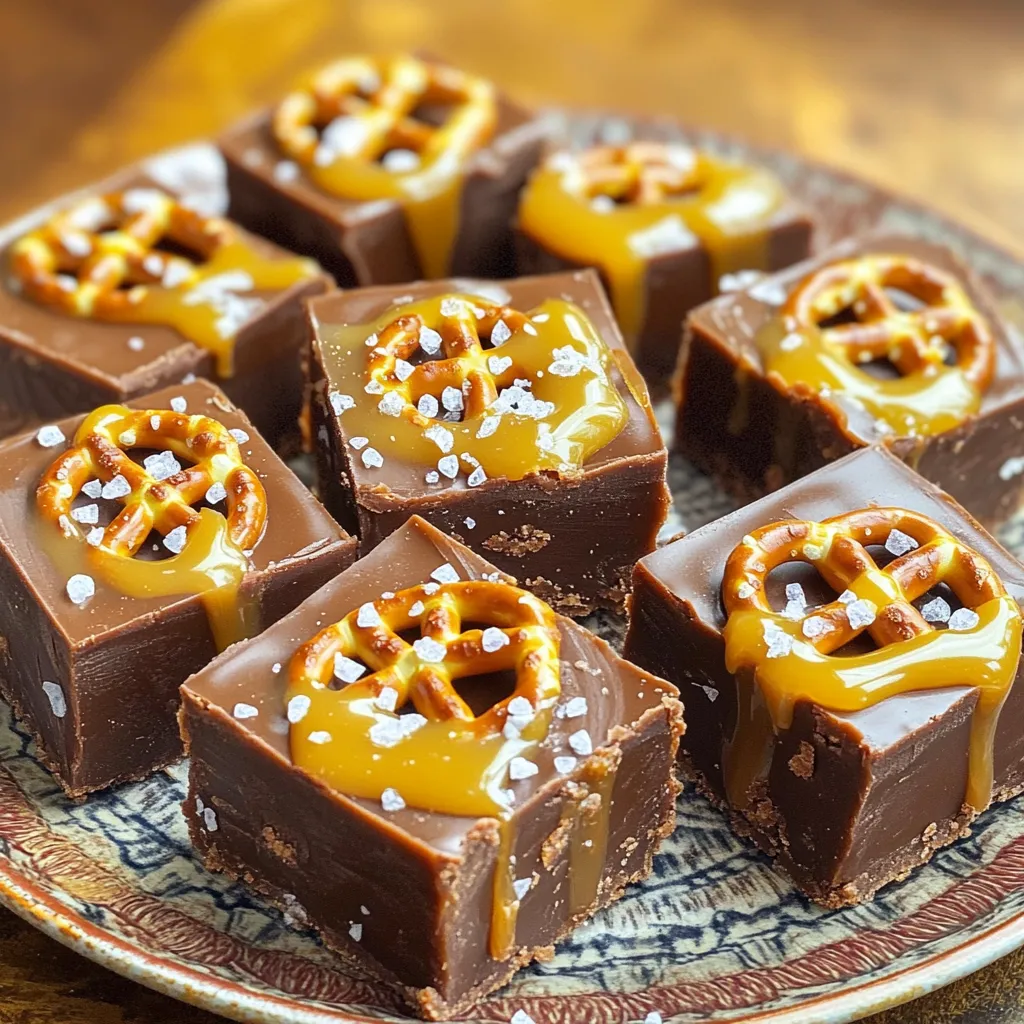
Get ready to indulge in a sweet treat that requires zero baking! My No-Bake Salted Caramel Pretzel Fudge combines the
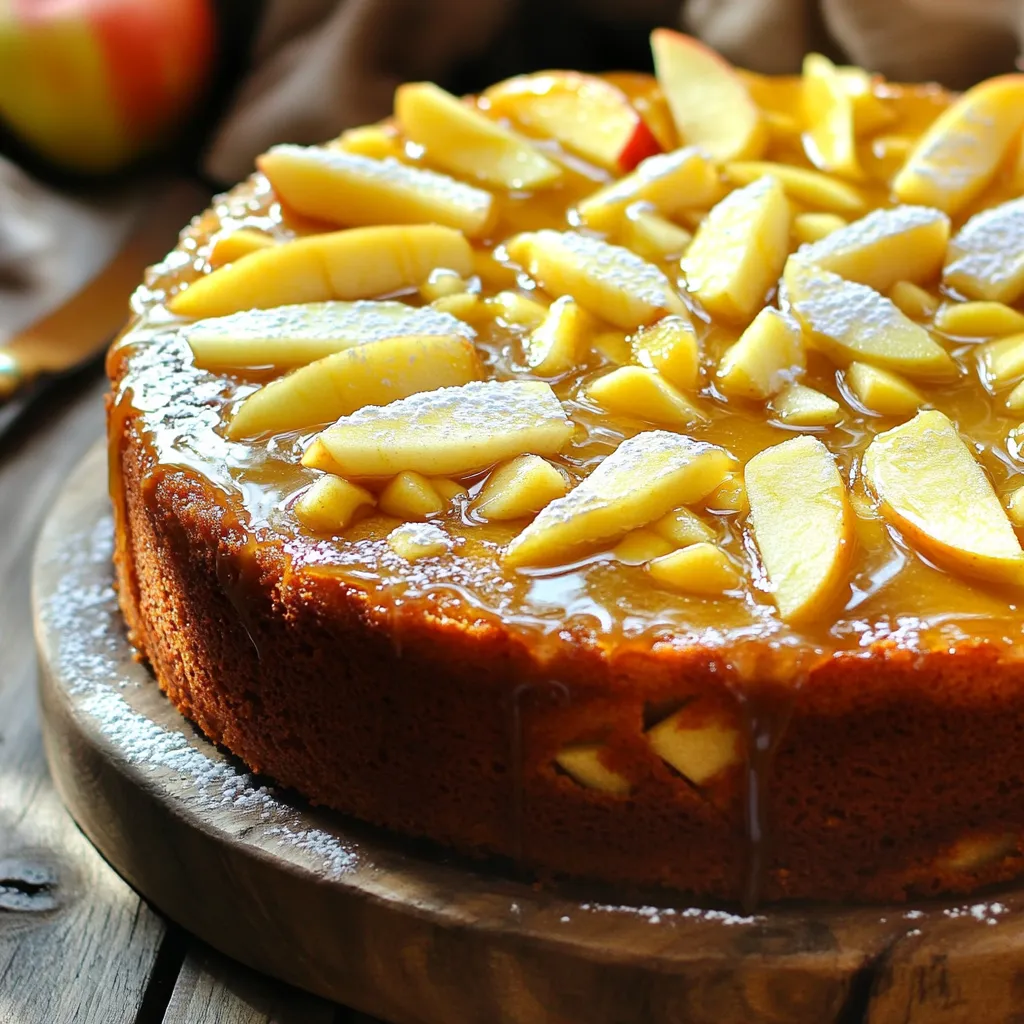
Welcome to my kitchen! Today, I’m sharing a recipe for Apple Cider Cake topped with a sweet maple glaze. This
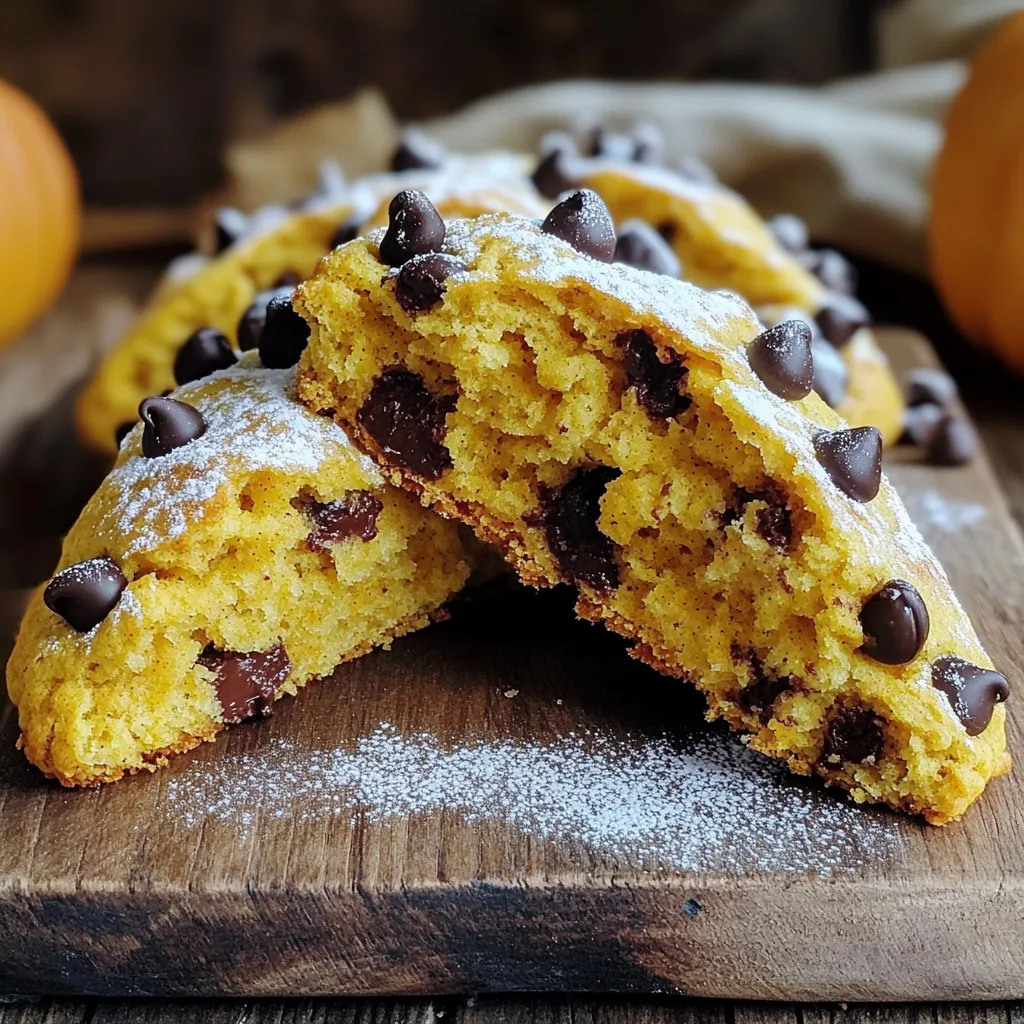
If you’re craving a warm, fall treat, my Bakery-Style Pumpkin Chocolate Chip Scones will hit the spot. These scones are
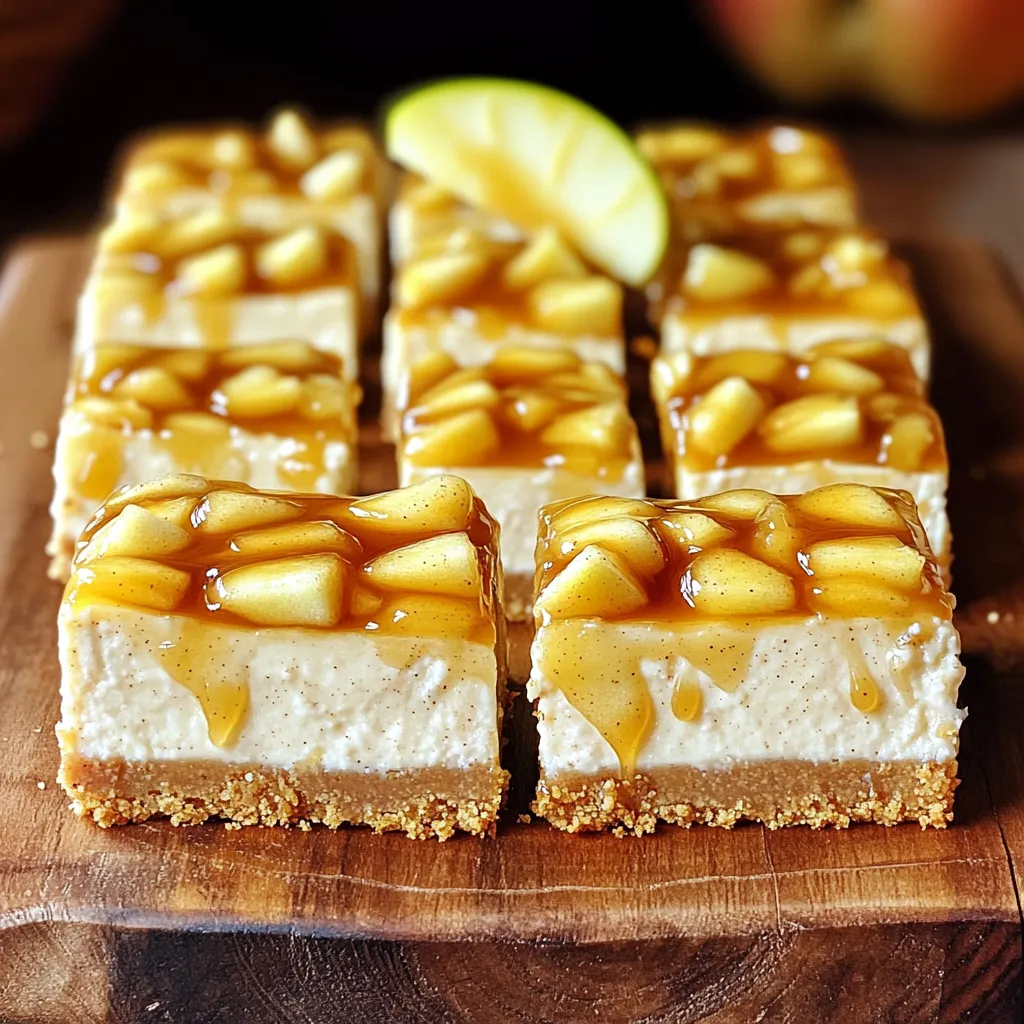
Get ready to treat your taste buds to pure bliss! Caramel Apple Cheesecake Bars combine creamy cheesecake, tart apples, and
