
Apple Cinnamon Bread Bakery Style Delightfully Easy Recipe
If you love the warm, sweet smell of bakery-fresh bread, you’re in for a treat! Today, I’ll share my easy
If you love the warm, sweet smell of bakery-fresh bread, you’re in for a treat! Today, I’ll share my easy
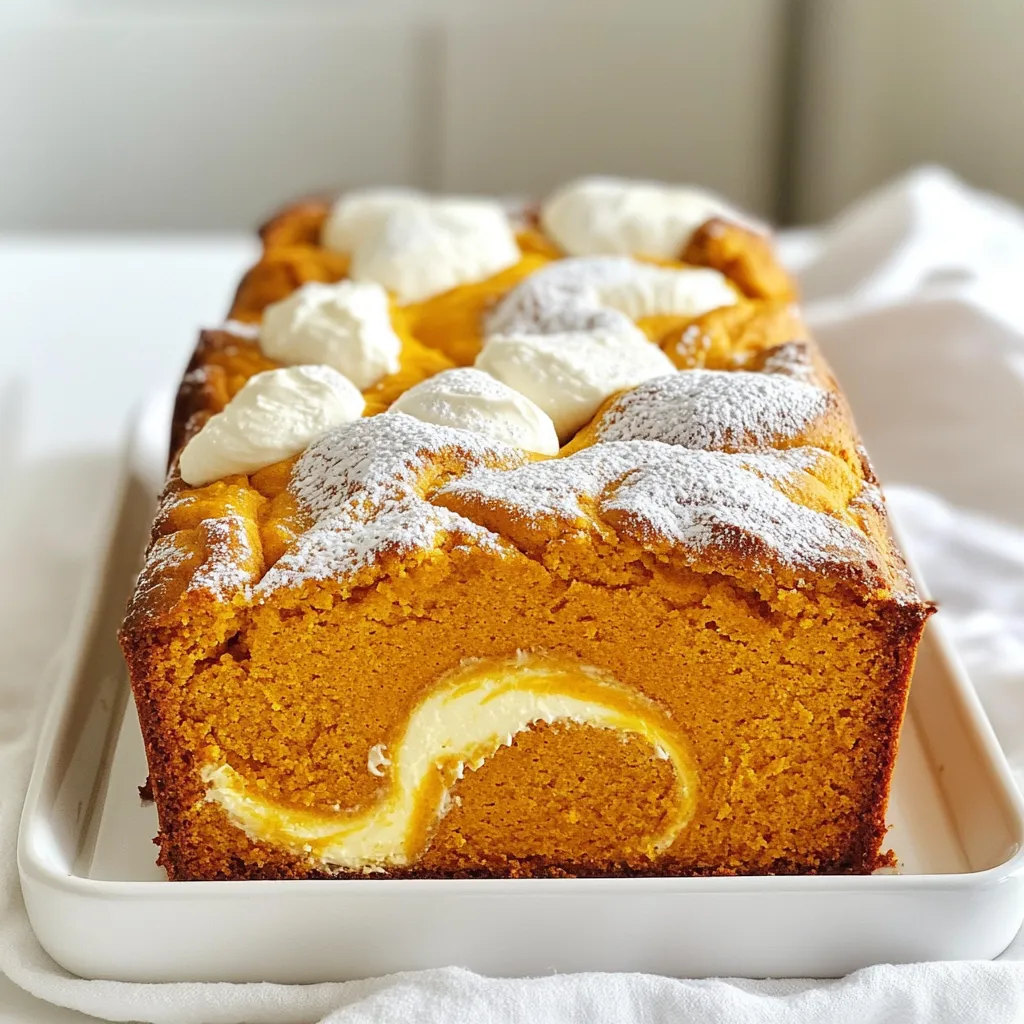
Welcome to my kitchen! Today, I’m sharing a delicious Pumpkin Cream Cheese Swirl Loaf recipe that you simply can’t resist.
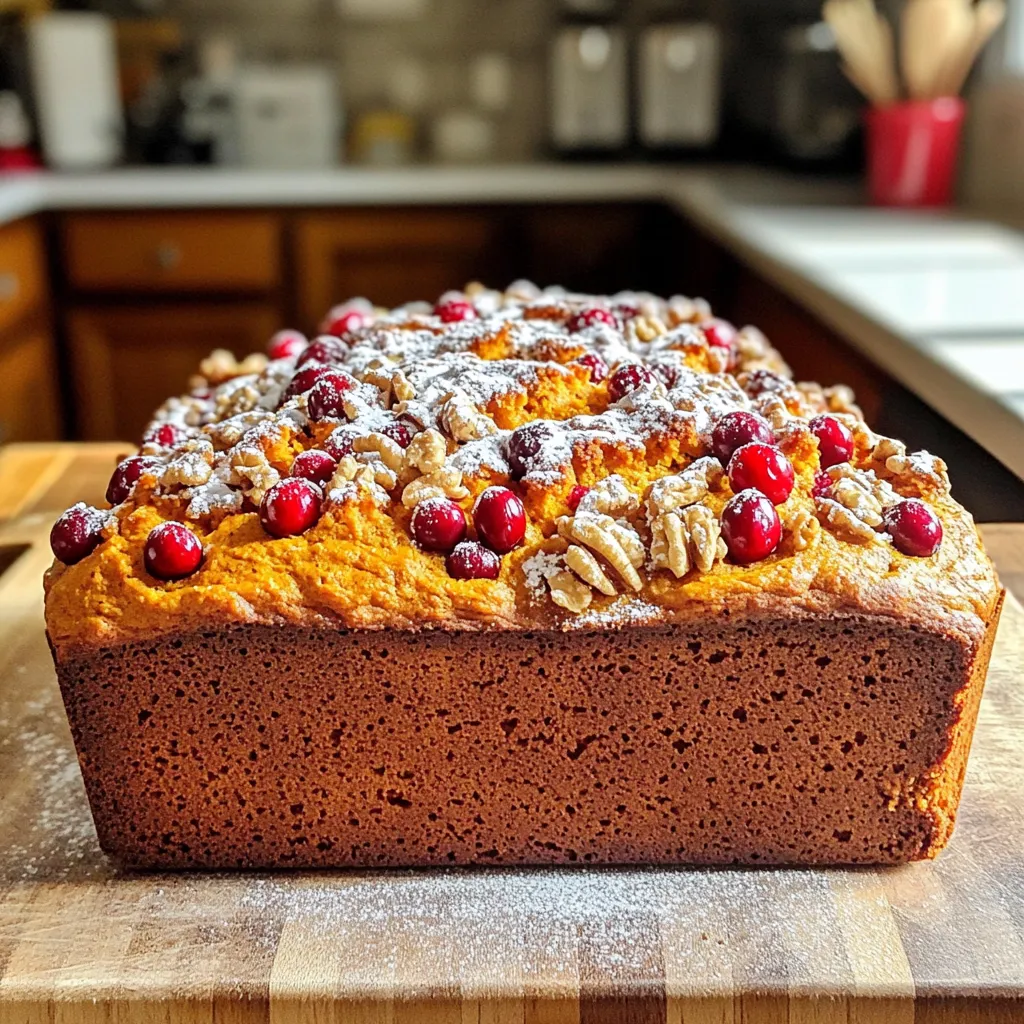
Fall is here, and there’s no better way to celebrate than with Pumpkin Cranberry Bread! This delightful recipe blends warm
Fall is here, and it’s time to indulge in the cozy flavors of the season. If you’re craving something sweet,
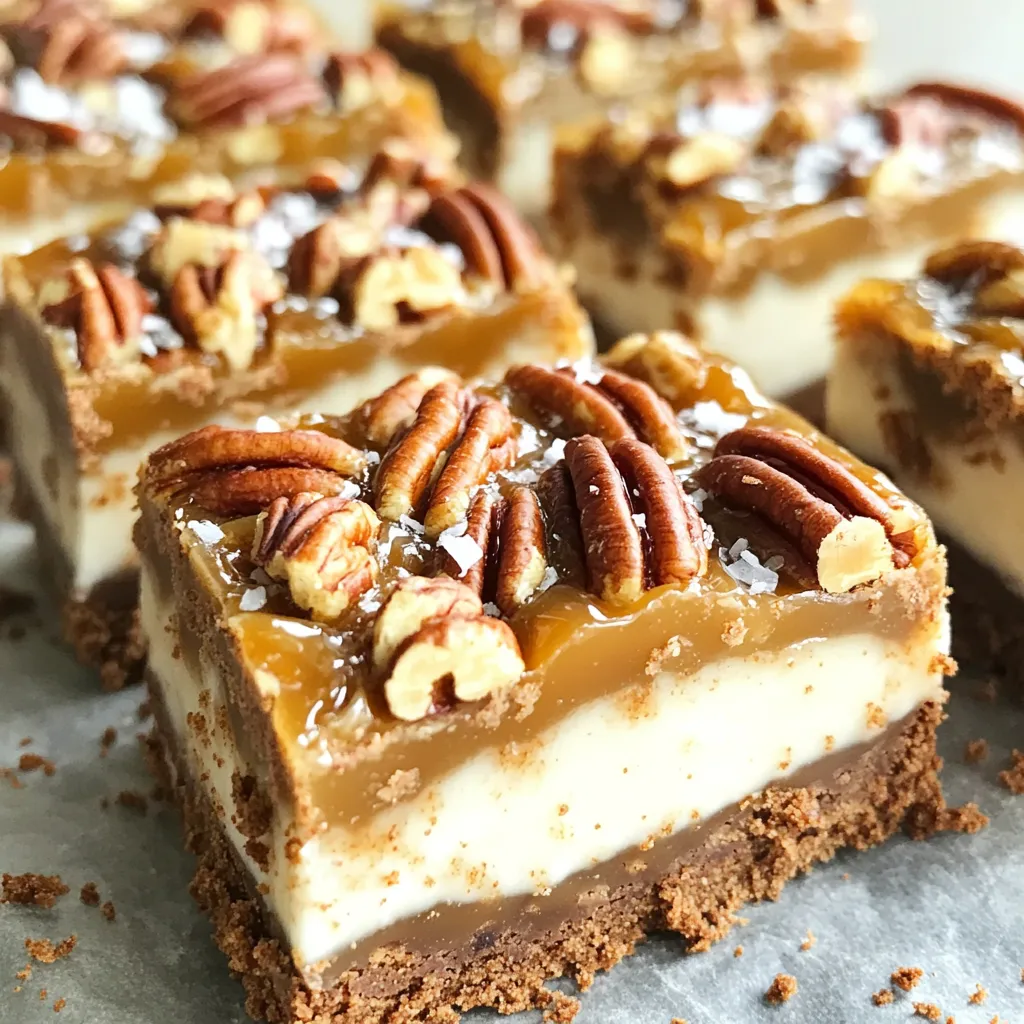
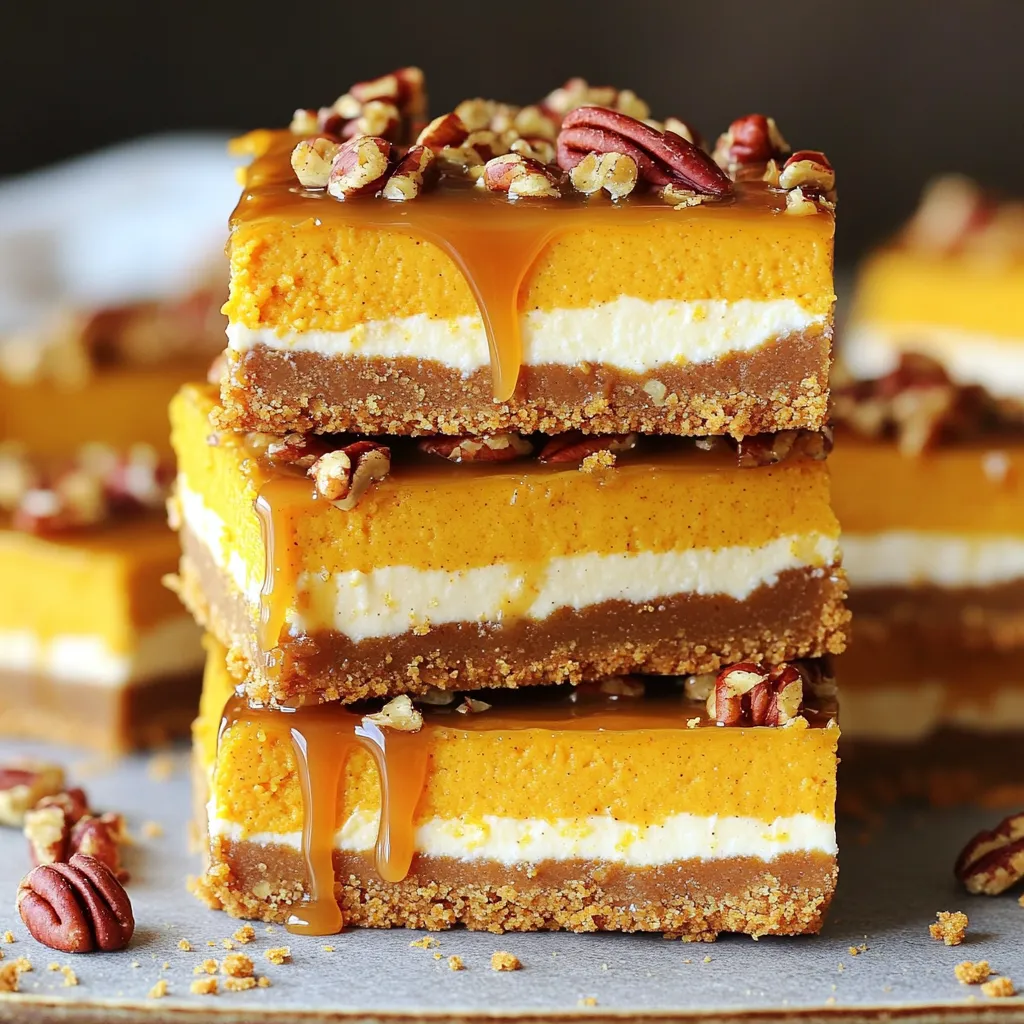
Craving a sweet treat that’s easy to make? You’ll love these No-Bake Salted Caramel Pecan Pie Bars! They combine rich
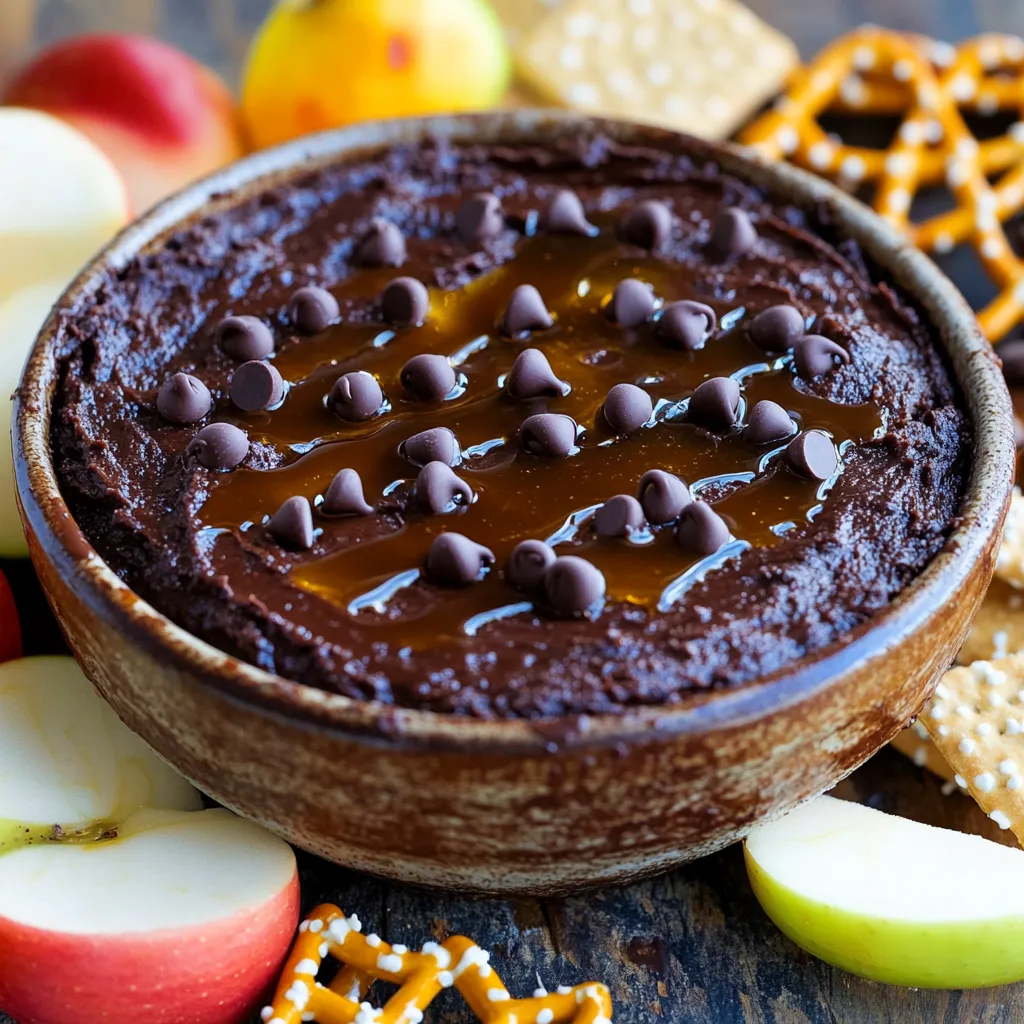
Looking for a fun and healthy snack? You’ll love this Cottage Cheese Brownie Batter Dip! It’s easy to make and
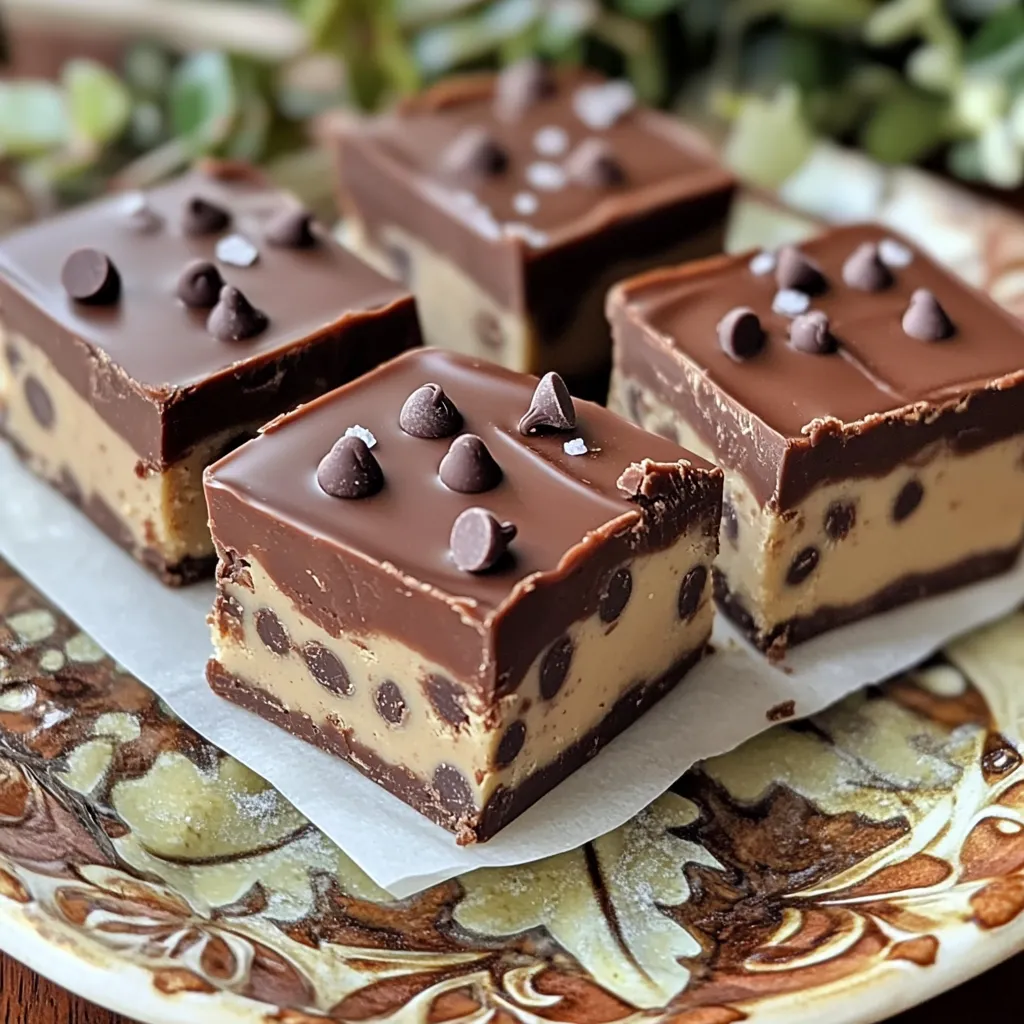
Indulging in Chocolate Chip Cookie Dough Fudge is a sweet escape you deserve. This amazing treat combines rich fudge with

Start your day with a burst of flavor! My Lemon Poppyseed Overnight Oats are easy to make and loaded with
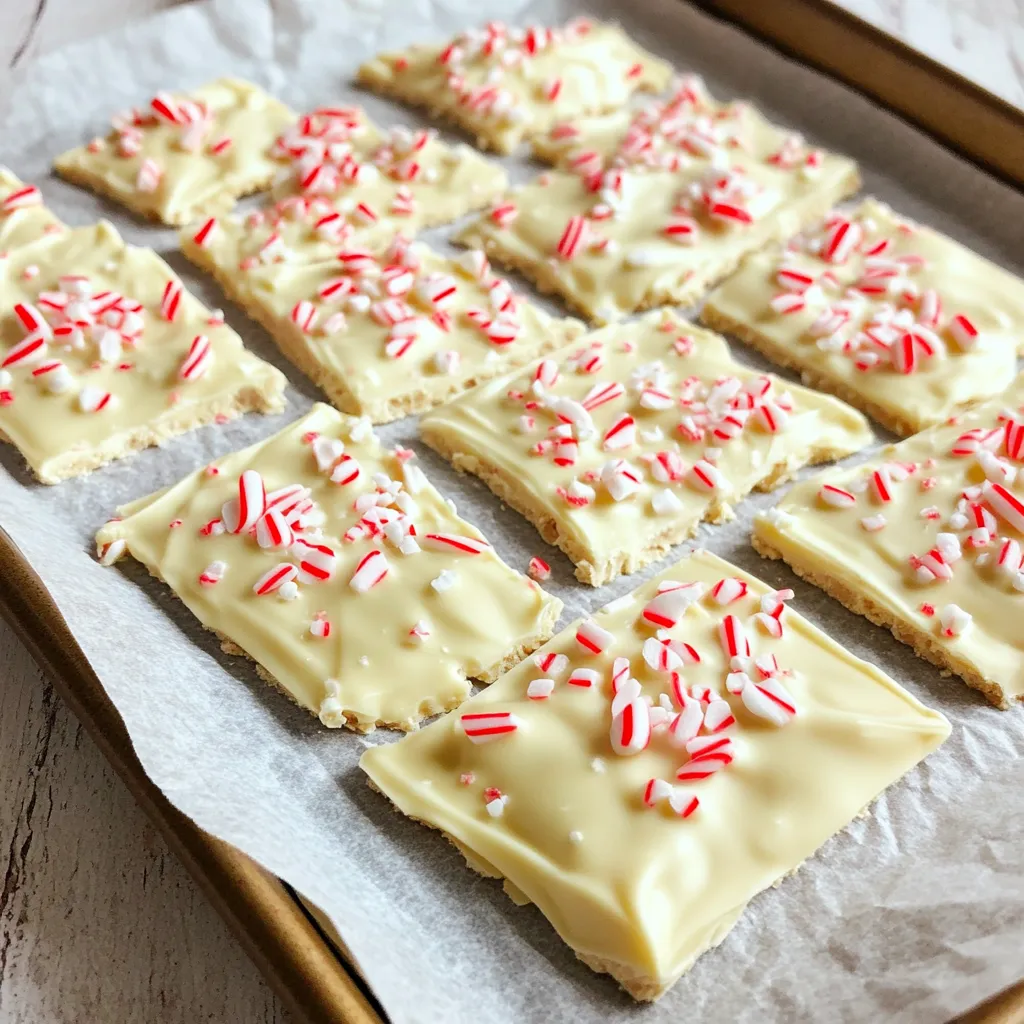
Let’s create a festive treat that screams holiday cheer! White Chocolate Peppermint Bark is a sweet delight that combines creamy

If you love chocolate and want a simple treat, I have the perfect recipe for you! These no-bake chocolate hazelnut
