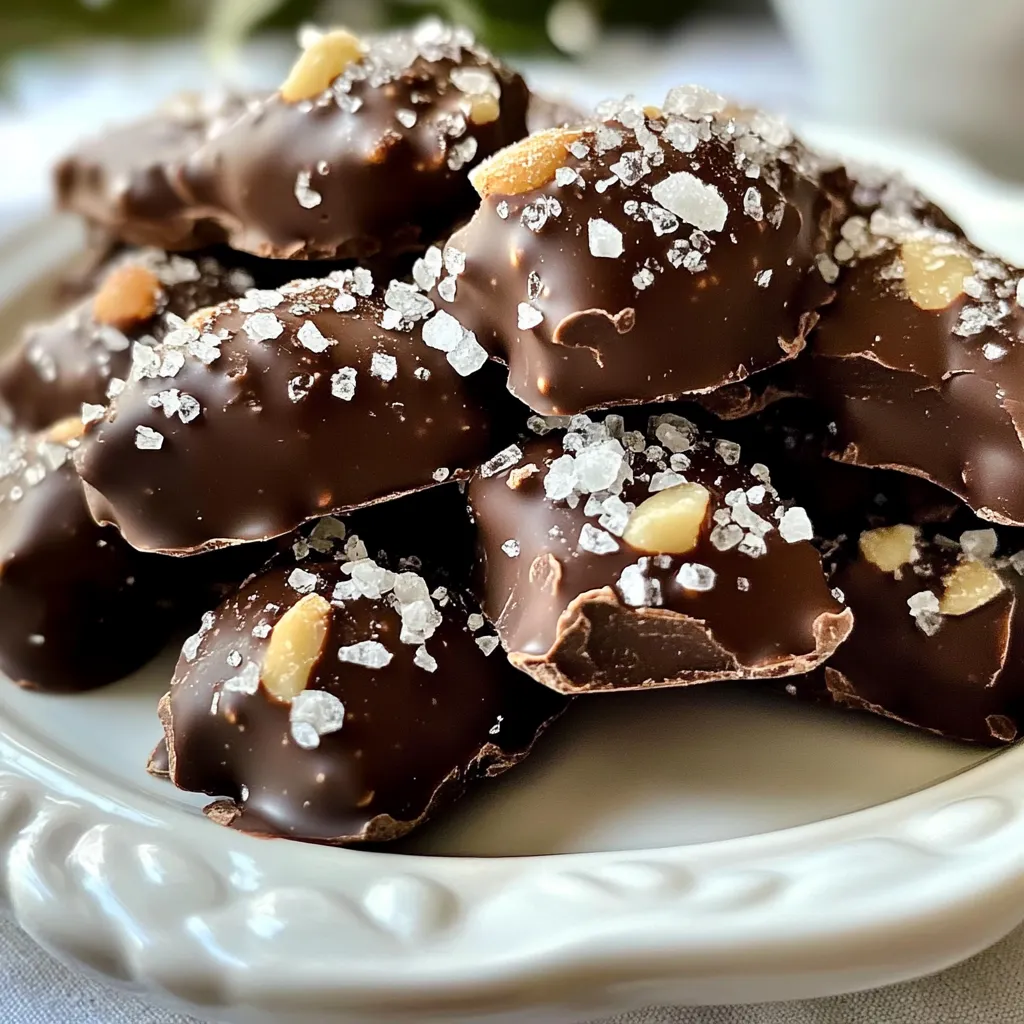
Dark Chocolate Sea Salt Almond Clusters Irresistible Treat
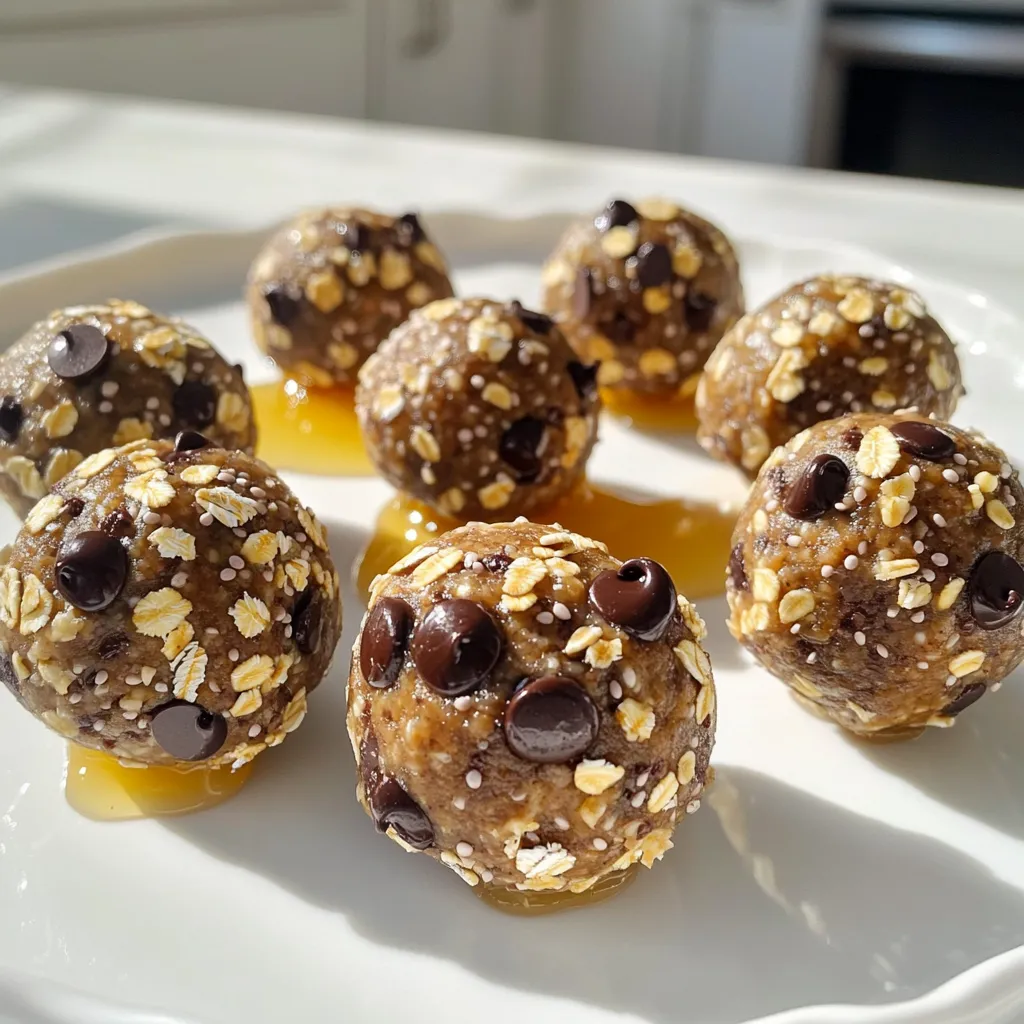
Craving a snack that’s both sweet and salty? Let me introduce you to the delightful Dark Chocolate Sea Salt Almond
Craving a snack that’s both sweet and salty? Let me introduce you to the delightful Dark Chocolate Sea Salt Almond
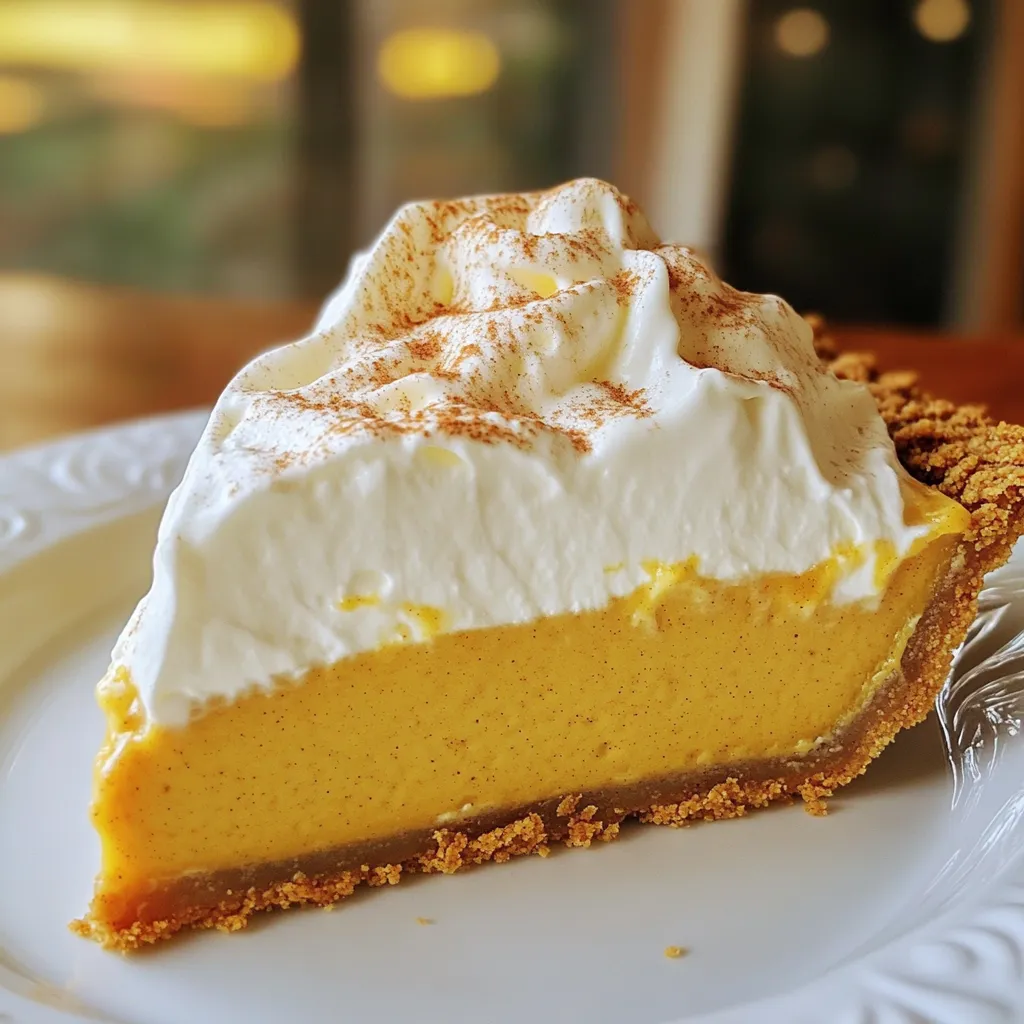
Craving a sweet treat this fall? You’re in for a real delight with my Pumpkin Cream Pie recipe! This easy
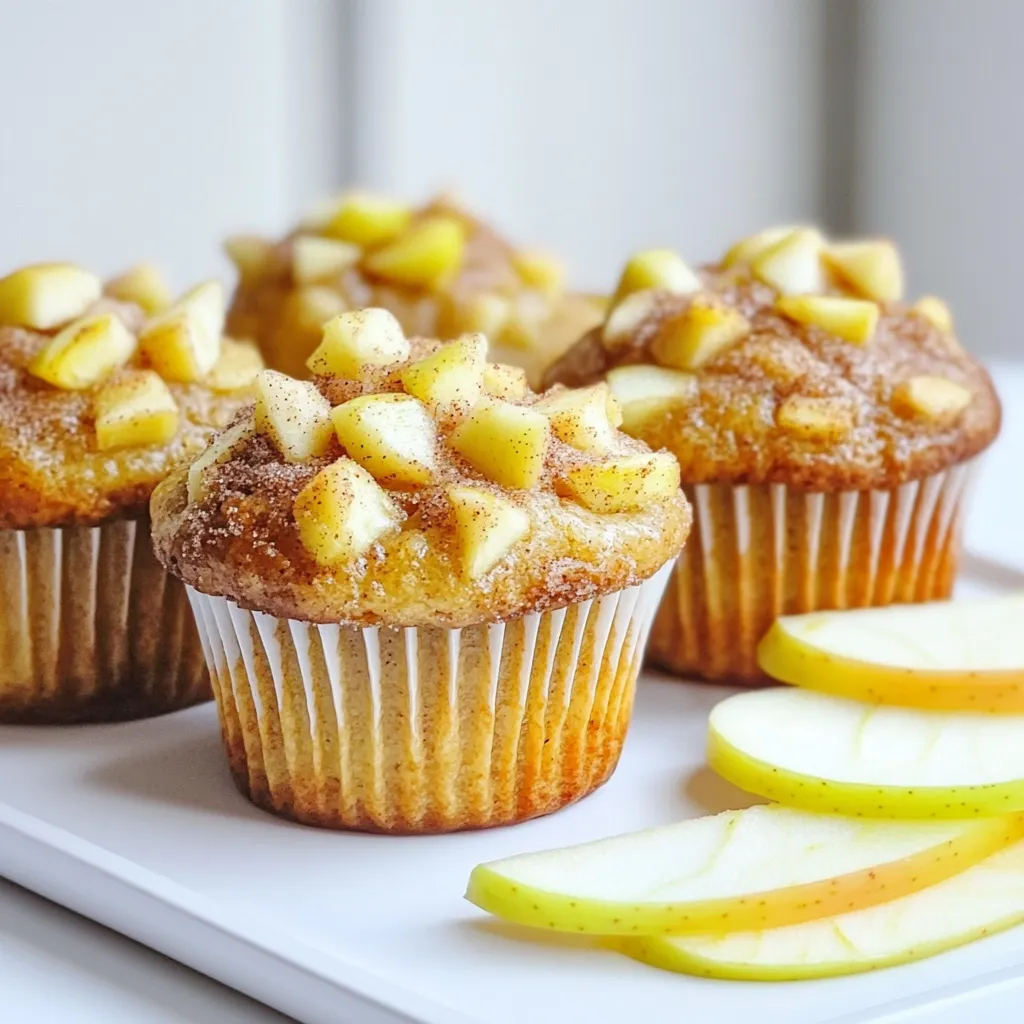
Craving a sweet treat that captures the essence of fall? Look no further than these Apple Cider Donut Muffins! With
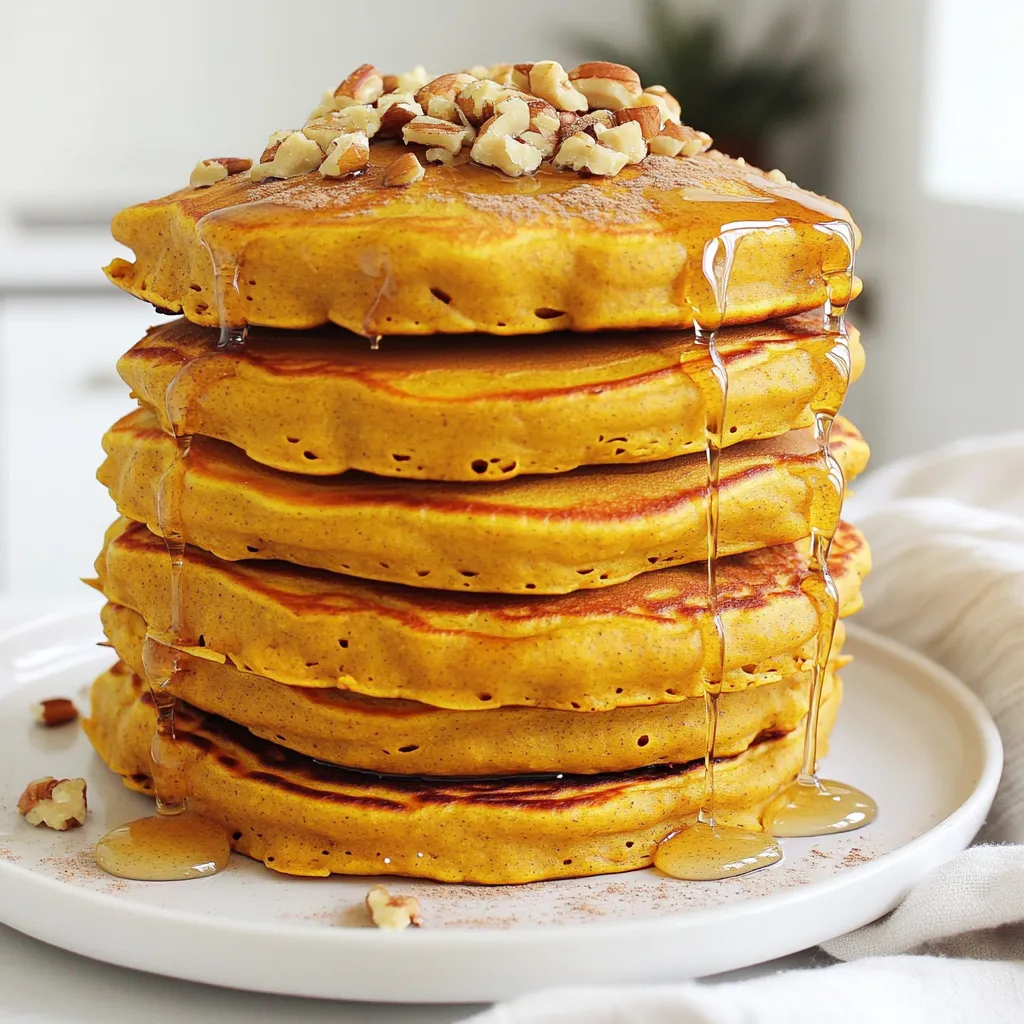
Looking for a tasty and nutritious breakfast? Try making Pumpkin Protein Pancakes! These pancakes combine the natural sweetness of ripe
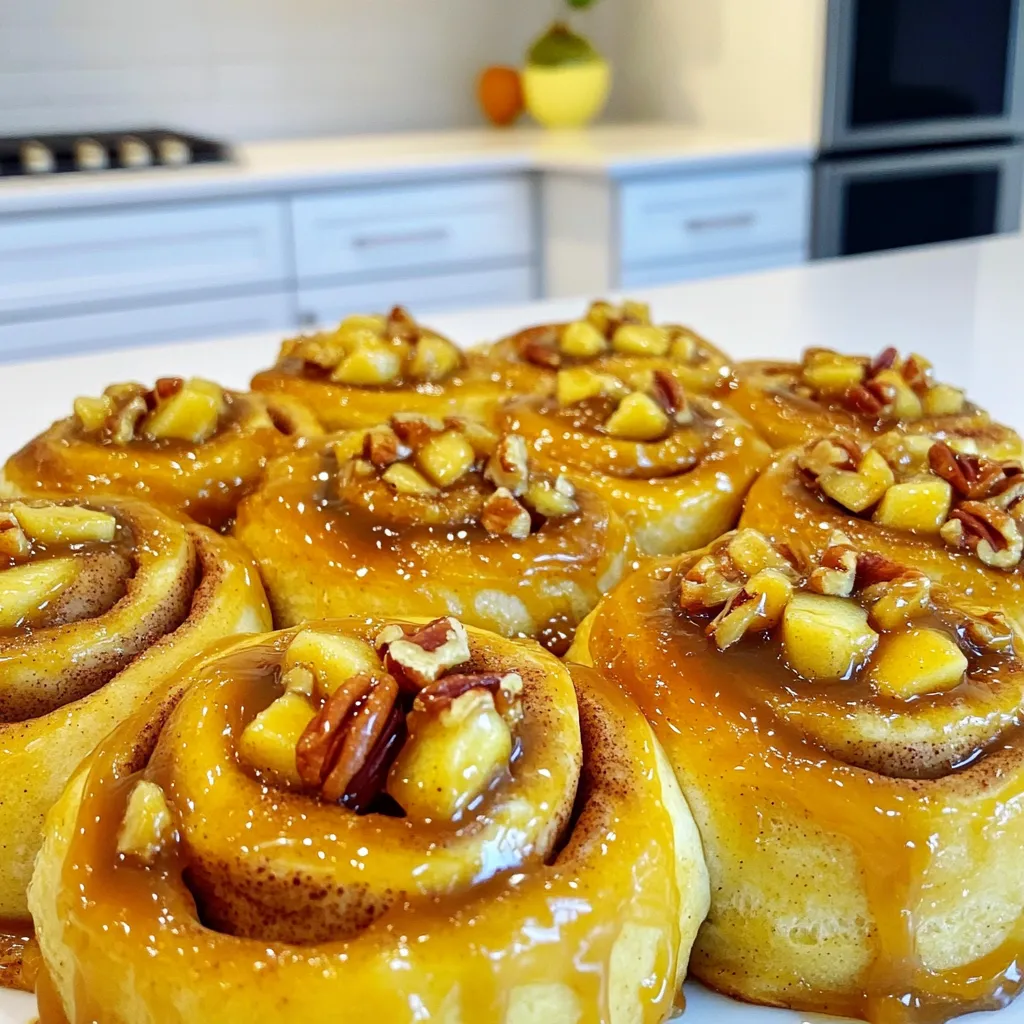
If you’re looking for an easy and delicious treat, this Caramel Apple Cinnamon Roll Bake will be your new go-to!
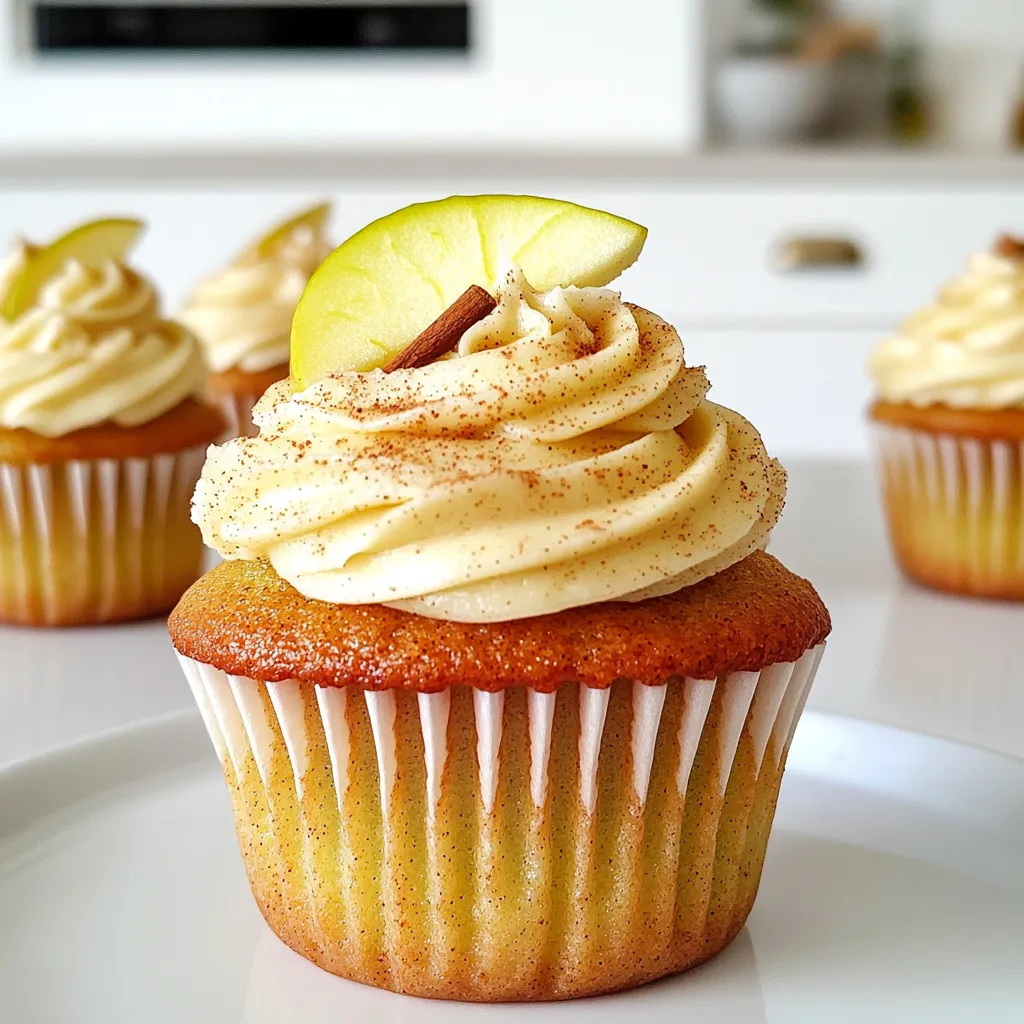
Are you ready to bake something delicious? I’ve got a tasty recipe for Apple Cider Cupcakes with Frosting that you
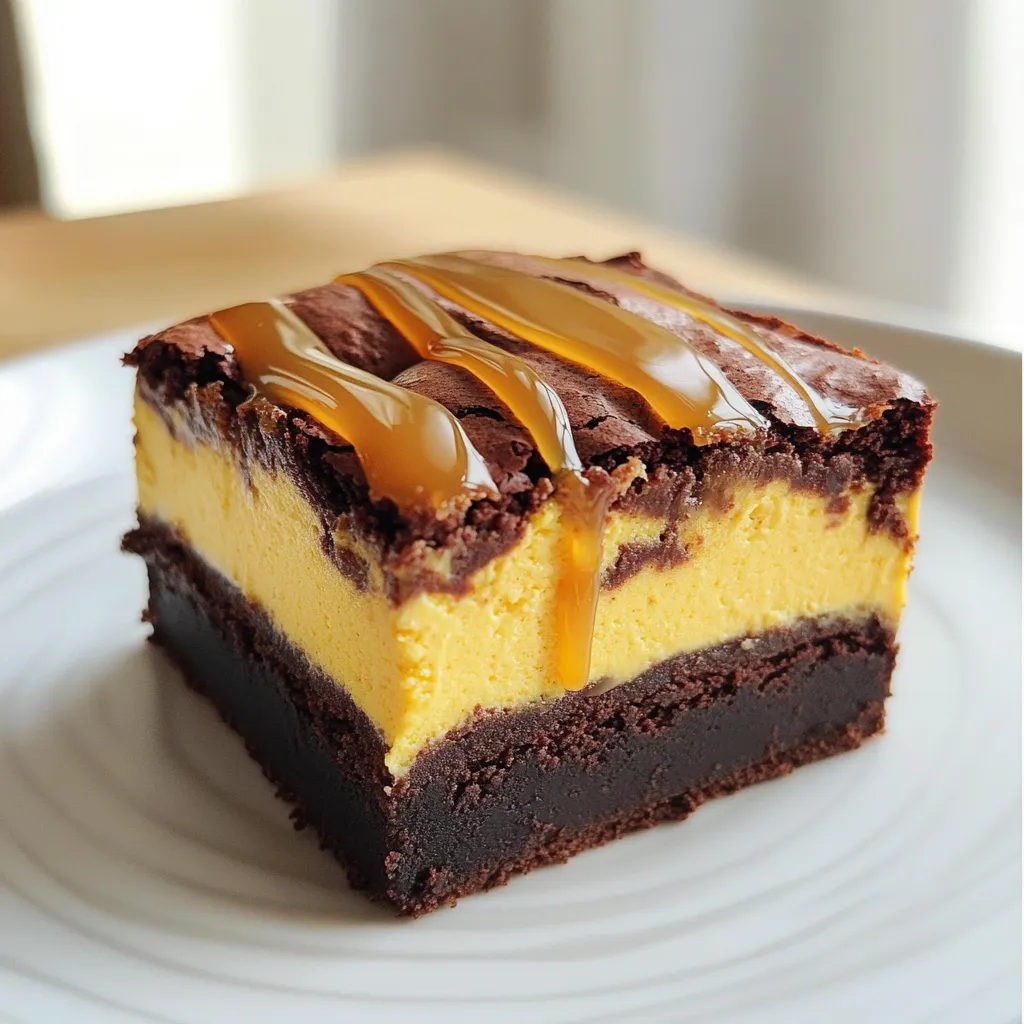
Are you ready to treat yourself? Let’s dive into the world of Pumpkin Cheesecake Brownie Swirl! This dessert combines rich
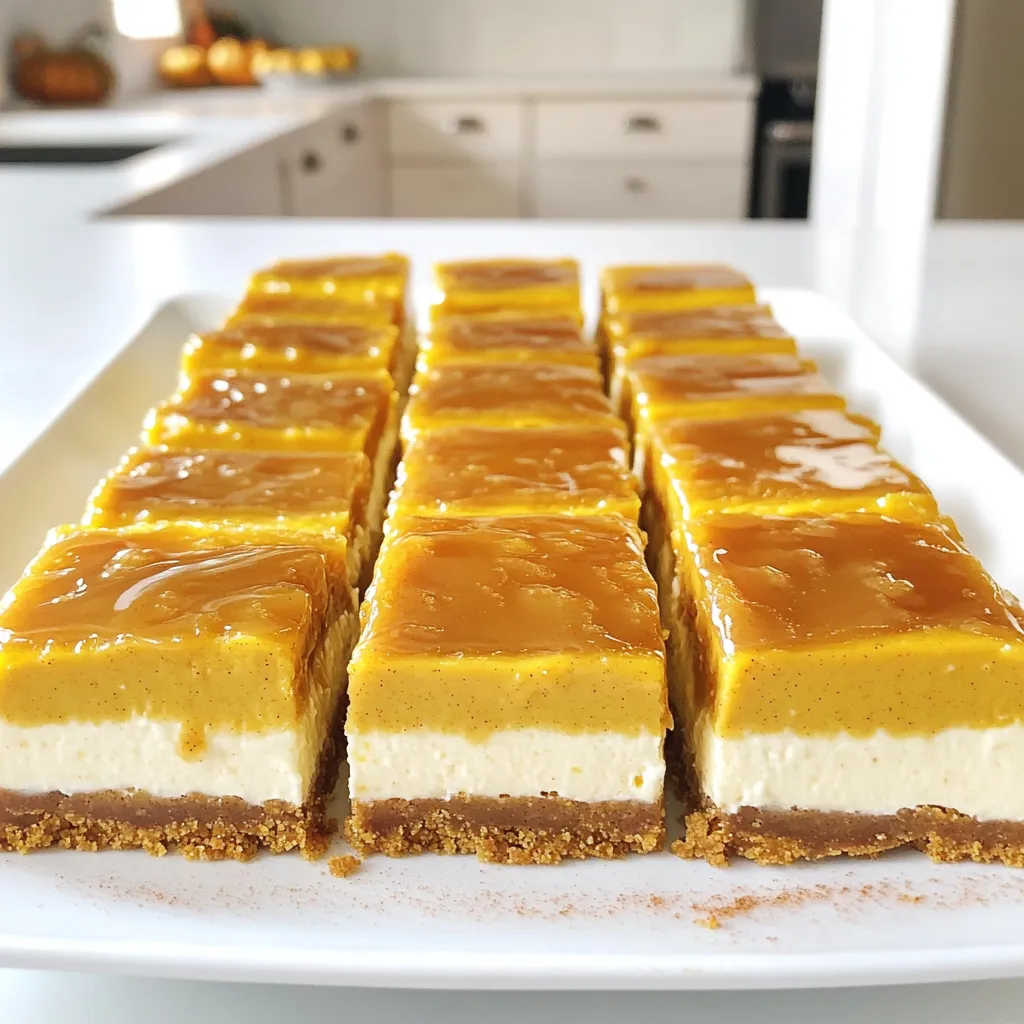
Get ready for a treat that combines two favorites: caramel and pumpkin! These Caramel Drizzle Pumpkin Cheesecake Bars are perfect

Want to bring the taste of a bakery right into your home? Get ready to bake these scrumptious Apple Pie
Are you looking for a quick and easy snack that’s both tasty and healthy? You’re in the right place! My
