
Red Velvet Strawberry Cheesecake Delightful and Creamy
Are you ready to impress your friends and family with a dessert that looks as good as it tastes? This
Are you ready to impress your friends and family with a dessert that looks as good as it tastes? This
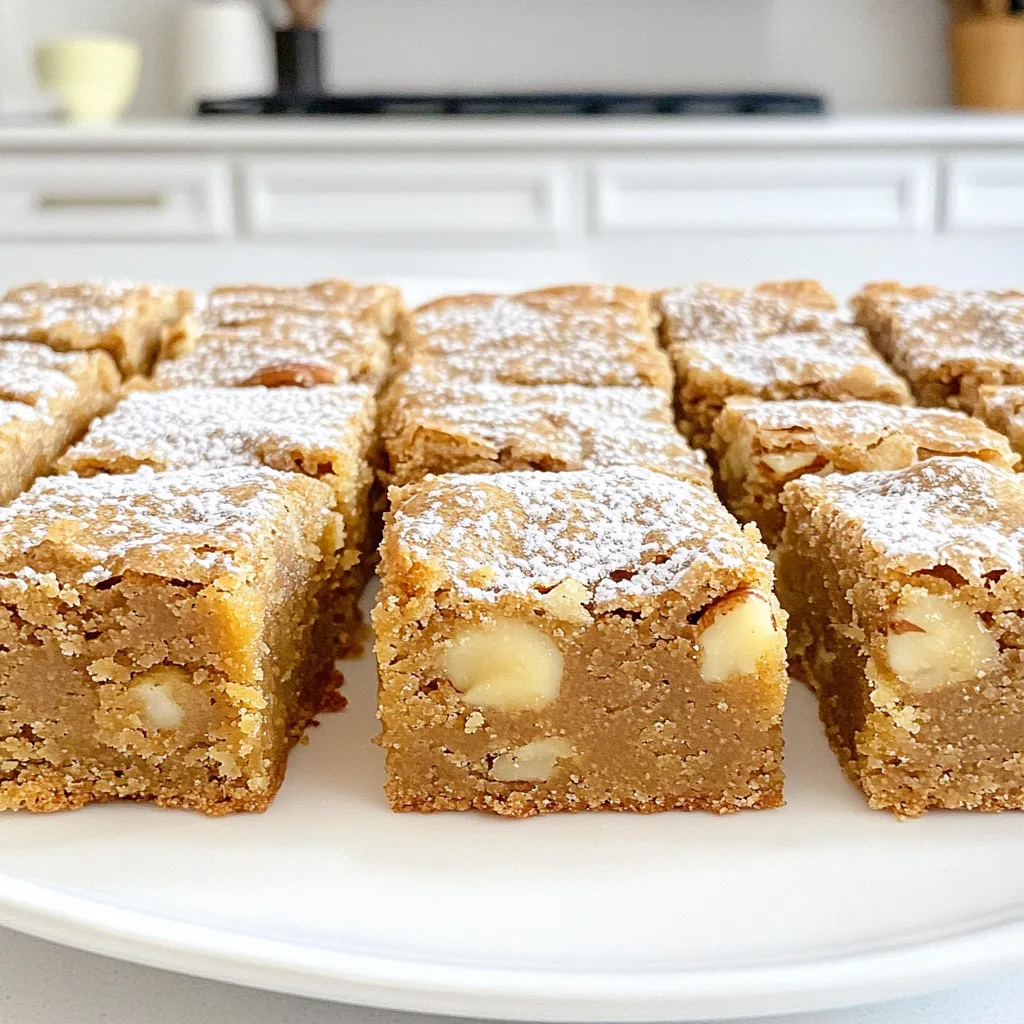
Craving a sweet, easy treat? Try my Apple Butter Blondies! These delicious bars combine rich apple butter with basic baking
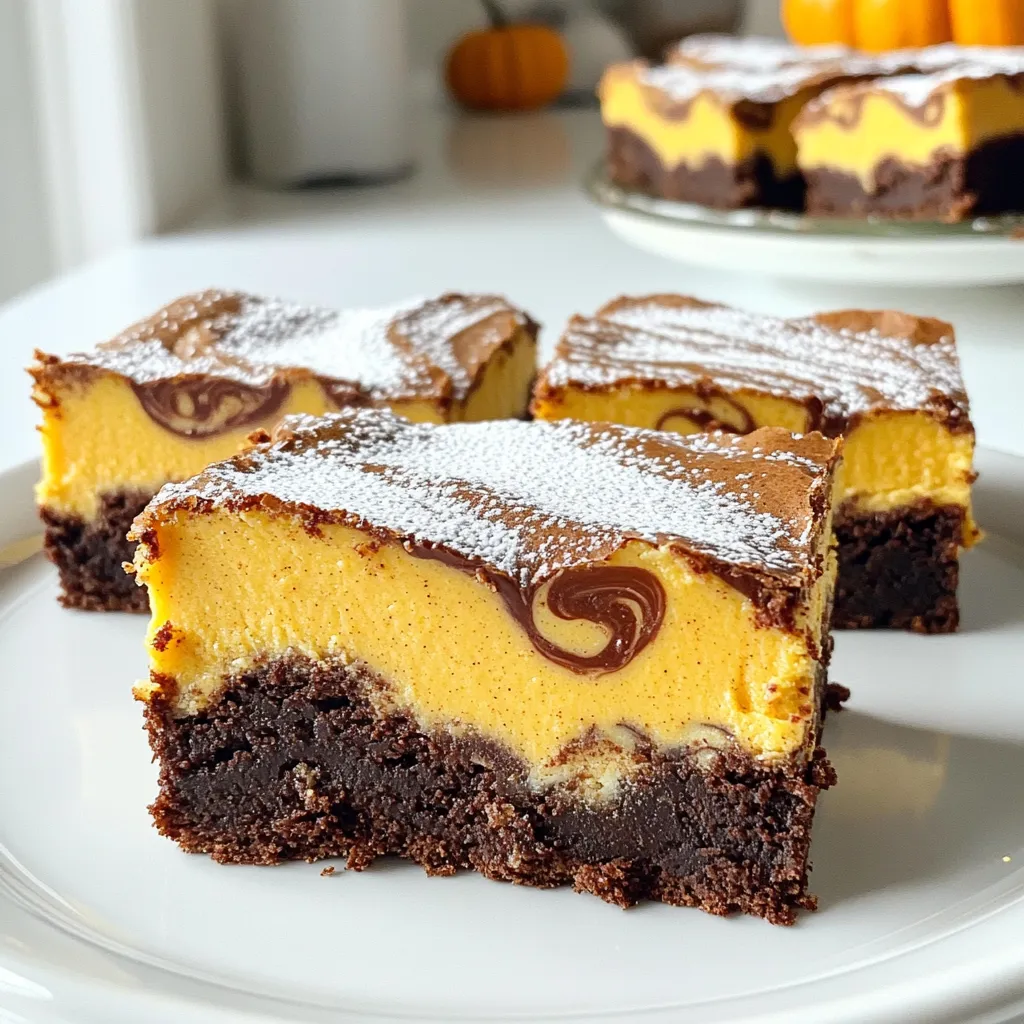
Ready to impress your family and friends with a dessert that combines two favorites? Dive into the world of Pumpkin
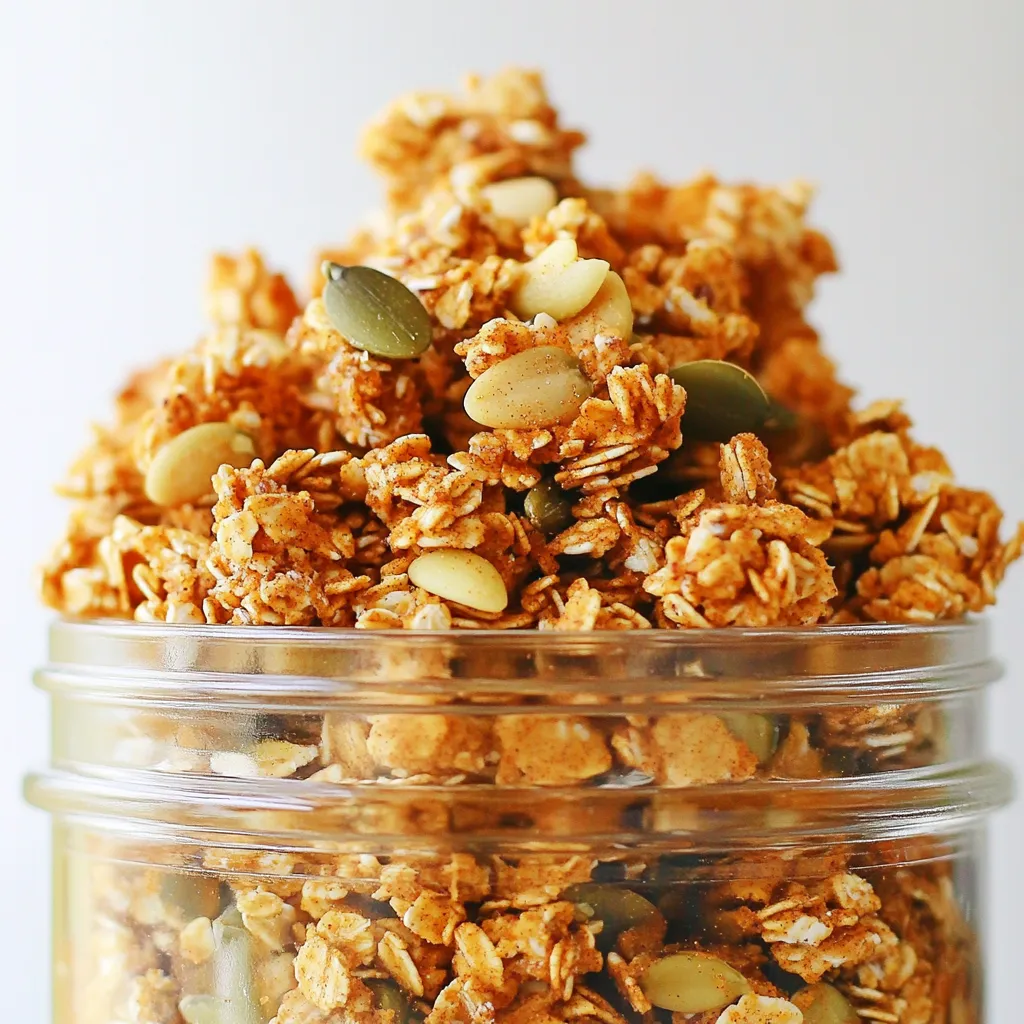
Are you ready to enjoy a tasty snack that captures the essence of fall? These Pumpkin Spice Granola Clusters are
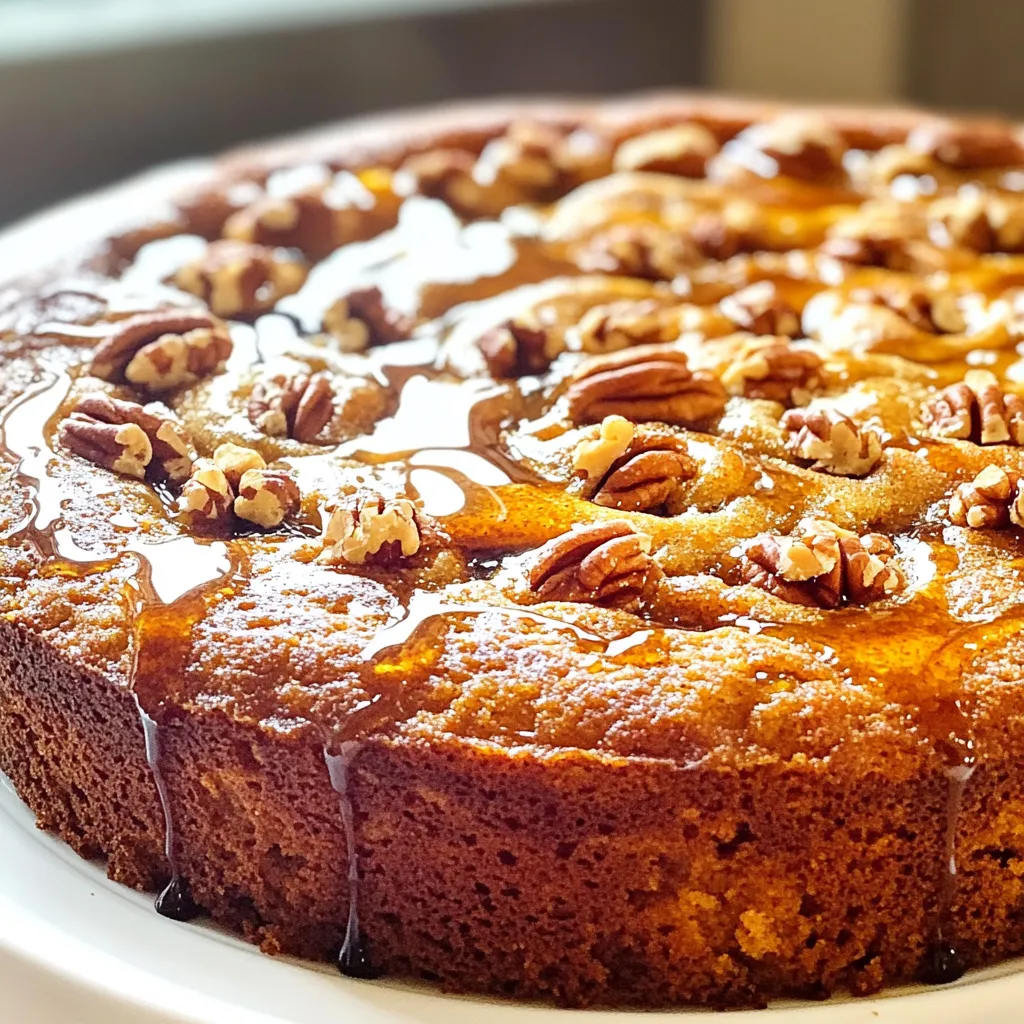
If you’re looking for a cozy treat that brightens your mornings, you’ve found it! This Maple Pecan Coffee Cake recipe
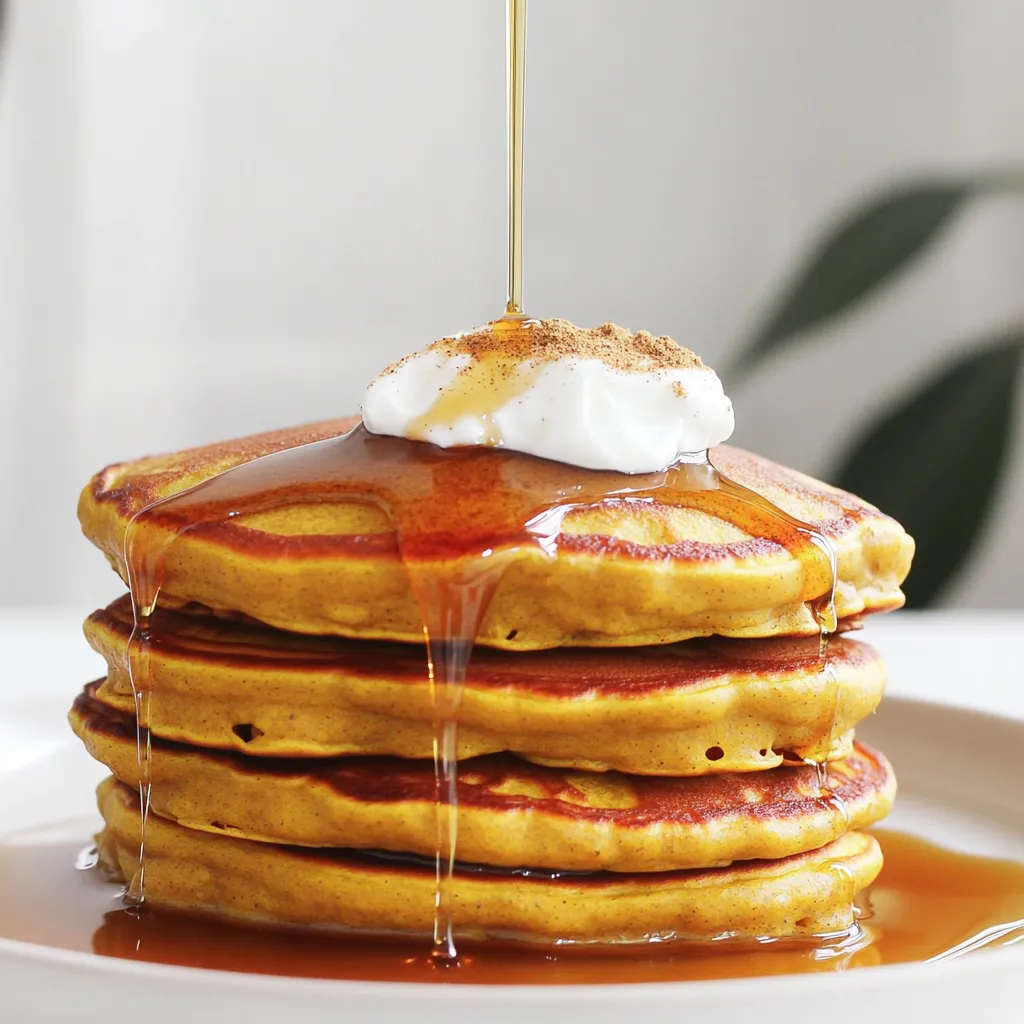
Start your morning with a burst of fall flavor! These Pumpkin Spice Protein Pancakes offer a tasty way to enjoy

If you love sweet, warm treats, you’ll adore this Apple Butter Cinnamon Roll Cake. It’s fluffy, filled with rich apple
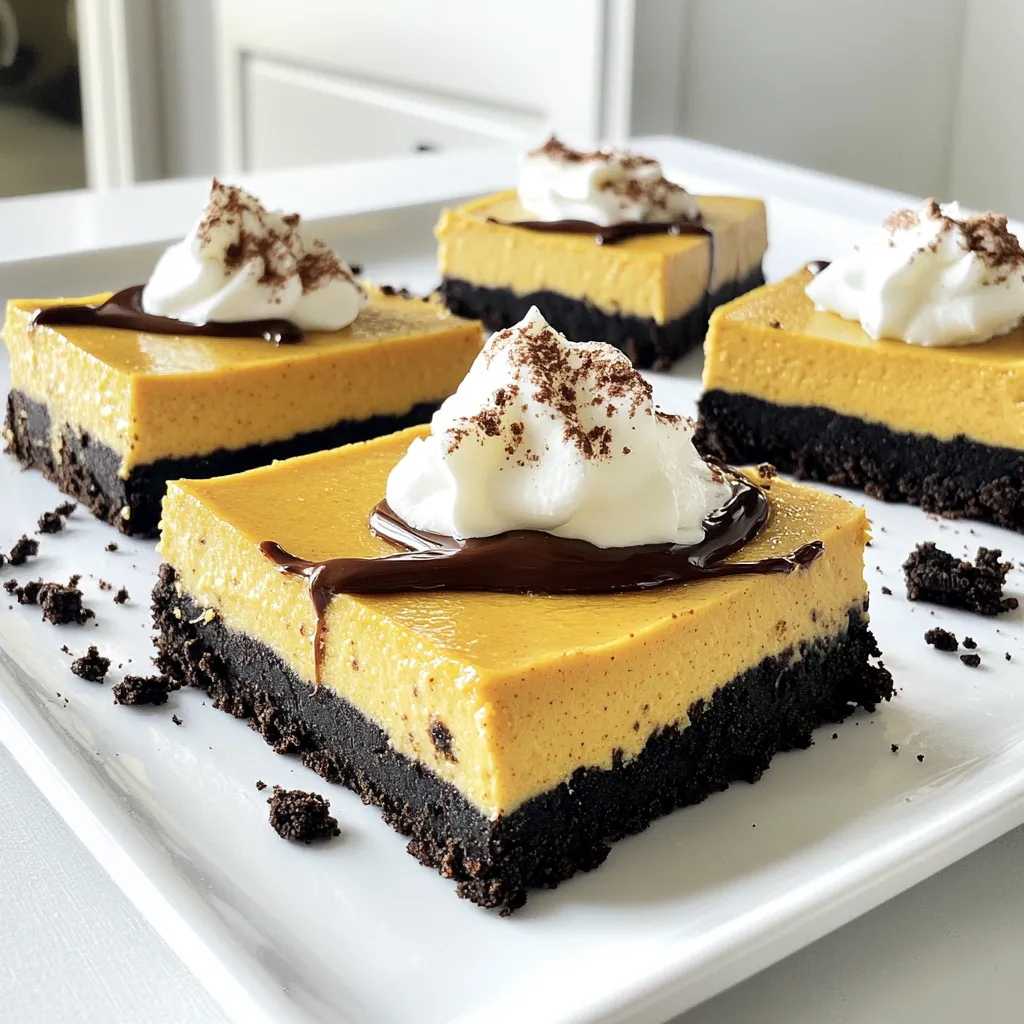
Get ready for a treat that combines the flavors of fall with a fun twist! My No-Bake Pumpkin Oreo Cheesecake
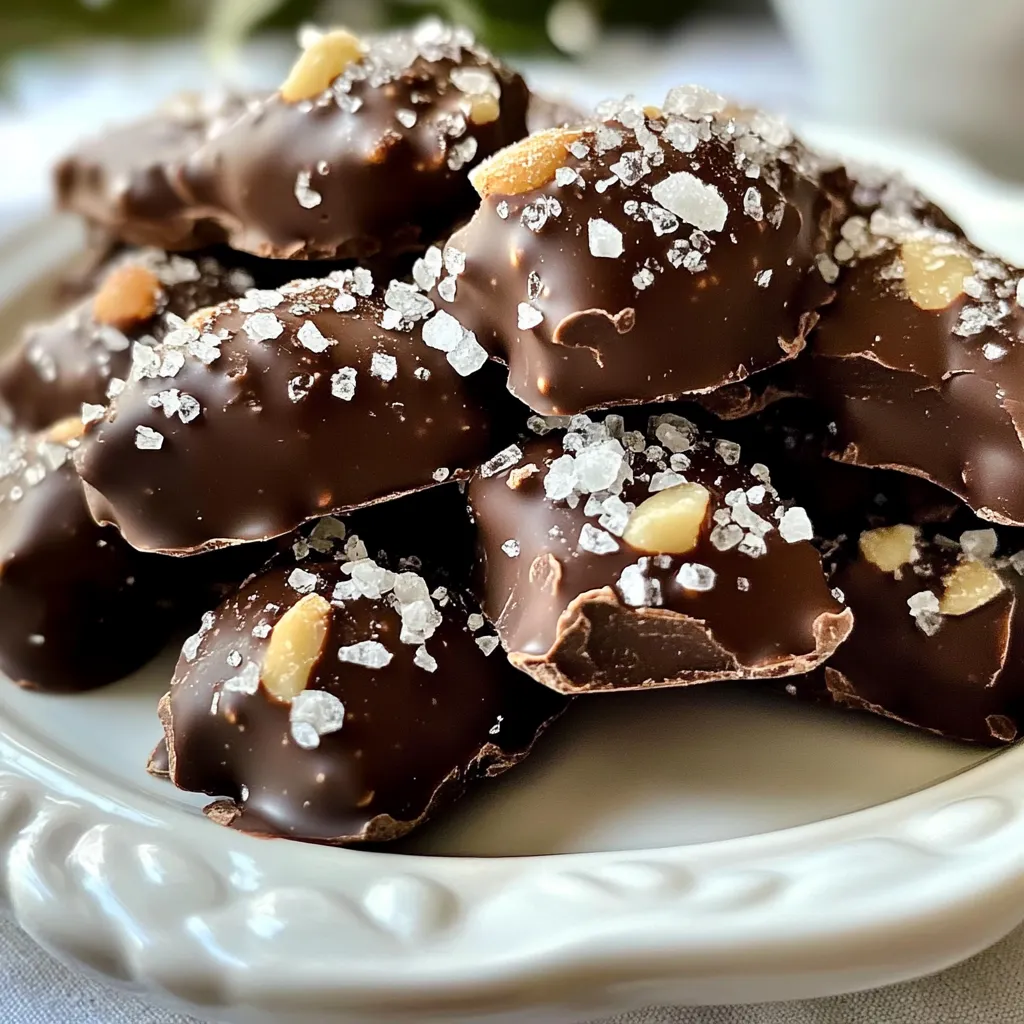
Craving a snack that’s both sweet and salty? Let me introduce you to the delightful Dark Chocolate Sea Salt Almond
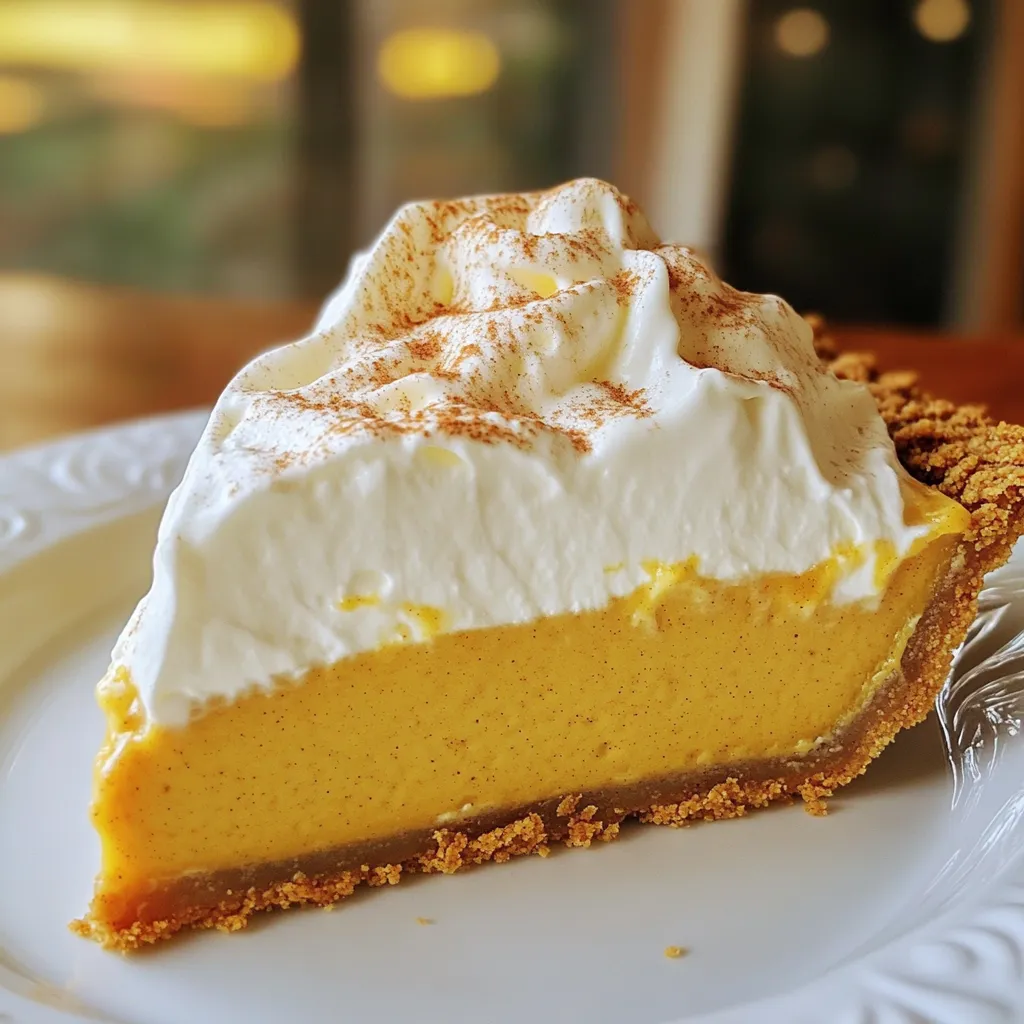
Craving a sweet treat this fall? You’re in for a real delight with my Pumpkin Cream Pie recipe! This easy
