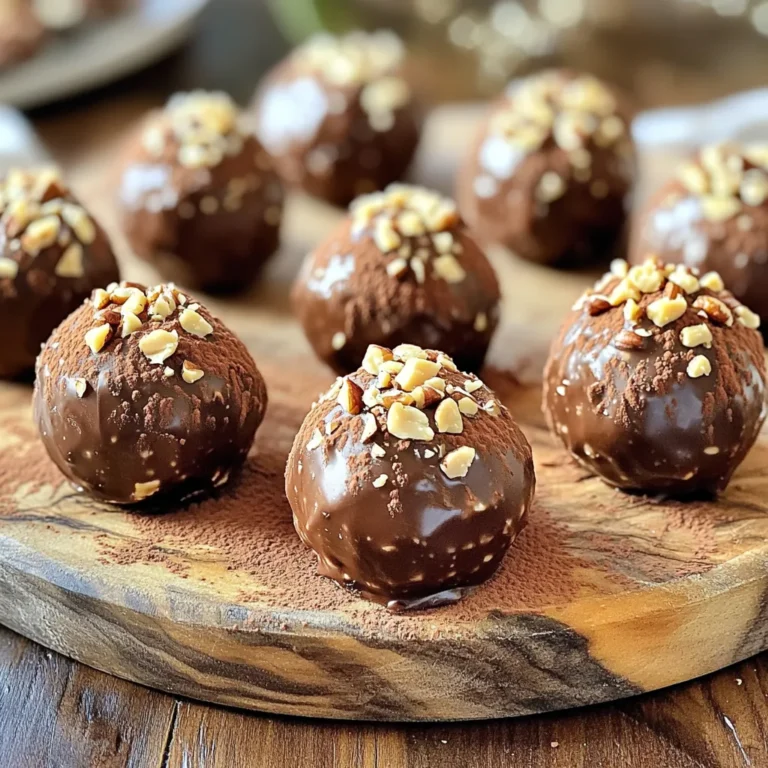
If you love chocolate and want a simple treat, I have the perfect recipe for you! These no-bake chocolate hazelnut truffles are rich, smooth, and super easy to make. With just a few ingredients, you can impress yourself and others in no time. Plus, I’ll share tips, variations, and storage info to make it even simpler. Get ready to indulge in a delightful bite of chocolate heaven!
Ingredients
List of Ingredients
– 1 cup hazelnuts, toasted and chopped
– 1 cup pitted dates, soaked in warm water for 10 minutes
– 1/2 cup cocoa powder
– 1/4 cup almond butter
– 1 teaspoon vanilla extract
– Pinch of salt
These ingredients create a rich and tasty treat. The hazelnuts add a nice crunch. Dates bring sweetness and help bind everything. Cocoa powder gives the truffles their deep chocolate flavor. Almond butter adds creaminess and a hint of nuttiness. The vanilla and salt enhance all the flavors.
Optional Rolling Ingredients
– Crushed hazelnuts
– Cocoa powder
Rolling the truffles in crushed hazelnuts or cocoa powder adds texture and flavor. You can choose one or use both for variety. The crushed hazelnuts give a nice bite, while cocoa powder adds richness.
Ingredient Substitutions
You can swap hazelnuts for other nuts. Try almonds or walnuts for a different taste. If you need a nut-free option, use sunflower seeds. For dates, you can use prunes if you prefer. Any nut or seed butter can replace almond butter. Just pick your favorite! Using vanilla bean paste instead of extract can add a richer flavor.
With these ingredients, you will make delicious truffles. Feel free to play around with flavors and textures!
Step-by-Step Instructions
Preparation of Dates
Start by soaking your pitted dates in warm water for ten minutes. This softens them, making it easier to blend. After soaking, drain the dates well. Place them in a food processor. Blend until they turn into a smooth paste. This step is key for a creamy truffle texture.
Blending Ingredients Together
Next, add the almond butter, cocoa powder, vanilla extract, and a pinch of salt to the food processor. Blend all the ingredients until they mix well. You want a thick chocolate mixture that sticks together. This forms the base for your truffles.
Forming and Coating the Truffles
Now, stir in the toasted and chopped hazelnuts using a spatula. Make sure to mix them evenly. Scoop out tablespoon-sized portions of the mixture. Roll these portions between your hands to shape small balls. If you want, roll the truffles in crushed hazelnuts or cocoa powder for extra flavor. This makes them look nice too! Place the truffles on a parchment-lined tray. Chill them in the fridge for at least thirty minutes. This helps them firm up, making them perfect for serving.
Tips & Tricks
How to Perfectly Toast Hazelnuts
Toasting hazelnuts brings out their rich flavor and crunch. First, preheat your oven to 350°F (175°C). Spread the hazelnuts on a baking sheet in a single layer. Bake for about 10-12 minutes. Watch them closely, as they can burn quickly. The nuts are ready when they smell nutty and turn golden brown. Let them cool before chopping. This adds depth to your truffles.
Storing and Chilling Tips
Once you form the truffles, place them on a parchment-lined tray. Cover them with plastic wrap or a lid. Chill in the fridge for at least 30 minutes. This sets the truffles and makes them firm. You can store them in an airtight container for up to a week. For longer storage, freeze them. Just let them thaw in the fridge before serving.
Presentation Ideas for Serving
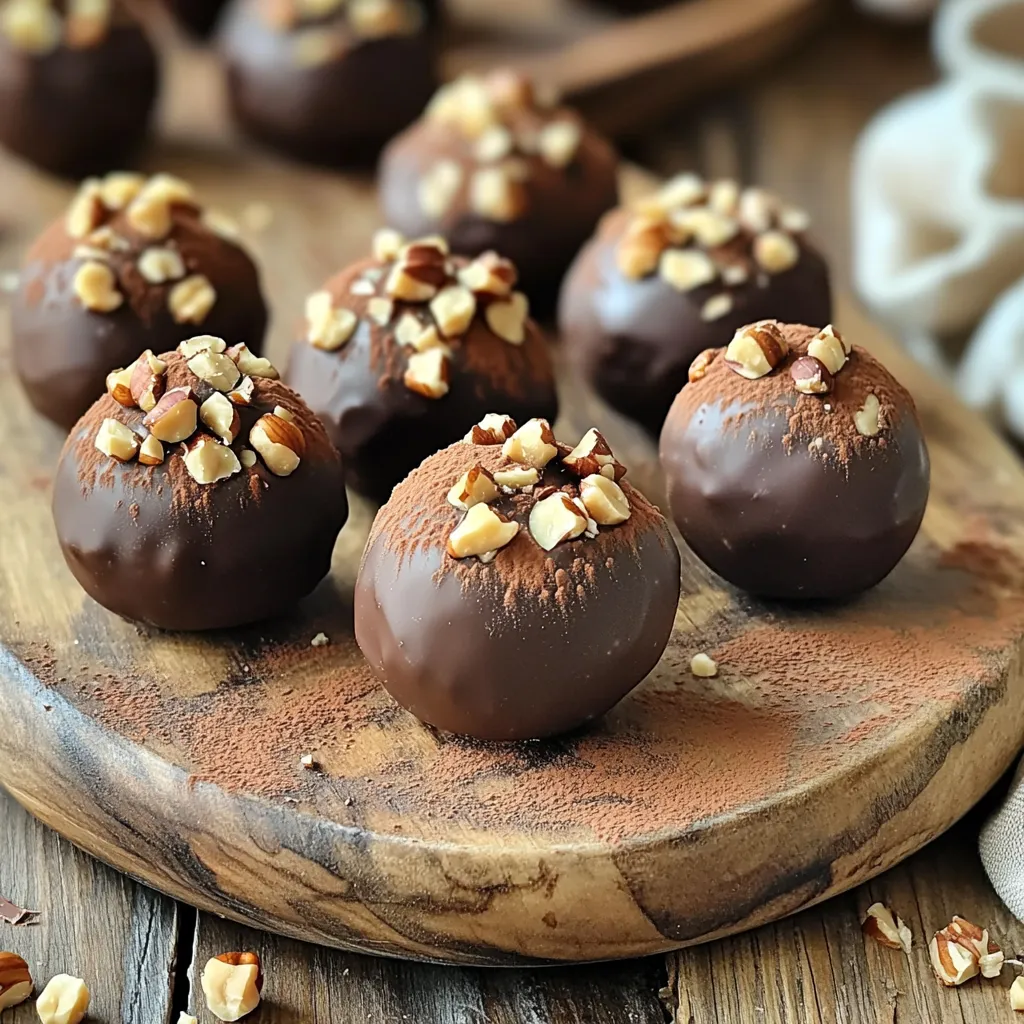
Presentation can elevate your truffles. Use a decorative box to gift them or a beautiful platter to serve. Dust the truffles with cocoa powder or crushed hazelnuts for flair. You can also add fresh mint leaves for a pop of color. Arrange them in clusters or in rows for an eye-catching display. A simple touch makes a big difference!
Variations
Alternative Nut Options
You don’t have to use hazelnuts. You can switch to any nut you like. Almonds, walnuts, or pecans work well. Each nut brings a new taste. Almonds add a sweet touch, while walnuts give a nice crunch. Try cashews for a creamier bite. Just make sure to toast them for the best flavor.
Flavor Additions (Spices, Extracts)
Want to spice things up? Add some cinnamon or nutmeg for warmth. A pinch of sea salt can heighten the taste, too. You can also use different extracts. Swap vanilla for almond or hazelnut extract. These small changes create a flavor adventure. You can even add coffee to deepen the chocolate taste.
Vegan or Raw Food Adjustments
To make these truffles vegan, use a plant-based nut butter. Almond butter is great, but you can also try peanut or sunflower butter. For a raw version, skip the cocoa powder and use cacao powder instead. This keeps the nutrients intact. Always check your ingredients to ensure they are vegan and raw.
Storage Info
Best Storage Practices
To keep your no-bake chocolate hazelnut truffles fresh, store them in an airtight container. Place a layer of parchment paper between the truffles to prevent sticking. This will help maintain their shape and texture. You can keep them in the fridge for a cool treat anytime.
Shelf Life of No-Bake Chocolate Hazelnut Truffles
These truffles last about one week in the fridge. If you store them properly, they stay tasty and fresh. Check for any signs of spoilage, like an off smell or change in texture. With proper care, you can enjoy these treats for days!
Freezing and Thawing Tips
If you want to keep your truffles longer, freezing is a great option. Place the truffles in a single layer on a tray. Once they freeze, transfer them to an airtight container. They can last up to three months in the freezer. When you’re ready to eat them, move them to the fridge for a few hours to thaw. Enjoy your delicious truffles any time!
FAQs
Can I make these truffles in advance?
Yes, you can make these truffles ahead of time. They are perfect for parties or gifts. Just follow the recipe, then chill them for at least 30 minutes. After that, store them in an airtight container in the fridge. They will stay fresh and tasty for up to a week.
How long do the truffles stay fresh?
The truffles stay fresh for about one week in the fridge. If you want to enjoy them later, you can freeze them. When frozen, they can last up to three months. Just let them thaw in the fridge before serving.
Can I substitute other ingredients in this recipe?
You can easily swap some ingredients. If you don’t have hazelnuts, try almonds or walnuts. You can use peanut butter instead of almond butter. For a sweeter taste, add a bit of honey or maple syrup. Just make sure to keep the main elements, like dates and cocoa powder, to maintain the truffle’s flavor.
We covered how to make delicious no-bake chocolate hazelnut truffles. You learned about the key ingredients and substitutions. I shared step-by-step instructions for easy preparation. We explored tips for toasting hazelnuts and storing your truffles. You also discovered fun variations and storage practices to maximize freshness.
In conclusion, these truffles are simple and tasty. Experiment with flavors and enjoy making them!

