
Get ready to treat yourself to the ultimate comfort food: caramel apple cinnamon rolls! Picture soft, warm dough filled with sweet apples, cinnamon, and rich caramel. This recipe is perfect for chilly mornings or cozy gatherings. I’ll guide you step by step to create this soft and sweet delight. Grab your ingredients and let’s get baking! You won’t want to miss out on this delicious twist on a classic favorite!
Ingredients
Dough Ingredients
– 4 cups all-purpose flour
– 1 packet active dry yeast (2 1/4 teaspoons)
– 1/2 cup warm milk
– 1/4 cup granulated sugar
– 1/2 cup unsalted butter, melted
– 1/2 teaspoon salt
– 2 large eggs
Filling Ingredients
– 2 large apples, peeled and diced
– 1/2 cup brown sugar
– 2 teaspoons ground cinnamon
– 1/4 cup unsalted butter, softened
Caramel Sauce Ingredients
– 1 cup brown sugar
– 1/2 cup heavy cream
– 1/4 cup unsalted butter
– 1 teaspoon vanilla extract
– Pinch of salt
Creating caramel apple cinnamon rolls starts with these essential ingredients. You need to prepare the dough first. Start with flour and yeast. Warm milk helps bring the yeast to life. Add sugar to sweeten your dough. Melted butter gives it richness. Salt enhances all the flavors. Finally, eggs add structure and moisture.
Next comes the filling. Choose two large apples. They should be firm and sweet, like Honeycrisp or Granny Smith. Diced apples mix well with brown sugar and cinnamon. This mixture will give your rolls a warm, spicy flavor. Softened butter makes it easy to spread over the dough.
Lastly, the caramel sauce ties everything together. Brown sugar creates a deep sweetness. Heavy cream adds richness and a smooth texture. Butter helps the sauce thicken, while vanilla extract gives a lovely aroma. A pinch of salt brightens all the flavors.
These ingredients come together to make a soft and sweet delight. You can imagine the aroma filling your kitchen as they bake.
Step-by-Step Instructions
Preparing the Dough
1. Combine milk, sugar, and yeast: In a big bowl, mix warm milk, sugar, and yeast. Let it sit for about 5 to 10 minutes. You want it to get frothy. This means the yeast is alive and ready to work.
2. Add melted butter, salt, and eggs: Next, add the melted butter, salt, and eggs to your yeast mix. Stir until combined.
3. Knead the dough until smooth: Gradually add the flour to the mixture. Knead the dough for about 5 to 7 minutes on a floured surface. When it feels smooth and elastic, it’s ready.
4. Let it rise: Place the dough in a greased bowl. Cover it with a kitchen towel. Let it rise in a warm spot for about 1 hour. It should double in size.
Preparing the Filling and Caramel Sauce
1. Mix diced apples with sugar and cinnamon: In a medium bowl, combine the diced apples with brown sugar and cinnamon. Set this aside.
2. Make the caramel sauce on the stovetop: In a saucepan over medium heat, mix brown sugar, heavy cream, butter, vanilla extract, and a pinch of salt. Stir until it thickens and is smooth. Remove from heat.
Assembling and Baking the Rolls
1. Roll out the dough and spread apple filling: Once the dough has risen, punch it down. Roll it out on a floured surface into a rectangle, about 1/2 inch thick. Spread the softened butter over the dough. Then sprinkle the apple mixture evenly across the top.
2. Cut and arrange the rolls in the baking dish: Roll the dough tightly from one long edge to the other. Cut the log into 12 equal slices. Place these rolls in a greased 9×13 inch baking dish.
3. Let rise and bake until golden brown: Pour half of the caramel sauce into the bottom of the dish. Place the sliced rolls on top and pour the rest of the sauce over them. Cover the dish with a towel and let the rolls rise again for 30 minutes. Preheat the oven to 350°F (175°C). Bake for 25 to 30 minutes, or until they turn golden brown.
These steps lead you to warm, sweet rolls full of caramel and apples.
Tips & Tricks
Perfecting the Dough
Using warm milk helps activate the yeast. This step gives your rolls a nice rise. Make sure the milk is not too hot. A temperature around 110°F works well.
Kneading the dough properly is key. I like to knead for about 5 to 7 minutes. You want the dough to feel smooth and elastic. If it sticks to your hands, use a little flour.
Enhancing Flavor
Choosing the right apples makes a big difference. I recommend using sweet apples like Fuji or Honeycrisp. These apples hold their shape and add great flavor.
To make the caramel sauce smooth, stir constantly as it cooks. This helps avoid lumps. If it gets too thick, add a splash of cream to loosen it up.
Serving Suggestions
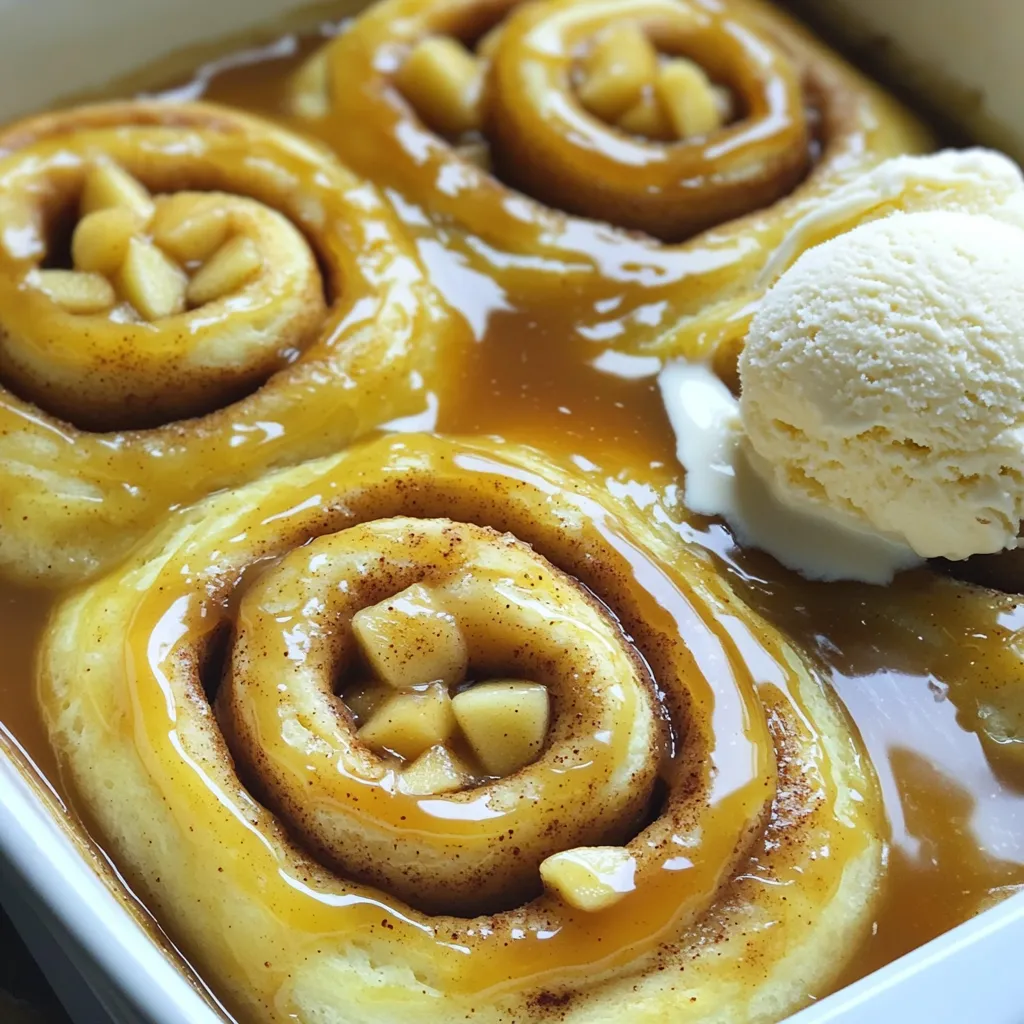
For toppings, a sprinkle of cinnamon adds warmth. A scoop of vanilla ice cream pairs perfectly. You can also drizzle extra caramel sauce on top for a sweet touch.
To present your caramel apple cinnamon rolls, place them on a nice plate. Arrange them in a circle and drizzle caramel over each roll. This makes for a lovely display that is sure to impress!
Variations
Gluten-Free Options
You can make these rolls gluten-free. Simply replace all-purpose flour with a gluten-free flour blend. Choose a blend that works well for baking. Look for one with xanthan gum added for better texture. This swap keeps the rolls soft and tasty.
Vegan Adaptations
If you want a vegan version, it’s easy to swap out dairy and eggs. Use almond milk or oat milk instead of regular milk. For the butter, try coconut oil or vegan butter. Replace eggs with flaxseed meal mixed with water. This keeps the dough moist and fluffy.
Flavor Enhancements
Want to jazz up your rolls? Add some nuts, like chopped pecans or walnuts, for crunch. You can also mix in dried fruits, such as raisins or cranberries, for sweetness. Try adding extra spices like nutmeg or ginger for a warm flavor boost.
Storage Info
Keeping Fresh
To store leftover caramel apple cinnamon rolls, let them cool first. Place them in an airtight container. You can keep them at room temperature for up to two days. This keeps them soft and sweet. For longer shelf life, refrigerate them. In the fridge, they stay fresh for about a week. Just make sure to wrap them tightly. This helps prevent them from drying out.
Reheating Instructions
When it’s time to enjoy your rolls again, you want them warm. The best way is to use the oven. Preheat it to 350°F (175°C). Place the rolls on a baking sheet. Cover them with foil to keep them moist. Heat for about 10-15 minutes. You can also microwave them for a quick fix. Just warm them for 15-20 seconds. Check to see if they are hot enough.
Freezing Tips
If you want to save some rolls for later, freezing is a great option. First, let the rolls cool completely. Wrap each roll in plastic wrap. Then, place them in a freezer bag. Remove as much air as possible. This helps keep them fresh. You can freeze them for up to three months. When you’re ready to eat, thaw them overnight in the fridge. Reheat them as described above to enjoy that fresh-baked taste again!
FAQs
How do I know when the rolls are done baking?
To check if the rolls are done, look for a golden brown color. The rolls should also feel firm to the touch. You can use a thermometer for a precise check. The inside temperature should be about 190°F (88°C). If you see these signs, your rolls are ready to enjoy!
Can I make the dough ahead of time?
Yes, you can make the dough ahead of time. After kneading, let it rise for one hour. Then, punch it down and wrap it tightly in plastic wrap. Store it in the fridge for up to 24 hours. When you’re ready, take it out and let it warm up before rolling it out.
What can I substitute for ingredients?
You can swap some ingredients for others based on your needs. If you have allergies, use gluten-free flour instead of all-purpose flour. For a dairy-free option, try almond milk and vegan butter. If you want a twist, add nuts or dried fruit to the filling.
In this blog post, we explored how to make delicious caramel apple cinnamon rolls. We went through each step, from mixing the dough to baking the rolls. I shared tips for perfecting your dough and enhancing flavor. Remember, you can make this recipe gluten-free or vegan too. Store leftovers properly to keep them fresh. Enjoy baking these tasty rolls, and impress your friends and family with your delicious creation. Happy baking!

