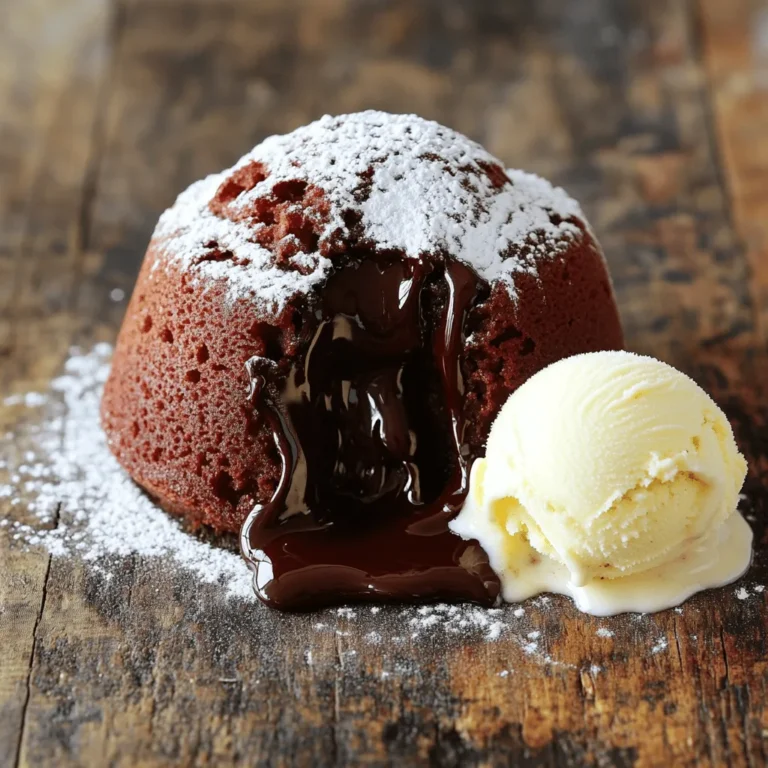
Craving a sweet treat that impresses without complicated steps? You’ll love this Easiest Chocolate Lava Cake recipe! This dessert is quick to make and packed with gooey chocolate goodness. With just a few simple ingredients, you can create a decadent treat that your friends and family will rave about. Let’s dive into the easy steps that will help you whip up this delightful dessert in no time!
Ingredients
List of Essential Ingredients
– 1/2 cup unsalted butter
– 1 cup semi-sweet chocolate chips
– 2 large eggs
Additional Ingredients for Flavor
– 2 large egg yolks
– 1/4 cup granulated sugar
– 1 teaspoon vanilla extract
Ingredients for Texture
– 1/4 cup all-purpose flour
– A pinch of salt
– Powdered sugar for dusting
To make the easiest chocolate lava cake, gather these key ingredients. The unsalted butter and semi-sweet chocolate chips create a rich base. The eggs and egg yolks give the cake its perfect texture. Adding granulated sugar and vanilla extract enhances the flavor.
You need flour and a pinch of salt for structure. Finally, powdered sugar is a lovely touch for dusting. This simple mix gives you that delicious, oozy center we all crave.With these ingredients ready, you can dive into making a treat that impresses everyone.
Step-by-Step Instructions
Prepping Your Ramekins
Start by greasing four ramekins with butter. This step helps the cakes slide out easily. After greasing, dust the ramekins with flour. This extra layer ensures a perfect release. Set them aside while you prepare the batter.
Melting the Chocolate Mixture
Next, take a microwave-safe bowl. Add 1/2 cup of unsalted butter and 1 cup of semi-sweet chocolate chips. Microwave in 30-second bursts. Stir between each session until the mixture is smooth. This method helps avoid burning the chocolate.
Mixing the Batter
In a separate bowl, whisk together 2 large eggs, 2 large egg yolks, and 1/4 cup of granulated sugar. Keep whisking until the mixture is pale and fluffy. Once ready, add 1 teaspoon of vanilla extract. Slowly pour in the melted chocolate. Stir until everything is combined. Finally, gently fold in 1/4 cup of all-purpose flour and a pinch of salt. Be careful not to overmix; you want a smooth batter.
Baking the Lava Cakes
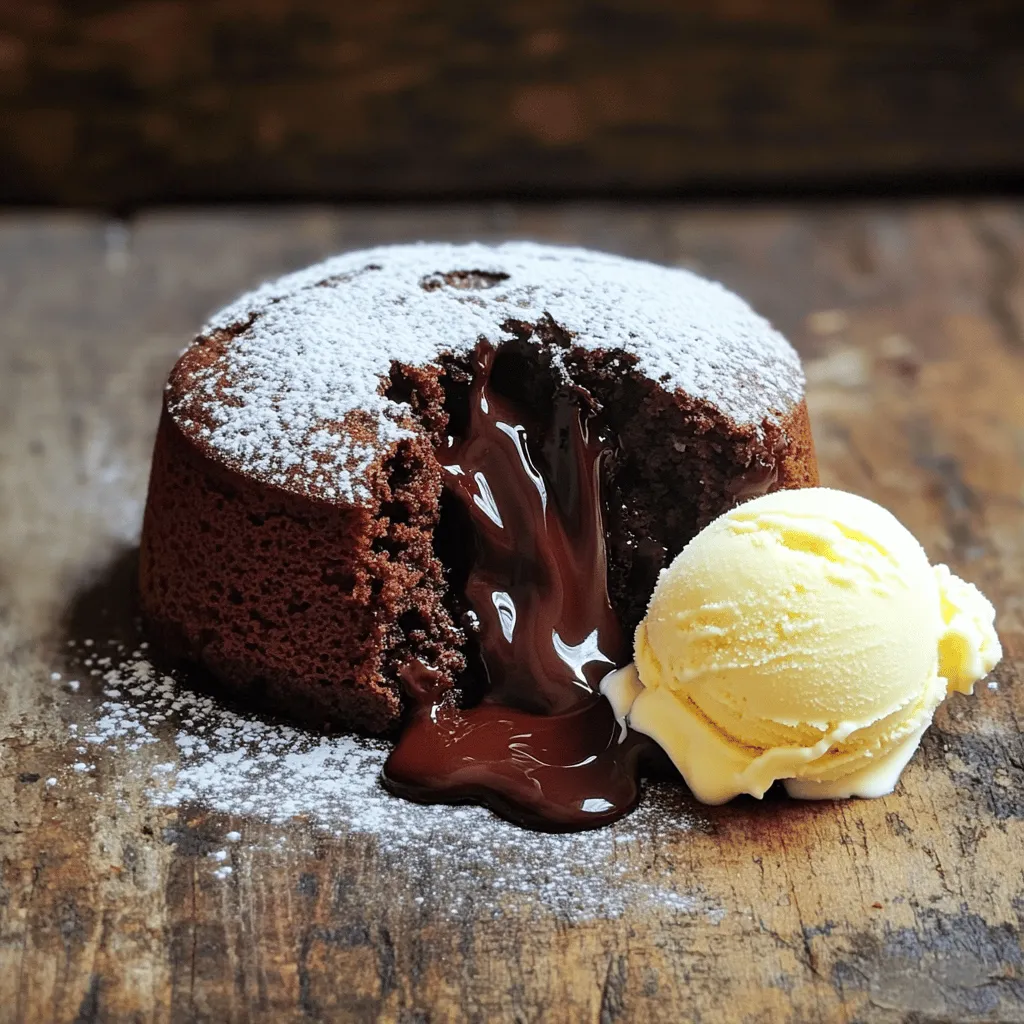
Now, divide the batter among the prepared ramekins, filling each about 2/3 full. Place the ramekins on a baking tray for easy handling. Bake in a preheated oven at 425°F (220°C) for 12-14 minutes. The edges should be firm, but the center should remain soft. After baking, let the cakes cool for 1 minute. Carefully run a knife around the edges. Invert them onto individual plates. Dust the tops with powdered sugar before serving. Enjoy your delicious lava cakes!
Tips & Tricks
Ensuring Perfect Lava Flow
To get that ideal lava flow, watch for the edges. They should be set and firm, while the center remains soft. The baking time is key. Bake for 12-14 minutes. If you bake too long, you lose the gooey middle. Trust your instincts. If in doubt, check a minute early.
Flavor Enhancements
Want to boost the taste? Add a teaspoon of espresso powder to the batter. It deepens the chocolate flavor. You can also try a splash of liqueur, like coffee or orange. This will give your cake a unique twist. Just remember, keep it simple to avoid overpowering the chocolate.
Serving Suggestions
Garnish your lava cake with a dusting of powdered sugar. This adds a nice touch. A scoop of vanilla ice cream pairs perfectly. The cold ice cream contrasts with the warm cake. You can also add fresh berries for color and flavor. Get creative!
Variations
Gluten-Free Option
If you want a gluten-free chocolate lava cake, use almond flour instead of all-purpose flour. Almond flour adds a nice nutty flavor. It also helps keep the cake moist. Just replace the all-purpose flour with the same amount of almond flour. Follow the same steps in the recipe, and you will have a tasty treat.
Adding Flavor Twists
You can make your lava cake even more special by adding flavors. Try mixing in some orange zest for a fresh taste. Just add a teaspoon of zest to your batter. If you prefer a minty flavor, use a few drops of mint extract. Both options give your cake a fun twist. They make it more exciting to eat!
Mini Lava Cakes
For smaller portions, make mini lava cakes. Use small ramekins or muffin tins. Fill each with the batter, but only fill them halfway. Bake for about 8 to 10 minutes. This way, you can serve more guests or enjoy a smaller treat. Don’t forget to adjust the baking time! Check them frequently to avoid overbaking. Mini cakes will have the same gooey center you love.
Storage Info
Storing Leftovers
To store your leftover chocolate lava cakes, let them cool first. Place them in an airtight container. You can refrigerate them for up to three days. If you want to keep them longer, freeze them. Wrap each cake tightly in plastic wrap and then place them in a freezer-safe bag. They will last up to three months in the freezer.
Reheating Instructions
When you are ready to enjoy your cakes again, here’s how to reheat them. If they are frozen, first thaw them in the fridge overnight. To restore that gooey center, preheat your oven to 350°F (175°C). Place the cakes on a baking tray and bake for about 8-10 minutes. This will make them warm without losing that lava texture.
Shelf Life
These delicious lava cakes stay fresh for three days in the fridge. If frozen, they can last for up to three months. Just remember, the longer they sit, the more the texture may change. For the best taste, enjoy them fresh or within a short time after baking.
FAQs
Can I use dark chocolate instead of semi-sweet?
Yes, you can use dark chocolate. It will change the taste and texture. Dark chocolate has a richer flavor and may make the cake less sweet. The lava flow may also be firmer. If you like deep chocolate taste, go for it!
What if I don’t have ramekins?
No problem! You can use muffin tins or other small dishes. Just grease them well to prevent sticking. Fill them about two-thirds full with the batter. Bake as directed. You will still get great results.
How can I make lava cakes ahead of time?
You can prepare the batter a few hours before baking. Just keep it in the fridge. When ready, pour the batter into greased ramekins. Bake them fresh when you want to serve. This keeps them warm and gooey.
Why is my lava cake not oozing?
This can happen for a few reasons. First, you might have baked them too long. Keep an eye on the time. Second, your oven may run hot. Try using an oven thermometer. Lastly, check the batter consistency. It should be thick but pourable.
In this blog post, we explored the delightful world of lava cakes. We covered essential ingredients, detailed steps, and handy tips. With careful mixing and precise baking, you can create perfect lava cakes at home. Always check for that ooey-gooey center to ensure the ideal lava flow. Whether you try gluten-free options or add fun flavors, there are endless ways to enjoy this treat. Now, it’s time to grab your ingredients and get baking! Enjoy your delicious creations!

