

Latest & Greatest

Taco Ranch Bites Flavorful and Easy Snack Recipe
Looking for a fun snack that packs a punch? Let me introduce you to Taco Ranch Bites! This easy recipe combines zesty beef, crispy tortillas, and…
Read more…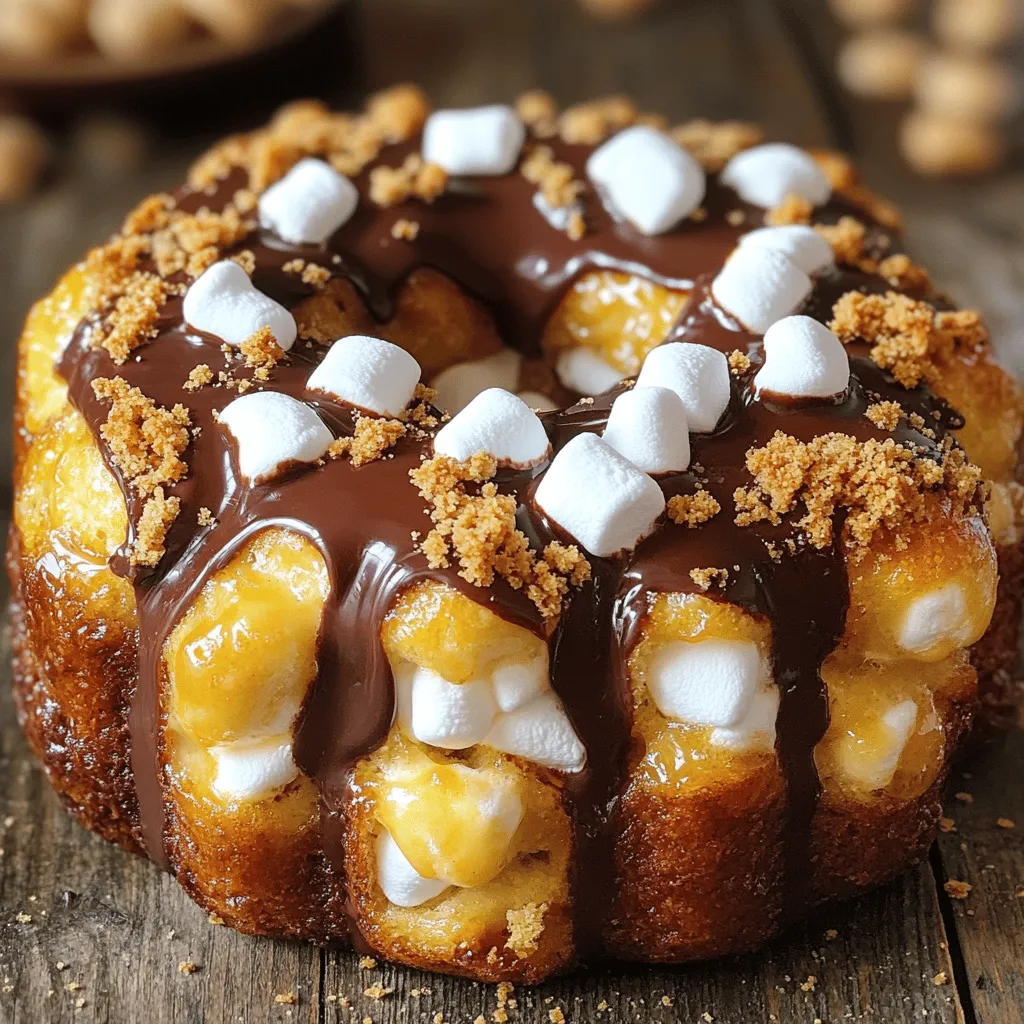
S’mores Monkey Bread Deliciously Easy Dessert Recipe
Are you ready to try a dessert that combines the classic flavors of s’mores with the fun of monkey bread? This S’mores Monkey Bread is a…
Read more…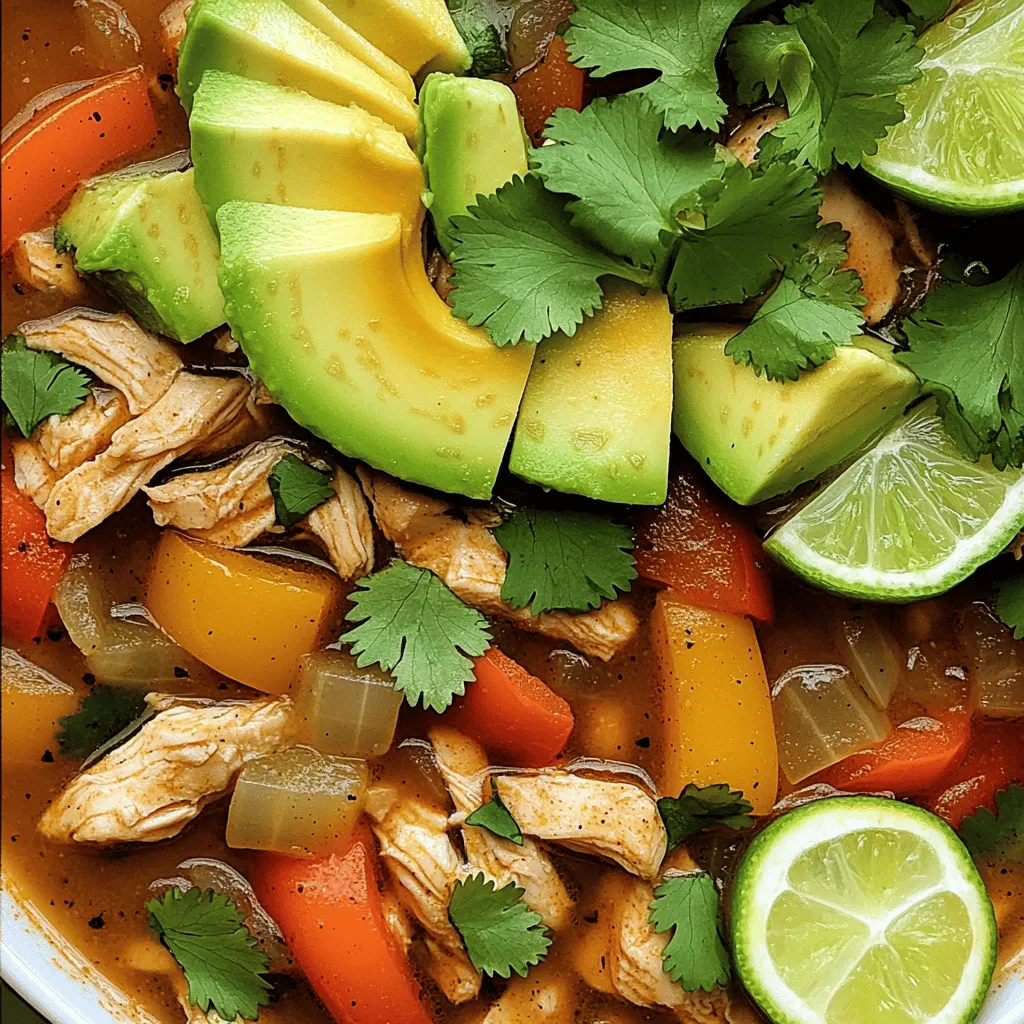
Easy Chicken Fajita Soup Flavor-packed and Quick Meal
Looking for a flavorful meal that’s quick and easy? This Easy Chicken Fajita Soup packs a punch with delicious flavors and takes barely 30 minutes to…
Read more…
Italian Basil Chicken Cutlets Flavorful and Easy Recipe
Are you ready to elevate your dinner game? My Italian Basil Chicken Cutlets are not only flavorful, but they are also easy to make. This dish…
Read more…
Crab Cake Egg Rolls Tasty and Simple Appetizer
Craving a quick and tasty appetizer? Look no further than these crab cake egg rolls! They’re packed with lump crab meat and crispy panko, making them…
Read more…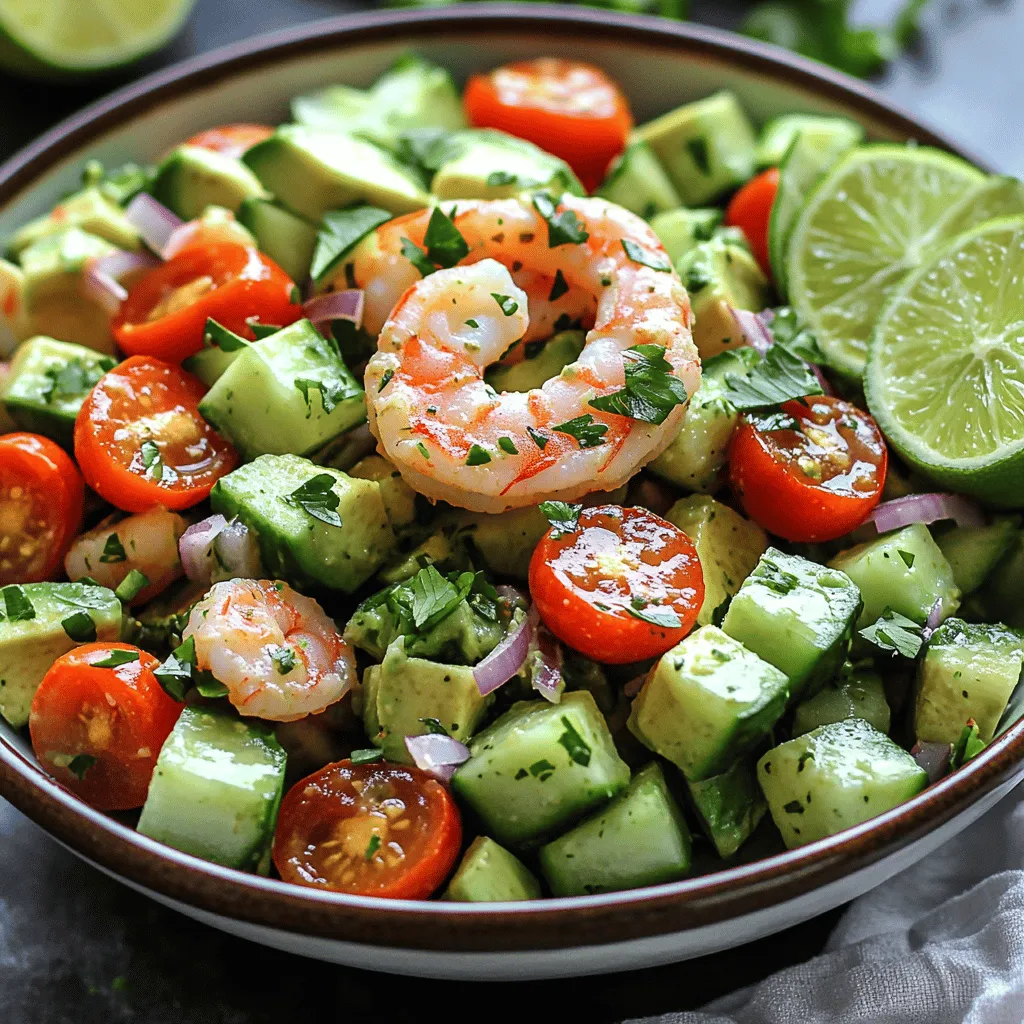
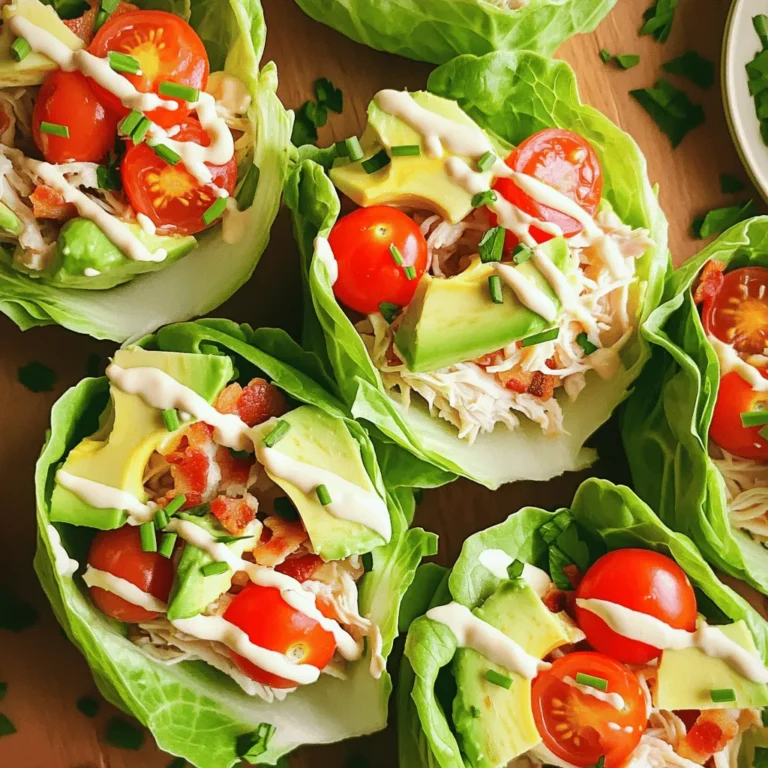
Healthy Avocado Shrimp Salad Fresh and Flavorful Dish
Are you ready to make a dish that’s both healthy and tasty? This Healthy Avocado Shrimp Salad is fresh, vibrant, and perfect for any meal. With…
Read more…
Easy Chicken Enchiladas Flavorful and Quick Dinner Idea
Are you craving a tasty meal that won’t take all night to make? Easy Chicken Enchiladas are your answer! Packed with flavor and made in just…
Read more…
Baked Macaroni and Cheese Comforting Family Favorite
Baked macaroni and cheese is a dish that warms the heart and fills the belly. It’s a comforting family favorite that everyone loves. In this blog,…
Read more…browse recipes


![- 1 ½ cups Arborio rice - 4 cups vegetable broth - 2 cups mixed mushrooms (shiitake, cremini, button) - 1 small onion, finely chopped - 3 cloves garlic, minced - ½ cup grated Parmesan cheese - 3 tablespoons olive oil - 2 tablespoons unsalted butter - 1 tablespoon truffle oil - Salt and freshly ground black pepper to taste - Fresh parsley, chopped for garnish When making mushroom risotto, you want to use high-quality ingredients. Arborio rice gives that creamy texture. Always use fresh mushrooms, as they add rich flavor. I love mixing shiitake, cremini, and button mushrooms for depth. Chopping the onion and garlic finely helps them blend well in the dish. Parmesan cheese adds a savory kick. I prefer using unsalted butter for a smooth finish. Olive oil adds a nice richness, while truffle oil gives a gourmet flair. Don’t forget salt and pepper to season! Fresh parsley brightens the dish, making it even more appealing. - Additional herbs (thyme or rosemary) - White wine (for added flavor) - Dairy-free alternatives (for vegan versions) If you want to enhance flavors, consider adding fresh herbs like thyme or rosemary. A splash of white wine can brighten the dish and add depth. For a vegan version, swap Parmesan with your favorite dairy-free cheese. This way, everyone can enjoy this creamy delight! For more details, check out the [Full Recipe]. 1. Heat 2 tablespoons of olive oil in a large skillet over medium heat. 2. Add the finely chopped onion and minced garlic. Sauté until they are translucent, about 3-4 minutes. 3. Next, add the sliced mixed mushrooms to the skillet. Cook until they turn golden brown, about 5-7 minutes. Season with salt and pepper. 4. Remove half of the mushrooms from the skillet. Set these aside for garnish later. 1. Now, add 1 ½ cups of Arborio rice to the skillet. Stir well to coat the rice in the mushroom mixture. Toast the rice for about 2 minutes until it becomes slightly opaque. 2. Start adding your warm vegetable broth, one ladle at a time. Stir frequently and let the rice absorb most of the liquid before adding more. 3. Keep this up for 18-20 minutes. The rice should become creamy and al dente. 1. Once the rice is cooked, stir in 2 tablespoons of unsalted butter, ½ cup of grated Parmesan cheese, and 1 tablespoon of truffle oil. Mix until creamy and well combined. 2. Taste and adjust the seasoning with salt and freshly ground black pepper. 3. Serve the risotto immediately, topped with the reserved sautéed mushrooms and a sprinkle of fresh parsley. For a detailed recipe, check out the Full Recipe. To make your risotto creamy, stir often. Stirring helps release starch from the rice. This starch makes the risotto thick and smooth. Use a wooden spoon for the best results. Add broth slowly. Wait for the rice to soak up most of the liquid before adding more. This process takes about 18 to 20 minutes. Don’t rush; patience is key. Different mushrooms can change the flavor. Try shiitake, cremini, or button mushrooms. Each type brings its own taste and texture. Mixing them creates a rich and complex flavor. You can also add herbs and spices. Fresh thyme or rosemary can boost the taste. A pinch of nutmeg adds warmth without overpowering the dish. Experiment to find your favorite mix. One common mistake is overcooking the rice. Risotto should be al dente, not mushy. Keep an eye on it, and taste as you cook. Another mistake is skipping the resting period. Letting the risotto sit for a few minutes helps the flavors blend. This step makes a big difference. Follow these tips to enjoy the best mushroom risotto. For the full recipe, check the [Full Recipe]. {{image_2}} If you want a vegan version, start by substituting cheese and butter. Use plant-based butter instead of regular butter. For the cheese, try nutritional yeast or a vegan cheese blend. These options still give a nice flavor. To add creaminess without dairy, use coconut milk or cashew cream. Both give a rich texture. You can blend soaked cashews with water for a smooth cream. This keeps the risotto luscious and satisfying. To make your risotto gluten-free, ensure all ingredients are safe. Check that your vegetable broth is gluten-free. Most broths are, but it’s always good to verify. If you want to use rice alternatives, consider quinoa or brown rice. These grains have a different texture but still work well. Quinoa cooks faster, so adjust your cooking time. You can enhance your risotto with seasonal vegetables. Try adding peas, asparagus, or spinach. These ingredients bring color and extra nutrients. You can mix them in towards the end of cooking. For protein options, serve your risotto with chicken or shrimp. These pair nicely and make your meal heartier. Grilled or sautéed chicken adds a nice touch. Shrimp can be cooked in the same pan for added flavor. For a complete guide, refer to the Full Recipe. This will help you create a delicious mushroom risotto with your preferred variations. To keep your leftover mushroom risotto fresh, first cool it down. Place it in a shallow dish to speed up cooling. Once it's at room temperature, cover it tightly with plastic wrap or transfer it to an airtight container. Store it in the fridge. It tastes best if used within three days. Use glass or plastic containers with tight-fitting lids. These keep the risotto from drying out. Avoid using metal containers, as they can change the taste of the food. To reheat risotto, use a nonstick skillet over low heat. Add a splash of broth or water. Stir it gently to keep the creamy texture. Avoid using a microwave, as it can make the risotto dry and sticky. If the risotto is too thick when reheating, add more broth or water. Stir well until it reaches your desired creaminess. This trick helps it taste fresh and delicious even after storage. To freeze mushroom risotto, let it cool completely first. Then scoop it into freezer-safe bags or containers. Make sure to remove as much air as possible. This helps prevent freezer burn and keeps it tasting great. You can store frozen risotto for up to three months. When ready to enjoy it, thaw it overnight in the fridge. Reheat it gently, adding broth or water as needed to restore its creamy texture. You can find the full recipe for mushroom risotto earlier in the article. Mushroom risotto can last about 3 to 5 days in the fridge. To keep it fresh, store it in an airtight container. Always cool the risotto before sealing. Check for any off-smells or changes in color before eating. Discard if it seems off. Yes, you can make mushroom risotto in advance. Cook the risotto, then cool it quickly. Store it in the fridge, and reheat it when needed. Add a splash of broth to restore creaminess when reheating. This keeps your dish tasty and enjoyable. The best mushrooms for risotto are shiitake, cremini, and button mushrooms. They provide a rich, earthy flavor. You can also try seasonal mushrooms for variety. For example, use chanterelles in spring or porcini in fall. Each type brings its unique taste to the risotto. Mushroom risotto offers several nutritional benefits. Arborio rice provides carbohydrates for energy. Mushrooms add fiber and vitamins, enhancing health. The dish can be made healthier by using less cheese or opting for low-fat alternatives. Adjust the recipe to fit your dietary needs. This blog post outlined the key ingredients and steps to make a delicious mushroom risotto. I shared essential tips for texture, flavor, and common mistakes to avoid. You can customize the dish with optional ingredients while ensuring it's suitable for different diets. In the end, risotto is a versatile dish. Experiment with flavors to make it your own. Enjoy creating a comforting meal that satisfies your taste buds. Happy cooking!](https://lisadishes.com/wp-content/uploads/2025/05/6960f42f-cf58-4ae6-a9da-d5f8d1e111df.webp)
Savory Mushroom Risotto Comforting Italian Delight
If you’re craving a warm, comforting dish, look no further than mushroom risotto! This creamy Italian delight invites you to savor a blend of…
My Latest Desserts

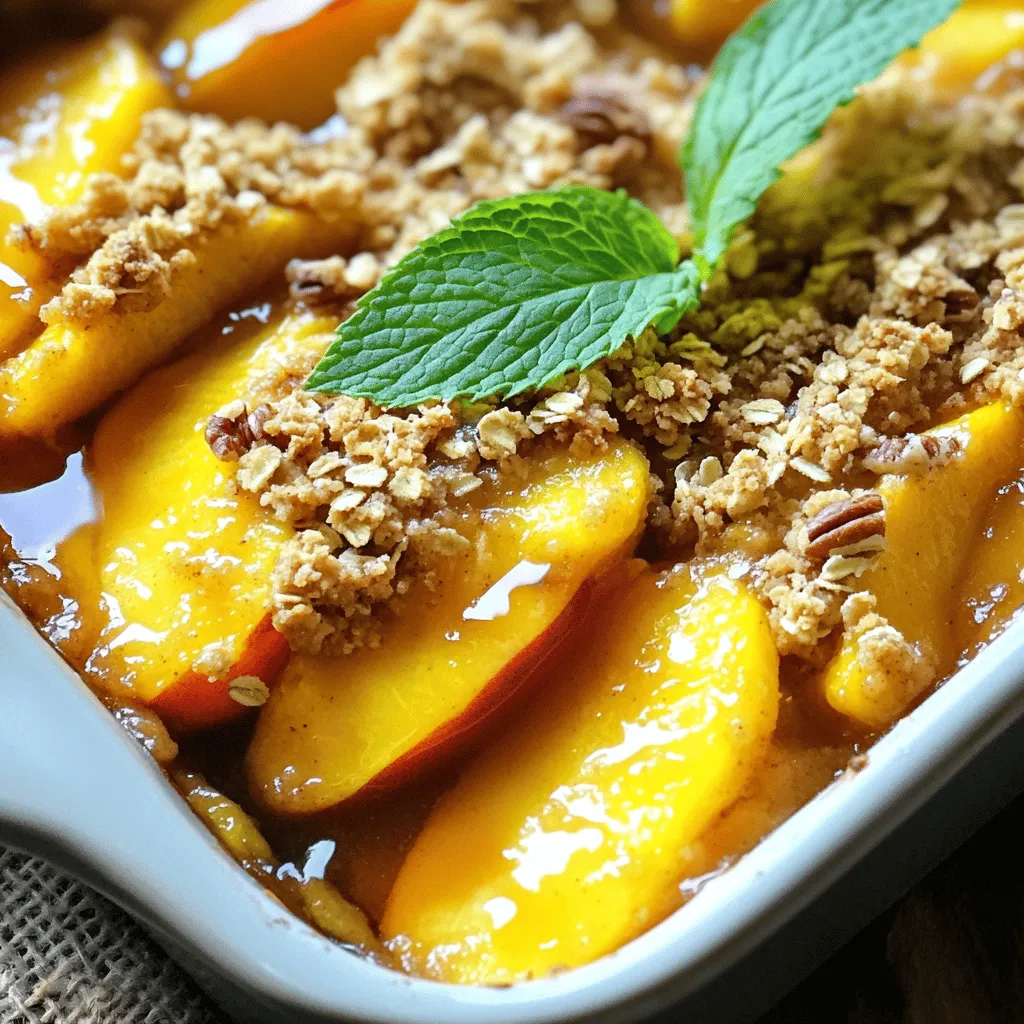
Peach Crisp with Oat Topping Simple Comfort Food
If you’re craving a dessert that combines juicy peaches with a crunchy oat topping, you’re in the right place! My Peach Crisp with Oat Topping is a warm and comforting... Read Full Recipe-
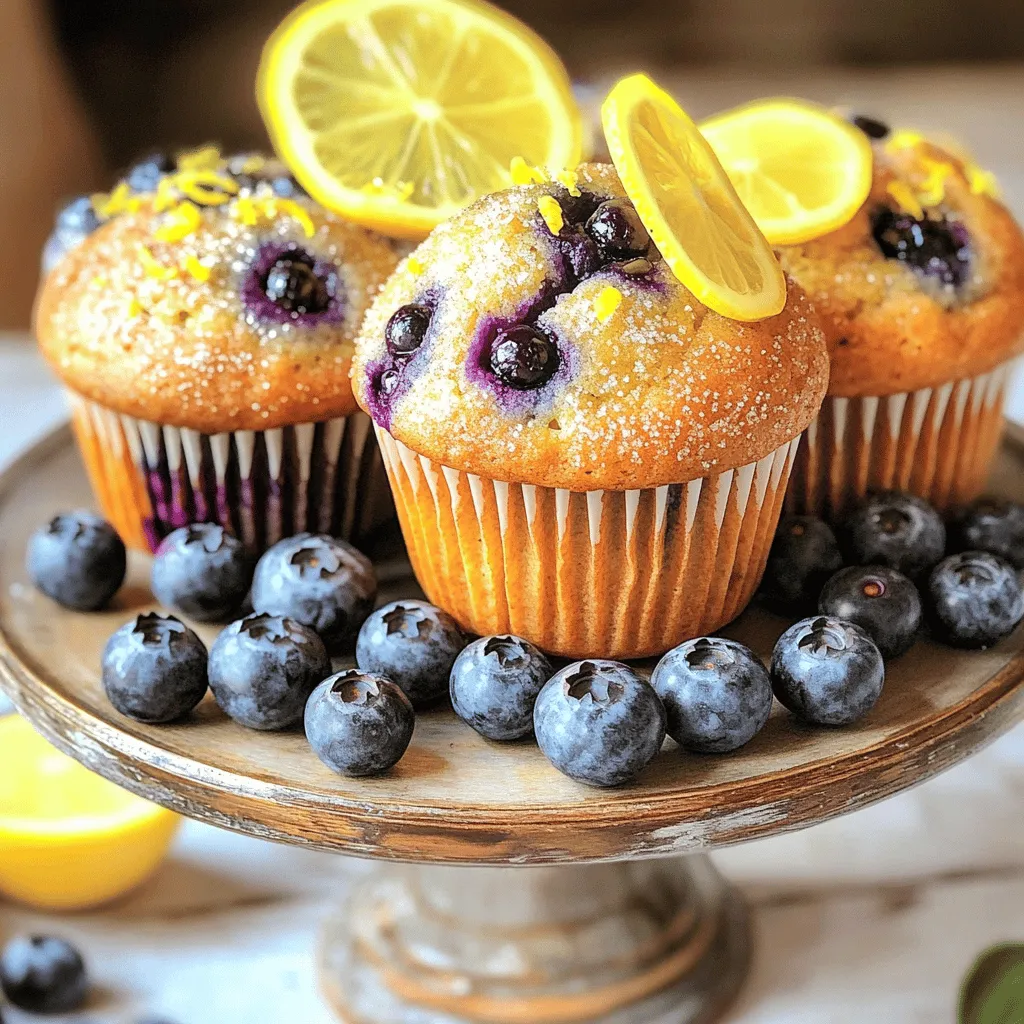
Lemon Blueberry Muffins Fresh and Flavorful Treat
Looking for a fresh and tasty treat? My Lemon Blueberry Muffins are just what you need! Bursting with zesty lemon and sweet blueberries, these muffins are perfect for breakfast or... Read Full Recipe -
Apple Cinnamon Overnight Oats Tasty and Simple Recipe
Start your mornings right with a delicious bowl of Apple Cinnamon Overnight Oats! This simple recipe combines wholesome ingredients to give you a quick, easy breakfast. You’ll only need a... Read Full Recipe -
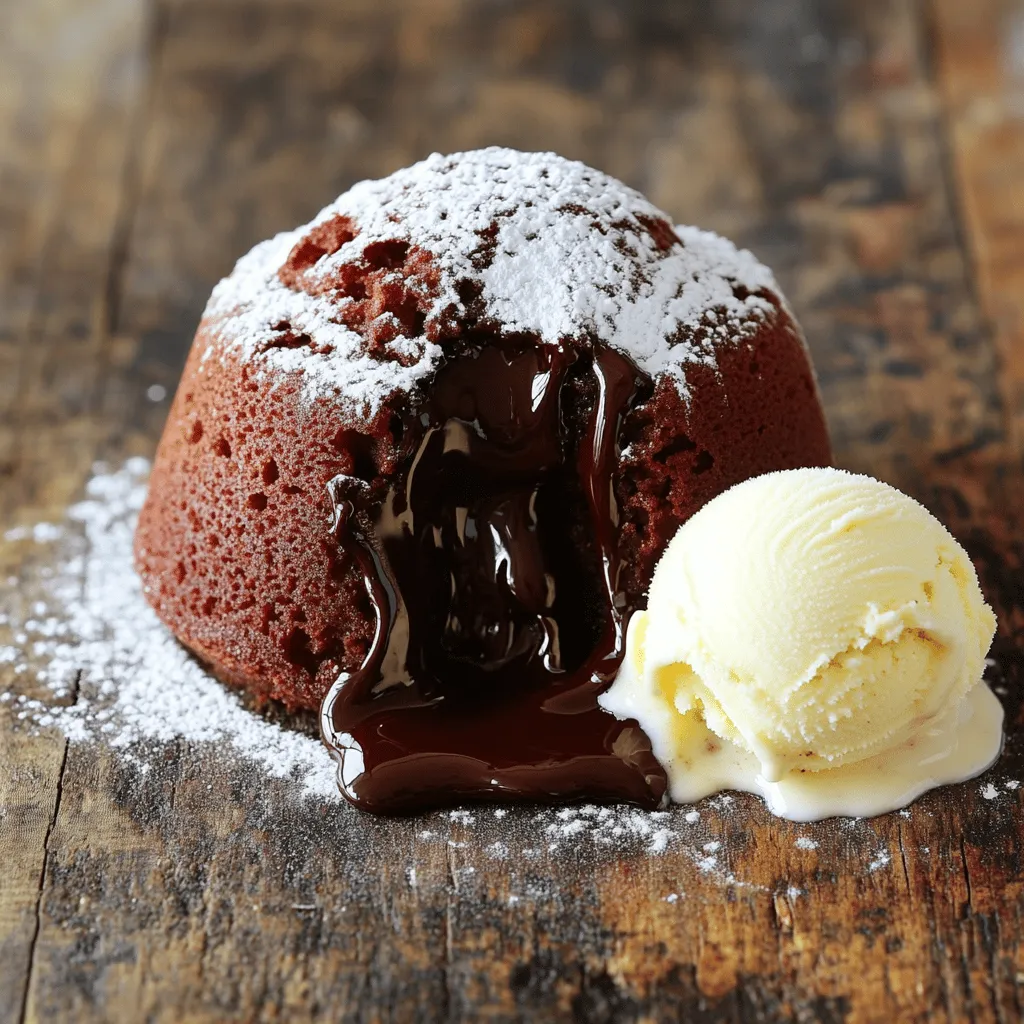
Easiest Chocolate Lava Cake Quick and Delicious Treat
Craving a sweet treat that impresses without complicated steps? You’ll love this Easiest Chocolate Lava Cake recipe! This dessert is quick to make and packed with gooey chocolate goodness. With... Read Full Recipe -
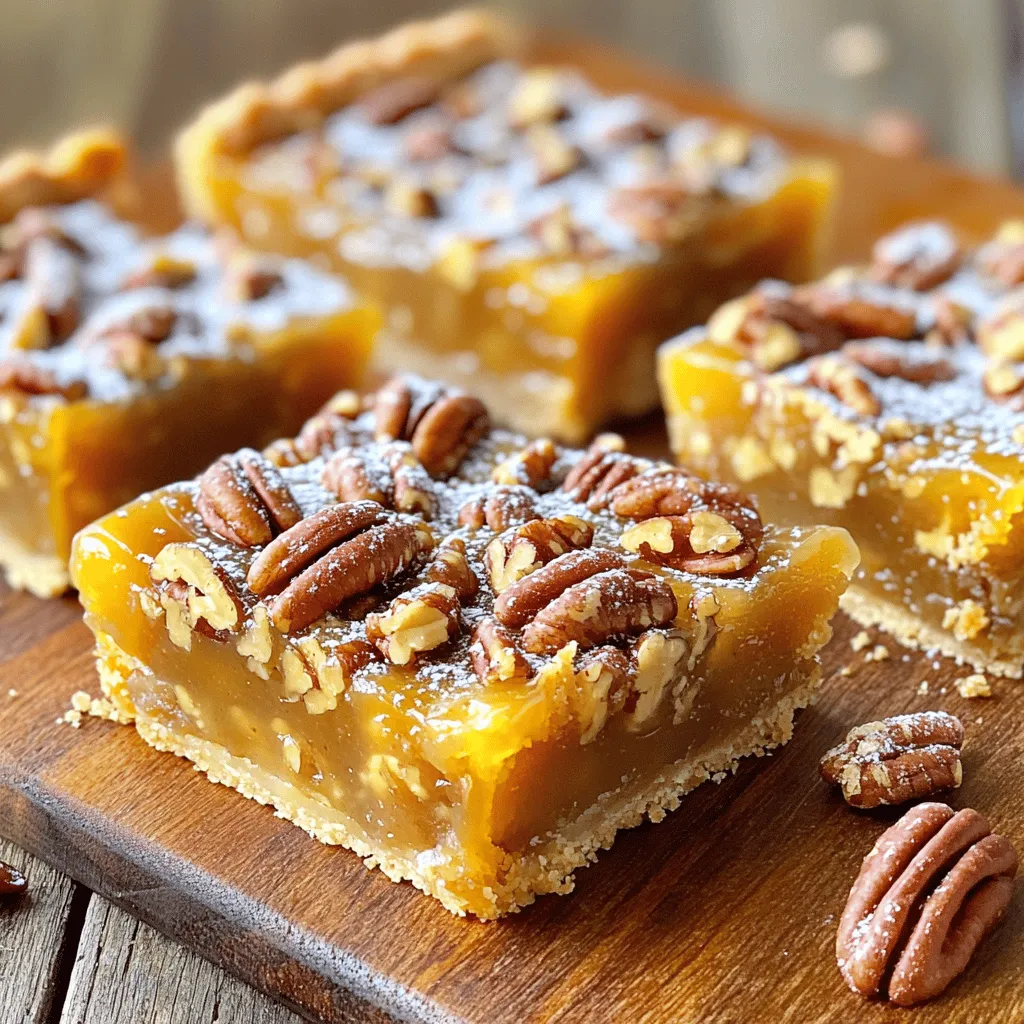
Maple Pecan Pie Bars Delightful Dessert Treat
Are you ready to indulge in a delightful dessert? These Maple Pecan Pie Bars are a sweet twist on a classic favorite! With crunchy pecans and rich maple flavor, every... Read Full Recipe -
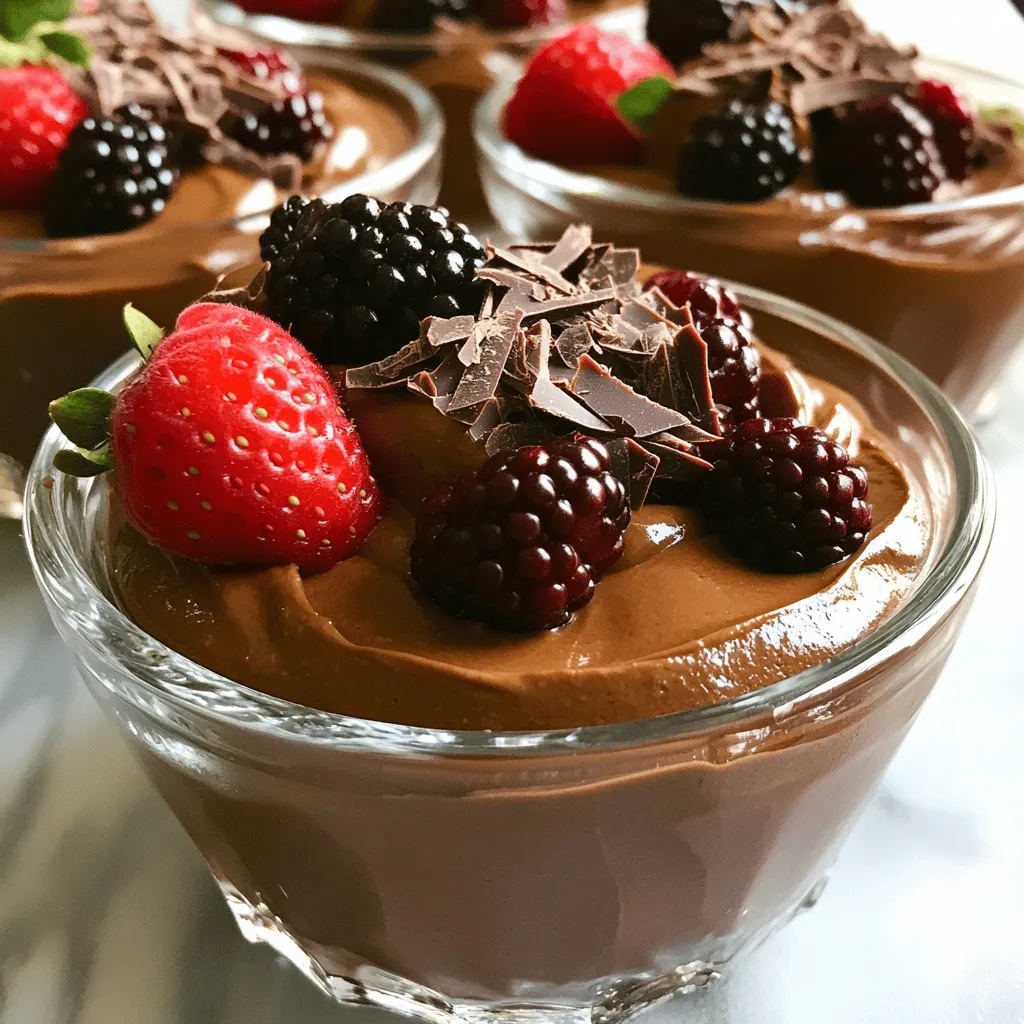
Vegan Chocolate Avocado Mousse Rich and Creamy Delight
If you crave a dessert that’s both rich and healthy, you’re in the right place. This Vegan Chocolate Avocado Mousse combines ripe avocados, unsweetened cocoa powder, and a touch of... Read Full Recipe -
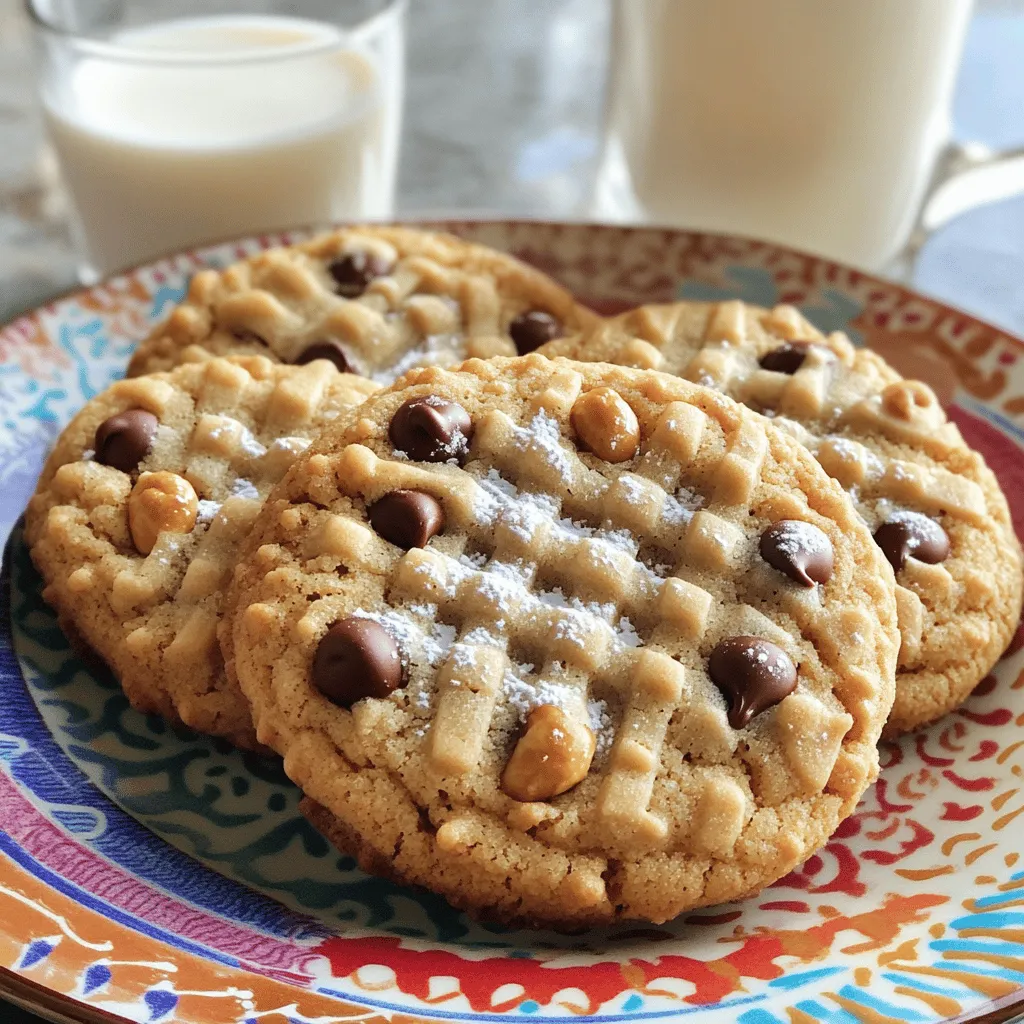
Peanut Butter Chocolate Chip Cookies Simple and Sweet
If you love the rich taste of peanut butter and the sweetness of chocolate, you’re in for a treat! This blog post will guide you through making simple and sweet... Read Full Recipe -
No-Bake Strawberry Shortcake Quick and Simple Delight
Are you craving a sweet treat that’s easy and delicious? Look no further! My No-Bake Strawberry Shortcake is a quick and simple delight, perfect for any occasion. With just a... Read Full Recipe -
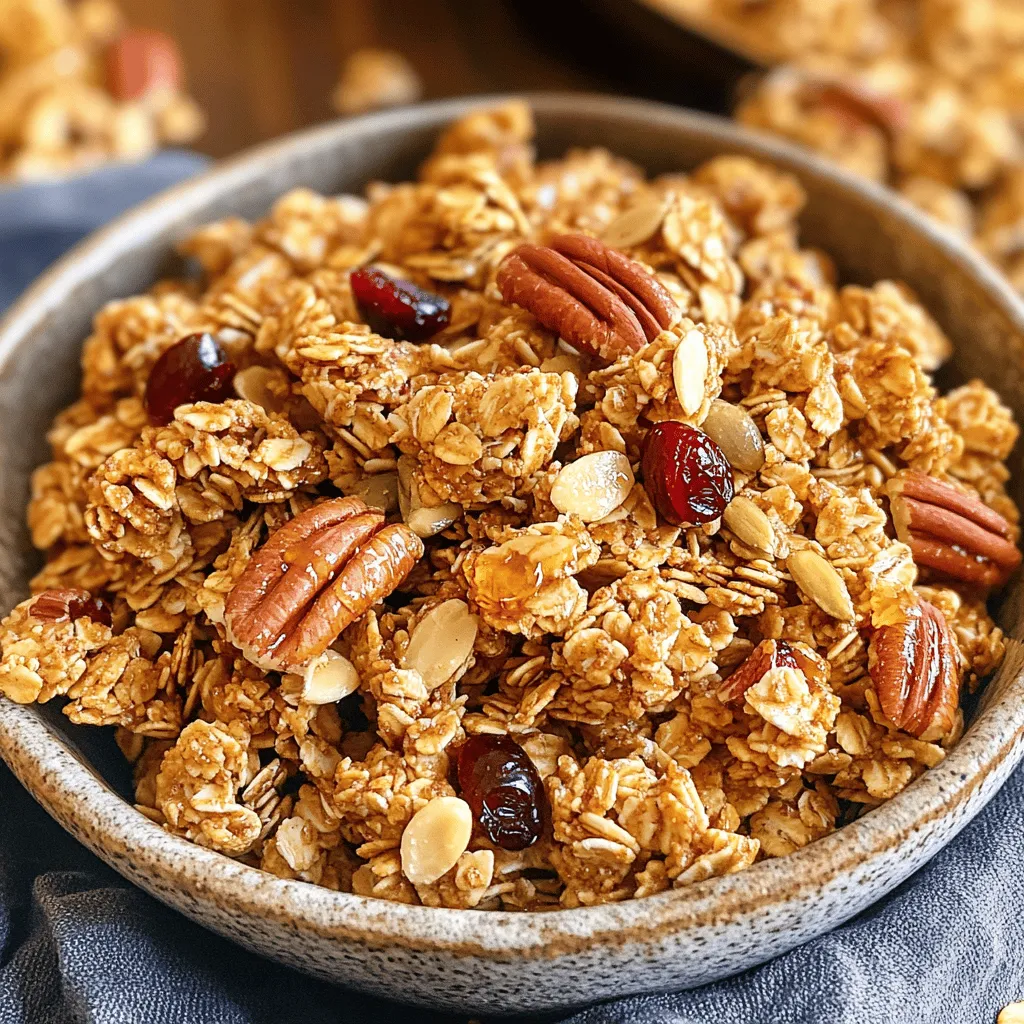
Maple Pecan Granola Crunchy and Healthy Snack
Looking for a tasty yet healthy snack? You’ll love my Maple Pecan Granola! This crunchy treat is simple to make and packed with flavor. With a few key ingredients and... Read Full Recipe -
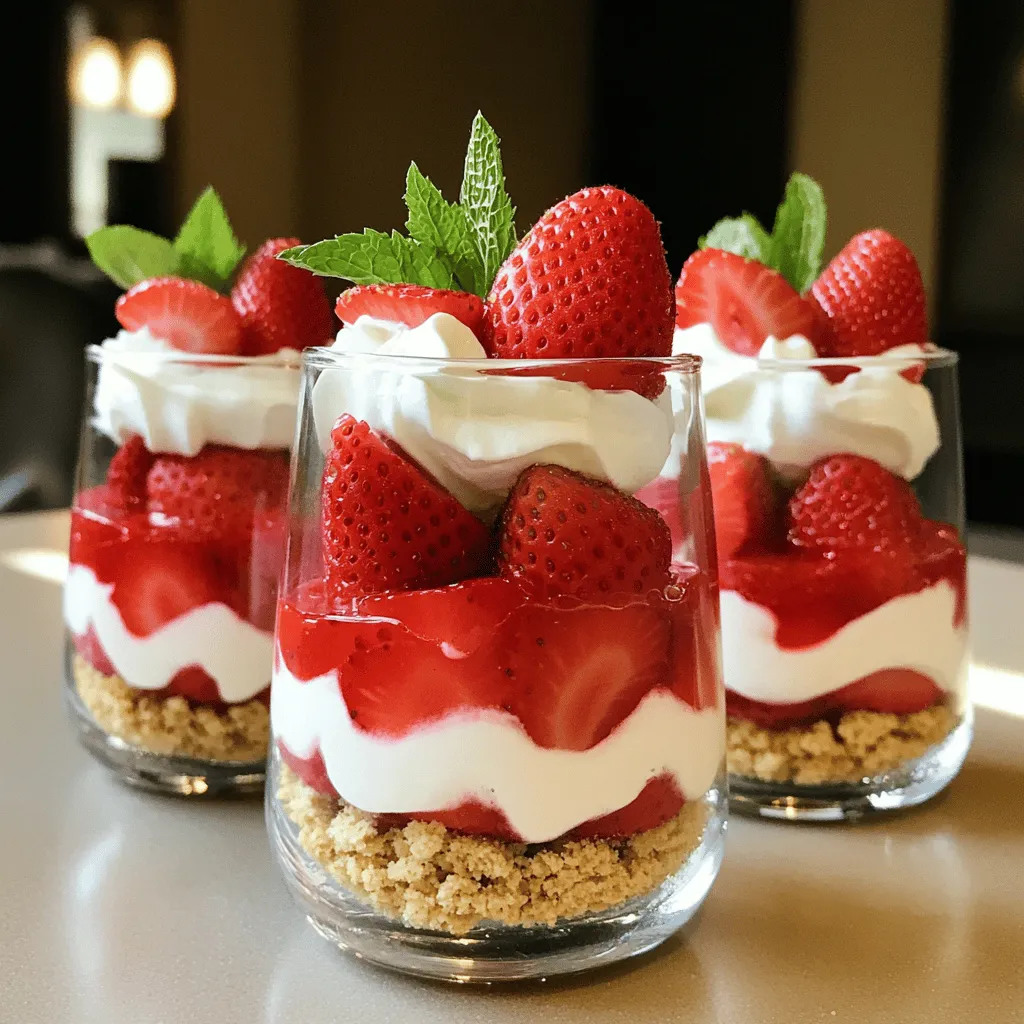
Strawberry Shortcake Trifle Delightful Layered Treat
Are you ready to impress your friends with a strawberry shortcake trifle? This delightful layered treat combines juicy strawberries, fluffy whipped cream, and soft cake for pure indulgence. It’s a... Read Full Recipe


My Latest Recipes

hey,
i’m !
I’m so happy you’re here!
Each recipe I share is a little piece of love from my kitchen. May they fill your heart and home with warmth. Let’s cook up something wonderful together.


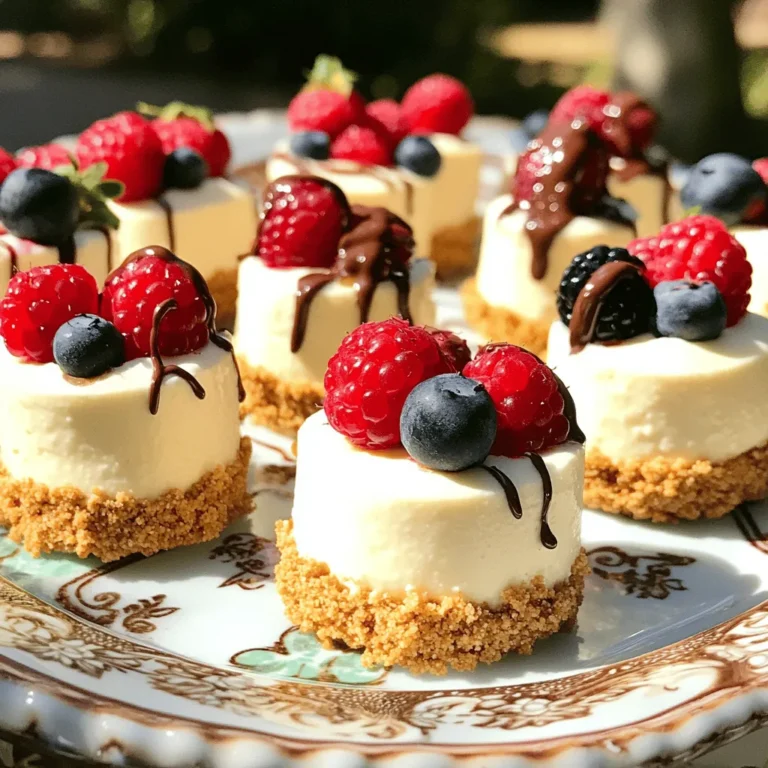
No-Bake Cheesecake Bites Simple and Tasty Treat
If you love sweet treats that are easy to make, you’re in the right place! These no-bake cheesecake bites are simple and delicious. With…

