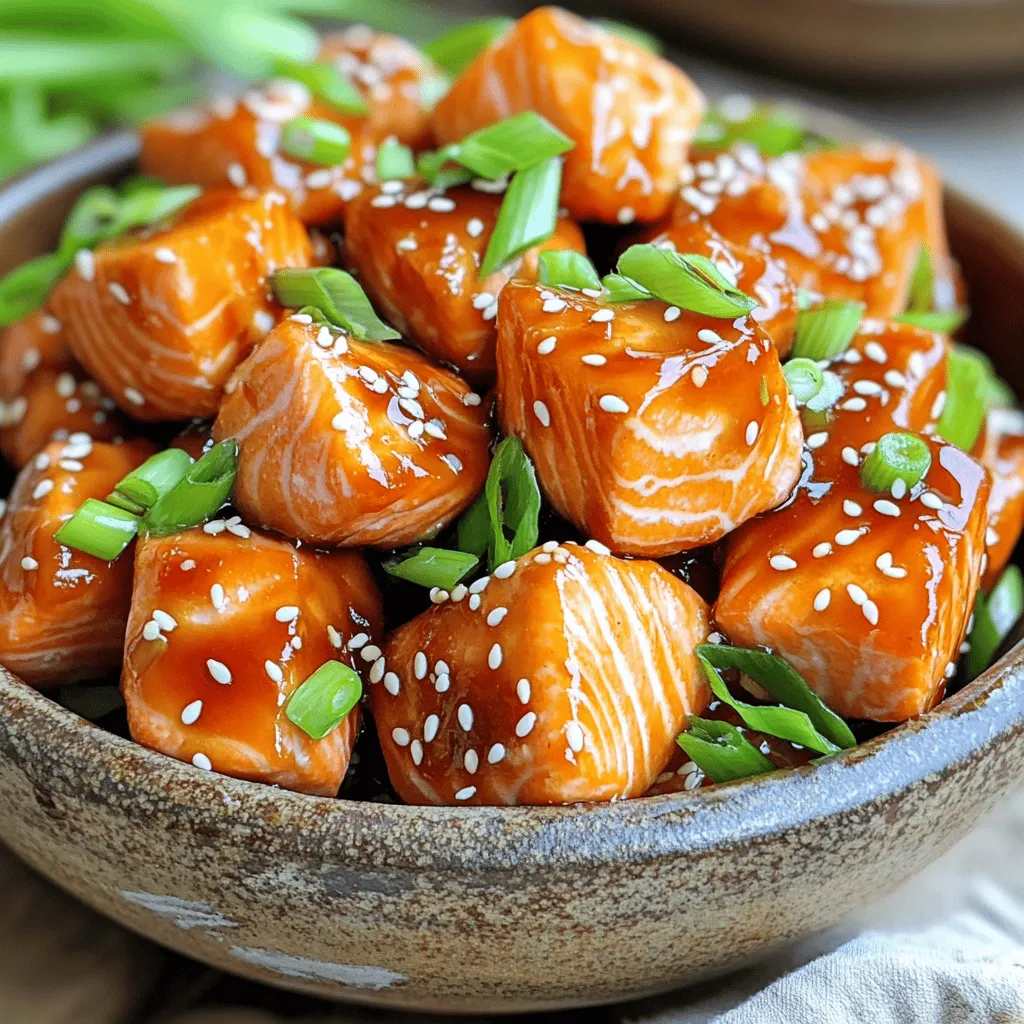
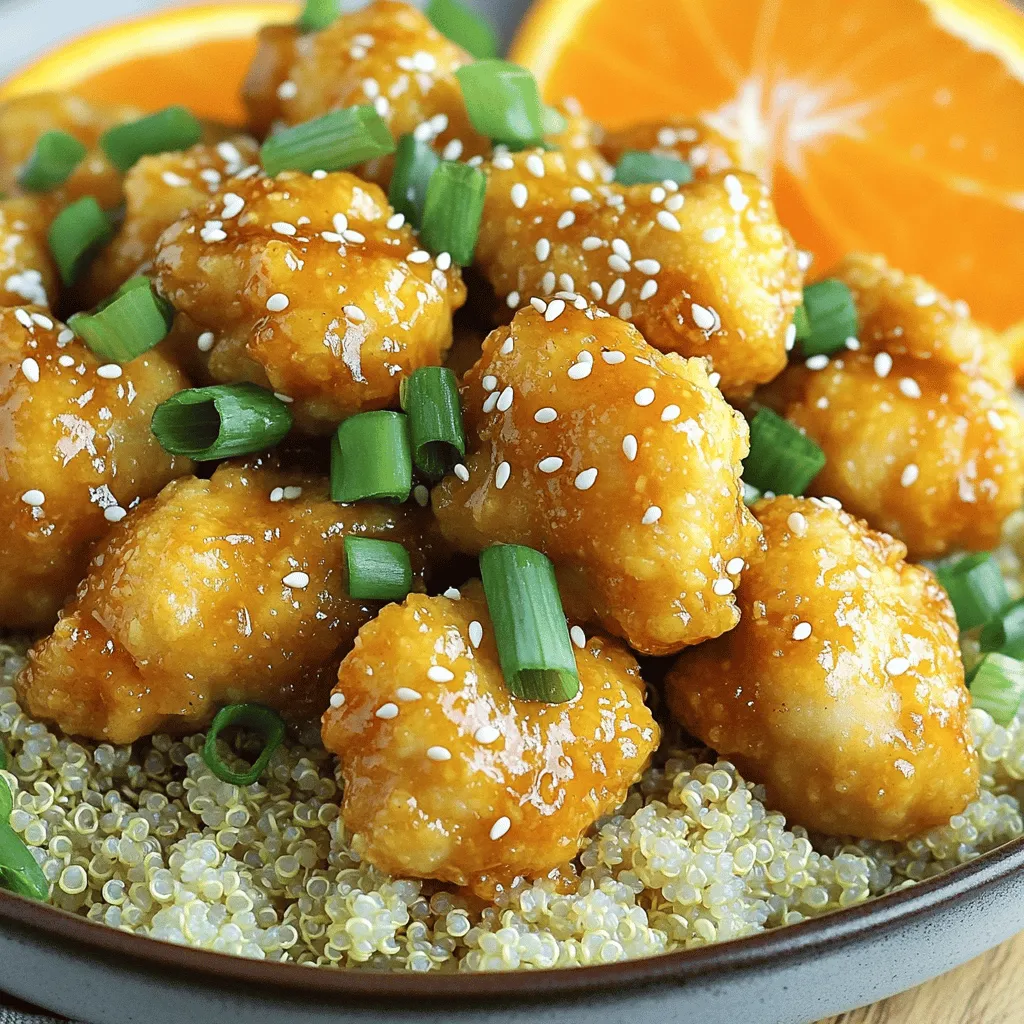
Air Fryer Teriyaki Salmon Bites Simple Flavor Boost
Looking to elevate your dinner game? I have the perfect solution: Air Fryer Teriyaki Salmon Bites. These tasty bites are
Looking to elevate your dinner game? I have the perfect solution: Air Fryer Teriyaki Salmon Bites. These tasty bites are
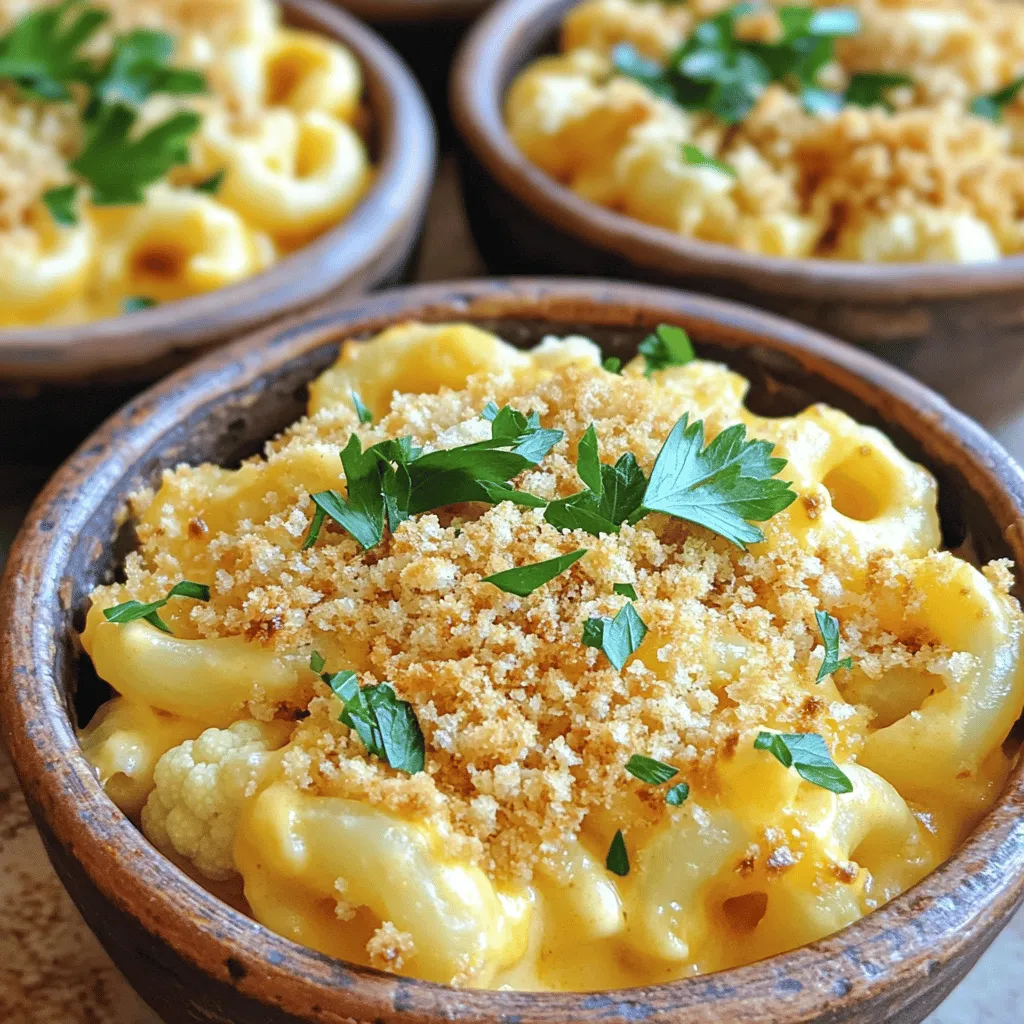
Are you ready to enjoy a creamy, delicious spin on a classic comfort food? My Cauliflower Mac and Cheese recipe
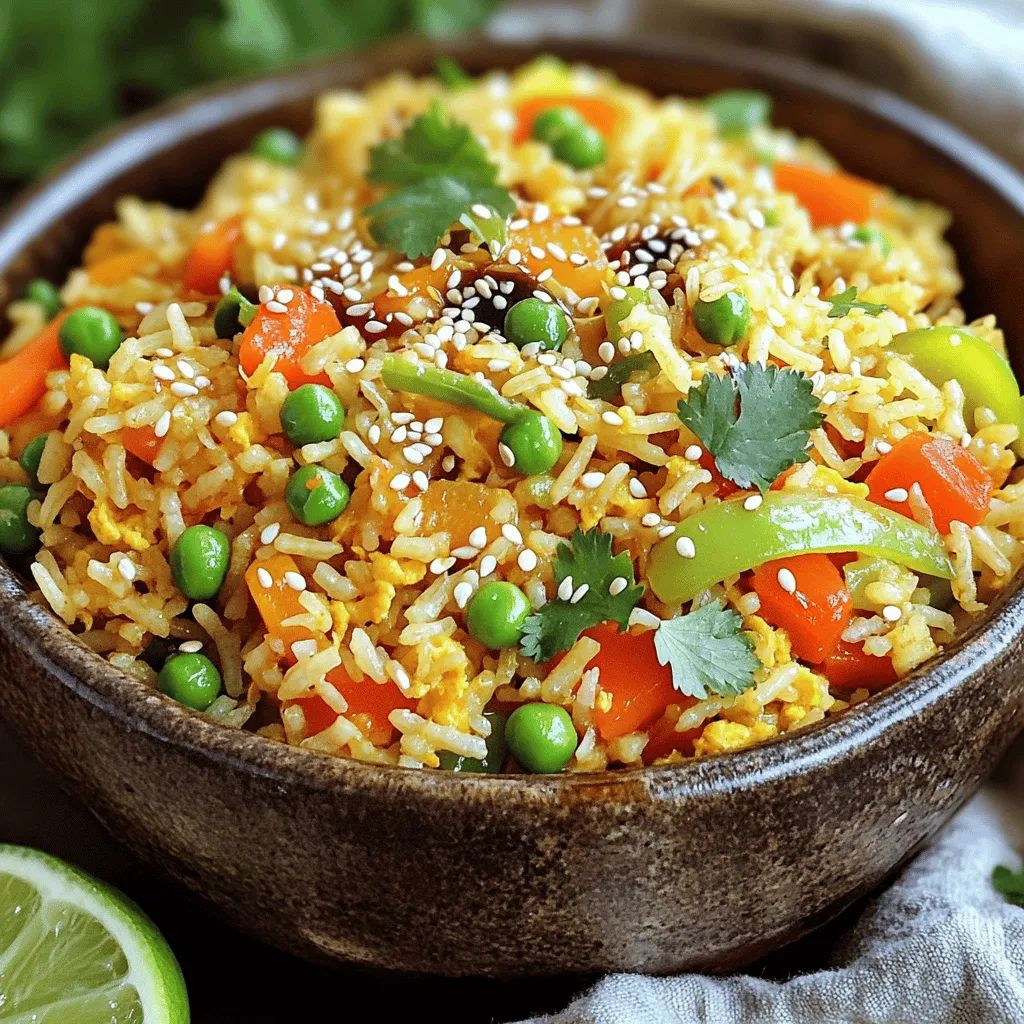
Looking for a quick and tasty meal? Veggie fried rice is the answer! This dish is full of flavor, colorful

Welcome to your new favorite meal: Spicy Korean Beef Bowls! This simple and tasty recipe is packed with flavor and
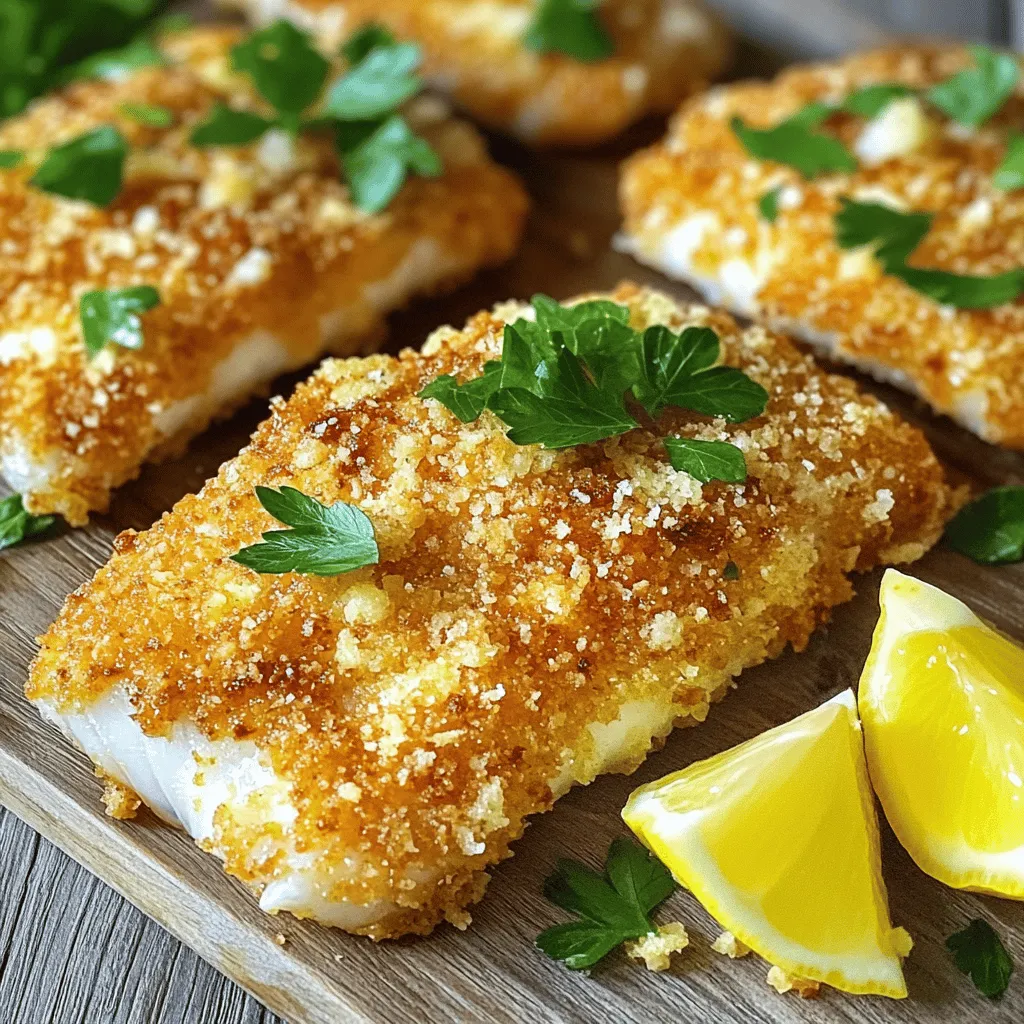
Looking for a dish that’s both tasty and easy to prepare? I’ve got you covered with my Parmesan Crusted Tilapia
Craving a dish that’s both easy to make and full of flavor? You’re in the right place! In this post,
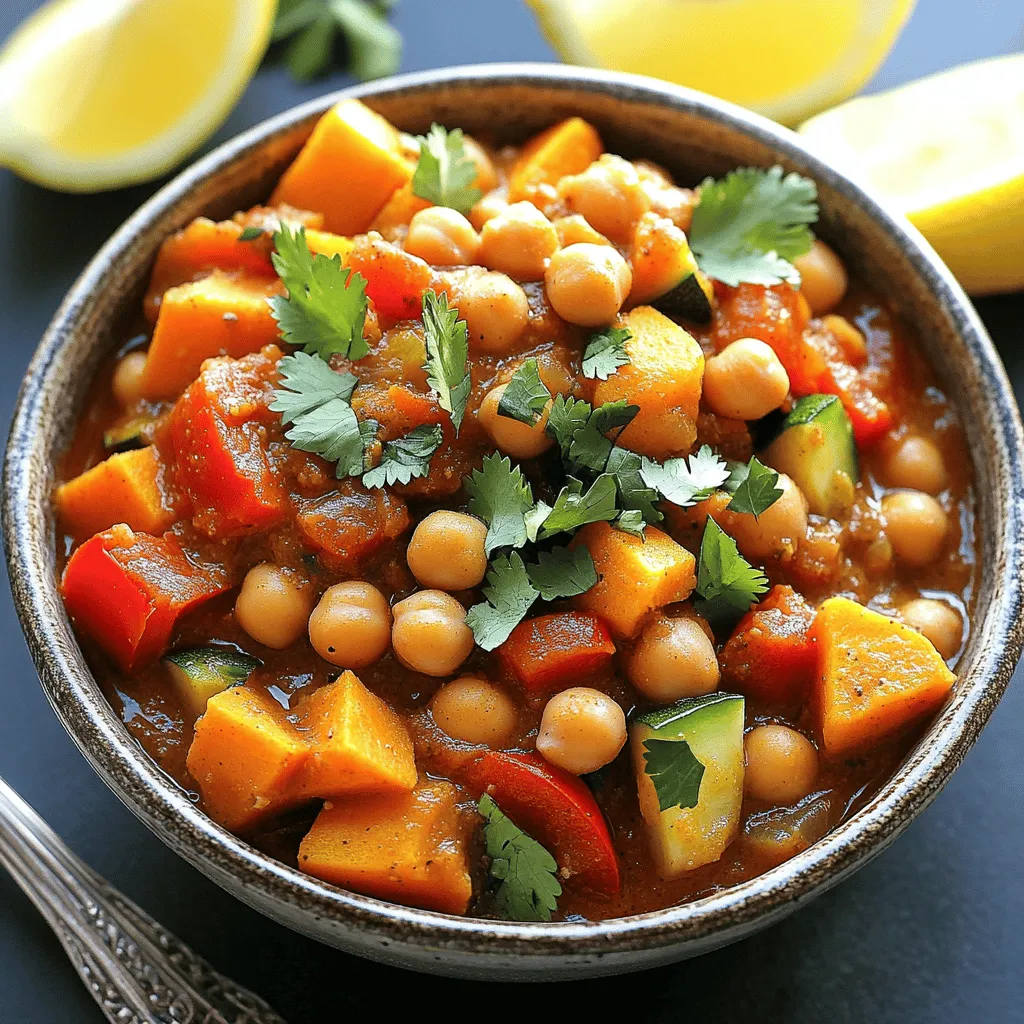
Looking for a dish that warms your heart and excites your taste buds? This Slow Cooker Moroccan Chickpea Stew is
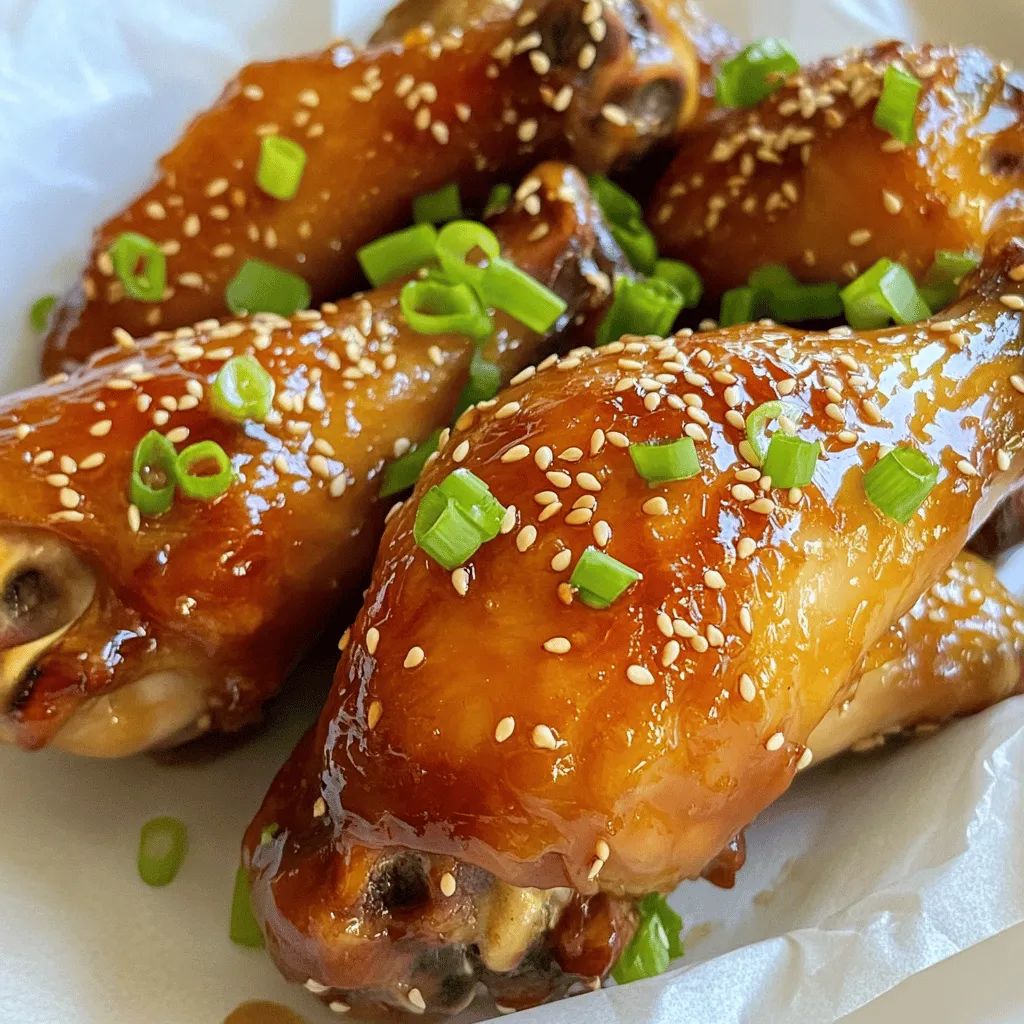
Get ready to impress your taste buds with my Savory Sesame Honey Chicken Drumsticks Delight! These drumsticks are juicy, sweet,
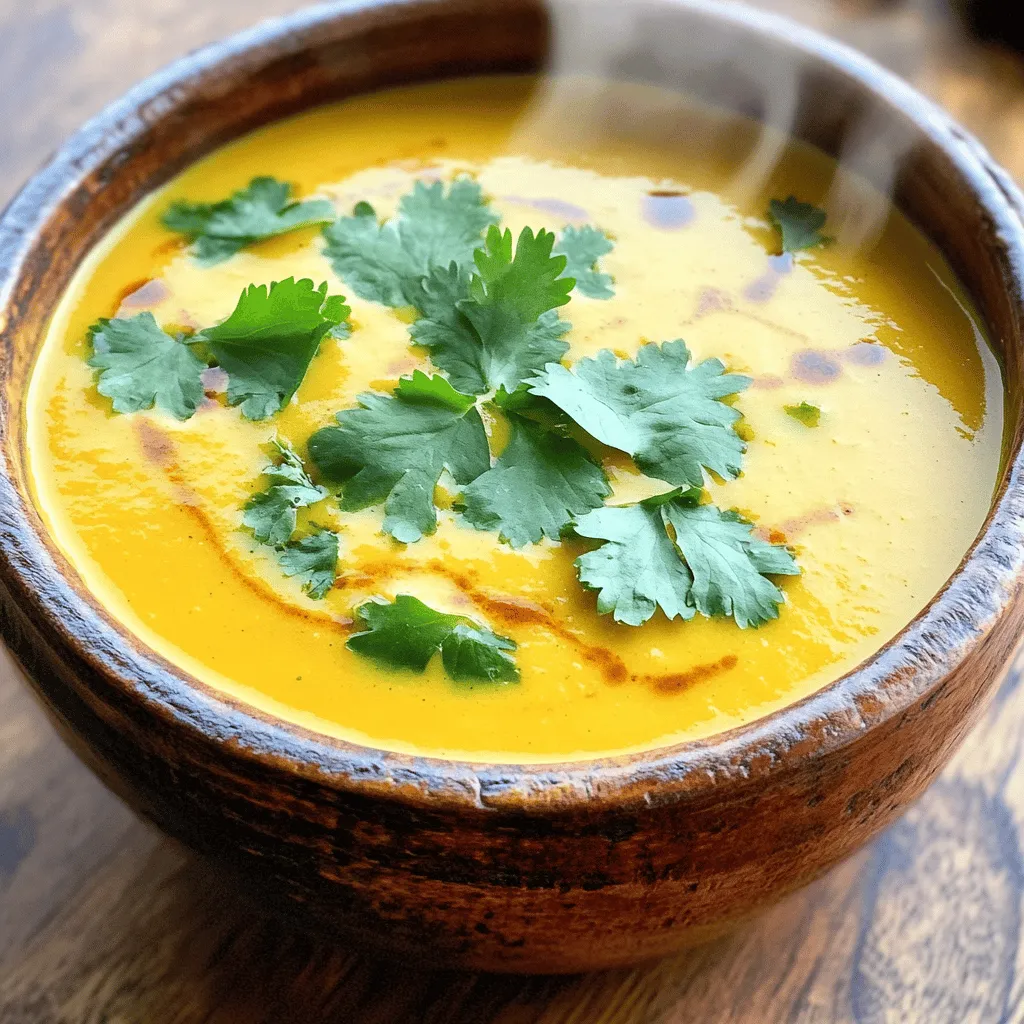
Warm, creamy, and packed with flavor, Coconut Curry Butternut Soup is a delight. This nourishing dish combines sweet butternut squash
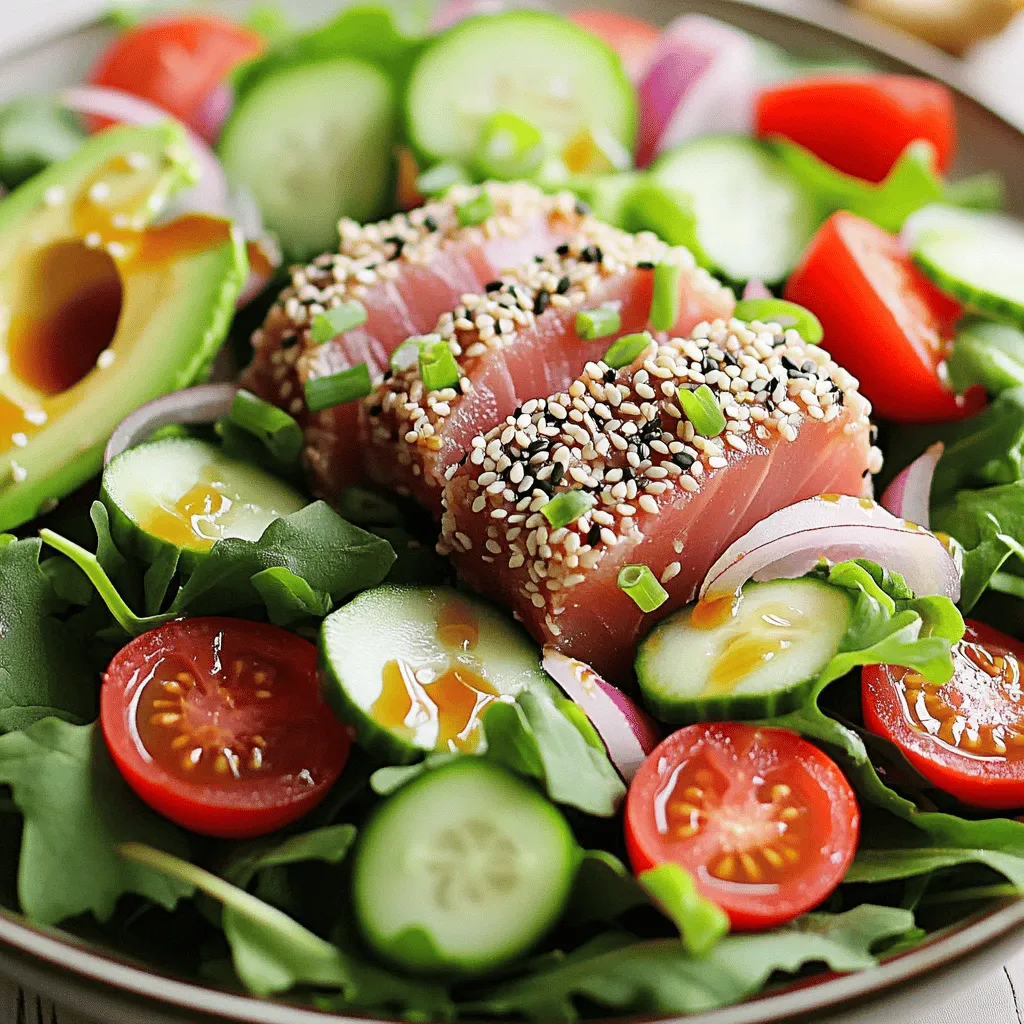
Dive into a flavorful journey with my Savory Sesame Crusted Ahi Tuna Salad Delight! This dish combines fresh ahi tuna,
