
Creamy Tomato Basil Gnocchi One Pot Delight
Welcome to Creamy Tomato Basil Gnocchi One Pot Delight! If you crave a rich, comforting dish that’s quick to prepare,
Welcome to Creamy Tomato Basil Gnocchi One Pot Delight! If you crave a rich, comforting dish that’s quick to prepare,

Looking for an easy, tasty dinner? This Creamy Ranch Chicken and Potatoes Slow Cooker Delight ticks all the boxes. Tender

Looking for a quick and tasty meal? My Garlic Chili Chicken Noodles take just 15 minutes to whip up! This
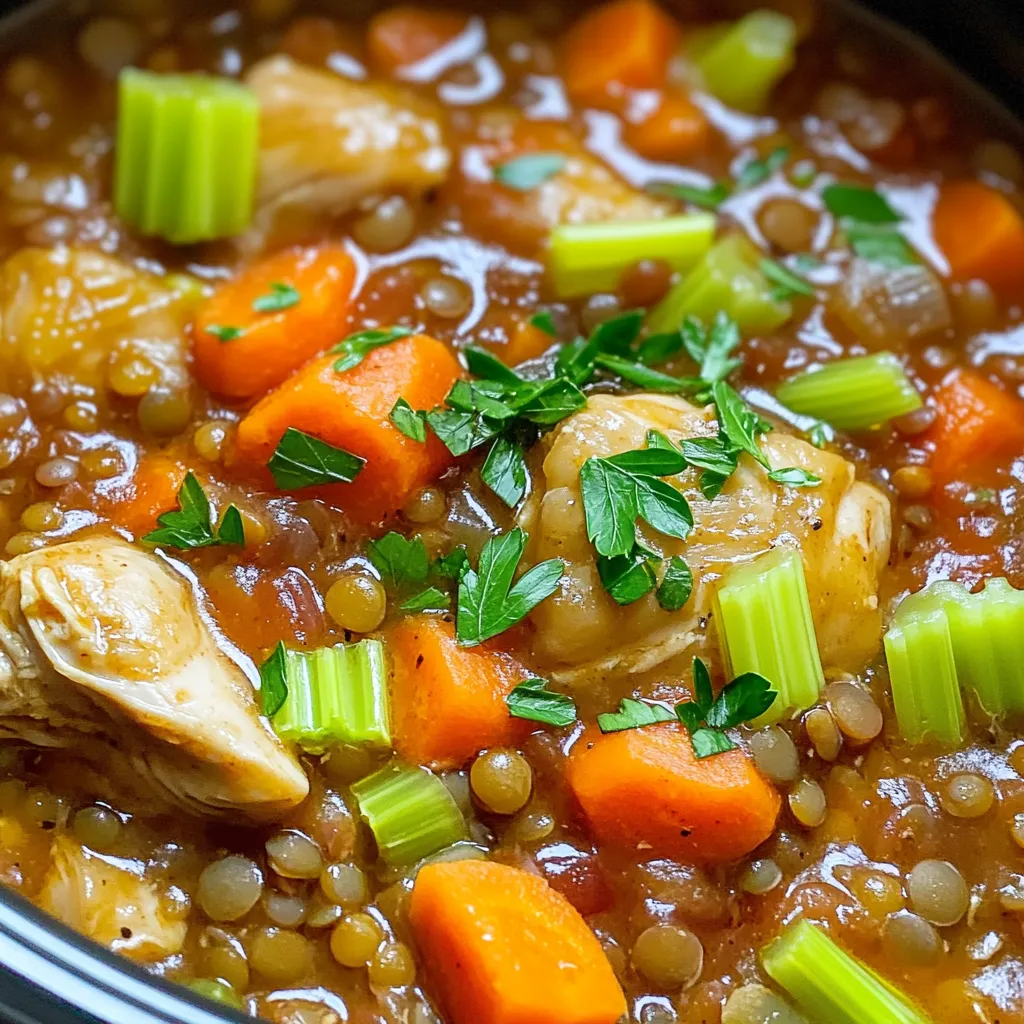
Looking to warm up with a hearty meal? My Rustic Chicken Lentil Stew Slow Cooker Delight is the answer. Made

Are you ready to savor a quick and tasty meal? My Garlic Herb Shrimp & Veggie Bake Sheet Pan Delight

Are you ready to treat yourself to an easy, mouthwatering meal? In this blog post, I’ll show you how to
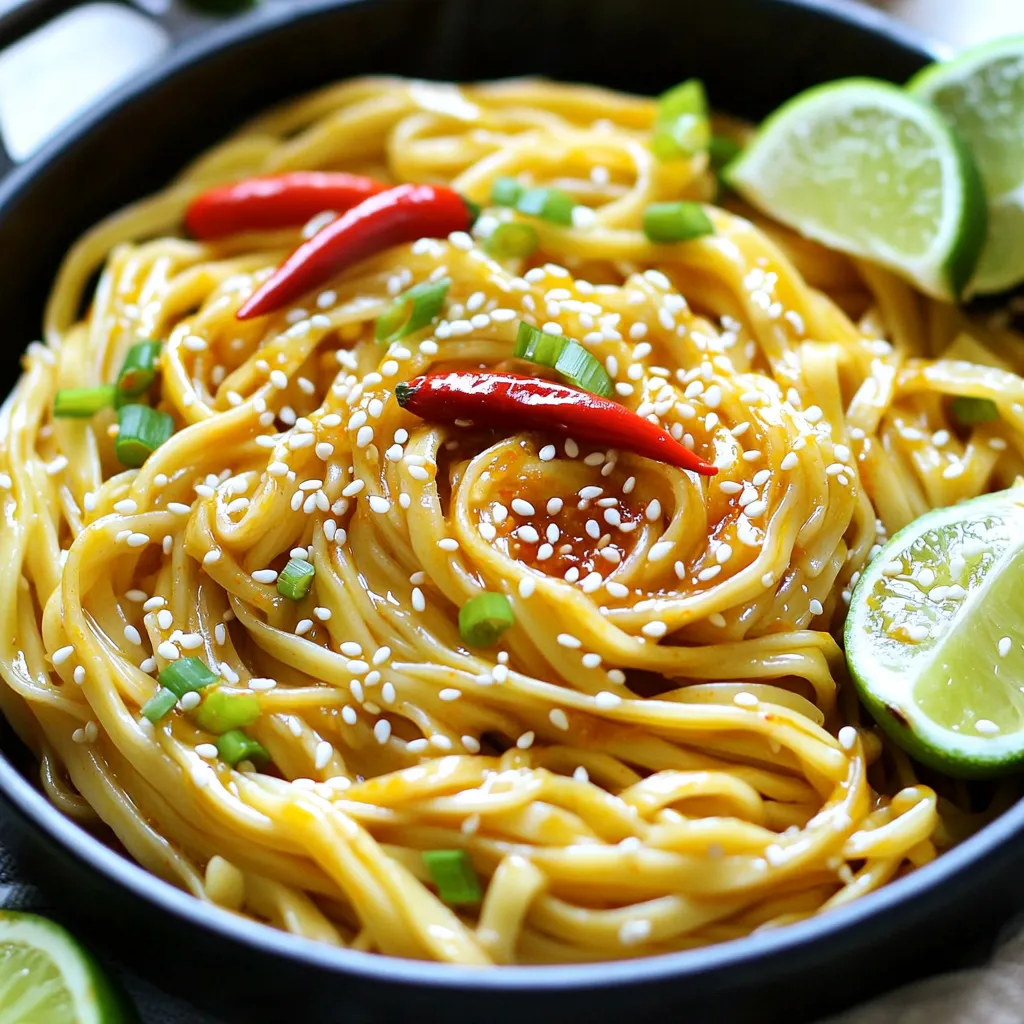
Are you ready for a quick and flavorful dish? Minute Spicy Garlic Noodles are your answer! In just a few

Are you ready to impress your family with a simple yet mouth-watering dish? In this blog post, I’ll guide you
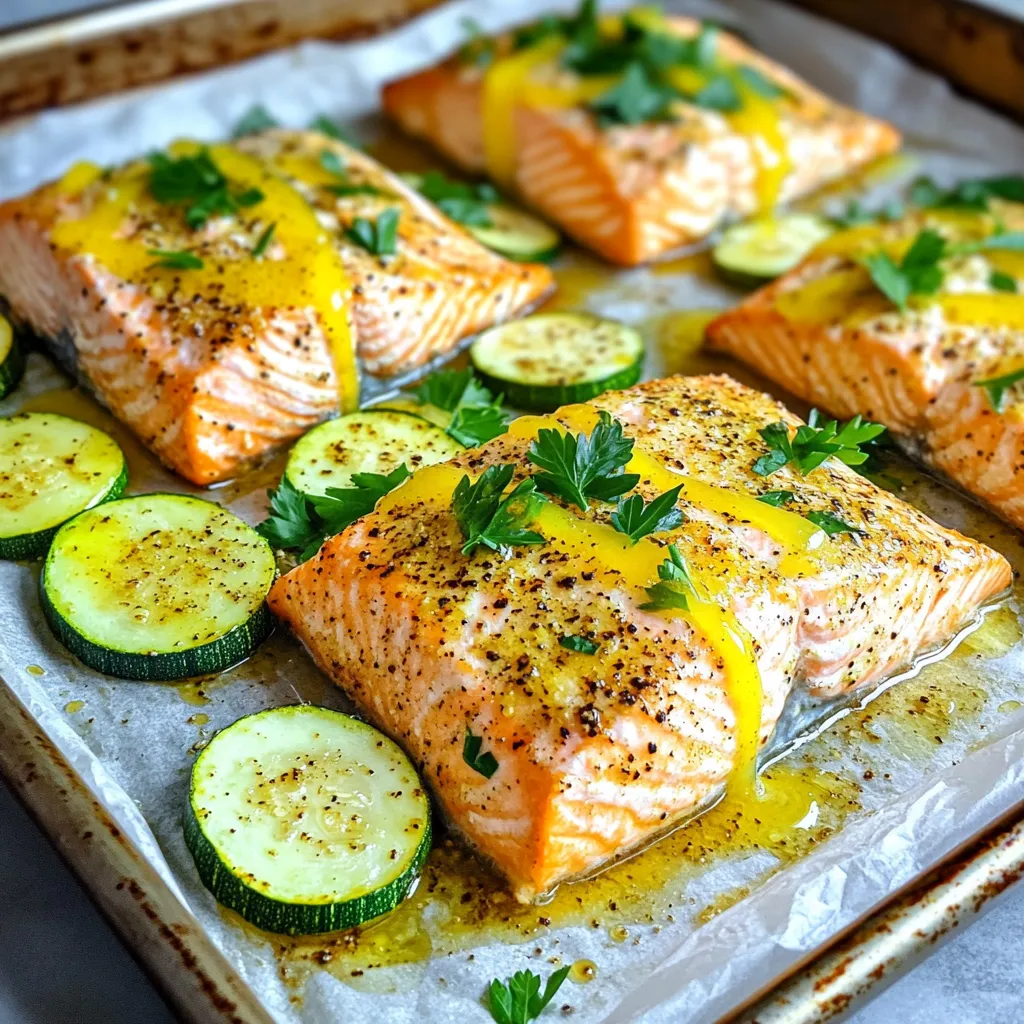
Are you ready to taste the joy of a quick and healthy meal? My Sheet-Pan Lemon Pepper Salmon with Zucchini
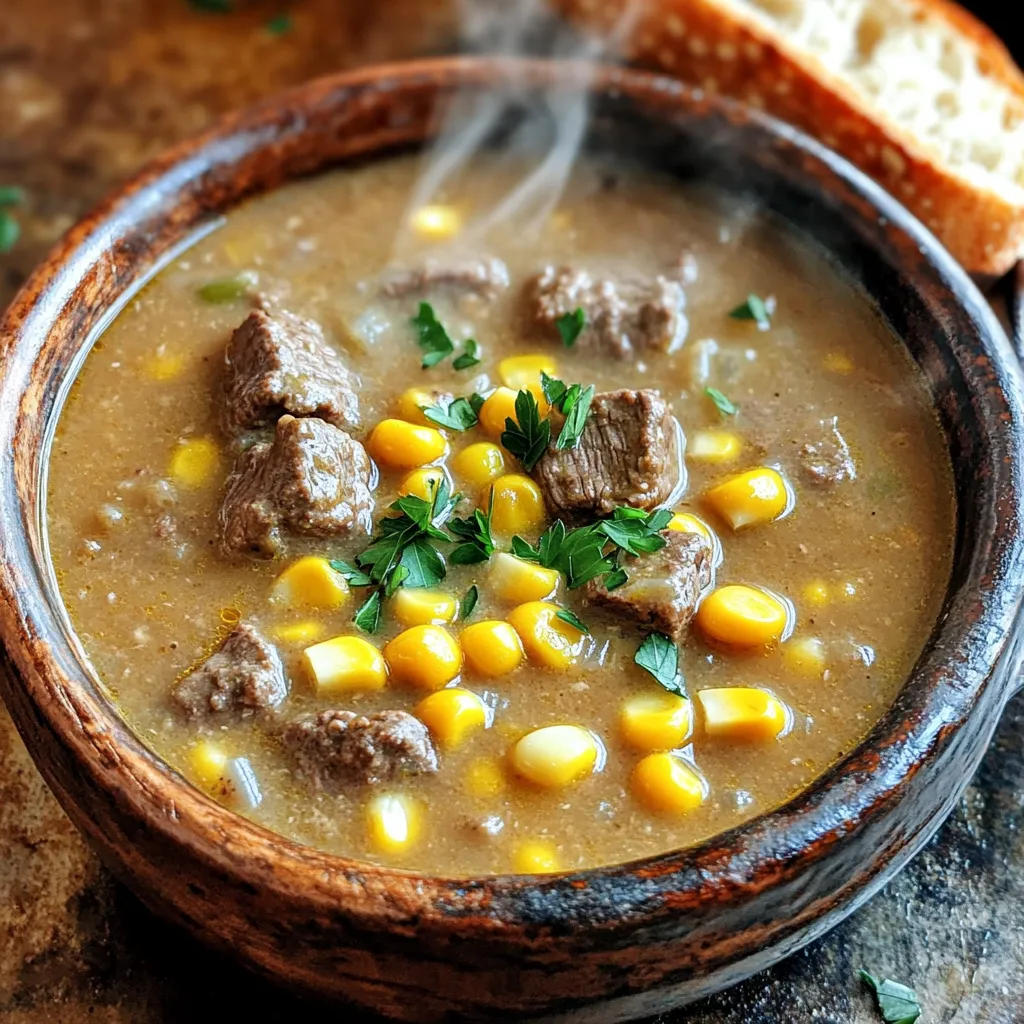
Are you ready for a warm and hearty dish that comforts the soul? My Slow Cooker Beef and Sweet Corn
