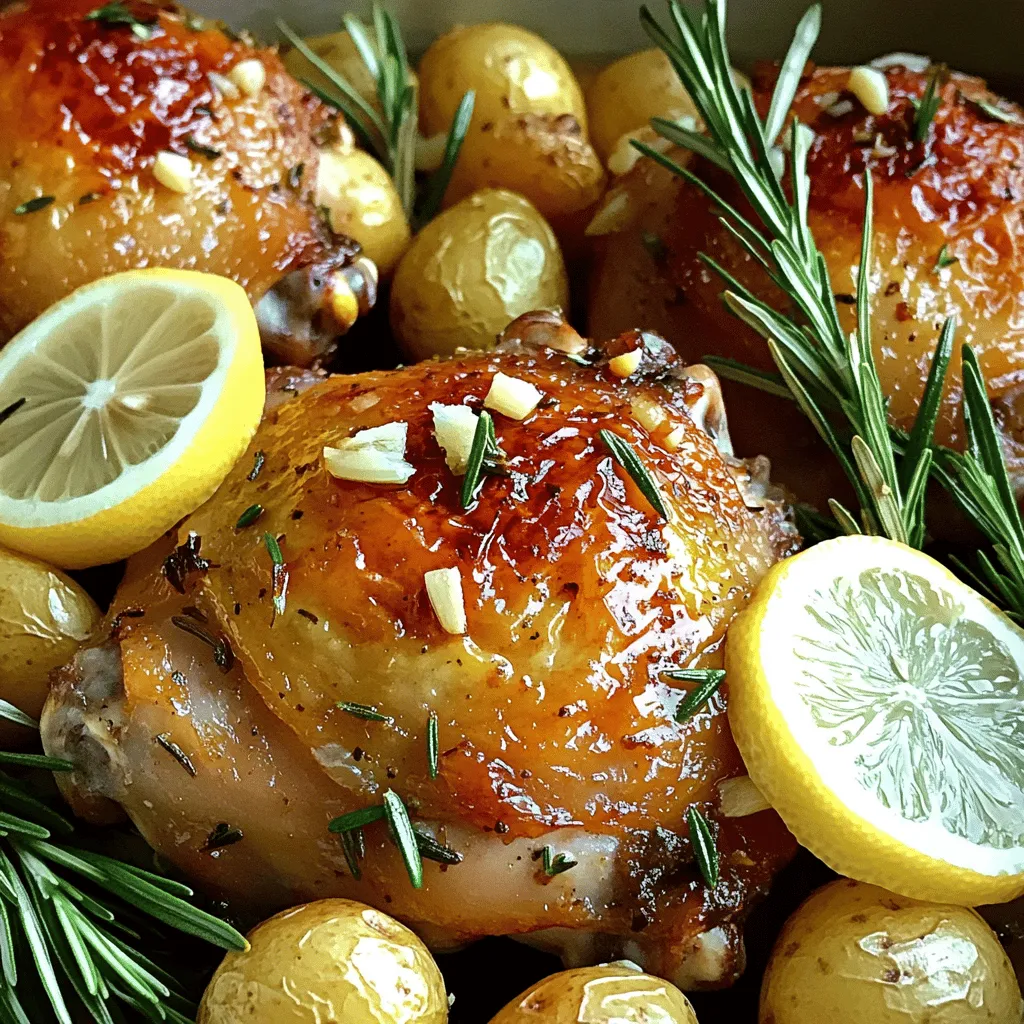
Rosemary Garlic Roasted Chicken Thighs Savory Delight
If you love juicy, flavorful chicken, you’ll adore these Rosemary Garlic Roasted Chicken Thighs. With just a few fresh ingredients,
If you love juicy, flavorful chicken, you’ll adore these Rosemary Garlic Roasted Chicken Thighs. With just a few fresh ingredients,

Get ready to fire up your grill! My Jalapeño Lime Grilled Chicken is a flavorful summer delight that’ll impress your

If you’re looking for a delightful side dish, Maple Brown Sugar Glazed Carrots are a must-try! These sweet, buttery, and
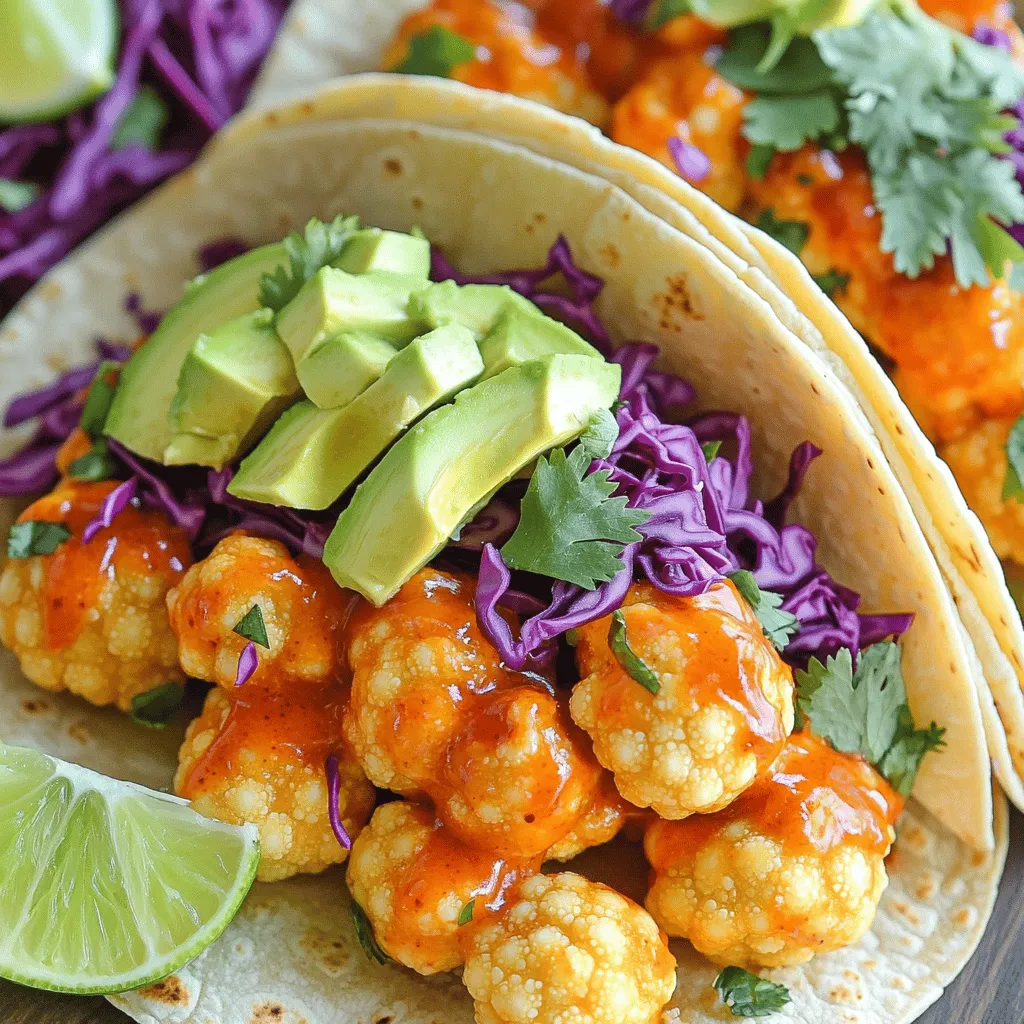
Are you ready to spice up your dinner routine? Buffalo Cauliflower Tacos are a flavorful and healthy option that will
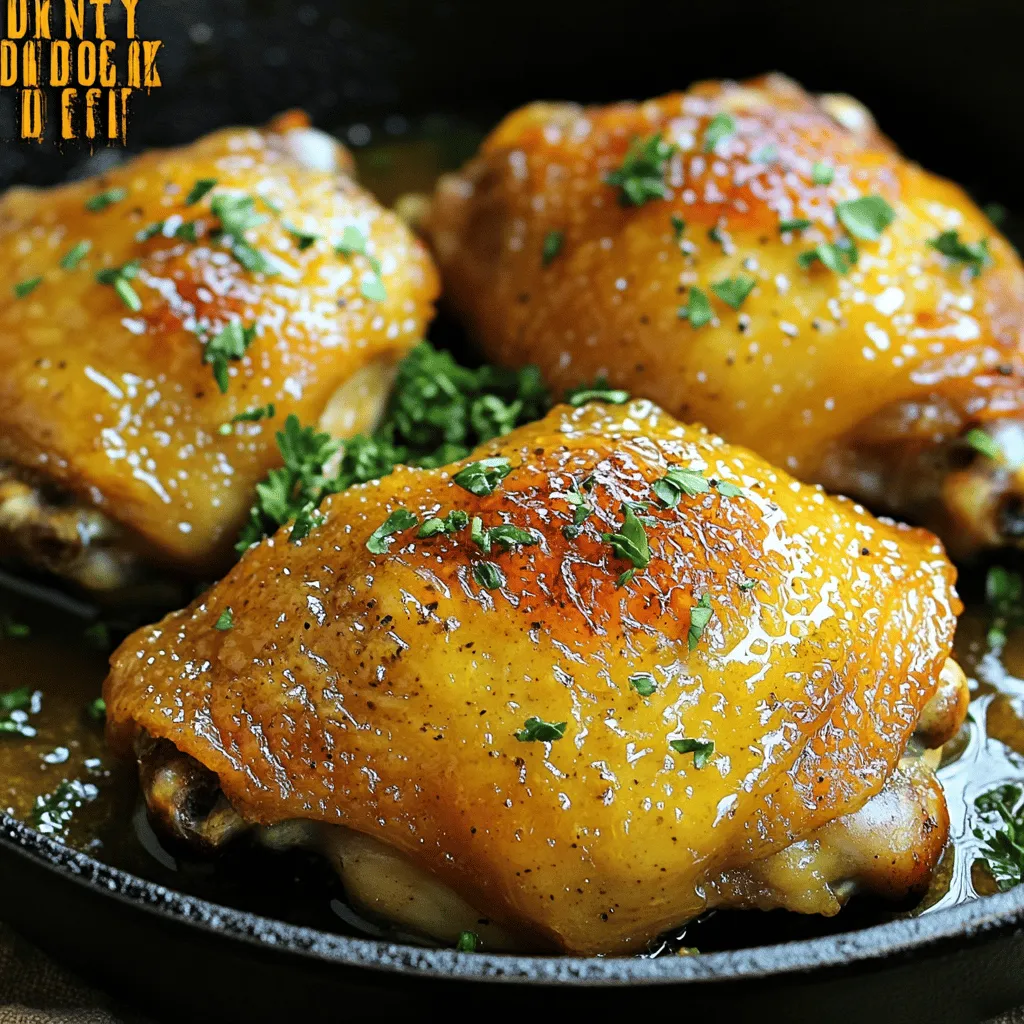
Ready to impress at dinner with a dish that’s both easy and mouthwatering? Honey mustard chicken thighs are your answer!
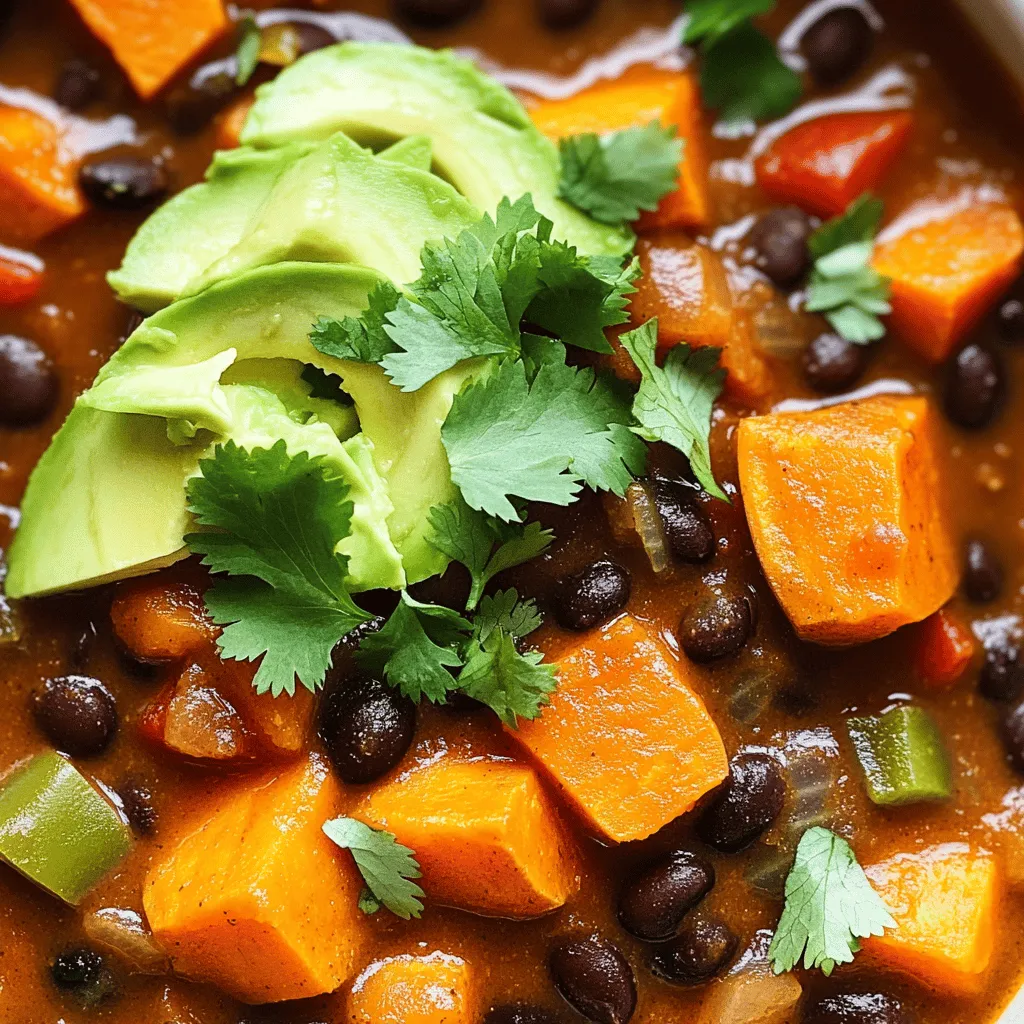
Are you ready to warm your soul with a delicious bowl of Sweet Potato Black Bean Chili? This hearty and
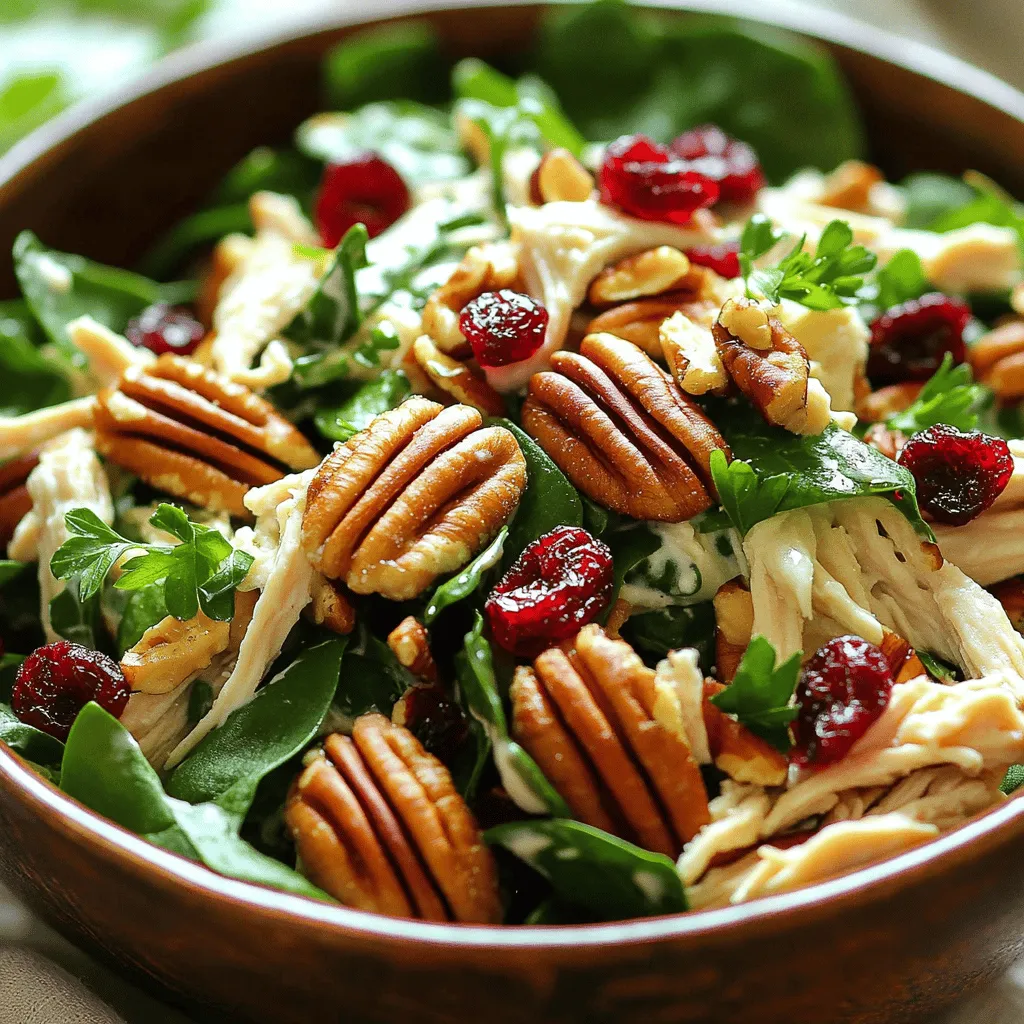
Looking for a tasty and easy dish? My Cranberry Pecan Chicken Salad is just what you need! Packed with flavor
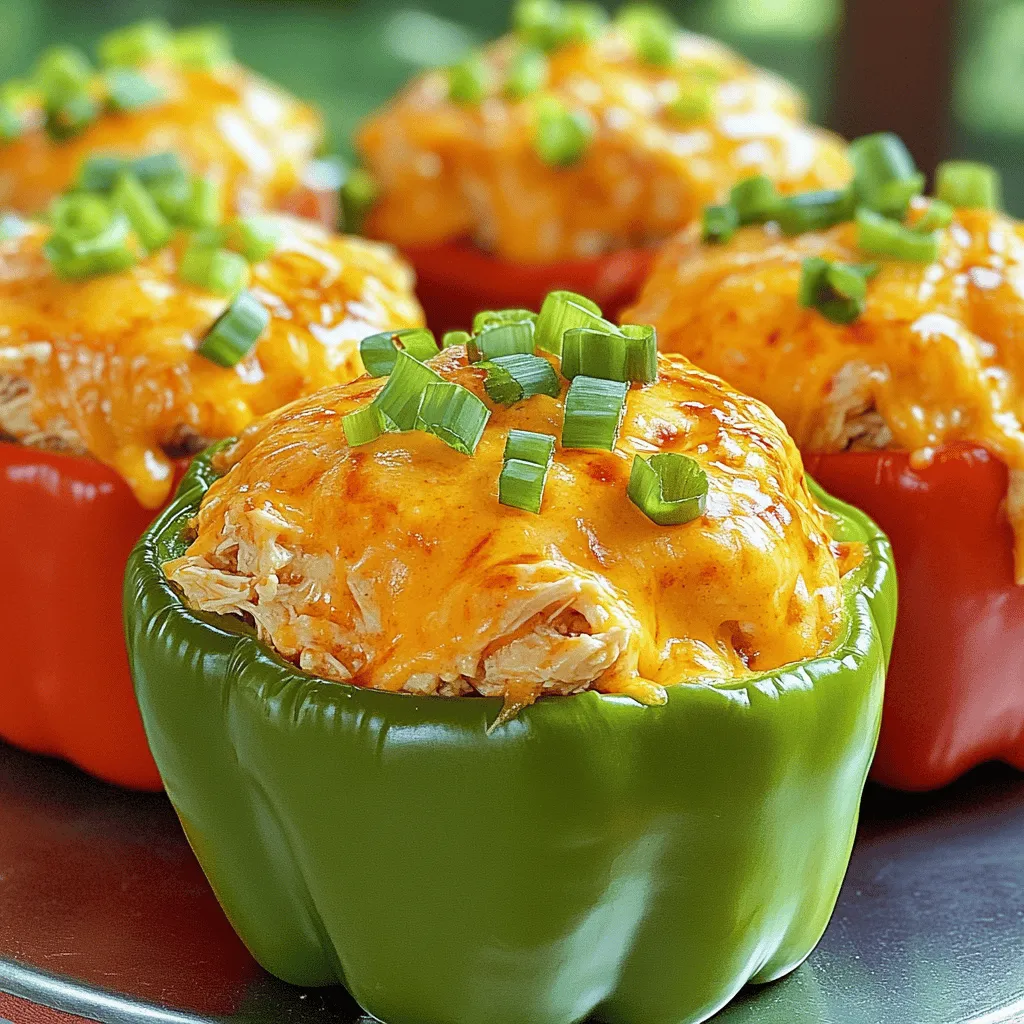
Are you ready to spice up your dinner? These Savory Buffalo Chicken Stuffed Peppers are packed with bold flavors. Imagine
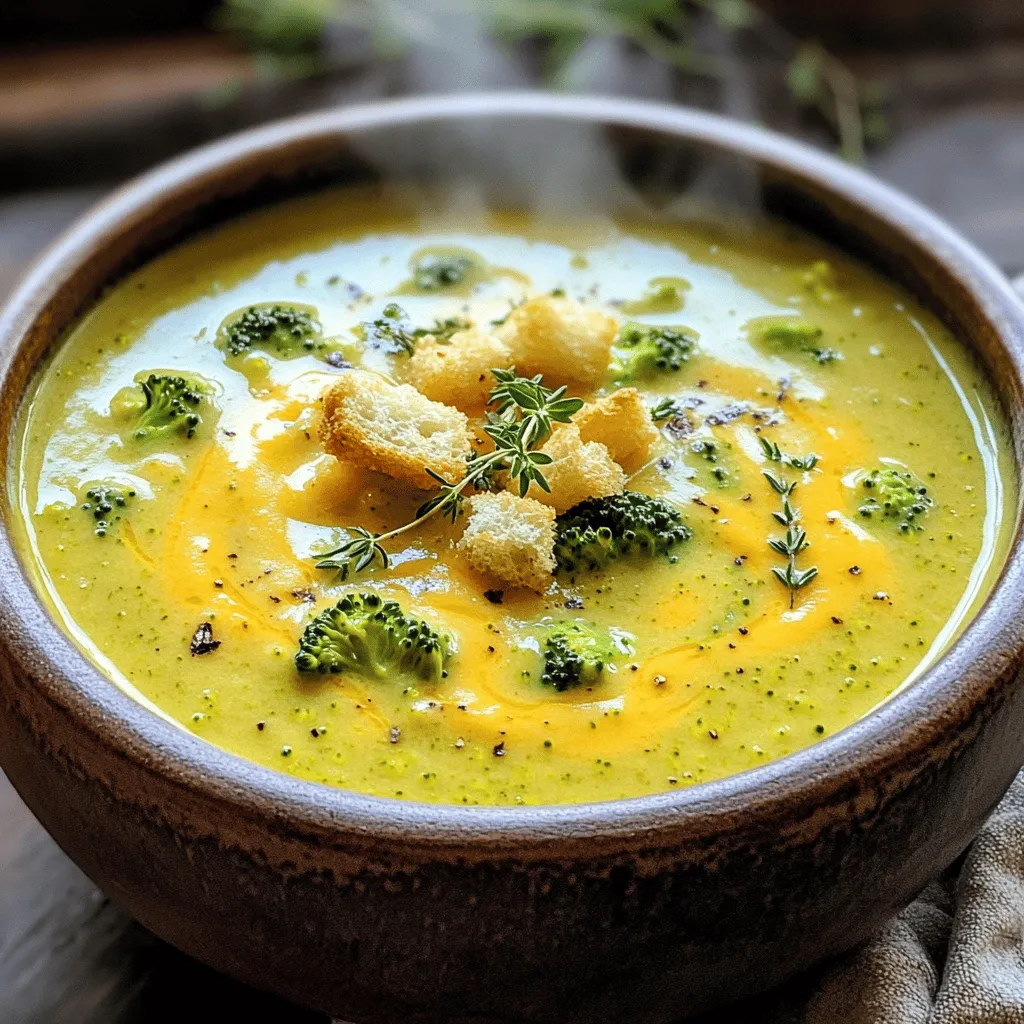
Are you ready to enjoy a warm bowl of creamy broccoli cheddar soup? This easy and tasty recipe brings comfort
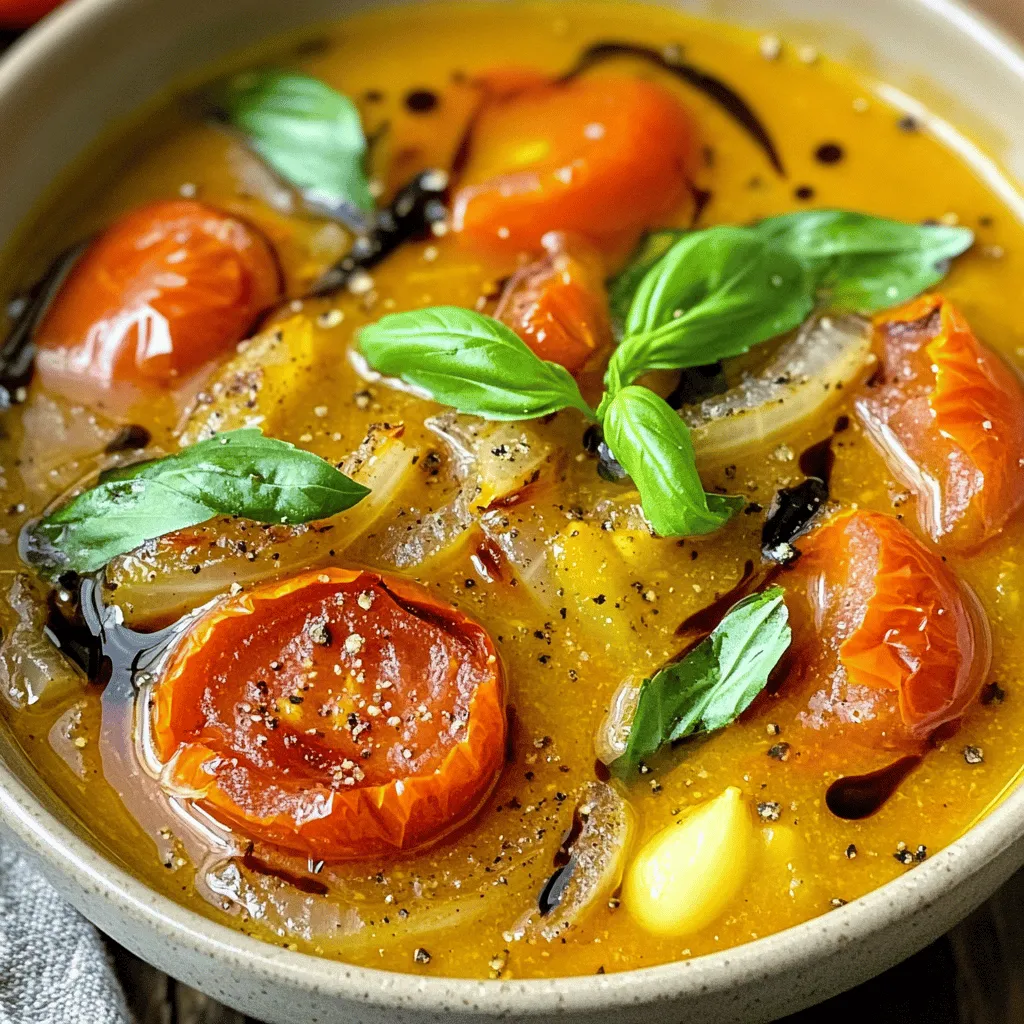
Are you ready for a warm bowl of comfort? Roasted Tomato Basil Soup is the perfect dish for chilly days.
