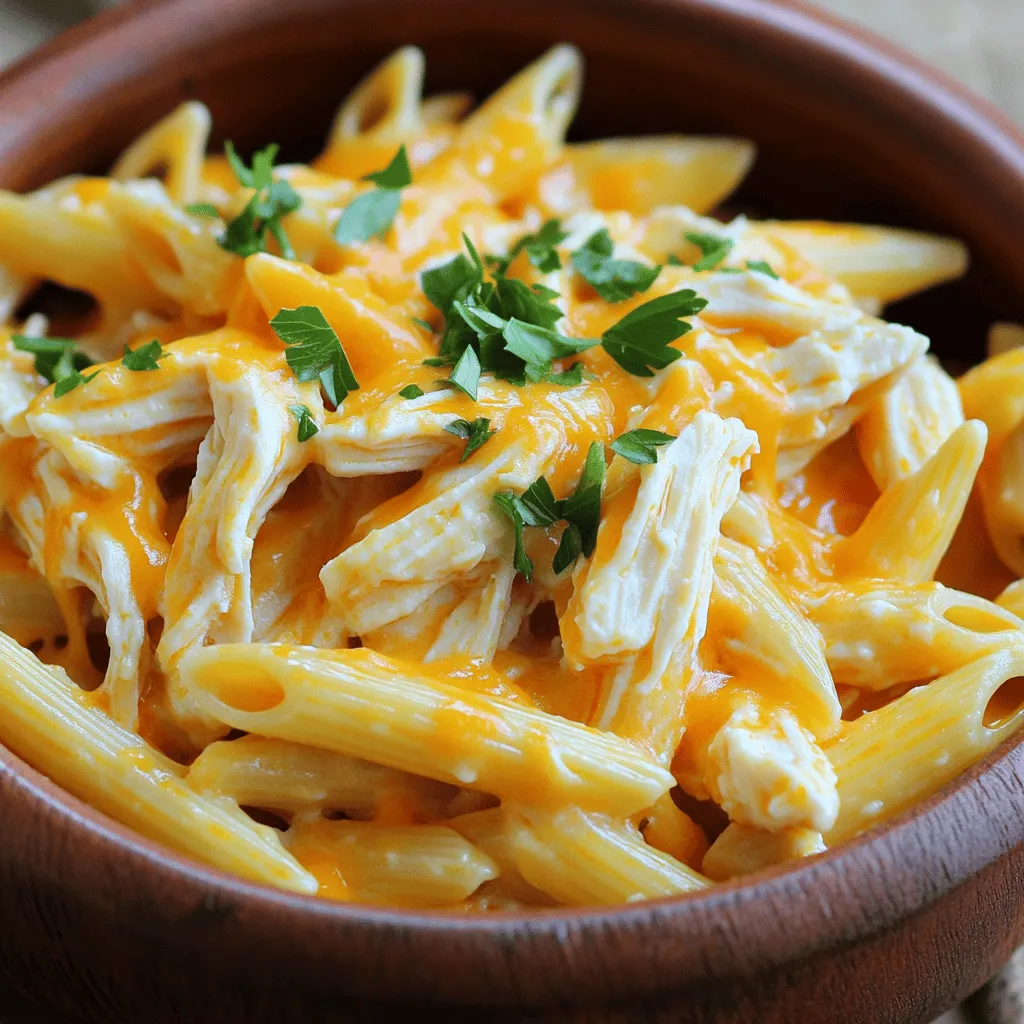
Creamy Buffalo Chicken Pasta Slow Cooker Delight
Are you ready to spice up your dinner routine? My Creamy Buffalo Chicken Pasta is a game changer, especially when
Are you ready to spice up your dinner routine? My Creamy Buffalo Chicken Pasta is a game changer, especially when
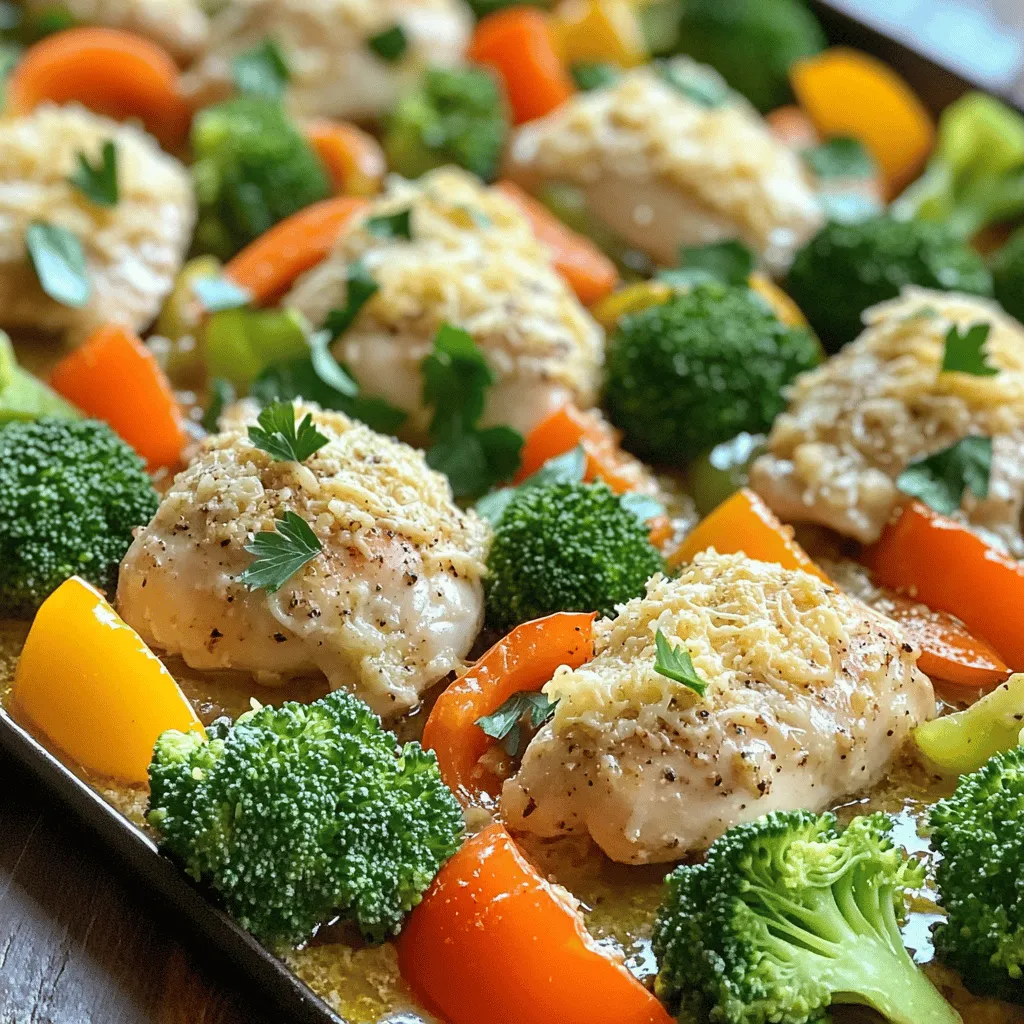
Are you ready for a simple and tasty meal? My Garlic Parmesan Chicken Veggie Sheet Pan Delight makes cooking fun
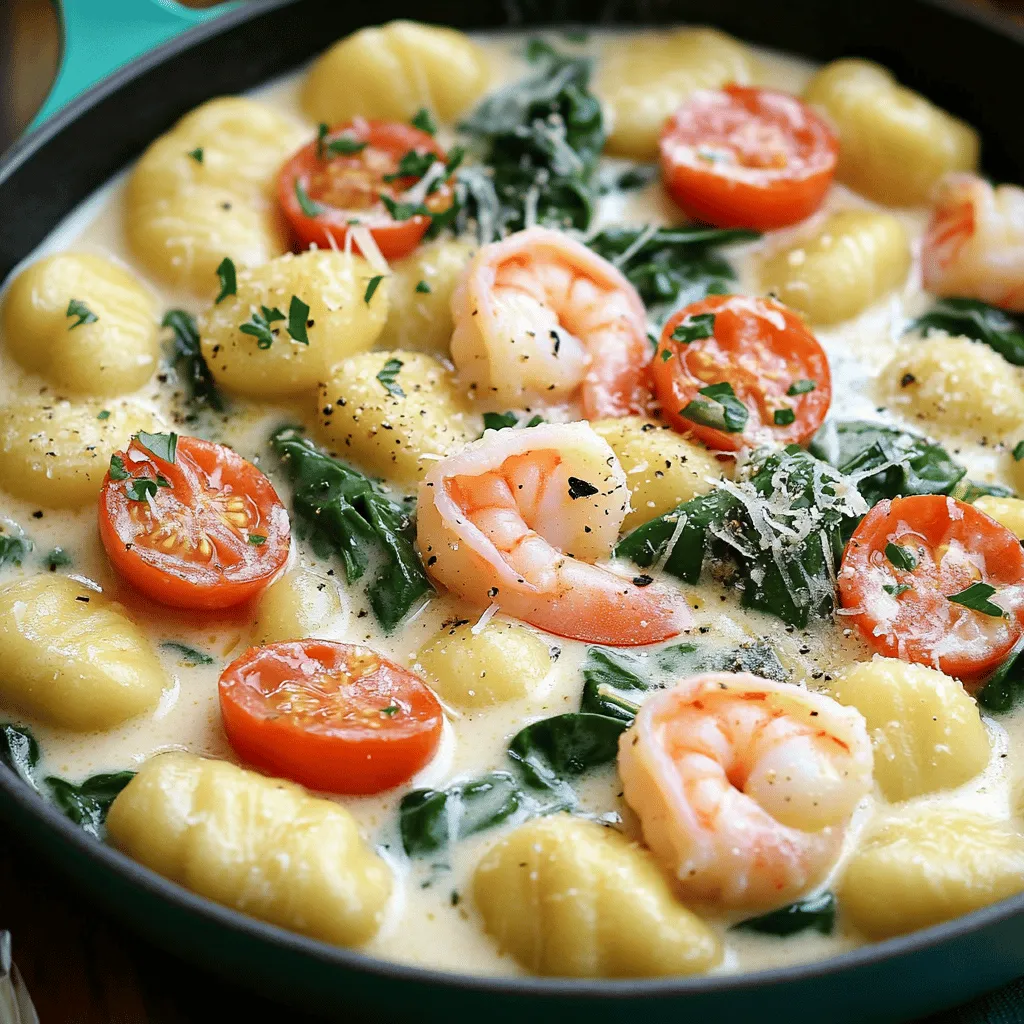
Craving a cozy yet elegant dinner? I’ve got just the recipe for you! This Creamy Garlic Shrimp Gnocchi is a
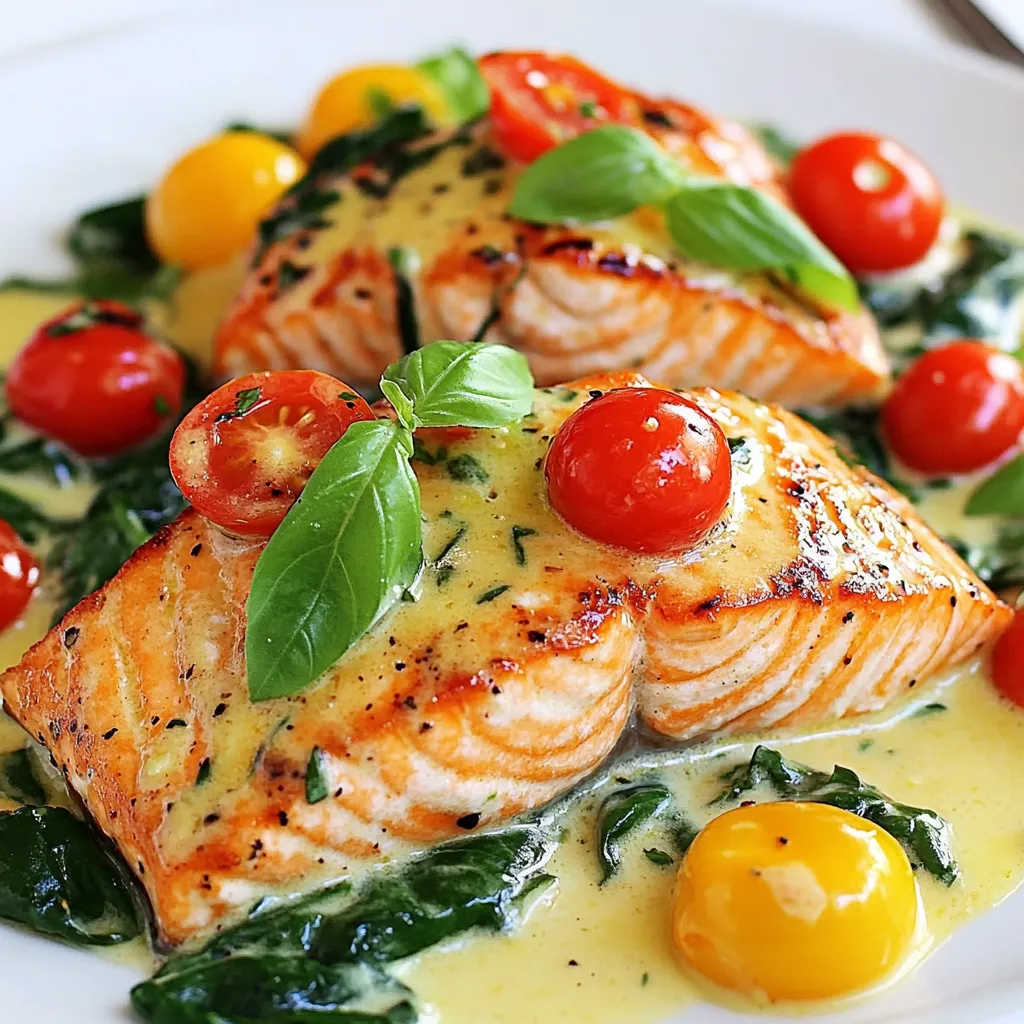
Are you ready to treat your taste buds? This Creamy Tuscan Salmon recipe is a flavorful dinner delight that you
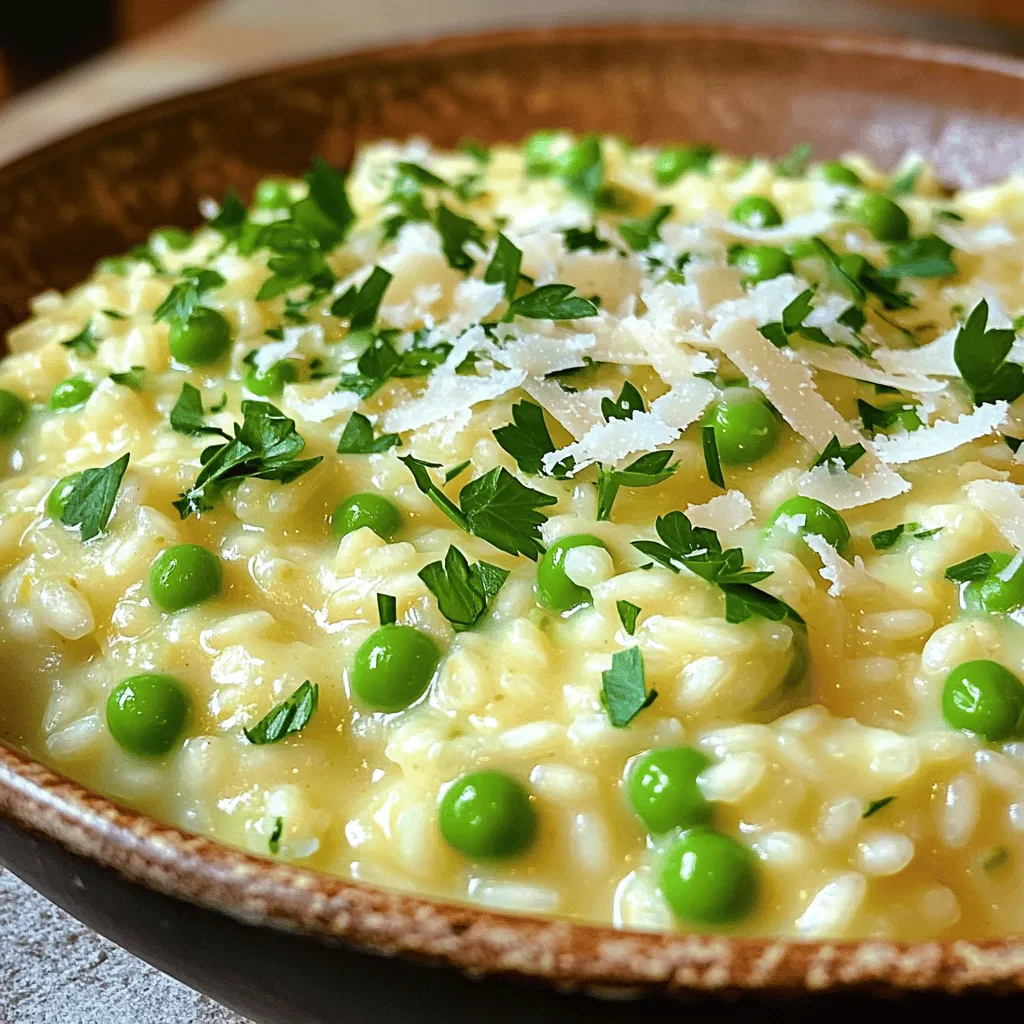
Welcome to your new favorite comfort food: Creamy Garlic Parmesan Risotto! This simple yet tasty dish will impress your family
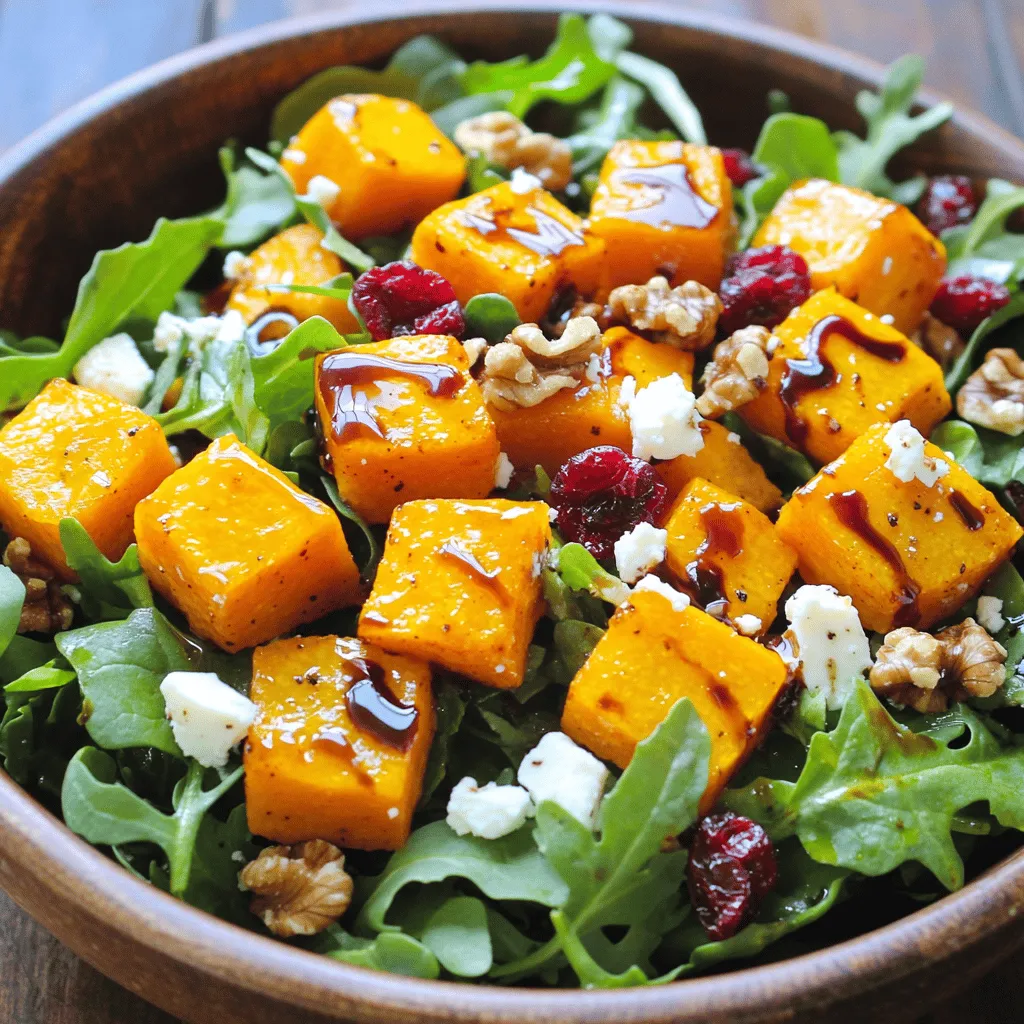
Welcome to the world of deliciousness with my Maple Roasted Butternut Squash Salad! This dish is not just a salad;
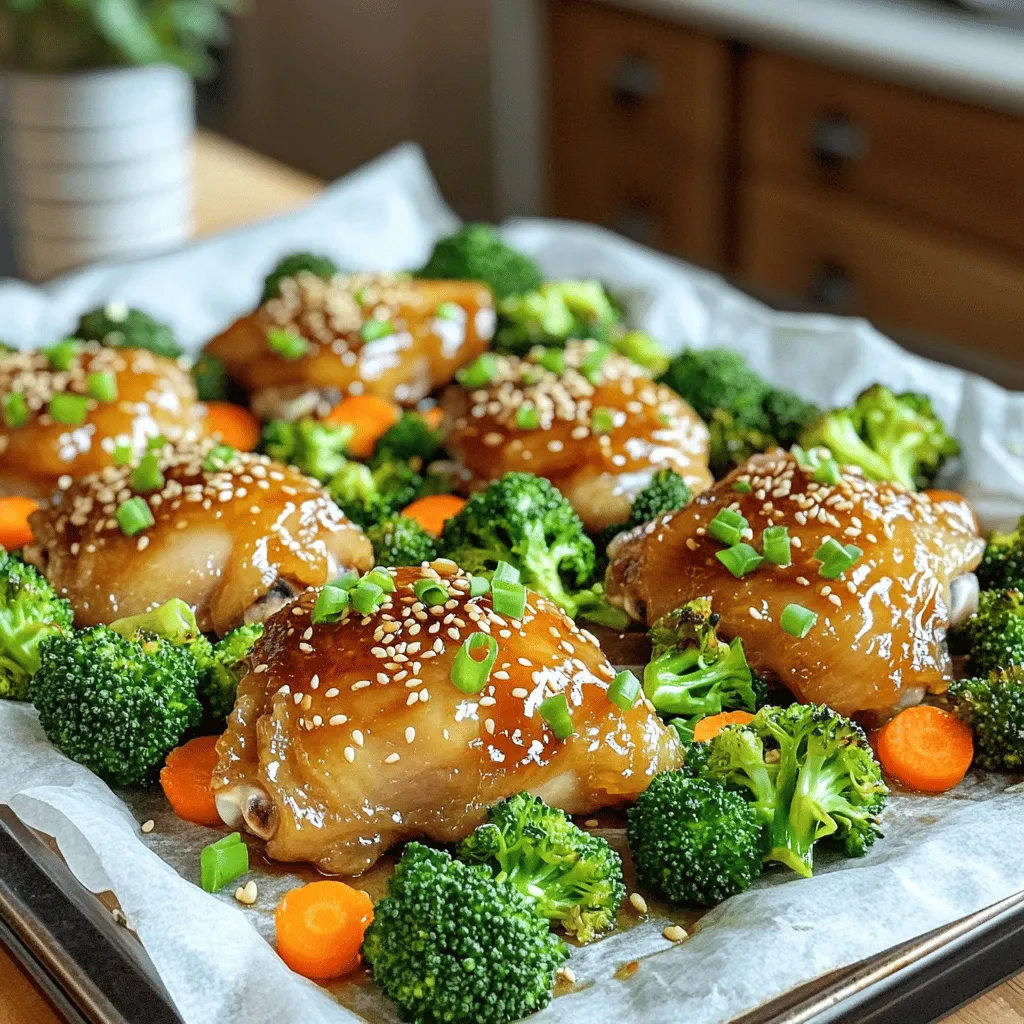
Get ready to savor the mouthwatering flavors of Sheet Pan Garlic Honey Chicken Thighs! This dish combines tender, juicy chicken
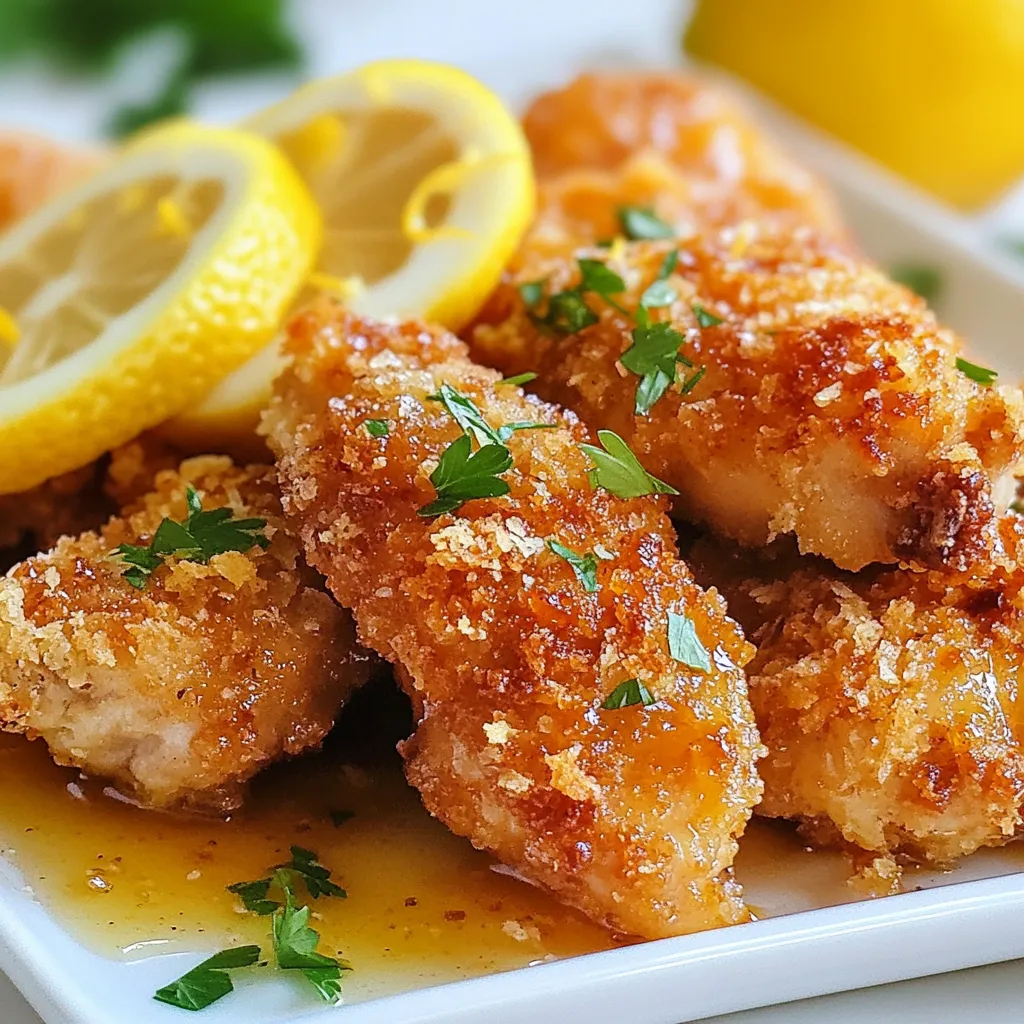
Looking for a dinner that’s both easy and delicious? Try my Crispy Honey Lemon Chicken! This recipe shines with a
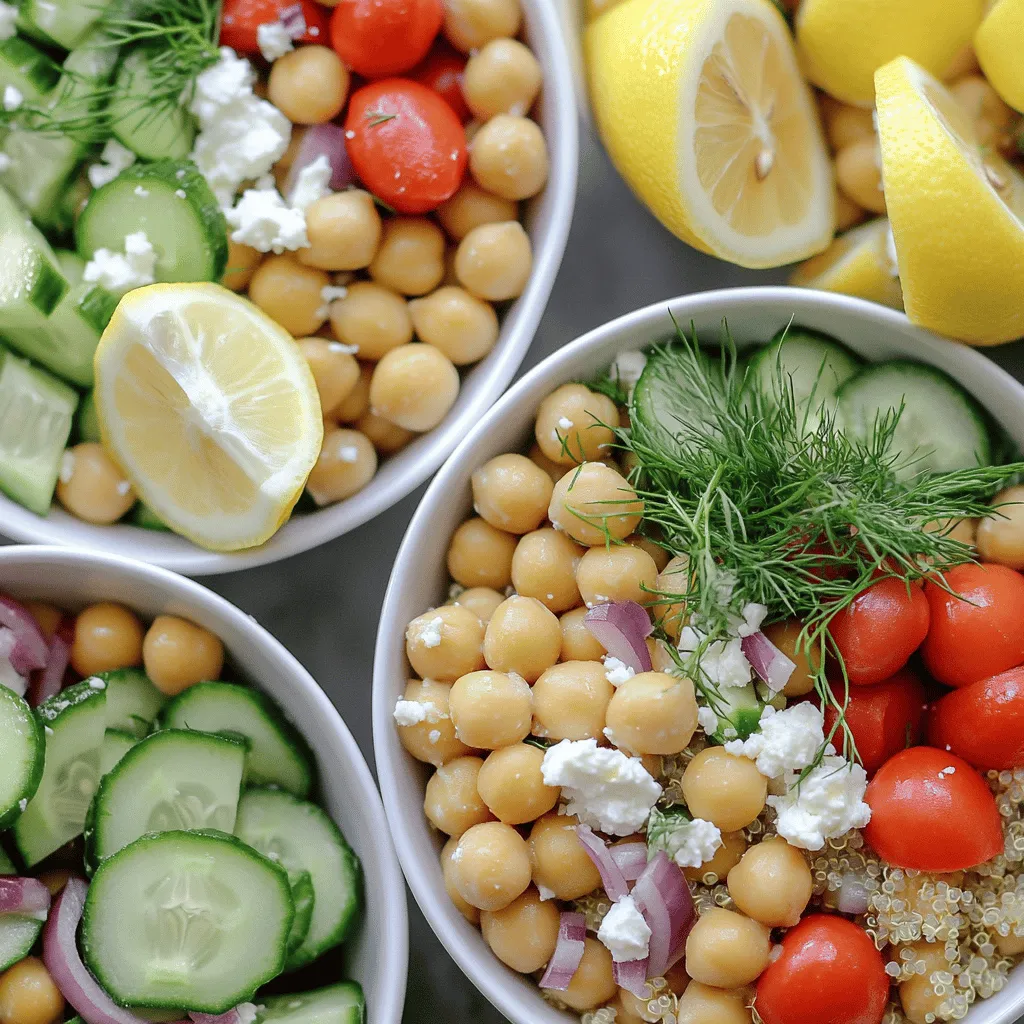
If you’re looking for a vibrant meal that’s both fresh and simple, Greek Lemon Dill Chickpea Bowls are your answer.
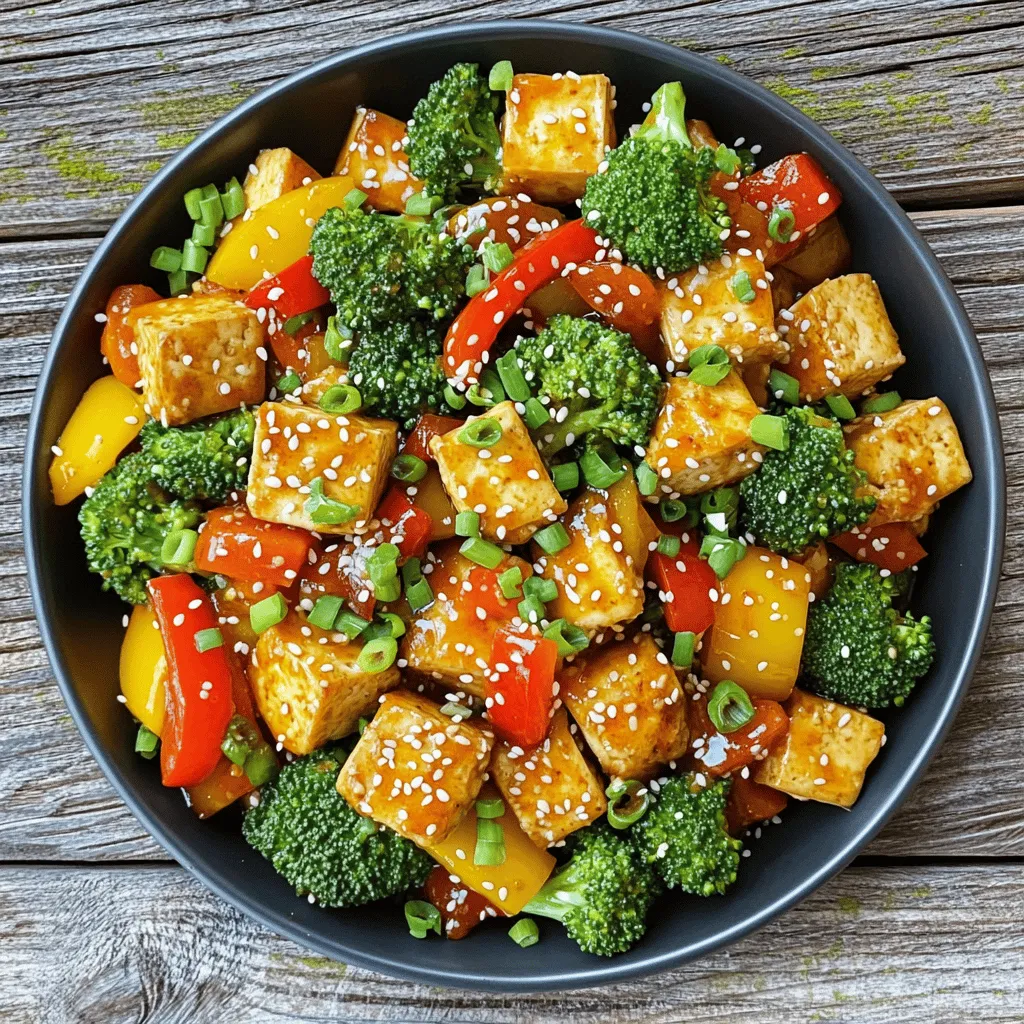
Are you ready for a tasty meal that’s quick and easy? This Chili Garlic Tofu Stir Fry packs bold flavors
